Well, we had hoped to be in the new house for Christmas, but the devil as they say is in the detail and it is taking a long time to get all the little bits and pieces sorted. Mid December we had some strong Southerly winds and 24 hours of rain that gave the south facing logs a good testing and sadly found them lacking.
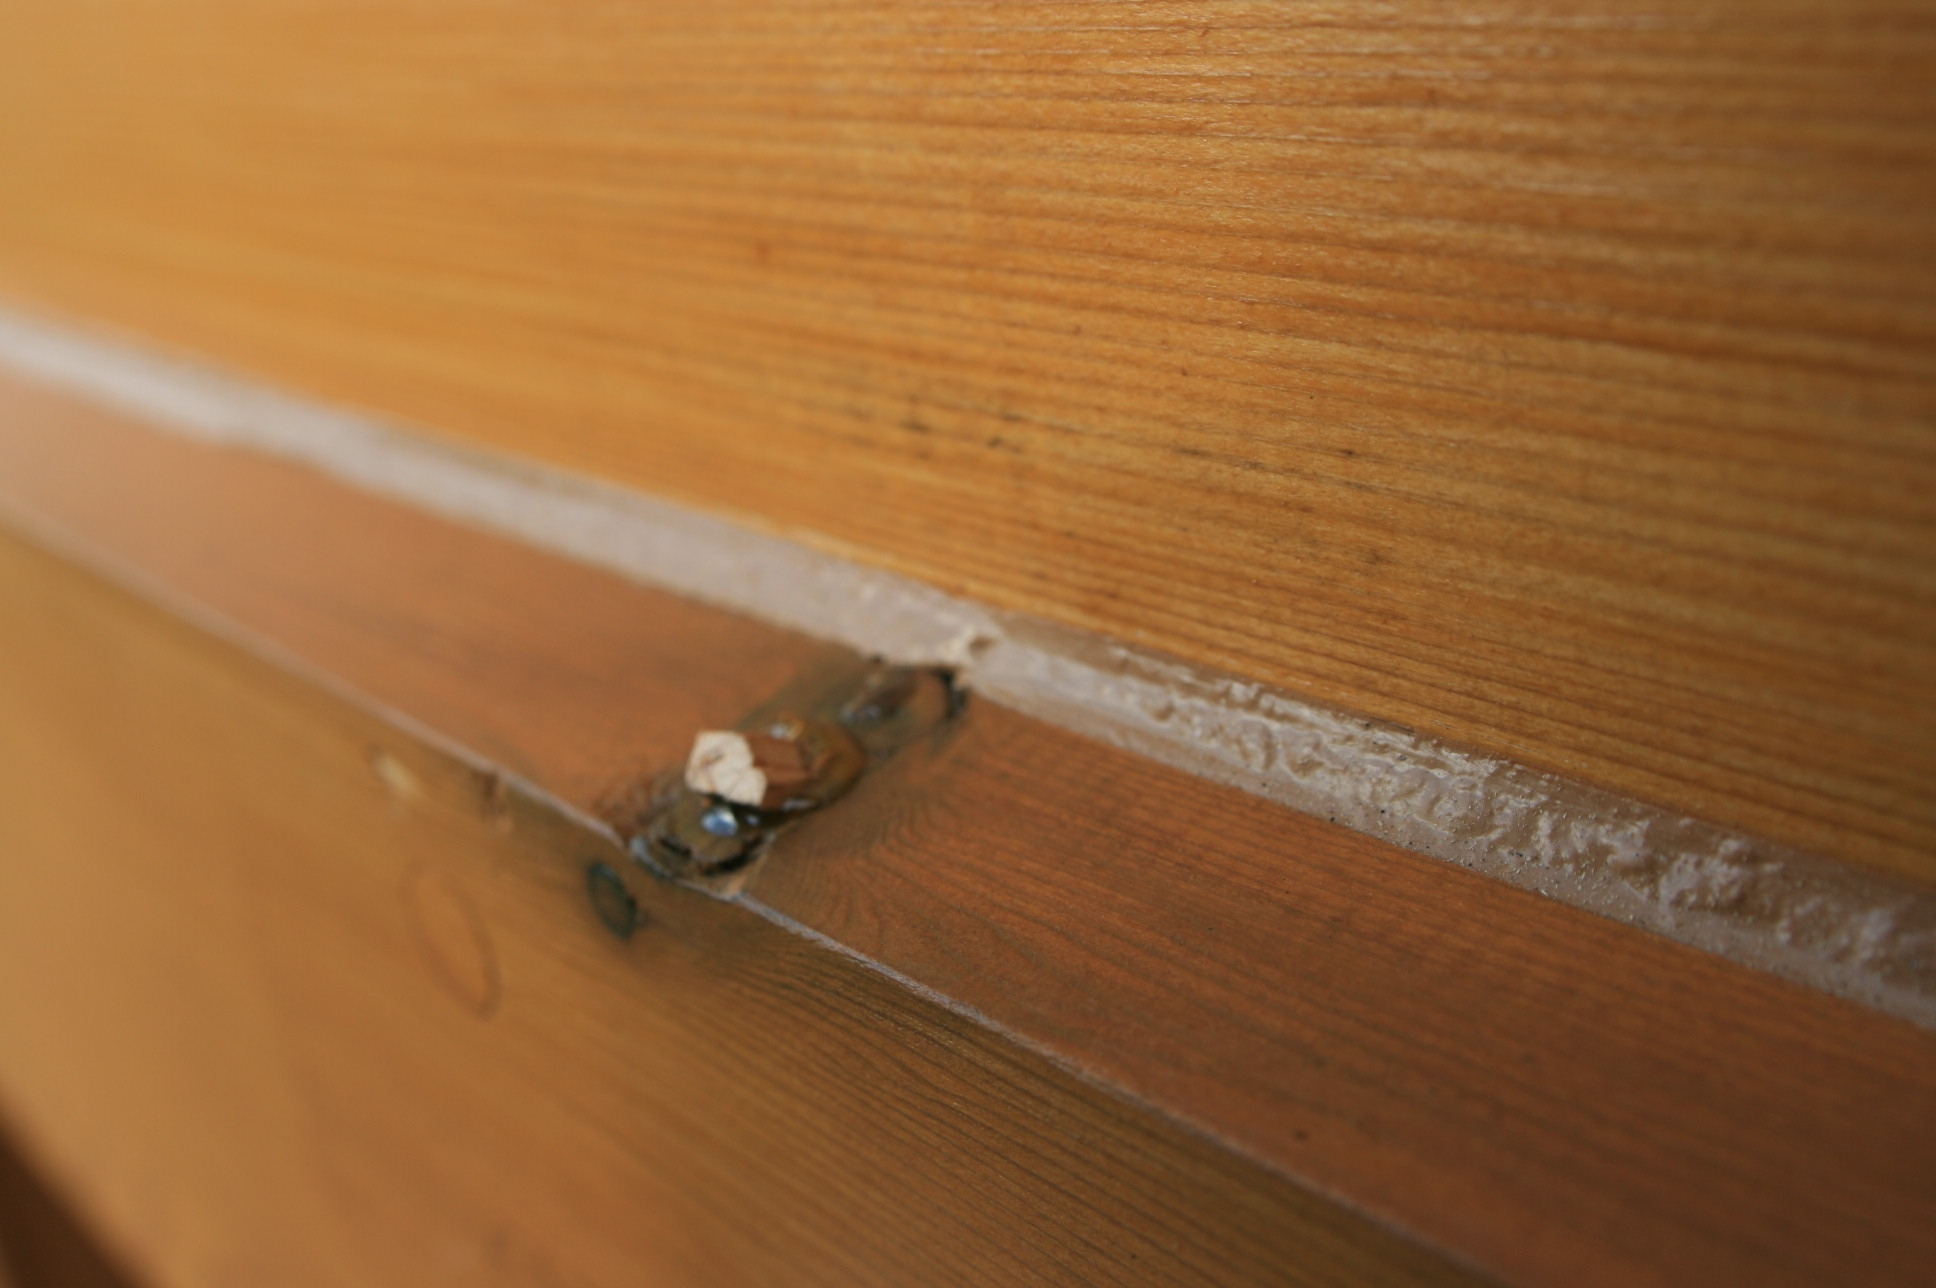
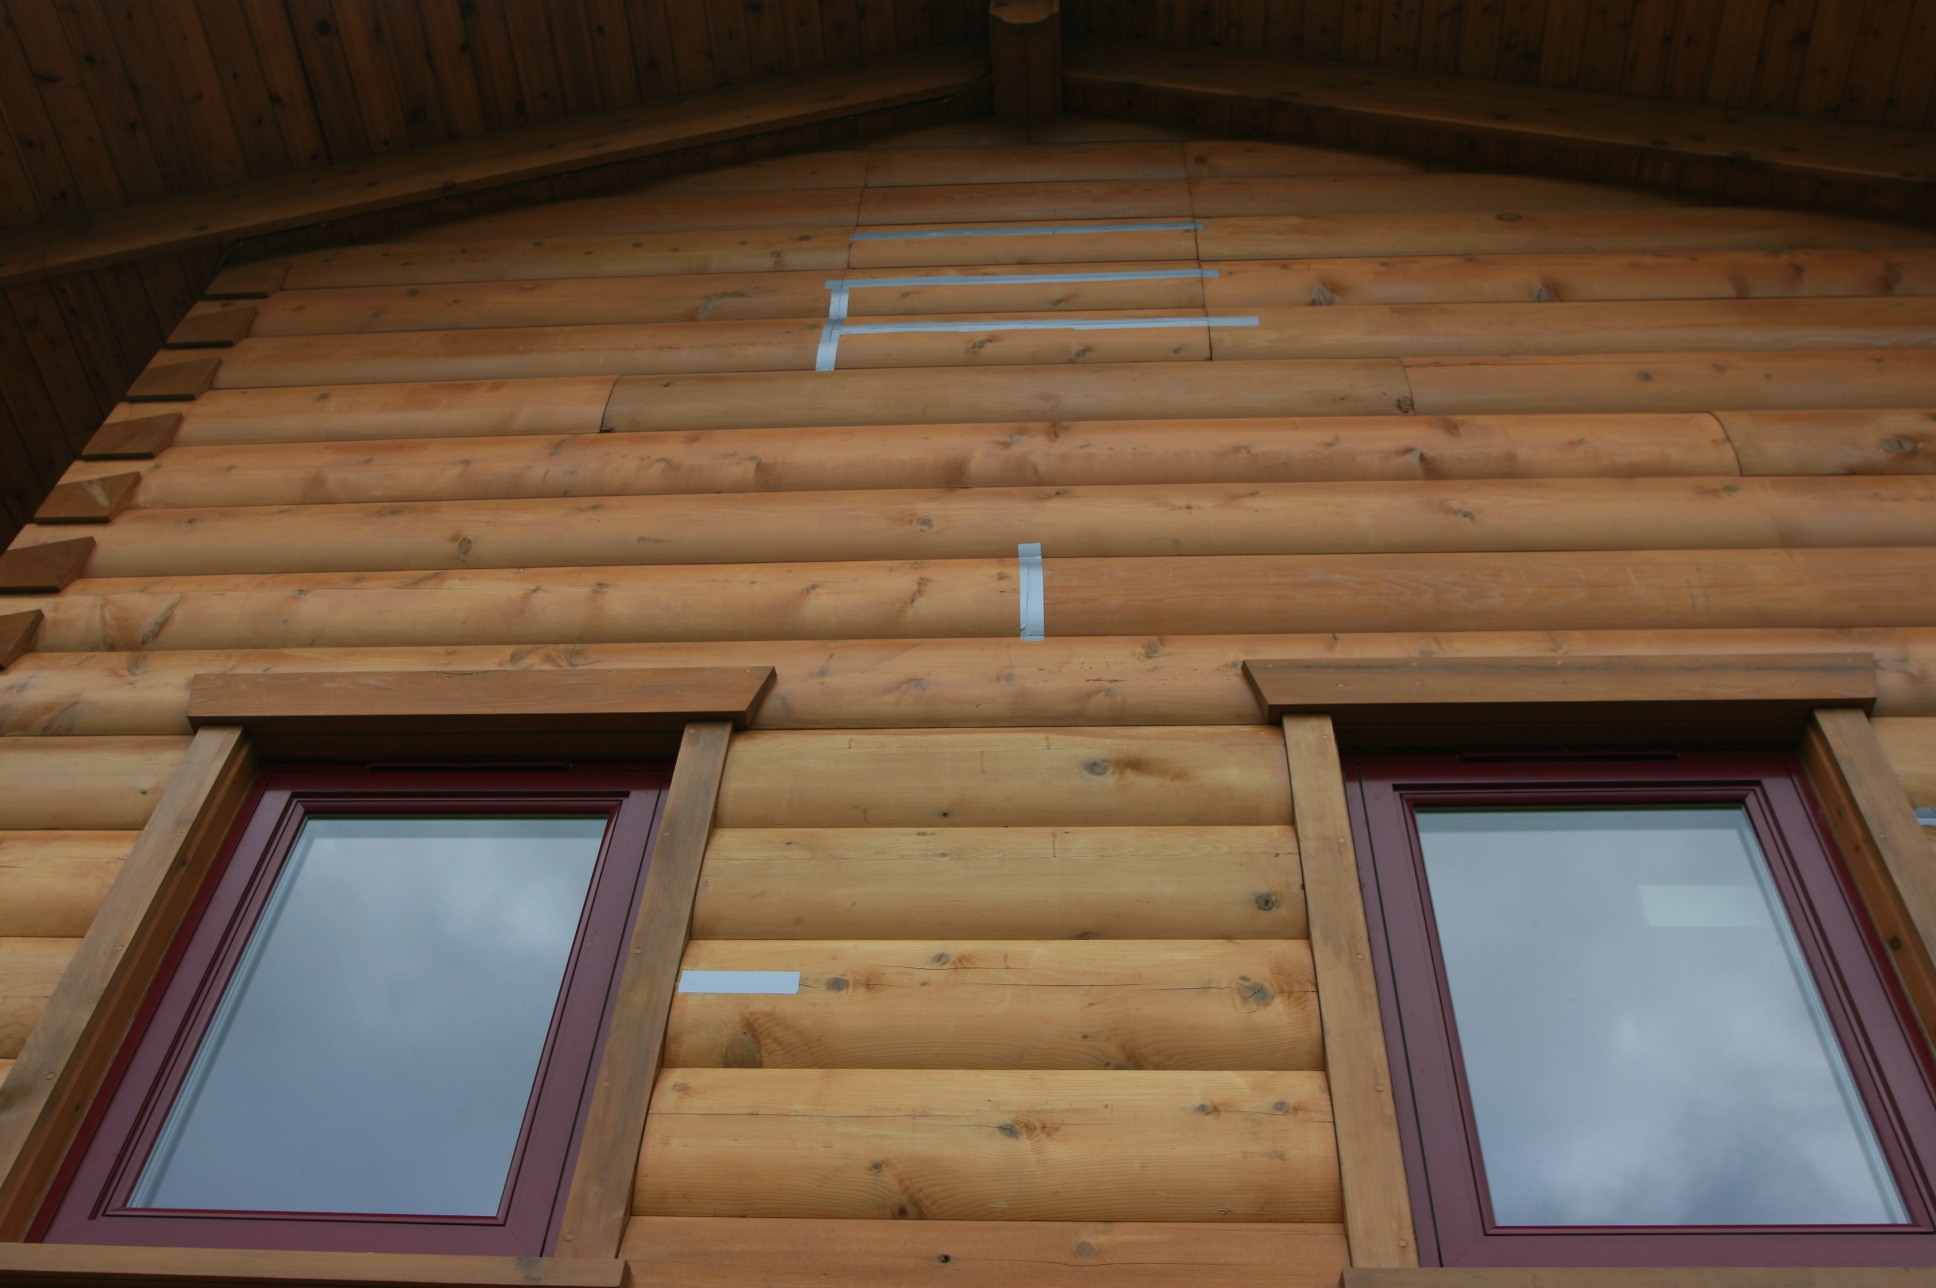
 We found the leaky knots in the last post, but also some strange drips from some of the studs that run vertically through the house, just above the top of the frame of the glass double sliding doors. We think it could be water running along some of the “shakes” in the logs and some how getting round the 6 seals that run along the log. So as well as filling short shakes with glue as per the last post, we have also covered some of the larger shakes higher up the house with duct tape, to give us a quick idea as to whether they are the culprit.
Of course now we need mother nature to repeat her strong Southerly wind and persistent heavy rain. With high pressue weather, light winds and no rain over us for the last 10 days, we may have to resort to simulating the rain.
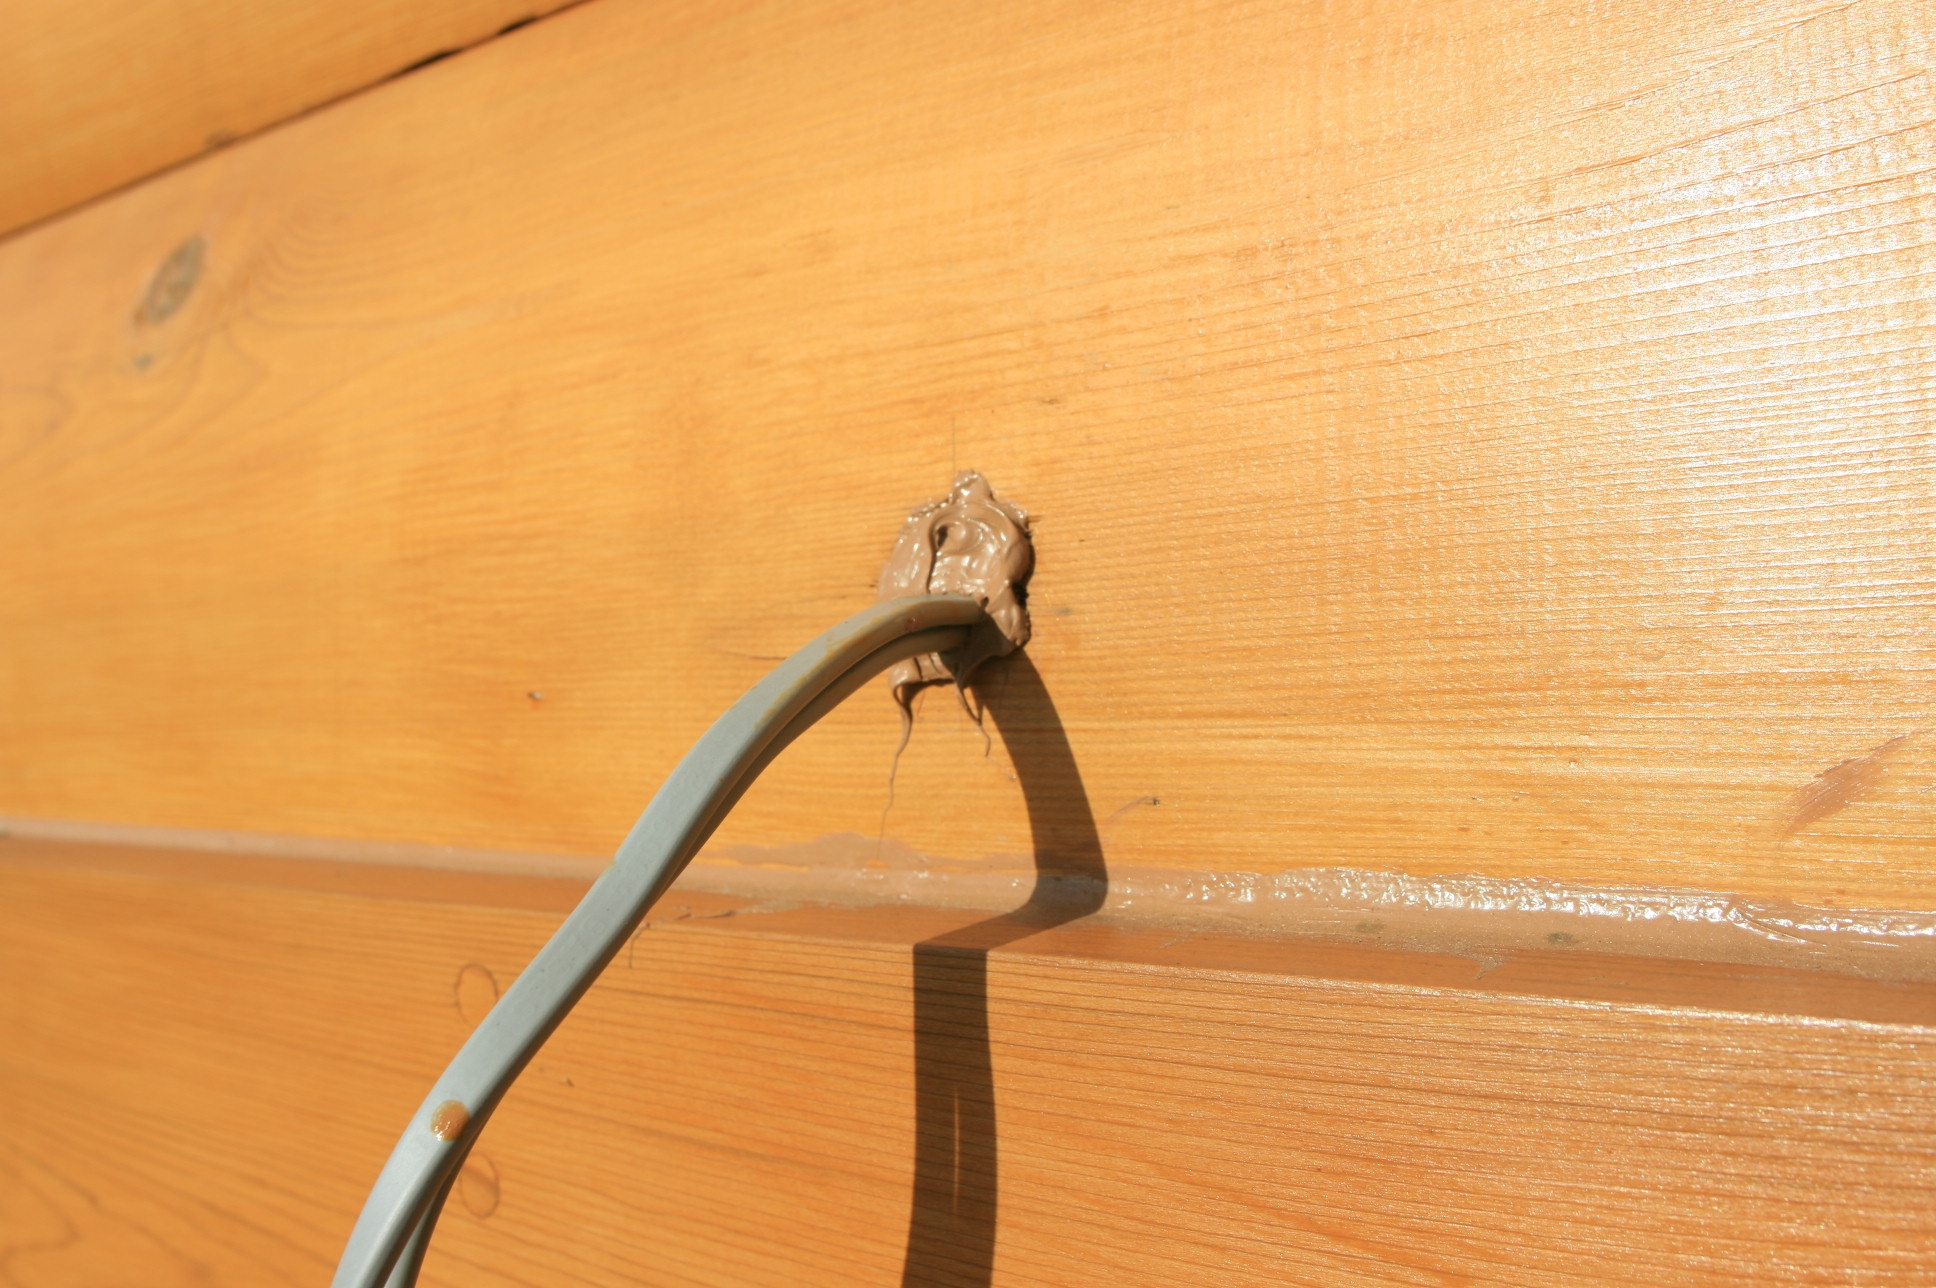
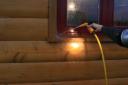 Like this! Here we were trying to find a very small leak during that day of rain, and in the end had to resort to the hose pipe. We found it, but it was so small, we’re not sure how to seal it. It’s a real strange one between the bottom of the external architrave and the window sill and other than taking the architrave off again, we may have to “can foam” it from behind.
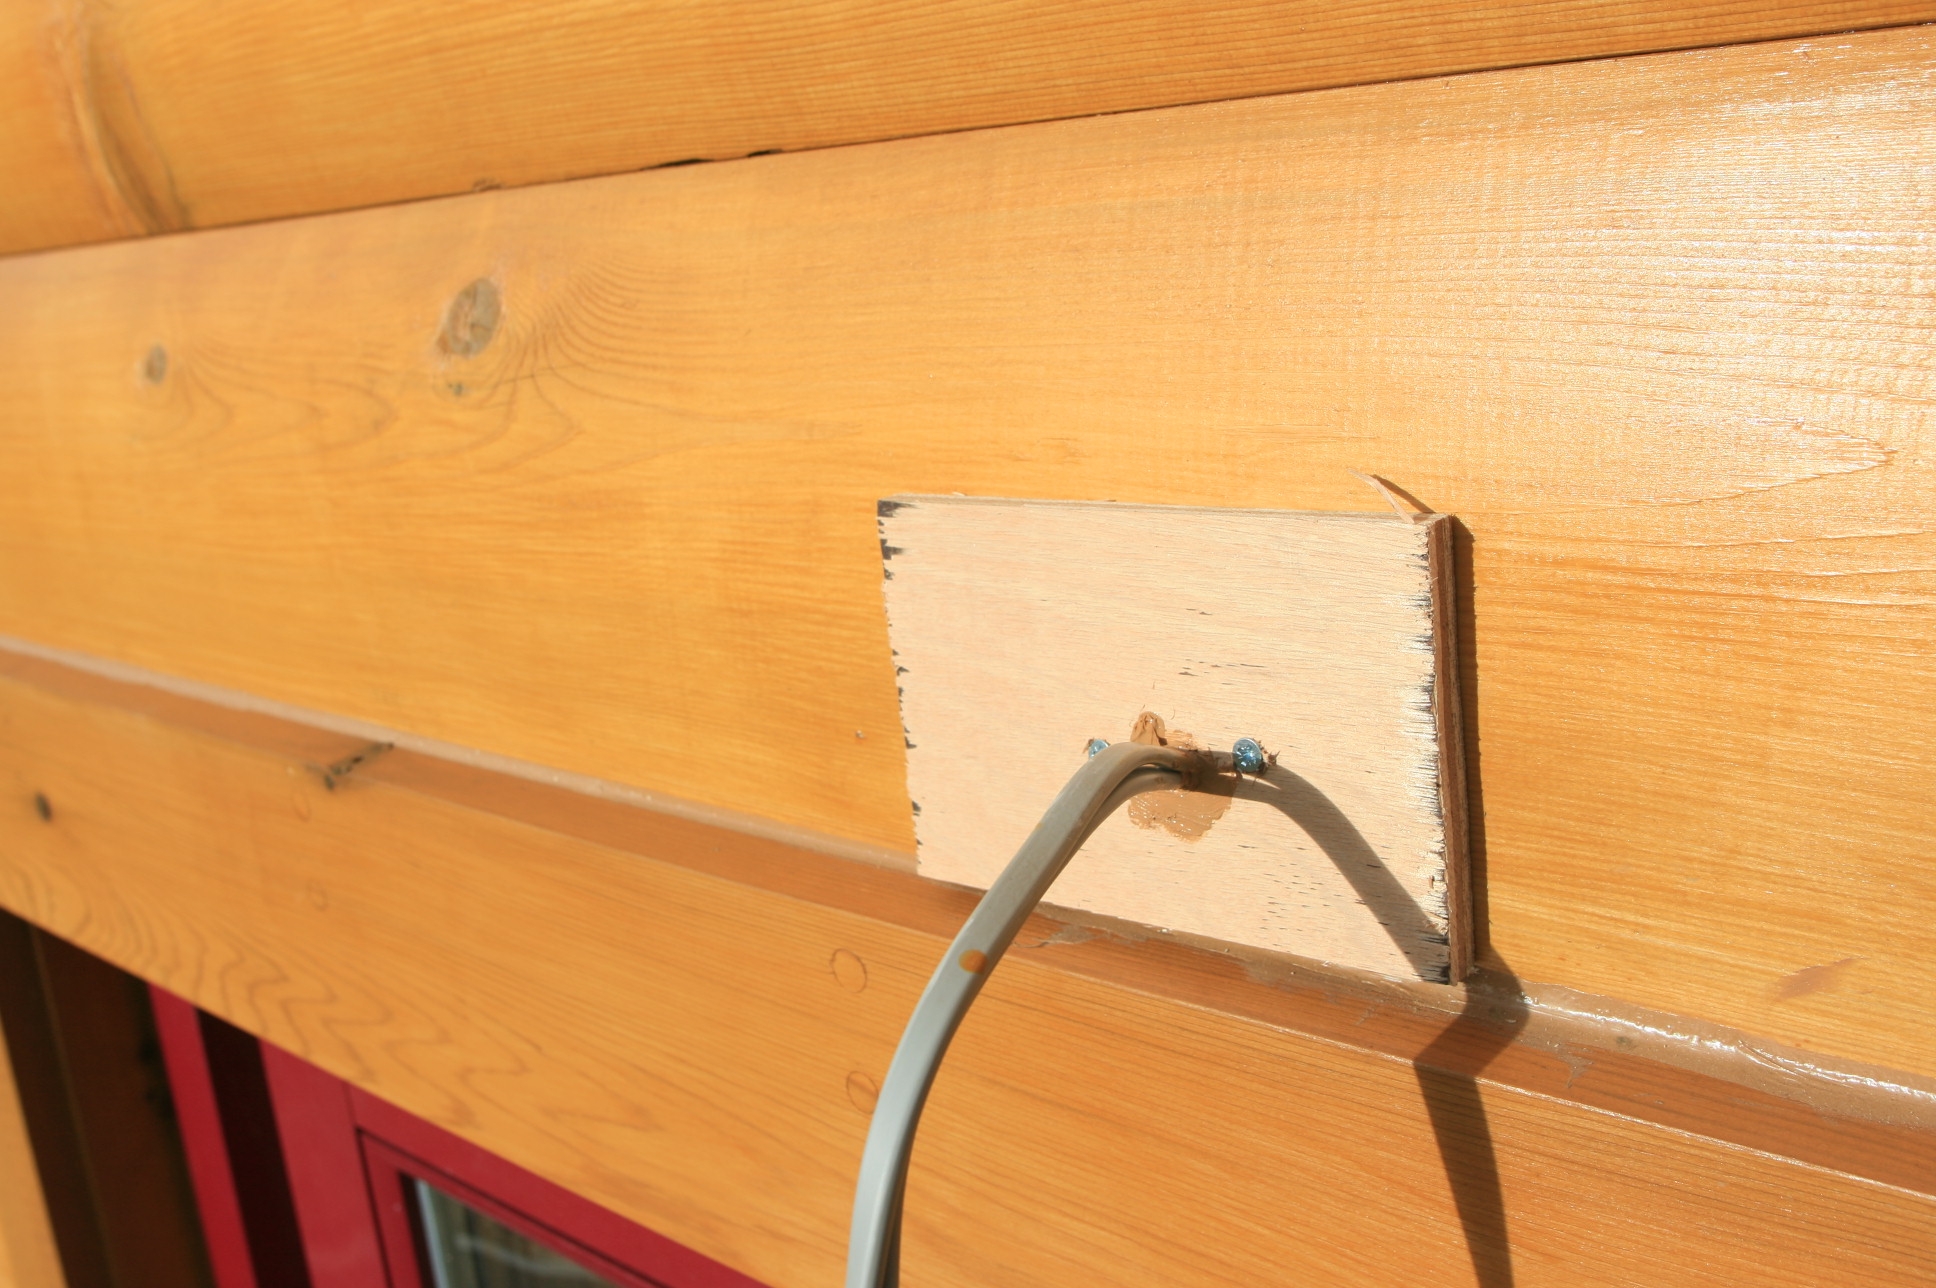
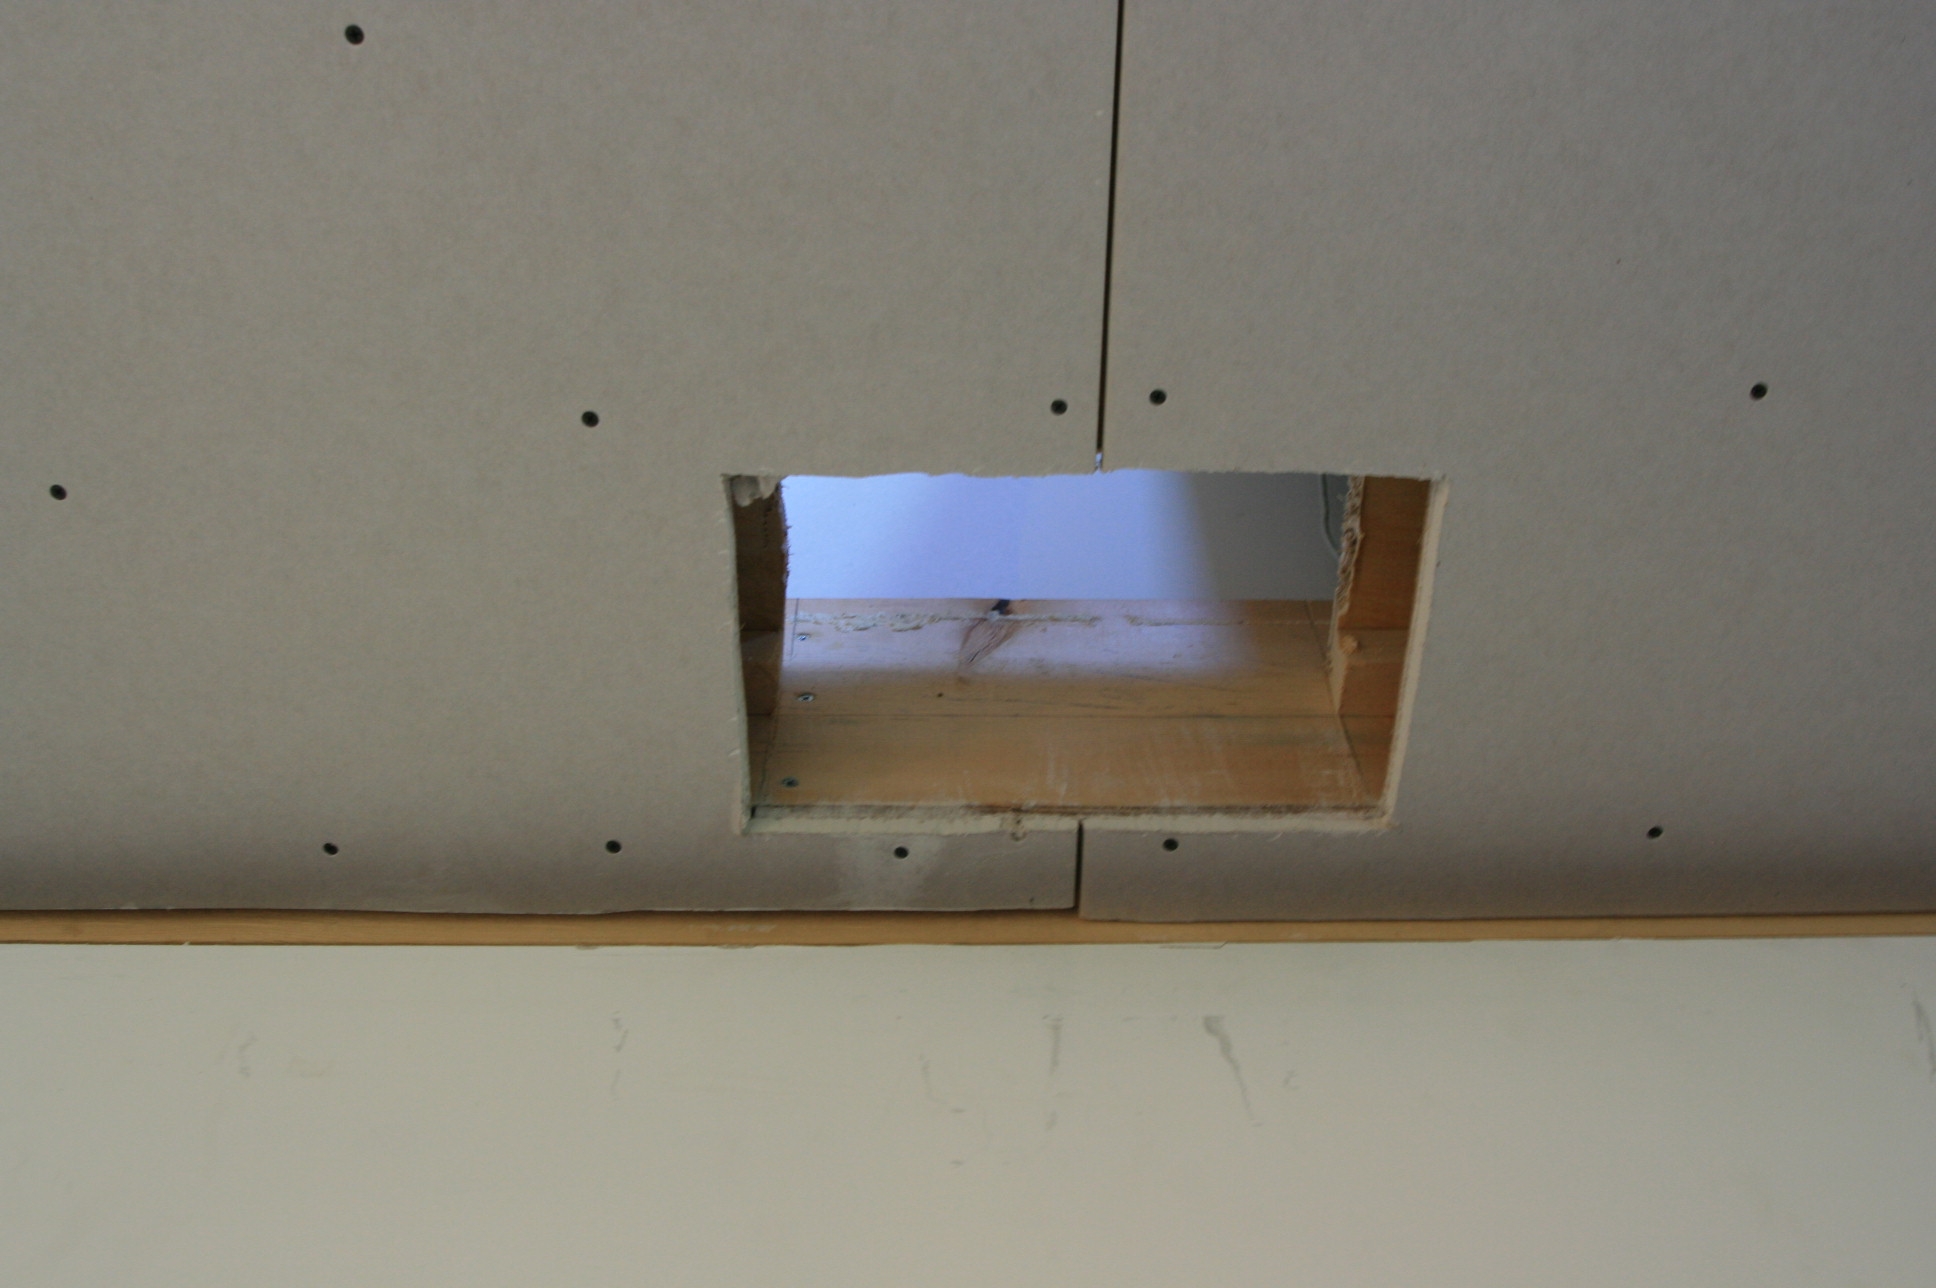 This was something we had been planning for a long time. If we could, we would have engineered a dumb waiter! Nothing wrong with elements of Victorian design creeping into a contemporary house.
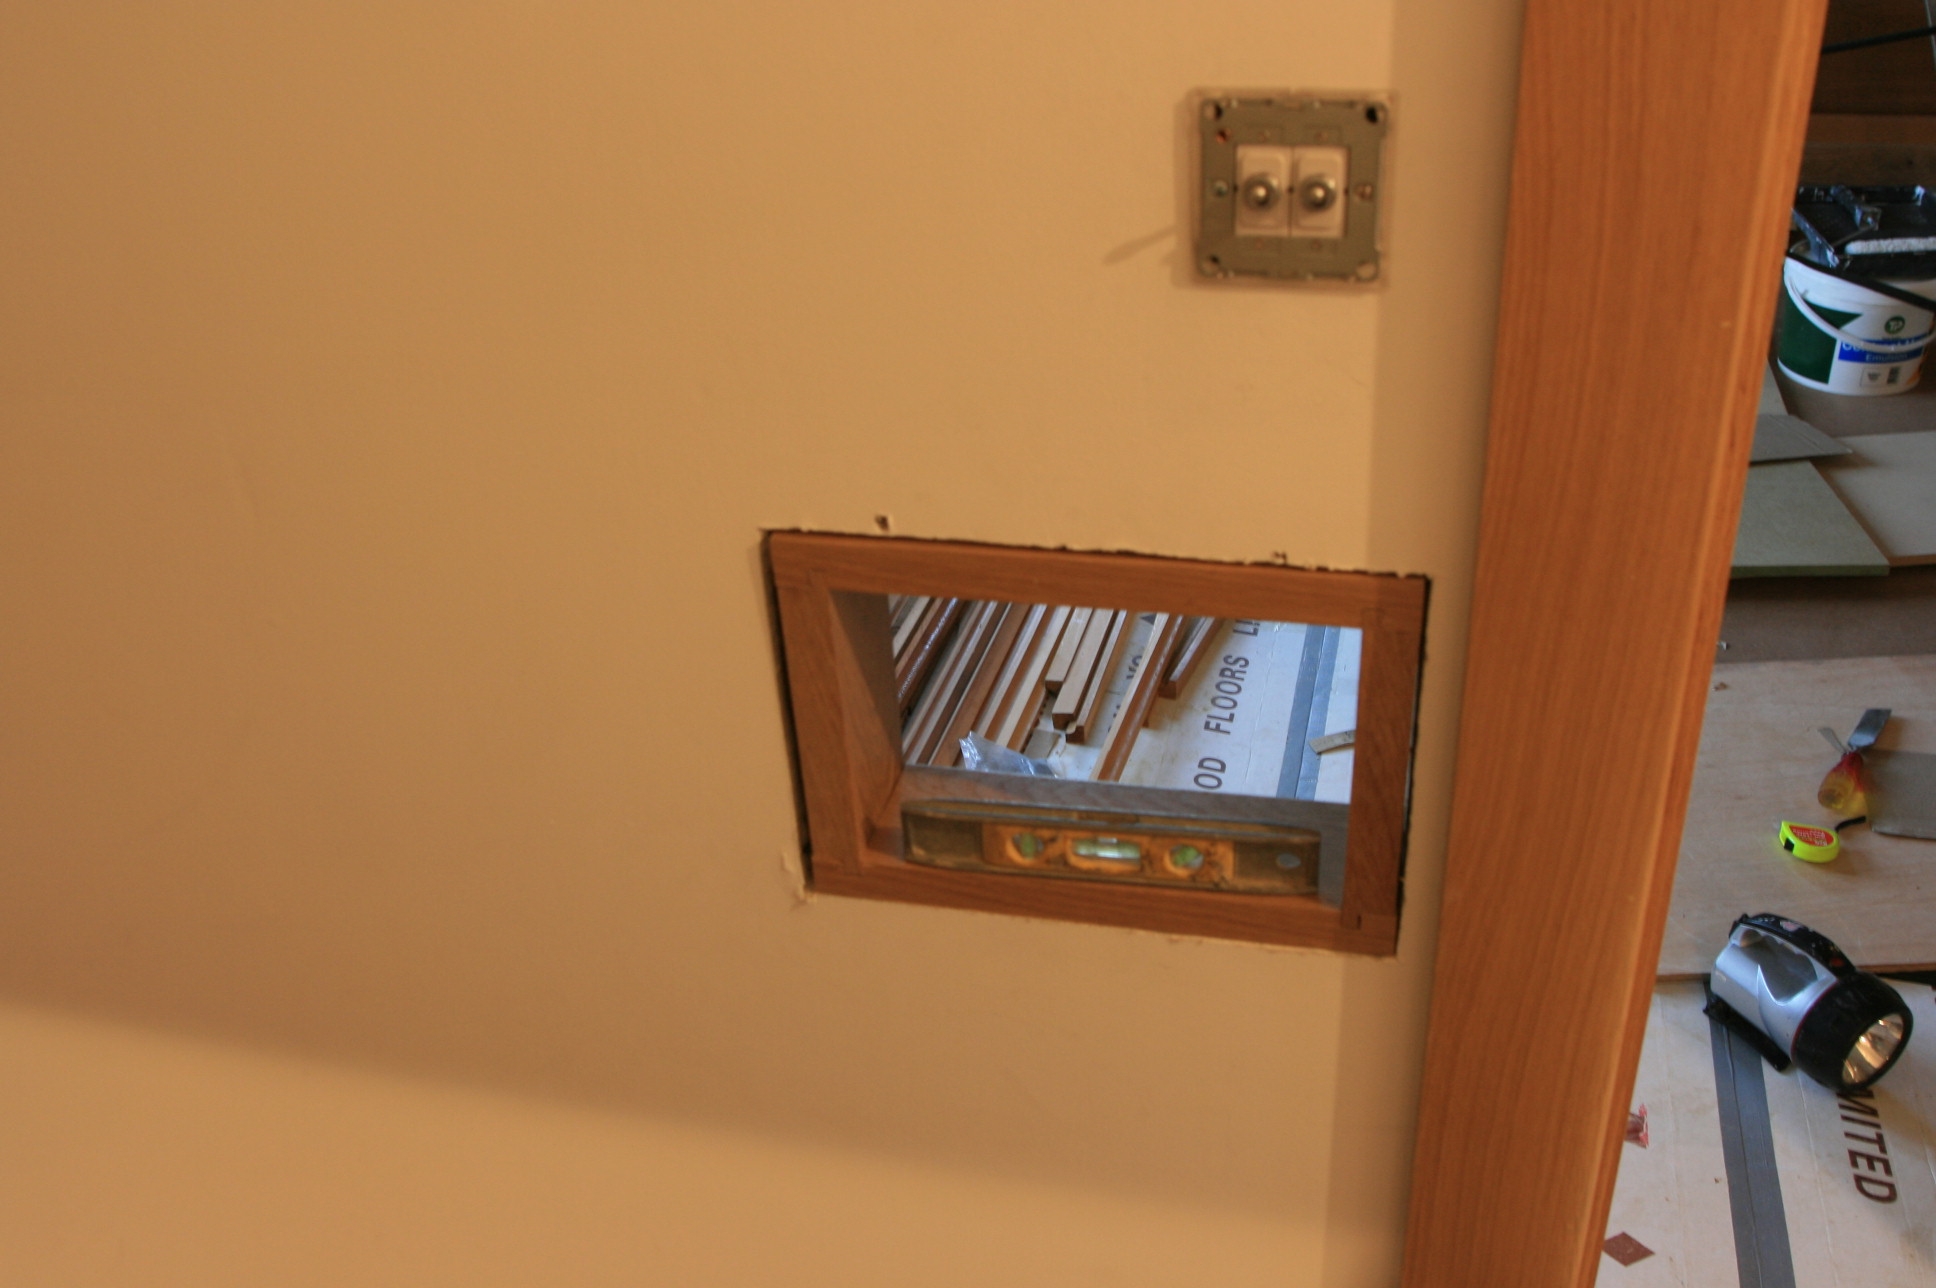 Firstly we cut a similar hole in the wall, and then lined it with some cut down architrave.
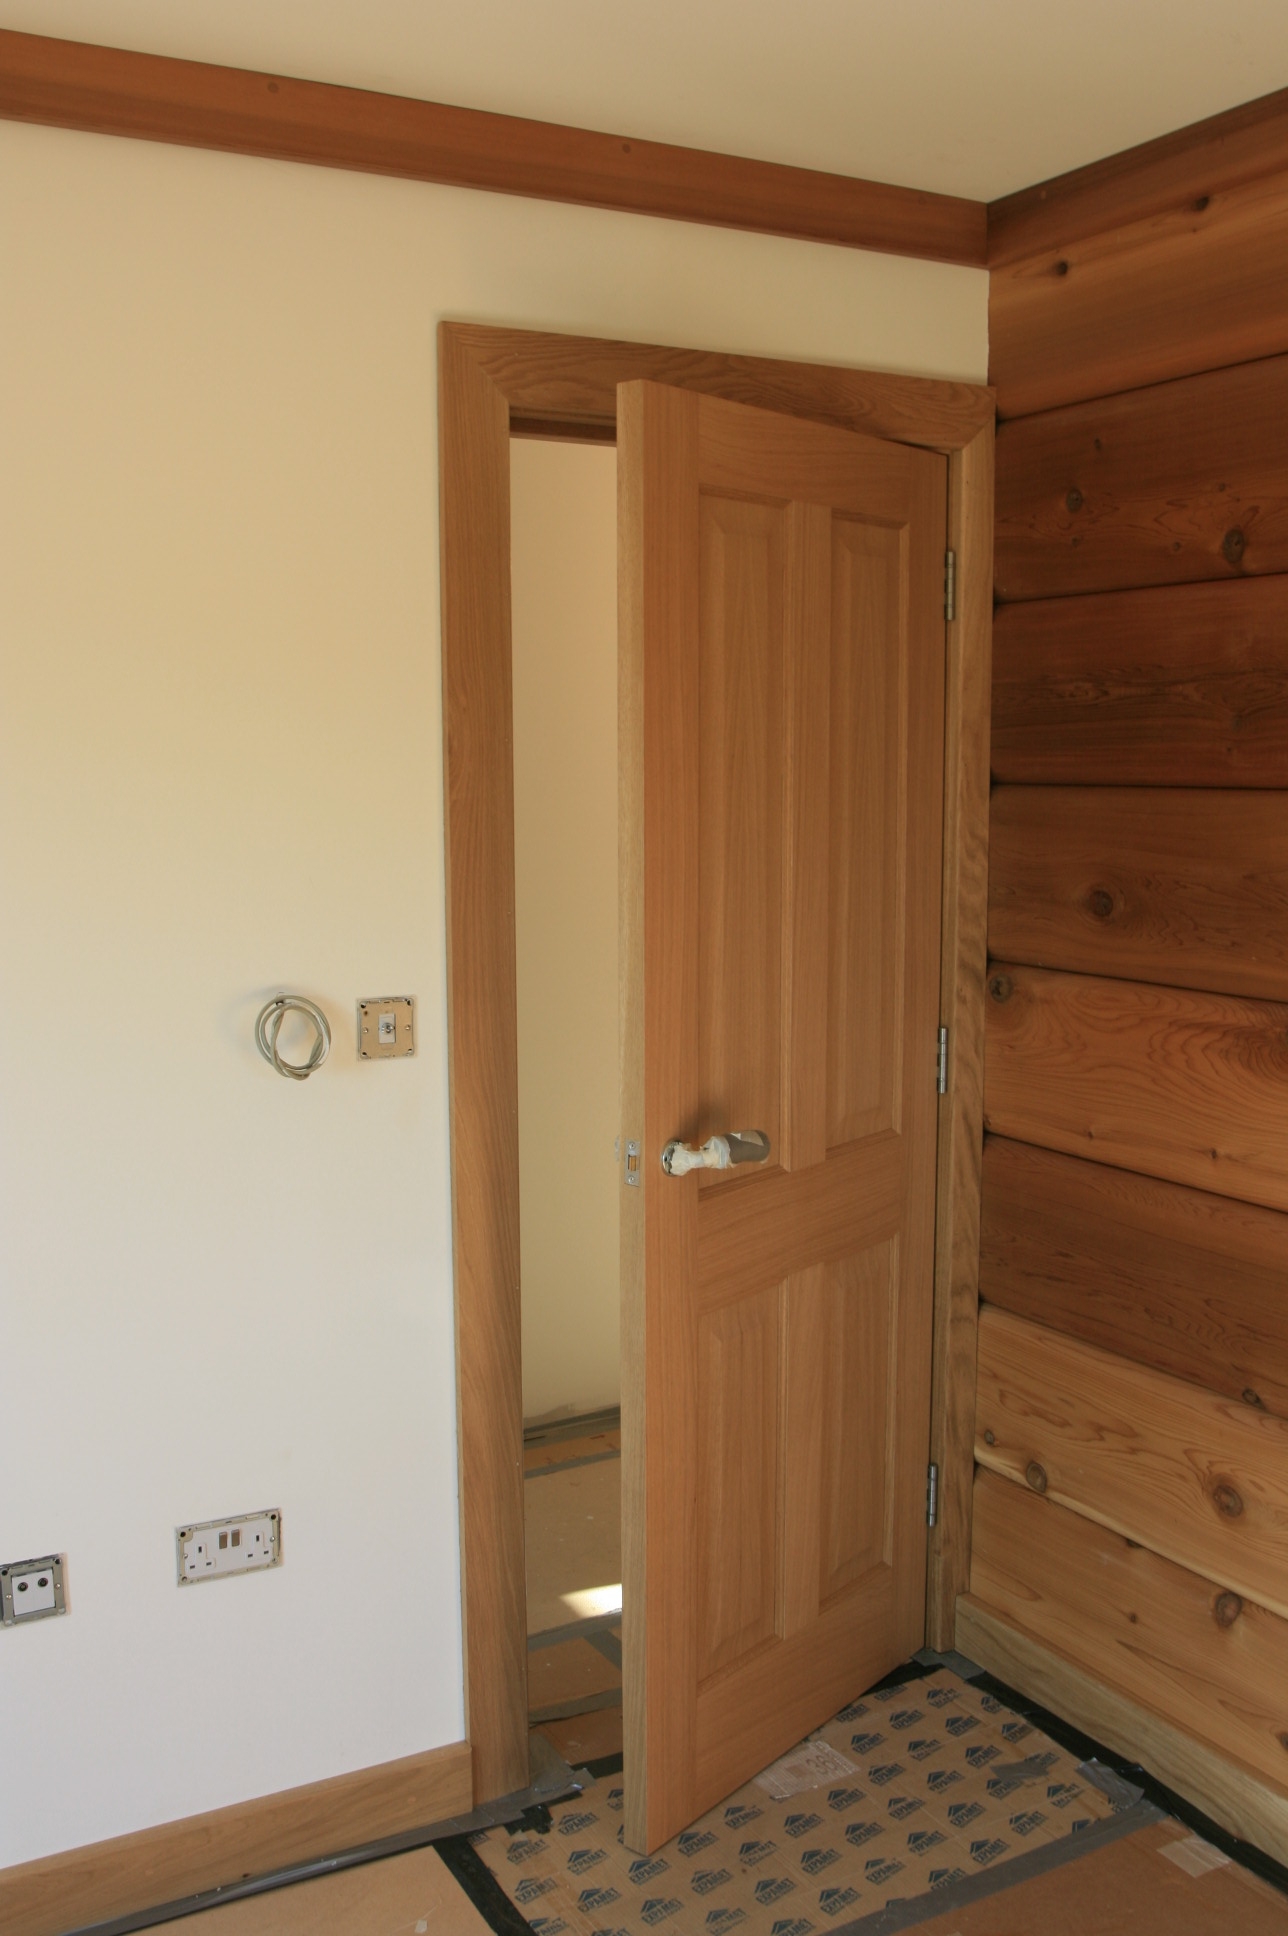
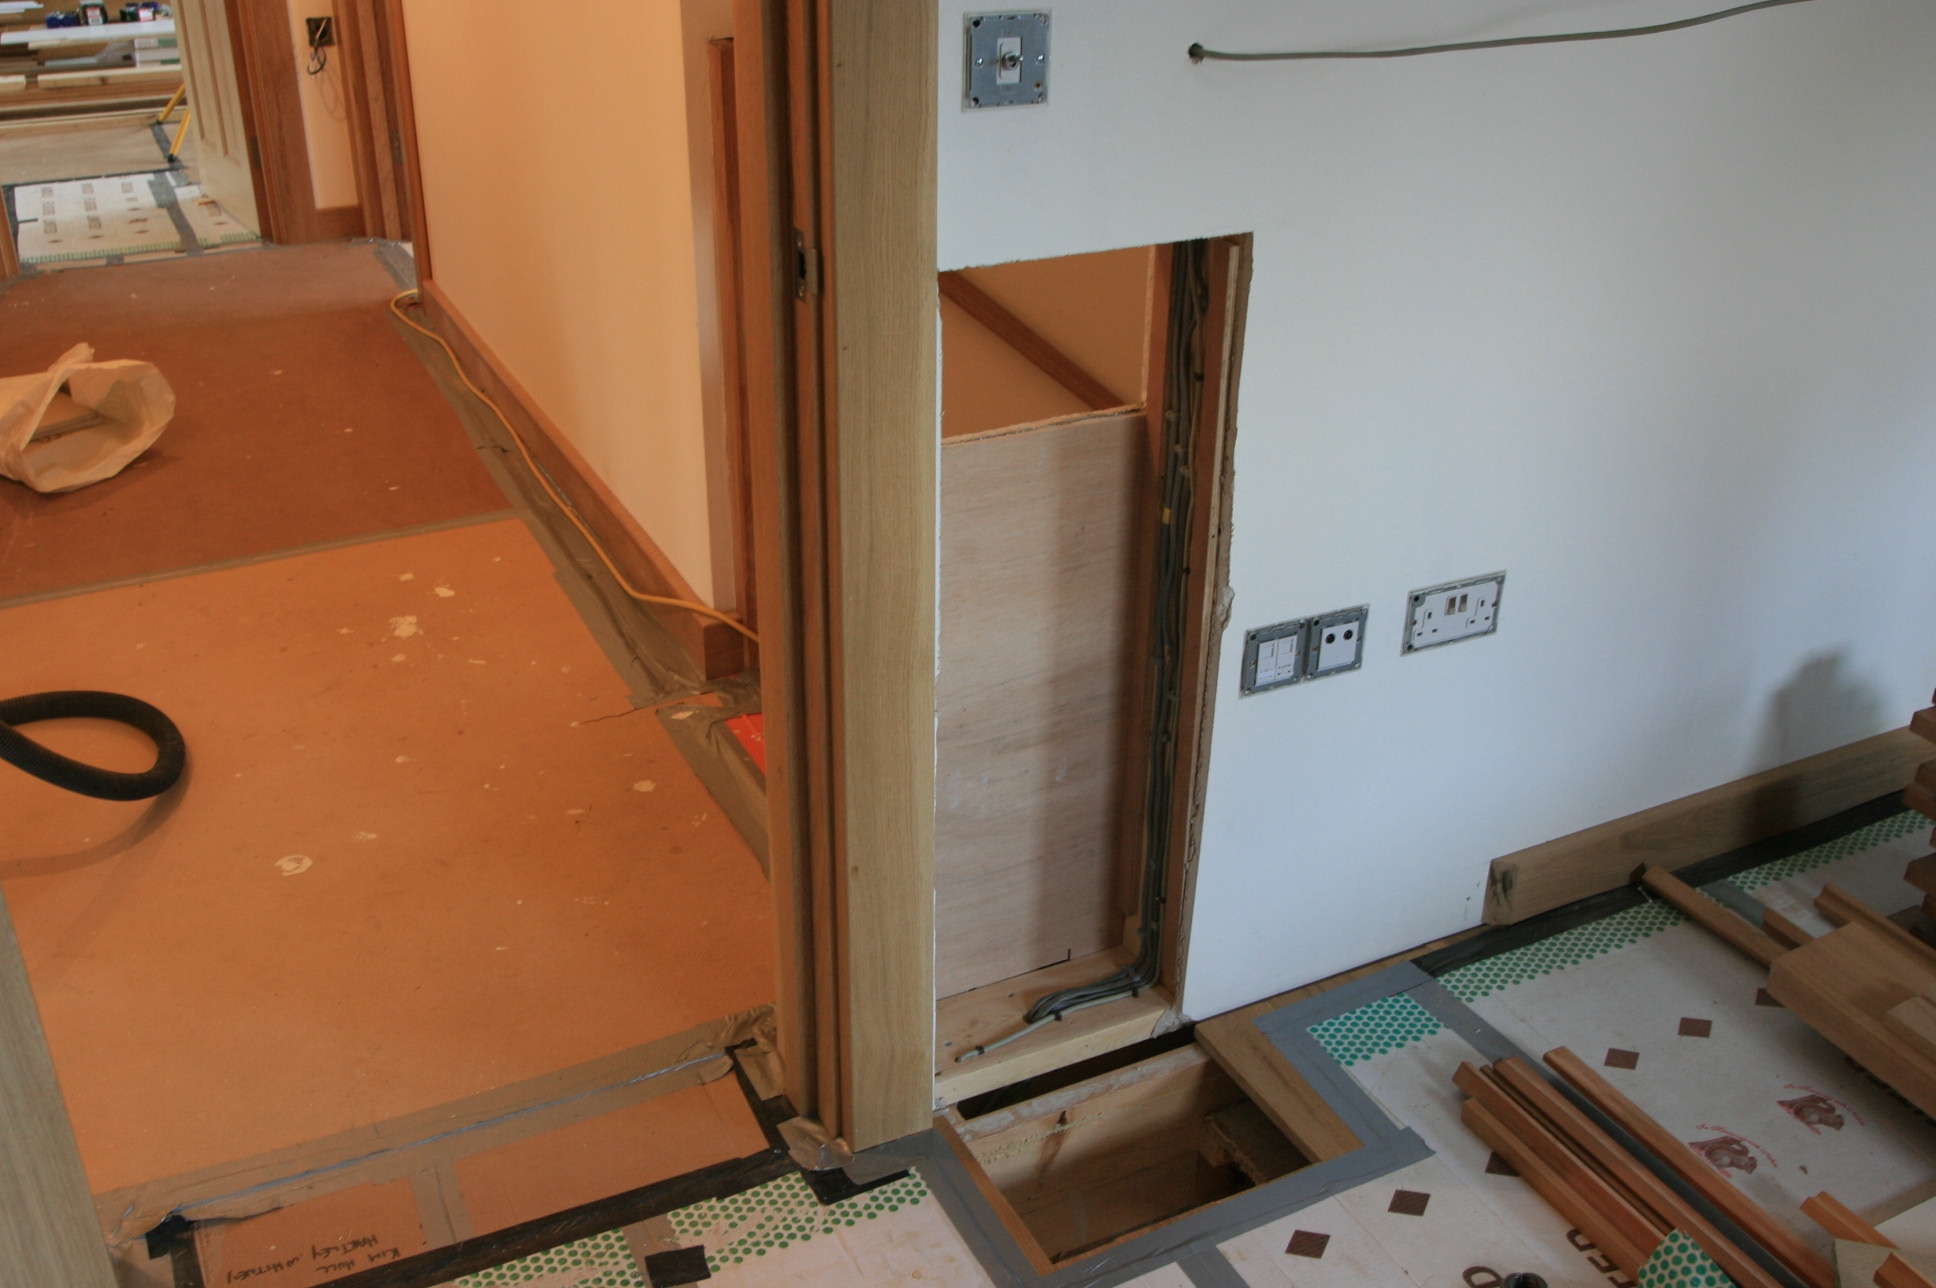 Then we prepared the back for a lining and a cover. More next week.