Archive for the ‘General’ Category

May 23 2009

An old fashioned larder

-

larder-complete-one 
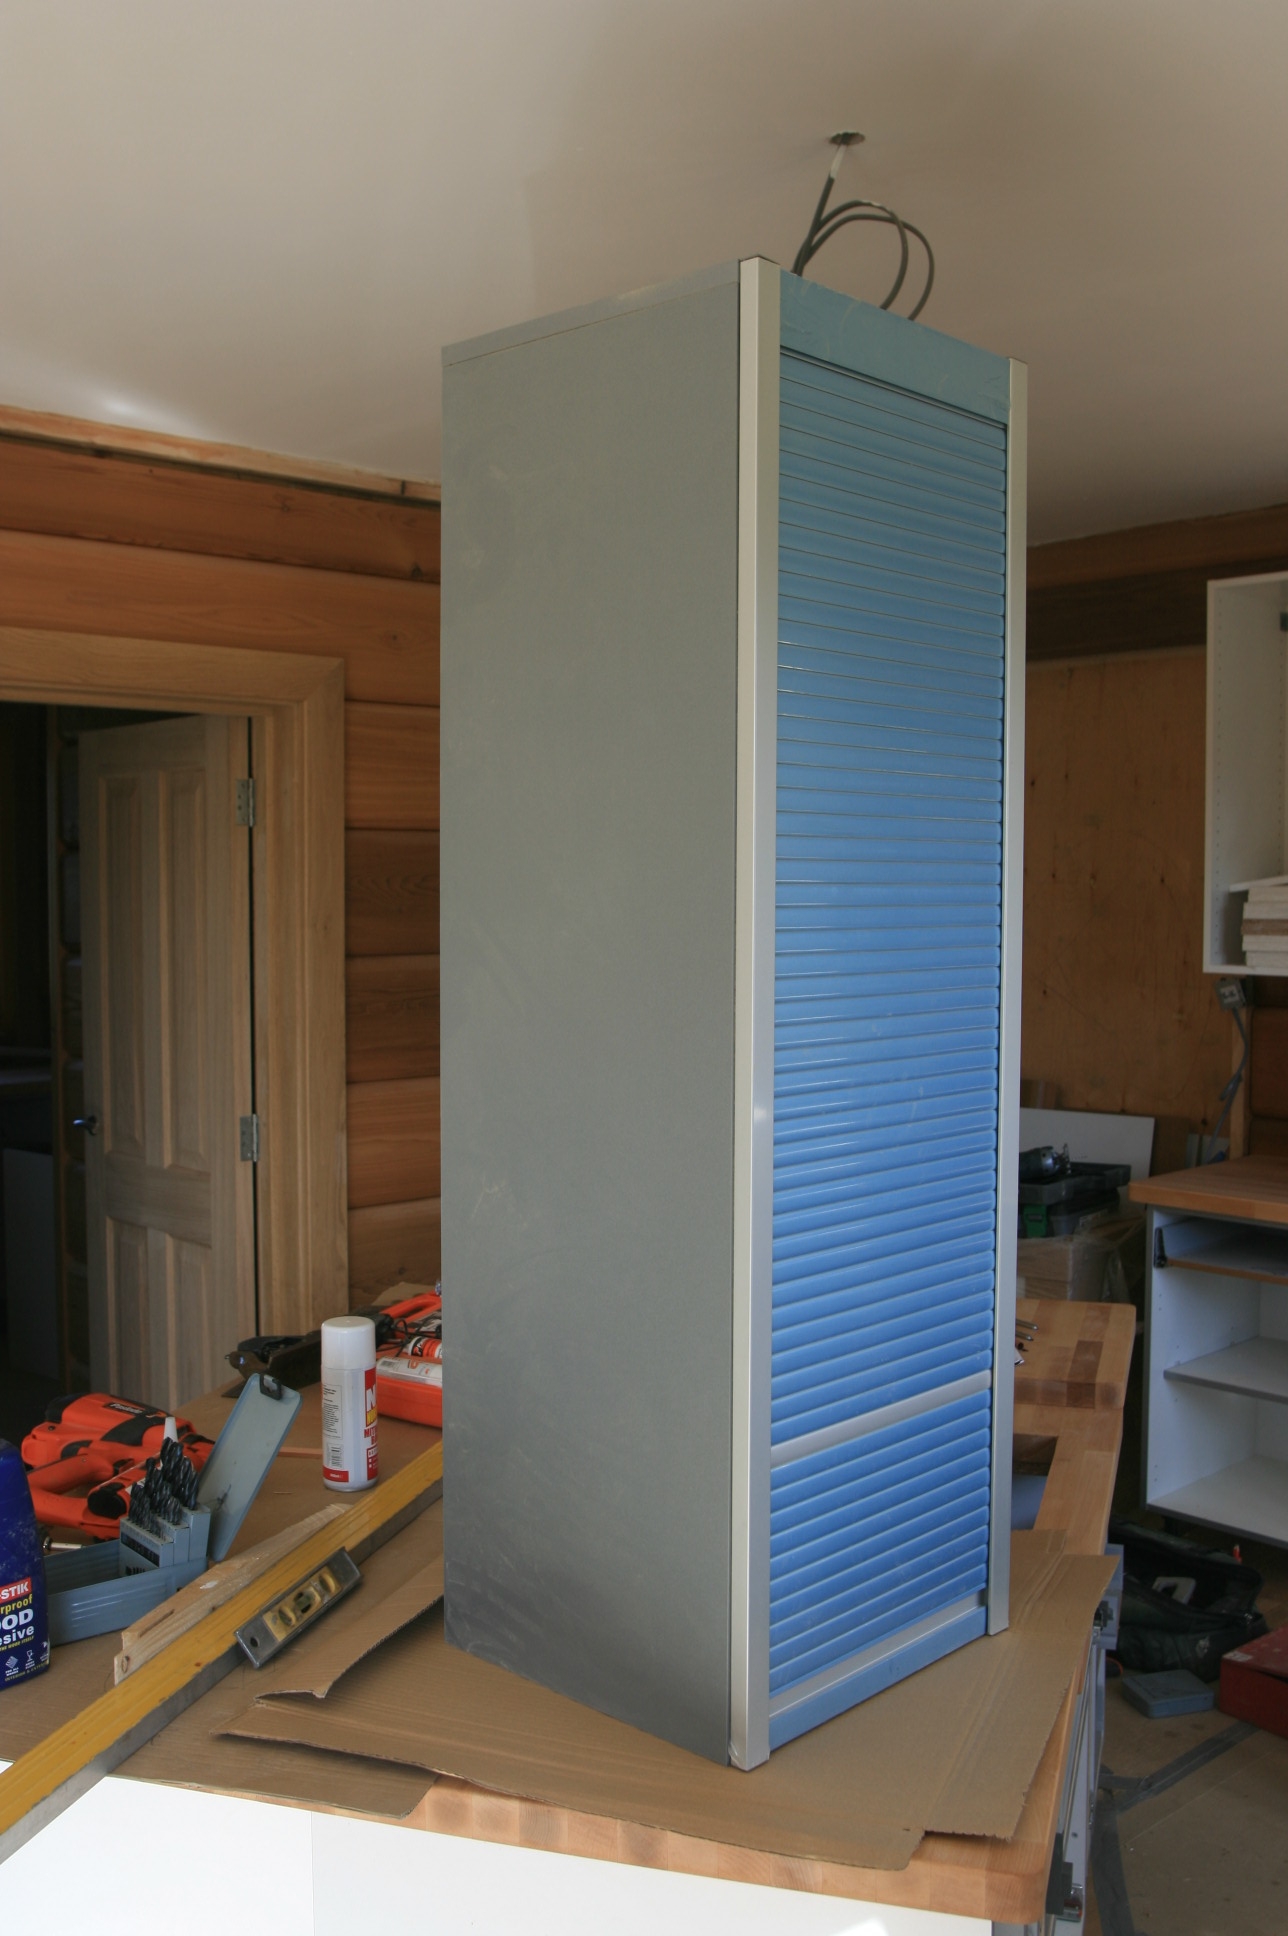
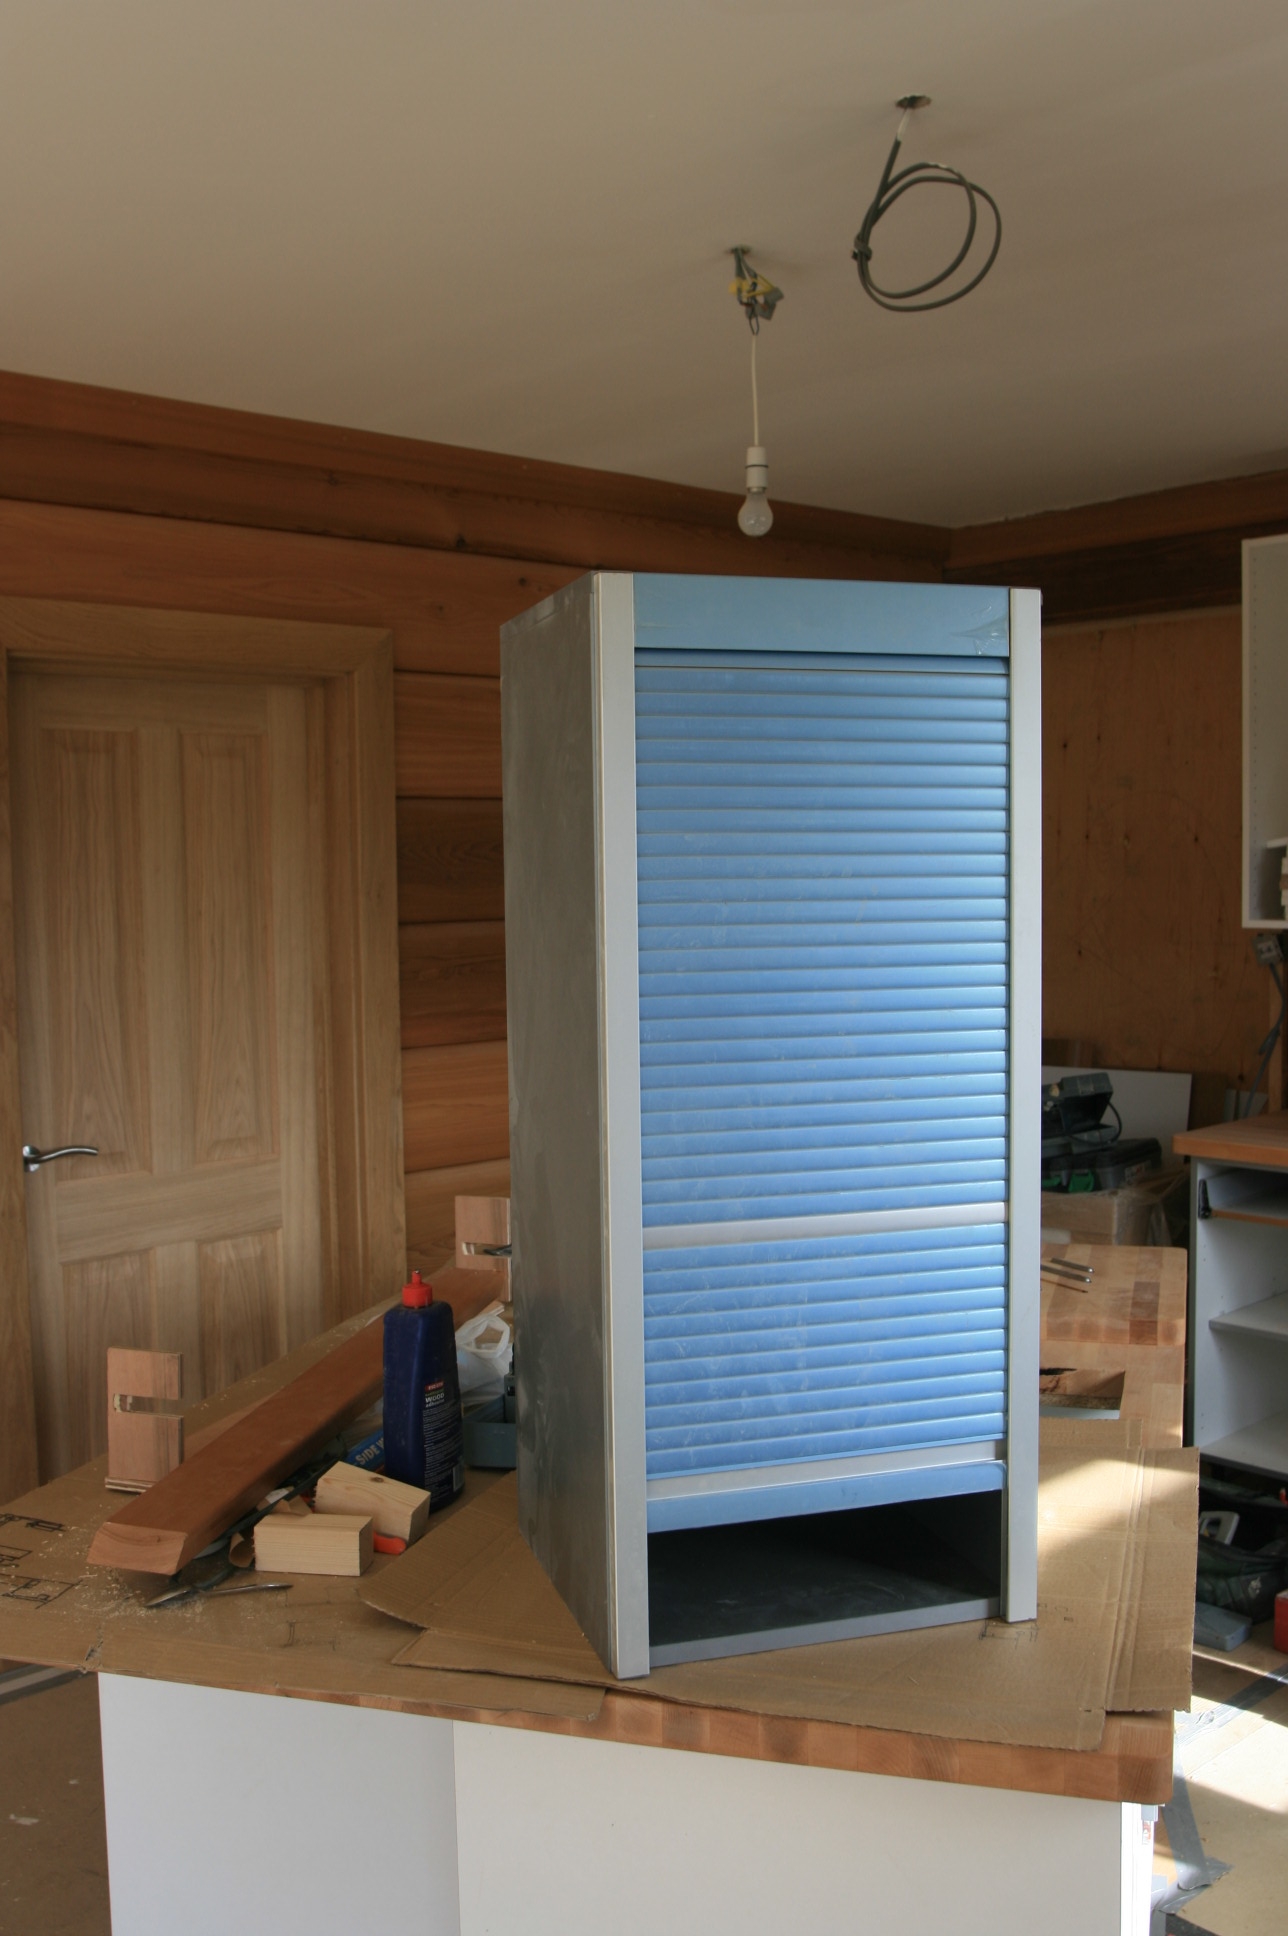
From an early stage in the design of the house it was apparent that a larder would create a lot of storage space in an otherwise smallish kitchen for things like bread makers, food mixers, foodstuff etc. Also, using up a small corner cut out of the utility room it would not cost much in terms of space. The sliding door works well, saving space in front of the larder.

larder-complete-two With inexpensive racking from www.screwfix.co.uk and some surplus joist material, the larder cost very little to make. The tiles on the floor were reduced from £30 per square metre to £10 from Porcelanosa. The joist material was taken to the local joinery shop and planned down from 2″ to about 1.25″, a round edge routered on the outside face, and the lower two shelves had an extra bit added to make them deep enough to take electrical appliances.

We left out the shelving to the right of the sliding door to leave space for the central vacuum hose, a brush and other tall items.

May 21 2009

The shower takes shape in the log house

-

bathroom-en-suite-shower After a lot of sweat and tears the shower for the en suite bath room is close to completion. It has a mosaic style floor which was built into the main floor so that the water runs down to the back corner with a slight slope. The glass was cut to size, and apart from a few problems because the bracket manufacturers had changed the size of the fixing holes from their published information sheet, all went well. The Hans Groehe I Box now has it’s thermostatic control valve fitted and the shower head is in place so we can turn it on and test it.

May 19 2009

Even more uses for the sheeps wool insulation

-

sheeps-wool-more-uses1 Here is another use for the lovely sheepswool insulation we got. With a few left overs we can fill the settlement gap above this outside door before fitting the architrave around the inside. We started with about 2″ of settlement gap above door and window frames and in many places this has already reduced to about an inch. Hopefully there is not much more movement left in the logs after nearly 18 months since the build started.

Apr 30 2009

Sliding Internal doors for the log house

-

door-triple-in-place We have had three custom built iroko doors made to divide the kitchen diner from the louge. In normal use there is a single door at the right hand end that can be opened on it’s own. The sun door behind our joiner is a story or two for another day.

door-triple-folding-one By dropping two catches the three doors can be folded right back until they are flat against the wall

door-triple-folding-twice So then you can see all the way from one end of the house to the other. We have had the top panels on the doors made in wood for now, but they are removable if we feel we want glass in them instead, patterned, plain or whatever. The advice was to live with them first for a while and see how often they are open and how often closed.

door-triple-head-detail Of course with a log house nothing is straightforward as you constantly have to work compensation for settlement into your design. So the head of the doors “floats” verticallyon five steel posts that are fixed to the upper head and a generous inch has been left for the upper head to settle down towards the main head. This main head had to be made from two bits of iroko as 9″ wide was the maximum width our door maker could source.

Apr 14 2009

Choosing electrical sockets for the log house

-

electric-socket-sample-board-hamilton Here was a useful sample board that electrical suppliers will tend to have of their preferred suppliers various styles. A useful thing to borrow for a weekend when you are deciding on this sort of thing.

As we were going for a stainless or wood theme this choice was pretty simple.

Apr 12 2009

Finishing off the bathrooms

-

bathroom-plaster-around-mirror-cupboards Since we were last looking at the bathroom, the recessed cupboards have been edged with stainless steel trim and plastered and painted.

bathroom-sink-top-template The lovely sparkly blue reconstituted stone worktop has been set in place. Here in front is the plywood template we made which was sent to the worktop suppliers for them to copy. It’s quite a bit of work to get templates for all these surfaces right, then a wait for a week or so while the worktops are cut. More pics of the sinks in, the doors and drawers on the vanity unit etc soon!

Apr 6 2009

Fitting the central vacuum wall sockets

-

central vacuum wall socket fitting Well along with fitting electrical sockets and the like, it is now time to put in the nice stainless steel wall sockets. Putting a bit of lubricant spray on the rubber o ring helps make sure the o ring does not get caught up, as a good seal here on all the sockets is important for the overall perfomance of the system.

central-vacuum-socket-fitting-two1

Mar 31 2009

Shortening Ikea roller shutter kitchen cupboards

-

kitchen-cupboard-full-size.jpg Our kitchen is made up of a mix of Magnet base units and Ikea wall units as the Ikea ones were available in the sizes and depths we wanted. I don’t know why, but Ikea make a great roller shutter wall cupboard, but it seems to be designed to sit on the worktop and is not the same height as their wall cupboards.

kitchen-cupboard-cut-down.jpg So off to the workshop to cut it down to the same height. Because of the way the cupboard is made, this meant we could only do the reduction from the top, so it was out with the roller assembly, chop off what we did not want, re-instal the roller and then back together again.

Mar 30 2009

Adding Hot Rods to the log house kitchen tops

-

Solid beech worktops with an oiled finish were specified by the kitchen boss! We oiled them with teak oil, several coats, initially with a brush. Later, when the wood will absorb less oil a cloth is a better way of applying the oil to maintain the wooden work top.

kitchen-hot-rods.jpg To protect the worktop from hot pots and pans, we put some “hot rods” made of stainless steel from www.screwfix.co.uk which sit in slots routered into the wooden worktop.

Mar 17 2009

Drama in the kitchen in the log house – All Sinks are not equal.

-

kitchen-sink.jpg Well you wouldn’t think you could get buying a sink so wrong. Or a tap for that matter. We saw some one and a half sinks with drainer on the web, looked at them in B&Q, Homebase and Wickes, all of them looked very similar so we bought one from B&Q. Only when we put in on the worktop did we notice that both wastes were basket strainer wastes (we wanted a simple plug on the main bowl), there was no overflow (essential with children) and the half sink was only about 90mm deep. Our 15 year old sink had a 130mm deep half sink, so washing a packet of salad was easy, and it had a plug and an overflow.

Also the B&Q tap which we really liked the look of and was a child friendly twin tap design dribbled for ages when it was turned off – sometimes! Quite annoying.

kitchen-sink-two.jpg After considerable research we found a Franke sink that was exacgly what we wanted. So with a bit of resistance at first B&Q accepted the sink back (we still had all the original packaging and had unwrapped it carefully so it was all intact) and the new Franke sink was ordered and installed. The new sink was only £30 more than the B&Q. And we got a refund on the tap and bought a matching Franke tap which again was about £20 more but shuts off every time without dribbling.