 To create tiled splash backs behind sinks when tiling on to the log walls rather than internal stud walls, we have to fix some 3/4″ ply with slots so that the log stack can slide down behind the tiling with out cracking the tiles.
Archive for the ‘Log House Construction’ Category
Sep
26
2009
Kitchen and Utility Room Sink tiling
Published by in Log House Construction
Sep
22
2009
Electrical and Services duct
Published by in Log House Construction
 This is how we are getting all our services between the two floors of the house. The tall larder fridge will sit in front of this when it is done, concealing foul waste pipes from the bathrooms above, wiring etc.
We have made it quite generous in size so that any repairs can be done more easily.
Jul
27
2009
Laundry Chute is finished at last on the log house
Published by in General, Log House Construction, Log House Design
At last one of our wacky ideas is finished and has been made compliant with the current building regulations.
 Whilst a laundry chute might seem a simple enough idea, it does in theory provide an excellent route for a fire downstairs to spread into the upper floor.
 So a fire retarding “flap” was required. We achieved this with 3/4 inch thick oak (made out of two pieces of surplus oak skirting) and then edged it with intumescent strip.
 This is a close up of the furry strip which melts and seals the edge for around 30 minutes in the event of extreme heat. It is commonly available from builders merchants in handy little packs of a few strips a couple of feet long.
Jul
25
2009
Western Red Cedar siding on the bath
Published by in General, Log House Construction
 Apologies again for lack of action on the blog, but there has been lots going on including finishing the drive to the house, landscaping and fencing etc. Meanwhile, in the house we had some Western Red Cedar log siding left over from the internal wall work. As it was 11 inches wide, two peices fitted just right to panel the bath sides.
Instead of using the normal internal treatment that came with the original kit from North America, we used three coats of yatch varnish as this will be something of a wet environment.
I thought it gave the bath a bit of a hot tub look to it and matched the inside log faces plus of course Western Red Cedar is great for damp situations, but others in the family thought it looked more like a coffin!
You can just see the short custom made shower screen which works well, folding back to the inside, because if it went outwards, it would drip on the floor and also risk being hit by the opening door.
But one oversite was to not think about handles on the bath. Apparently it is a no no to try to do it retrospectively as you may damage the enamel or invalidate it’s warranty. Does anyone out there know anyone who can do this sort of thing? We could fit some handles to the tiled walls into the studwork, but we could really do with one on the top of the bath.
Apr
30
2009
Sliding Internal doors for the log house
Published by in General, Log House Construction
 We have had three custom built iroko doors made to divide the kitchen diner from the louge. In normal use there is a single door at the right hand end that can be opened on it’s own. The sun door behind our joiner is a story or two for another day.
 By dropping two catches the three doors can be folded right back until they are flat against the wall
 So then you can see all the way from one end of the house to the other. We have had the top panels on the doors made in wood for now, but they are removable if we feel we want glass in them instead, patterned, plain or whatever. The advice was to live with them first for a while and see how often they are open and how often closed.
 Of course with a log house nothing is straightforward as you constantly have to work compensation for settlement into your design. So the head of the doors “floats” verticallyon five steel posts that are fixed to the upper head and a generous inch has been left for the upper head to settle down towards the main head. This main head had to be made from two bits of iroko as 9″ wide was the maximum width our door maker could source.
Apr
29
2009
More work on the log house balconies
Published by in Log House Construction
 With the wood cut to size and the access tower in place we can now work on the fixing of the balconies. First up are the 5 cedar planks. Next are the hand rails and posts, which we have had made in iroko. The spindles are in western red cedar.
Apr
27
2009
Building the balconies on the log house
Published by in Log House Construction
 So with most of the internal work on the house coming to a close we can get some of those outdoor bits done that we left for later, like finishing off the balconies. These sit on steel I section beams and have 5 8″ x 3″ cedar planks as the walking area. So these are given a couple of coats of the protection treatment applied to the main house logs before being put up.
Nov
6
2008
Log House Deck construction
Published by in Log House Construction
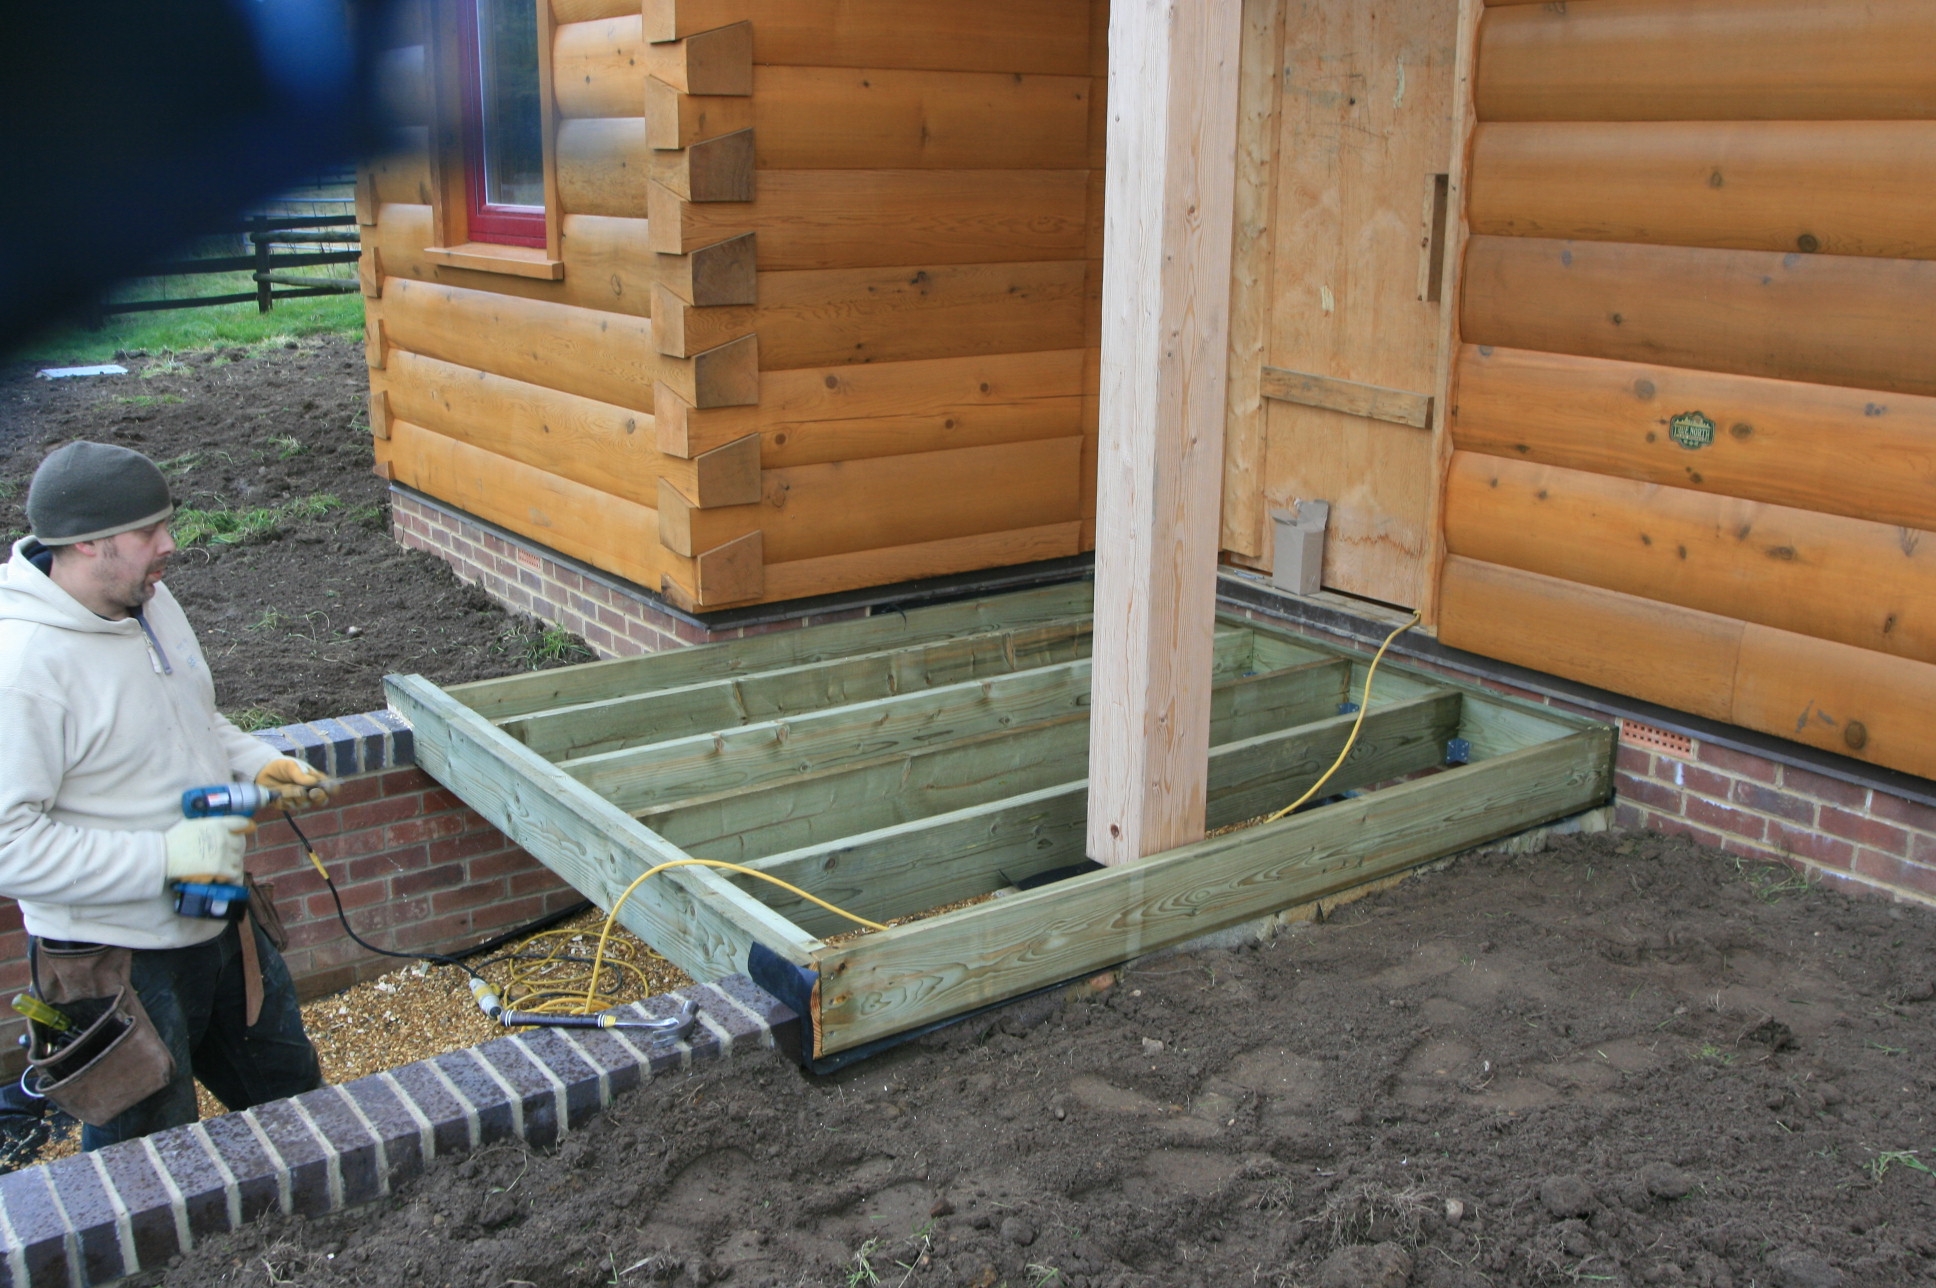 We have constructed a brick and block pier either side of the entrance door to the log house, and now we have time to get round to making the deck that will go here. Some treated 8 x 2 timbers are used to make a base frame. These sit on a plastic waterproof membrane to avoid dampness from the brickwork feeding into the timbers.
We then fit the deck planks, remembering to create a removable cut out round the base of the big post, as this has an adjuster at the bottom that will need access from time to time as the house settles.
 To protect the decking material we put some plywood over it until all the work is finished.
Oct
29
2008
Lightening Conductor Design – Connected to Earth!
Published by in Log House Construction
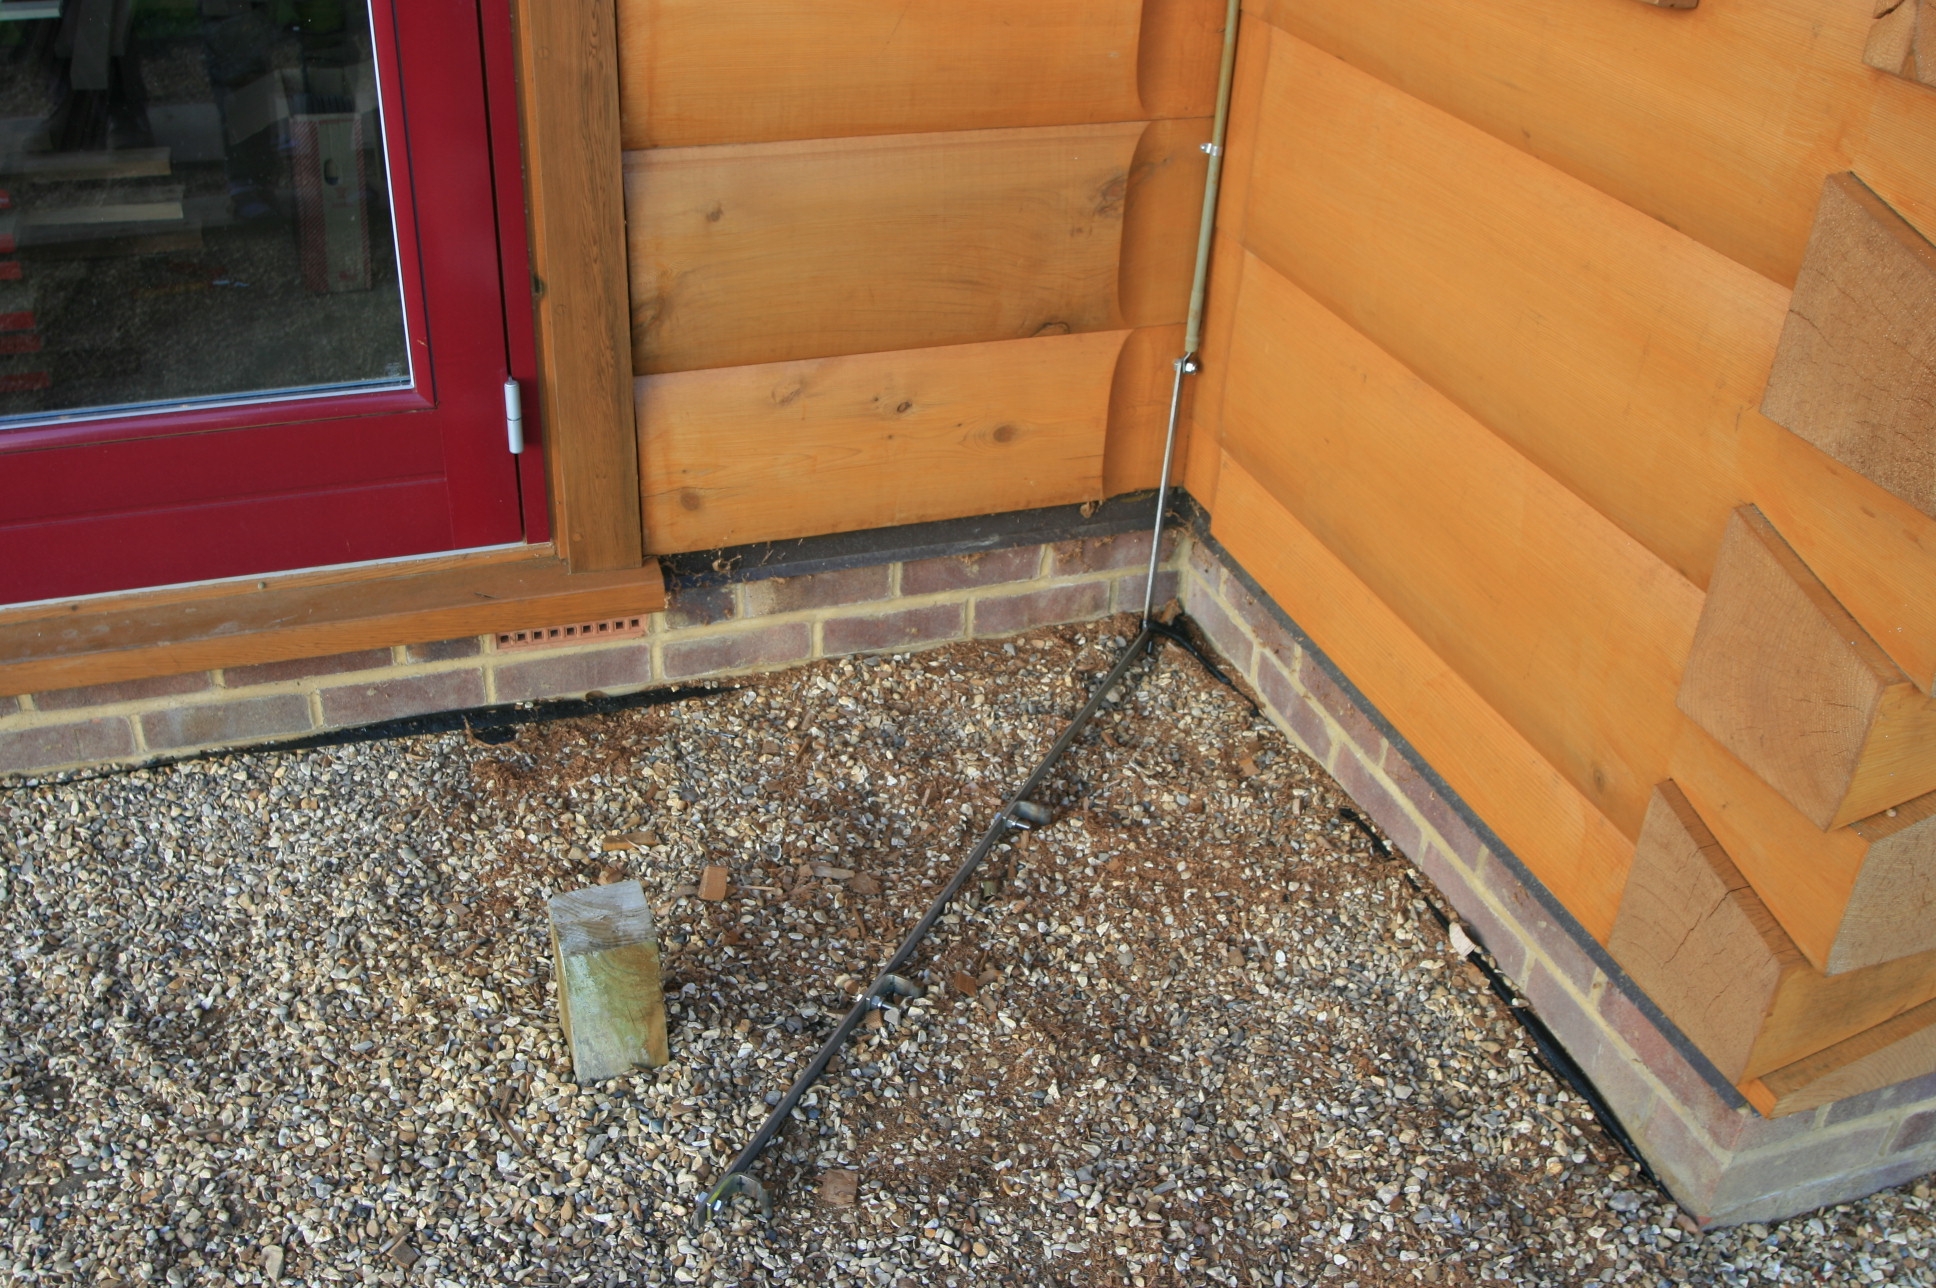
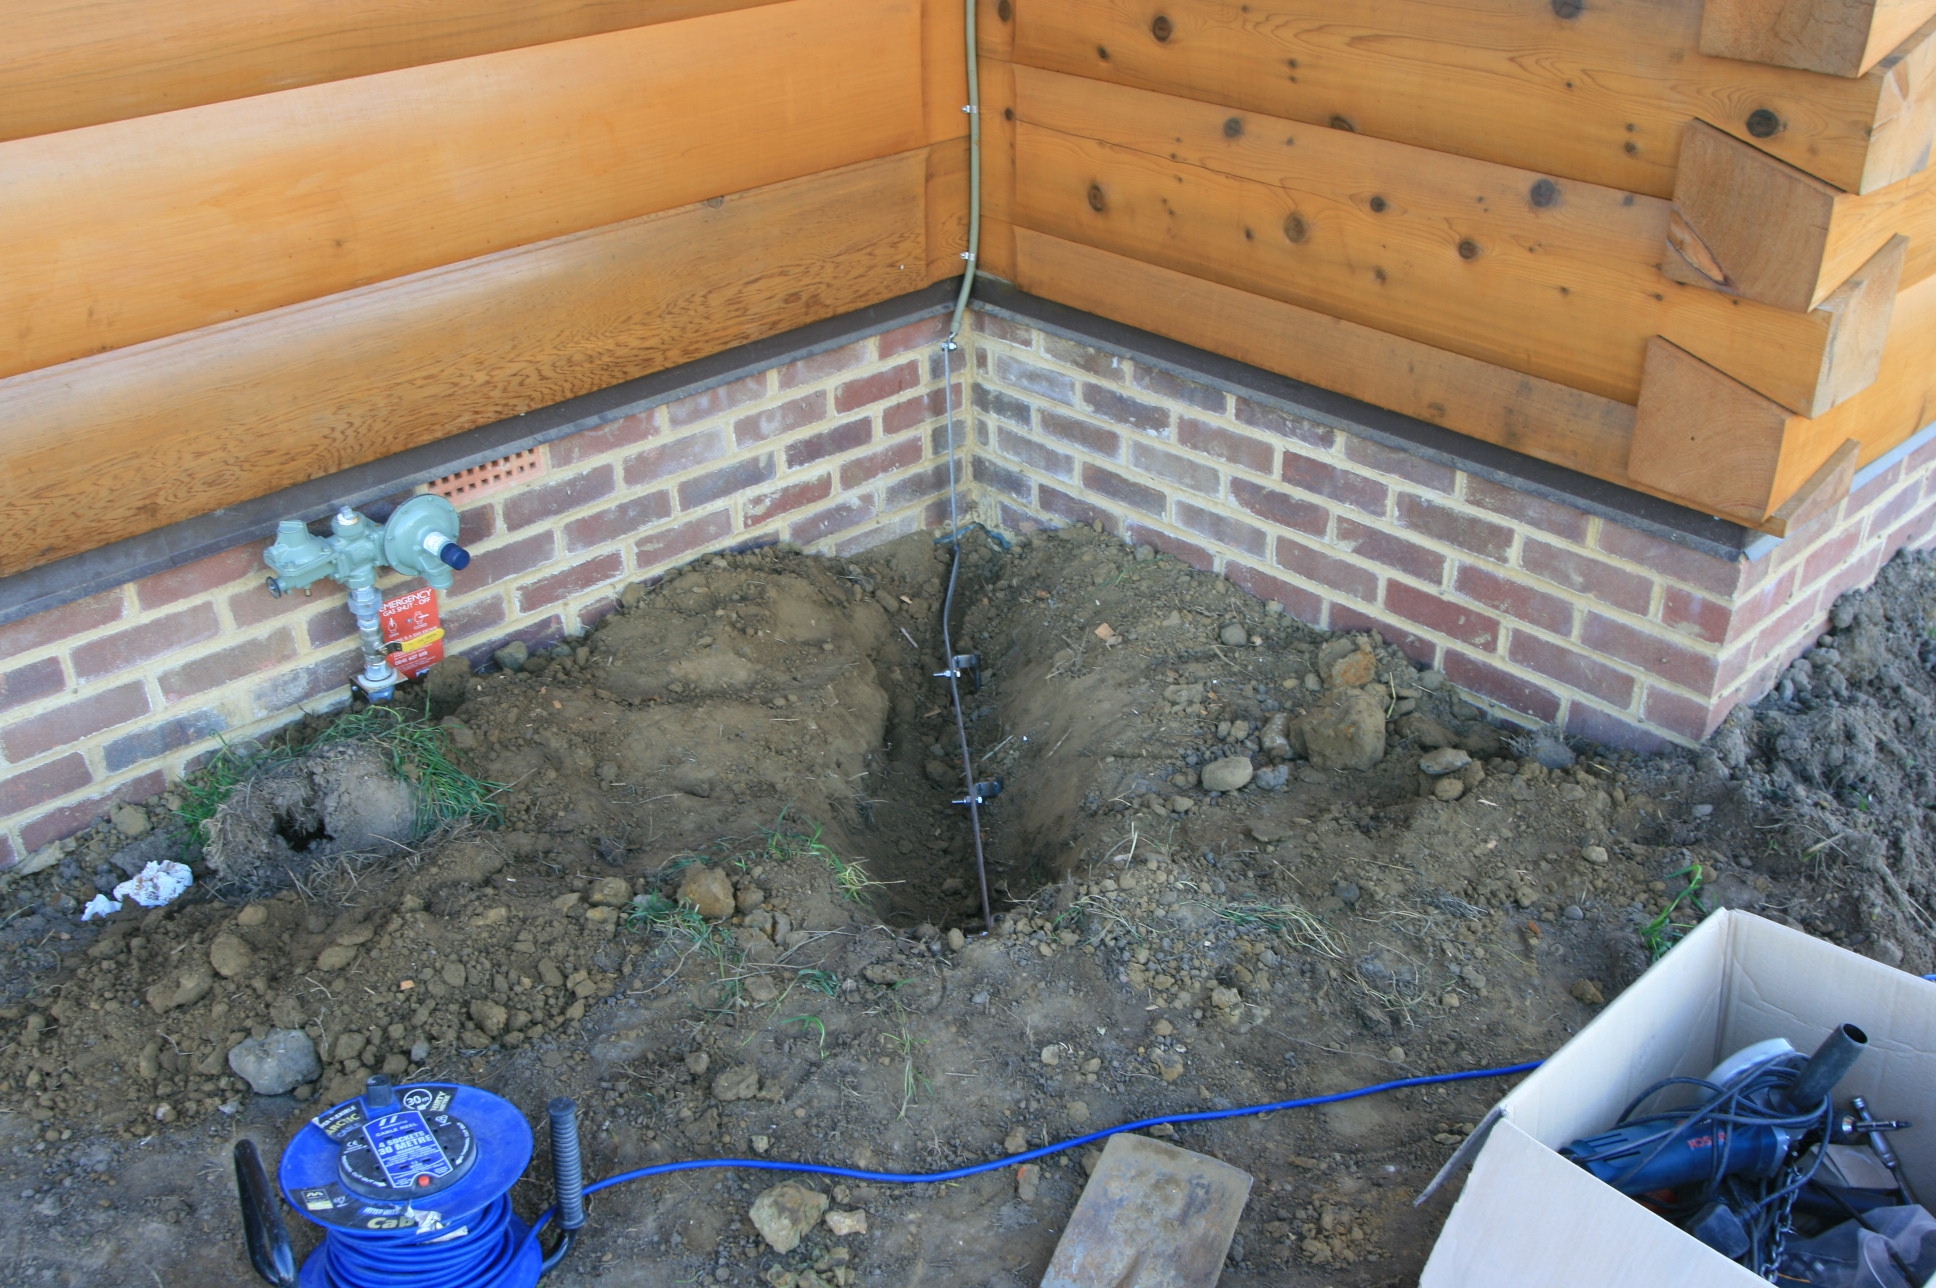 While the lightening Conductors have been fitted to the roof and the copper conductor put in place down the side of the house, they have not been connected to any earth rods. How many rods you need depends on the resitivity of the ground, which depends on whether it is sandy, clay or whatever. Our friendly Lightening Conductor designer suggested for our soil type we should have 3 earth rods on each side, 2 metres deep and connected across the top with a strip to which the copper conductor is connected with a soldered tag. Fortunately this summer has been miserable and incapable of getting things hot enough to create any thunder and lightening.
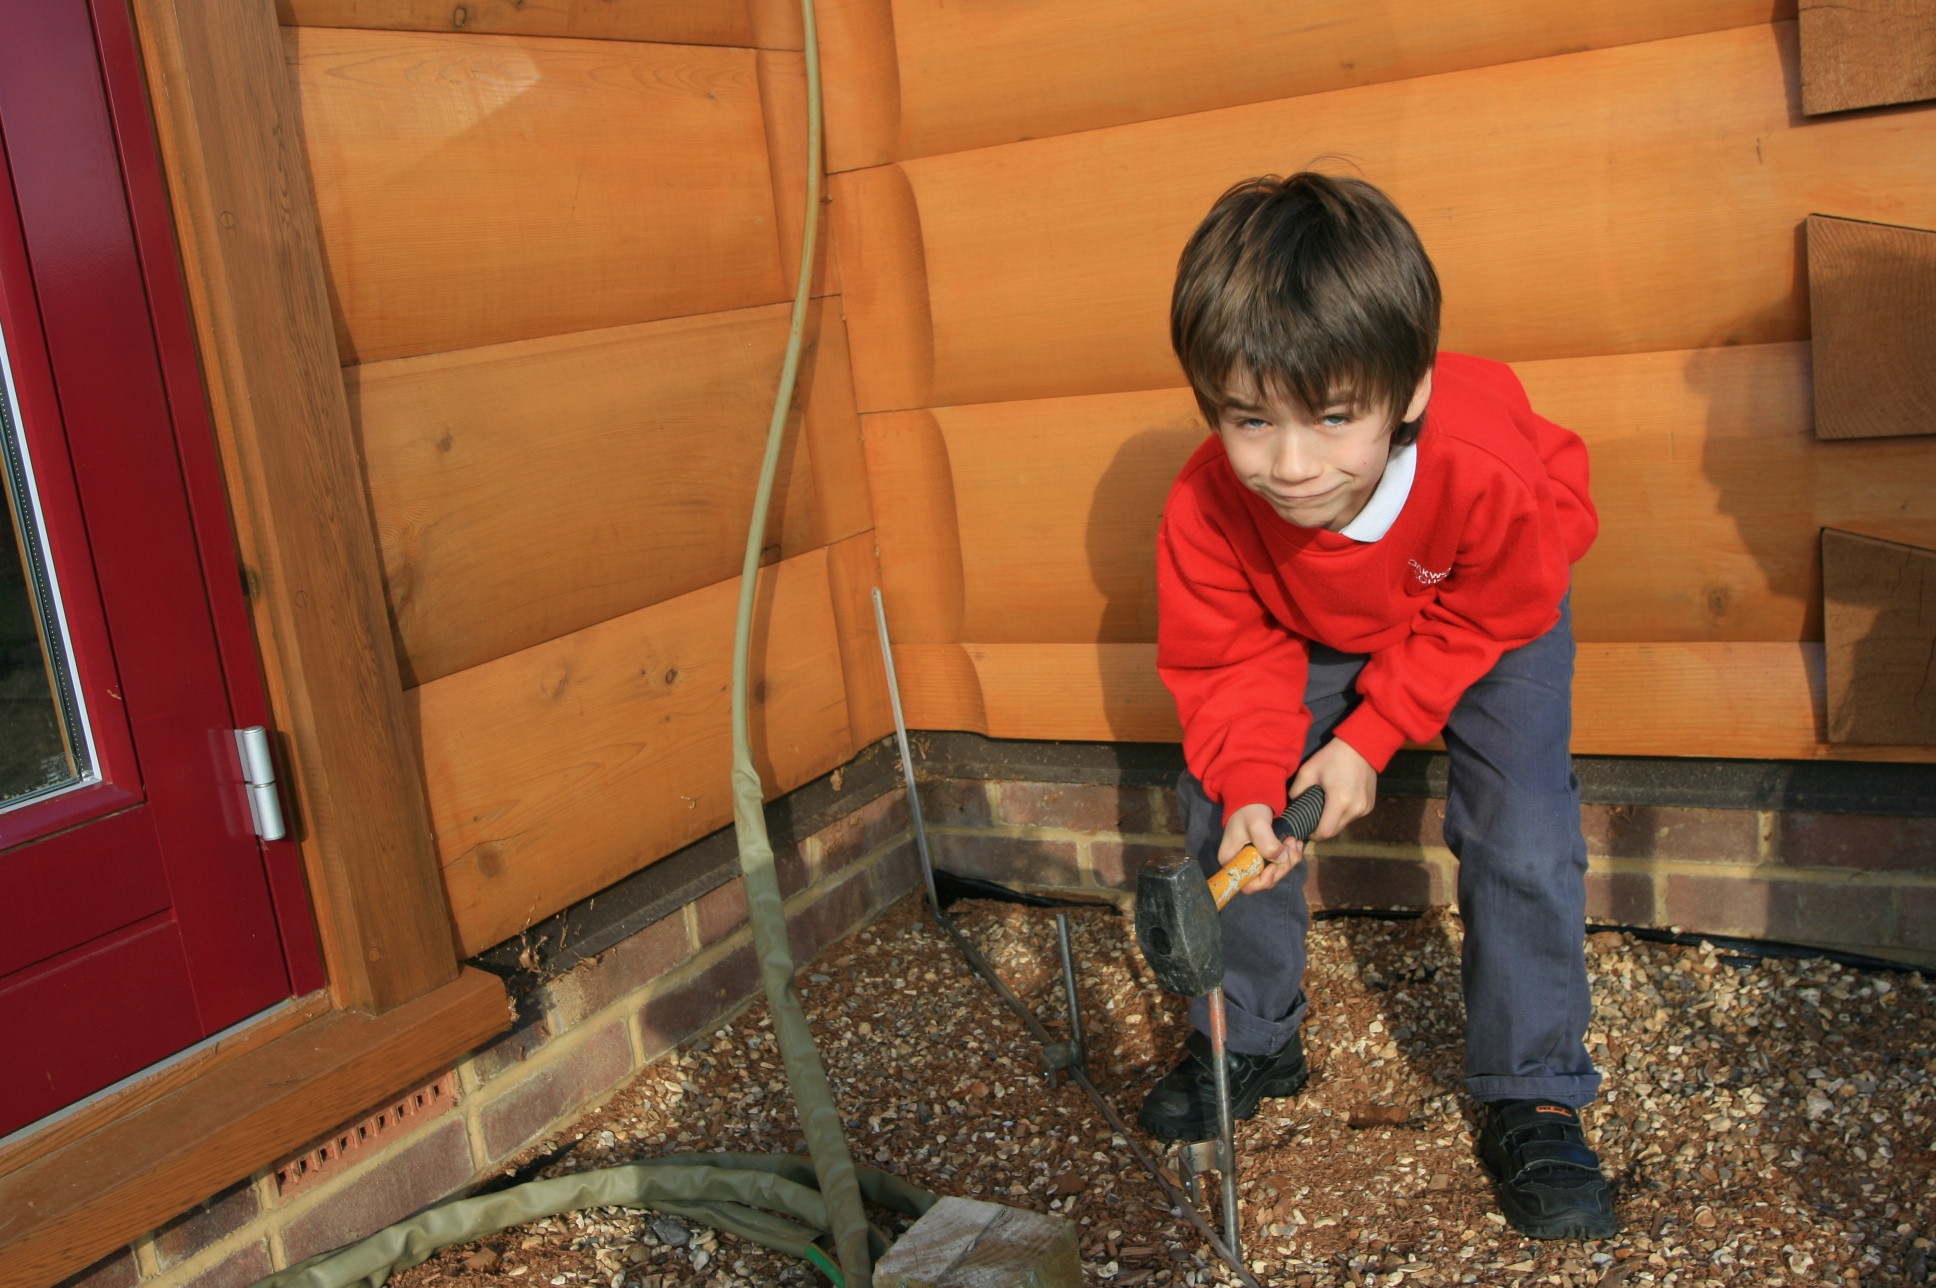 The rods are reasonably easy to knock into the ground as around the house much of it has been disturbed to do the foundations so has not fully compacted yet since the backfill.
On the south side of the house we had put teram and pea shingle down where the decking will go so the conductor assembly will sit nicely under the deck
Oct
20
2008
Log House Windows Can Foaming
Published by in Log House Construction
Prior to the internal architrave being fixed to the window linings, we will need to fill any gaps with can foam to complete the insulation and avoid any air gaps etc.
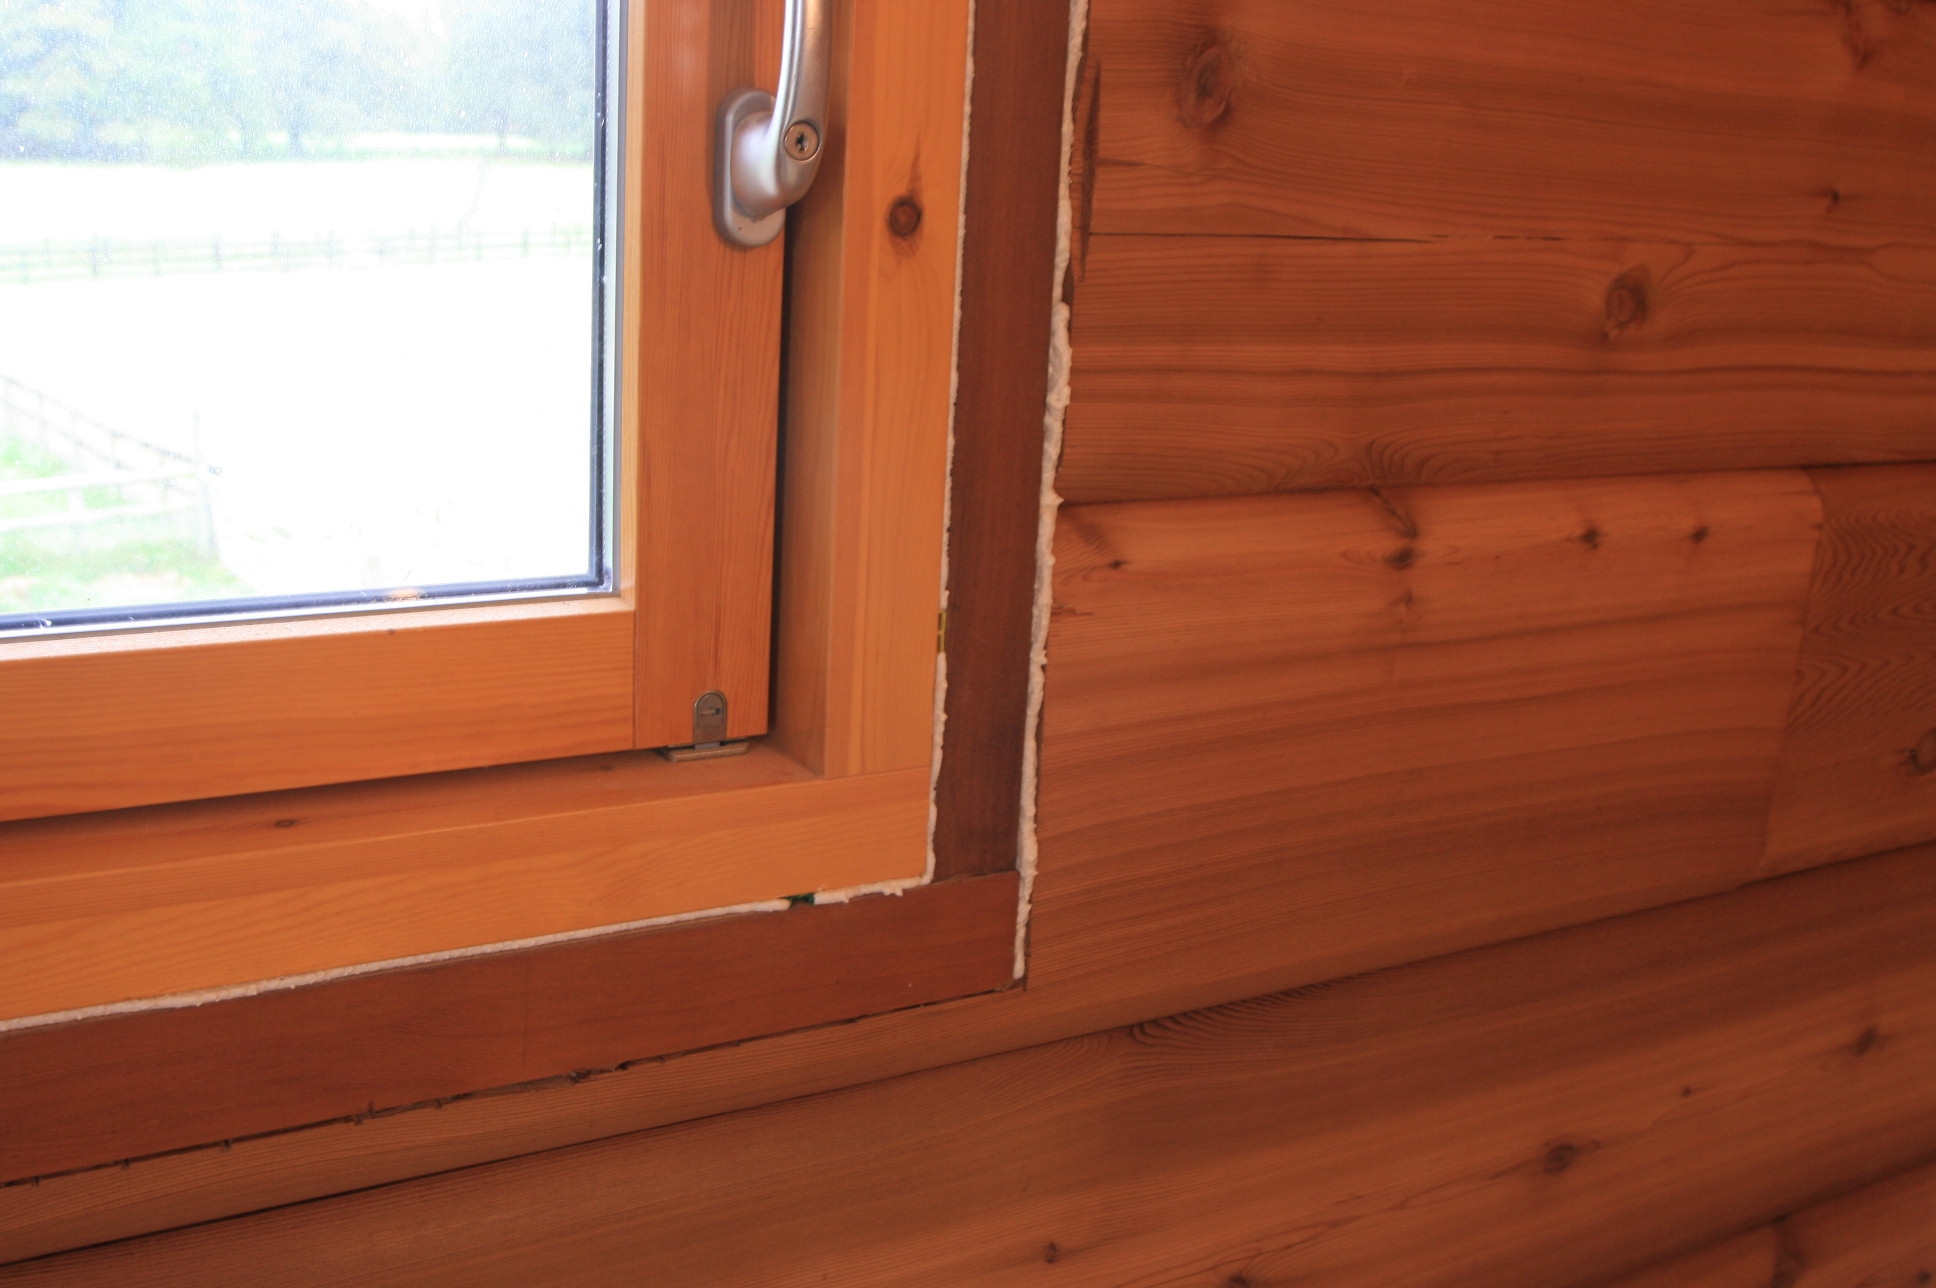 After allowing the foam a day to expand, any excess is cut off and then the architrave can be fitted. With Architraves, you either use the same material as the logs, or something that is noticeably different so that it does not look like a poor attempt at a match. We have settled on American Oak to go round the windows and doors as it will take the knocks better than Western Red Cedar.