 Now we are really moving forward as the upstairs windows go in. In a few days time we will be working on the ground floor windows and the scaffold can come down.
Archive for the ‘Log House Construction’ Category
May
15
2008
The bigger windows go in
Published by in Log House Construction
May
5
2008
Planning the log house interior
Published by in Log House Construction
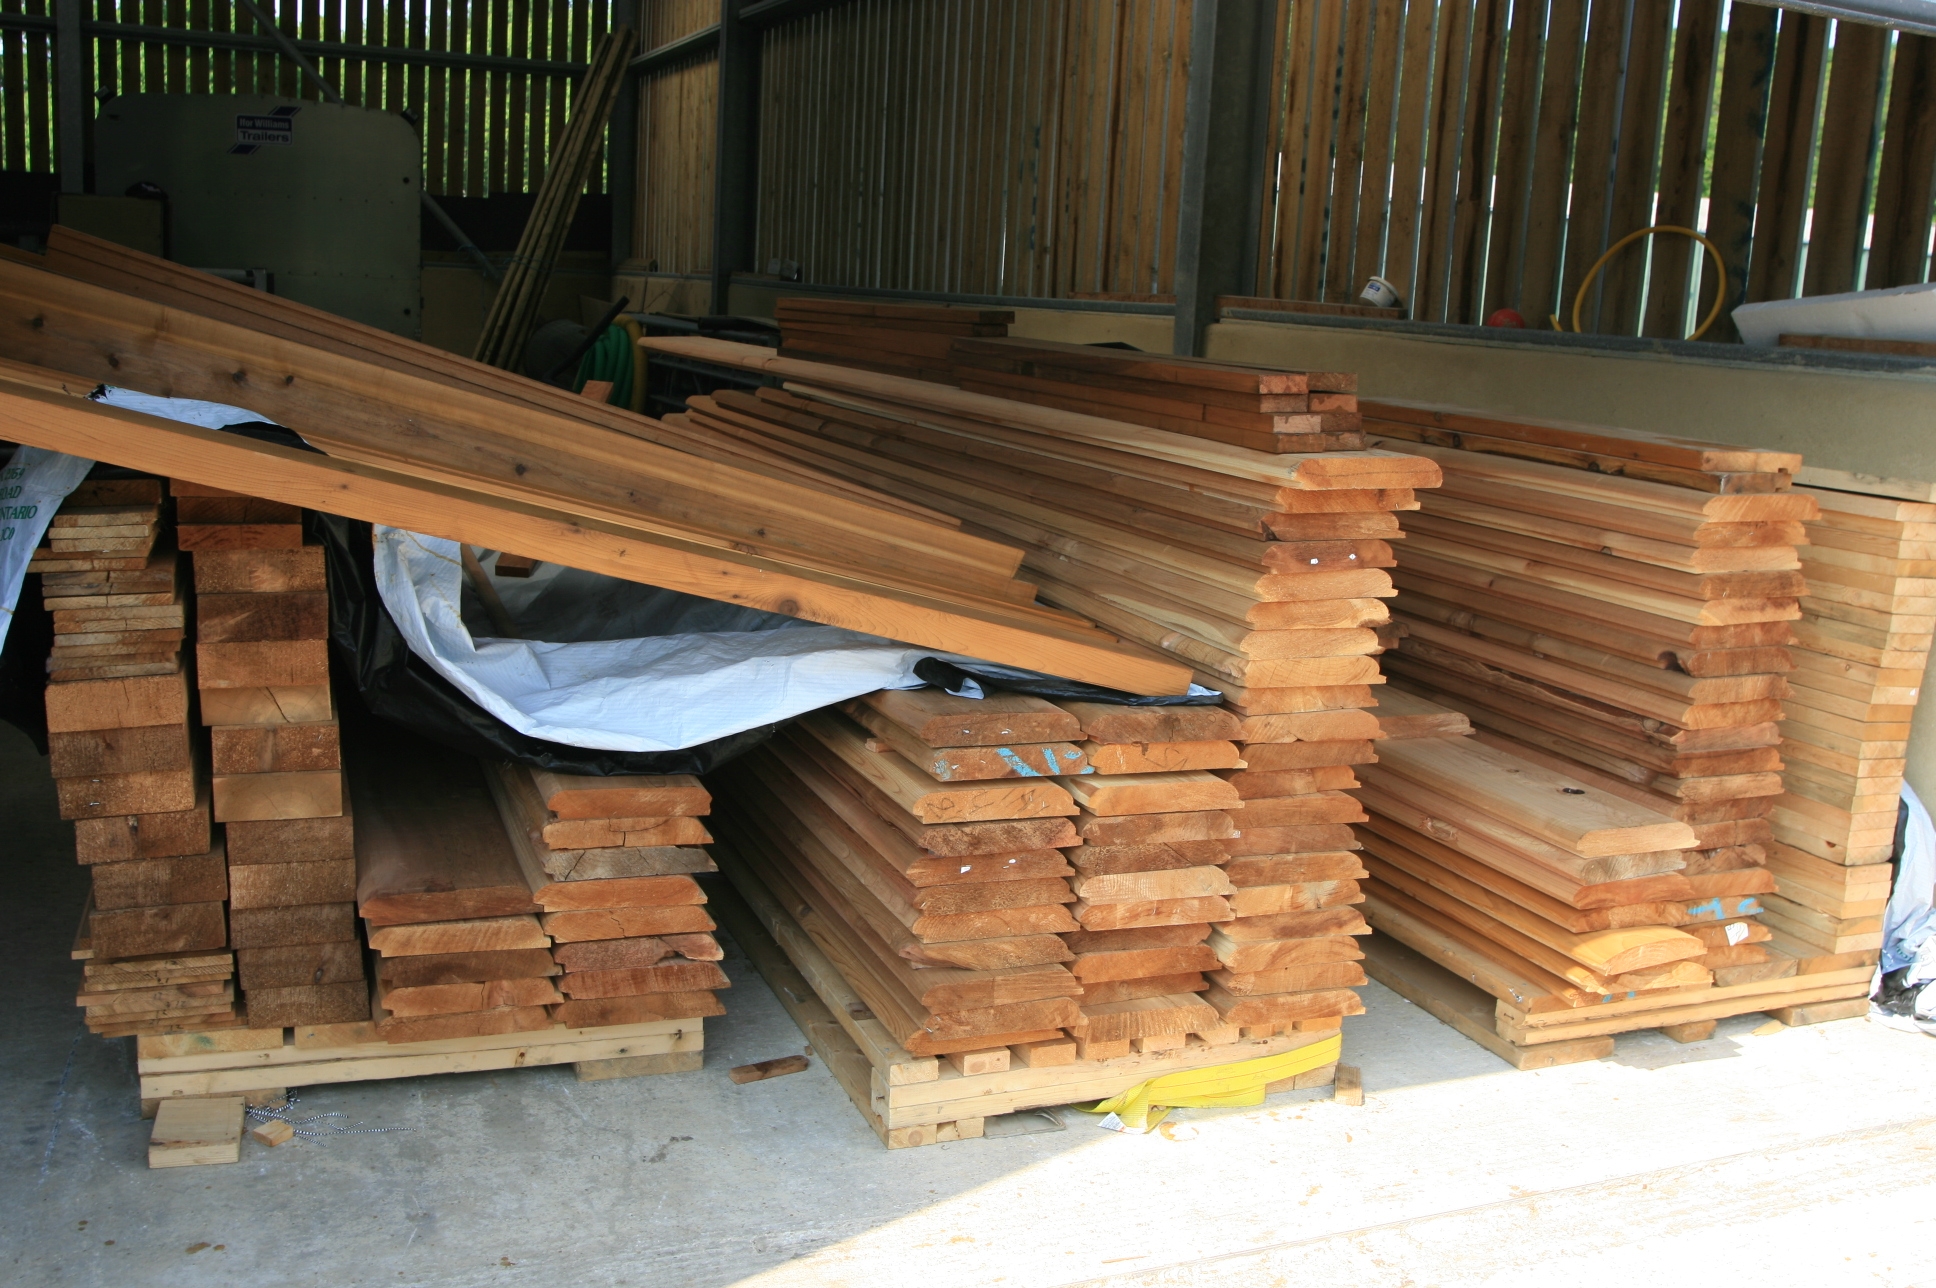 As the outside envelope of the house nears completion we have started to plan the interior in greater detail. The last pallet of materials from North America was full of log “siding” which is strips of Western Red cedar machined to look like the inside log profile so that we can use it as a wall finish on stud walls where we wish to increase the log effect rather than use plasterboard. So we have inspected all the siding and put the perfect siding in one pile, the average in another and the bits with ugly features that will require these lengths to be cut up in another. Then we can use any left overs for window headers.
Apr
11
2008
Log House building the walls
Published by in Log House Construction
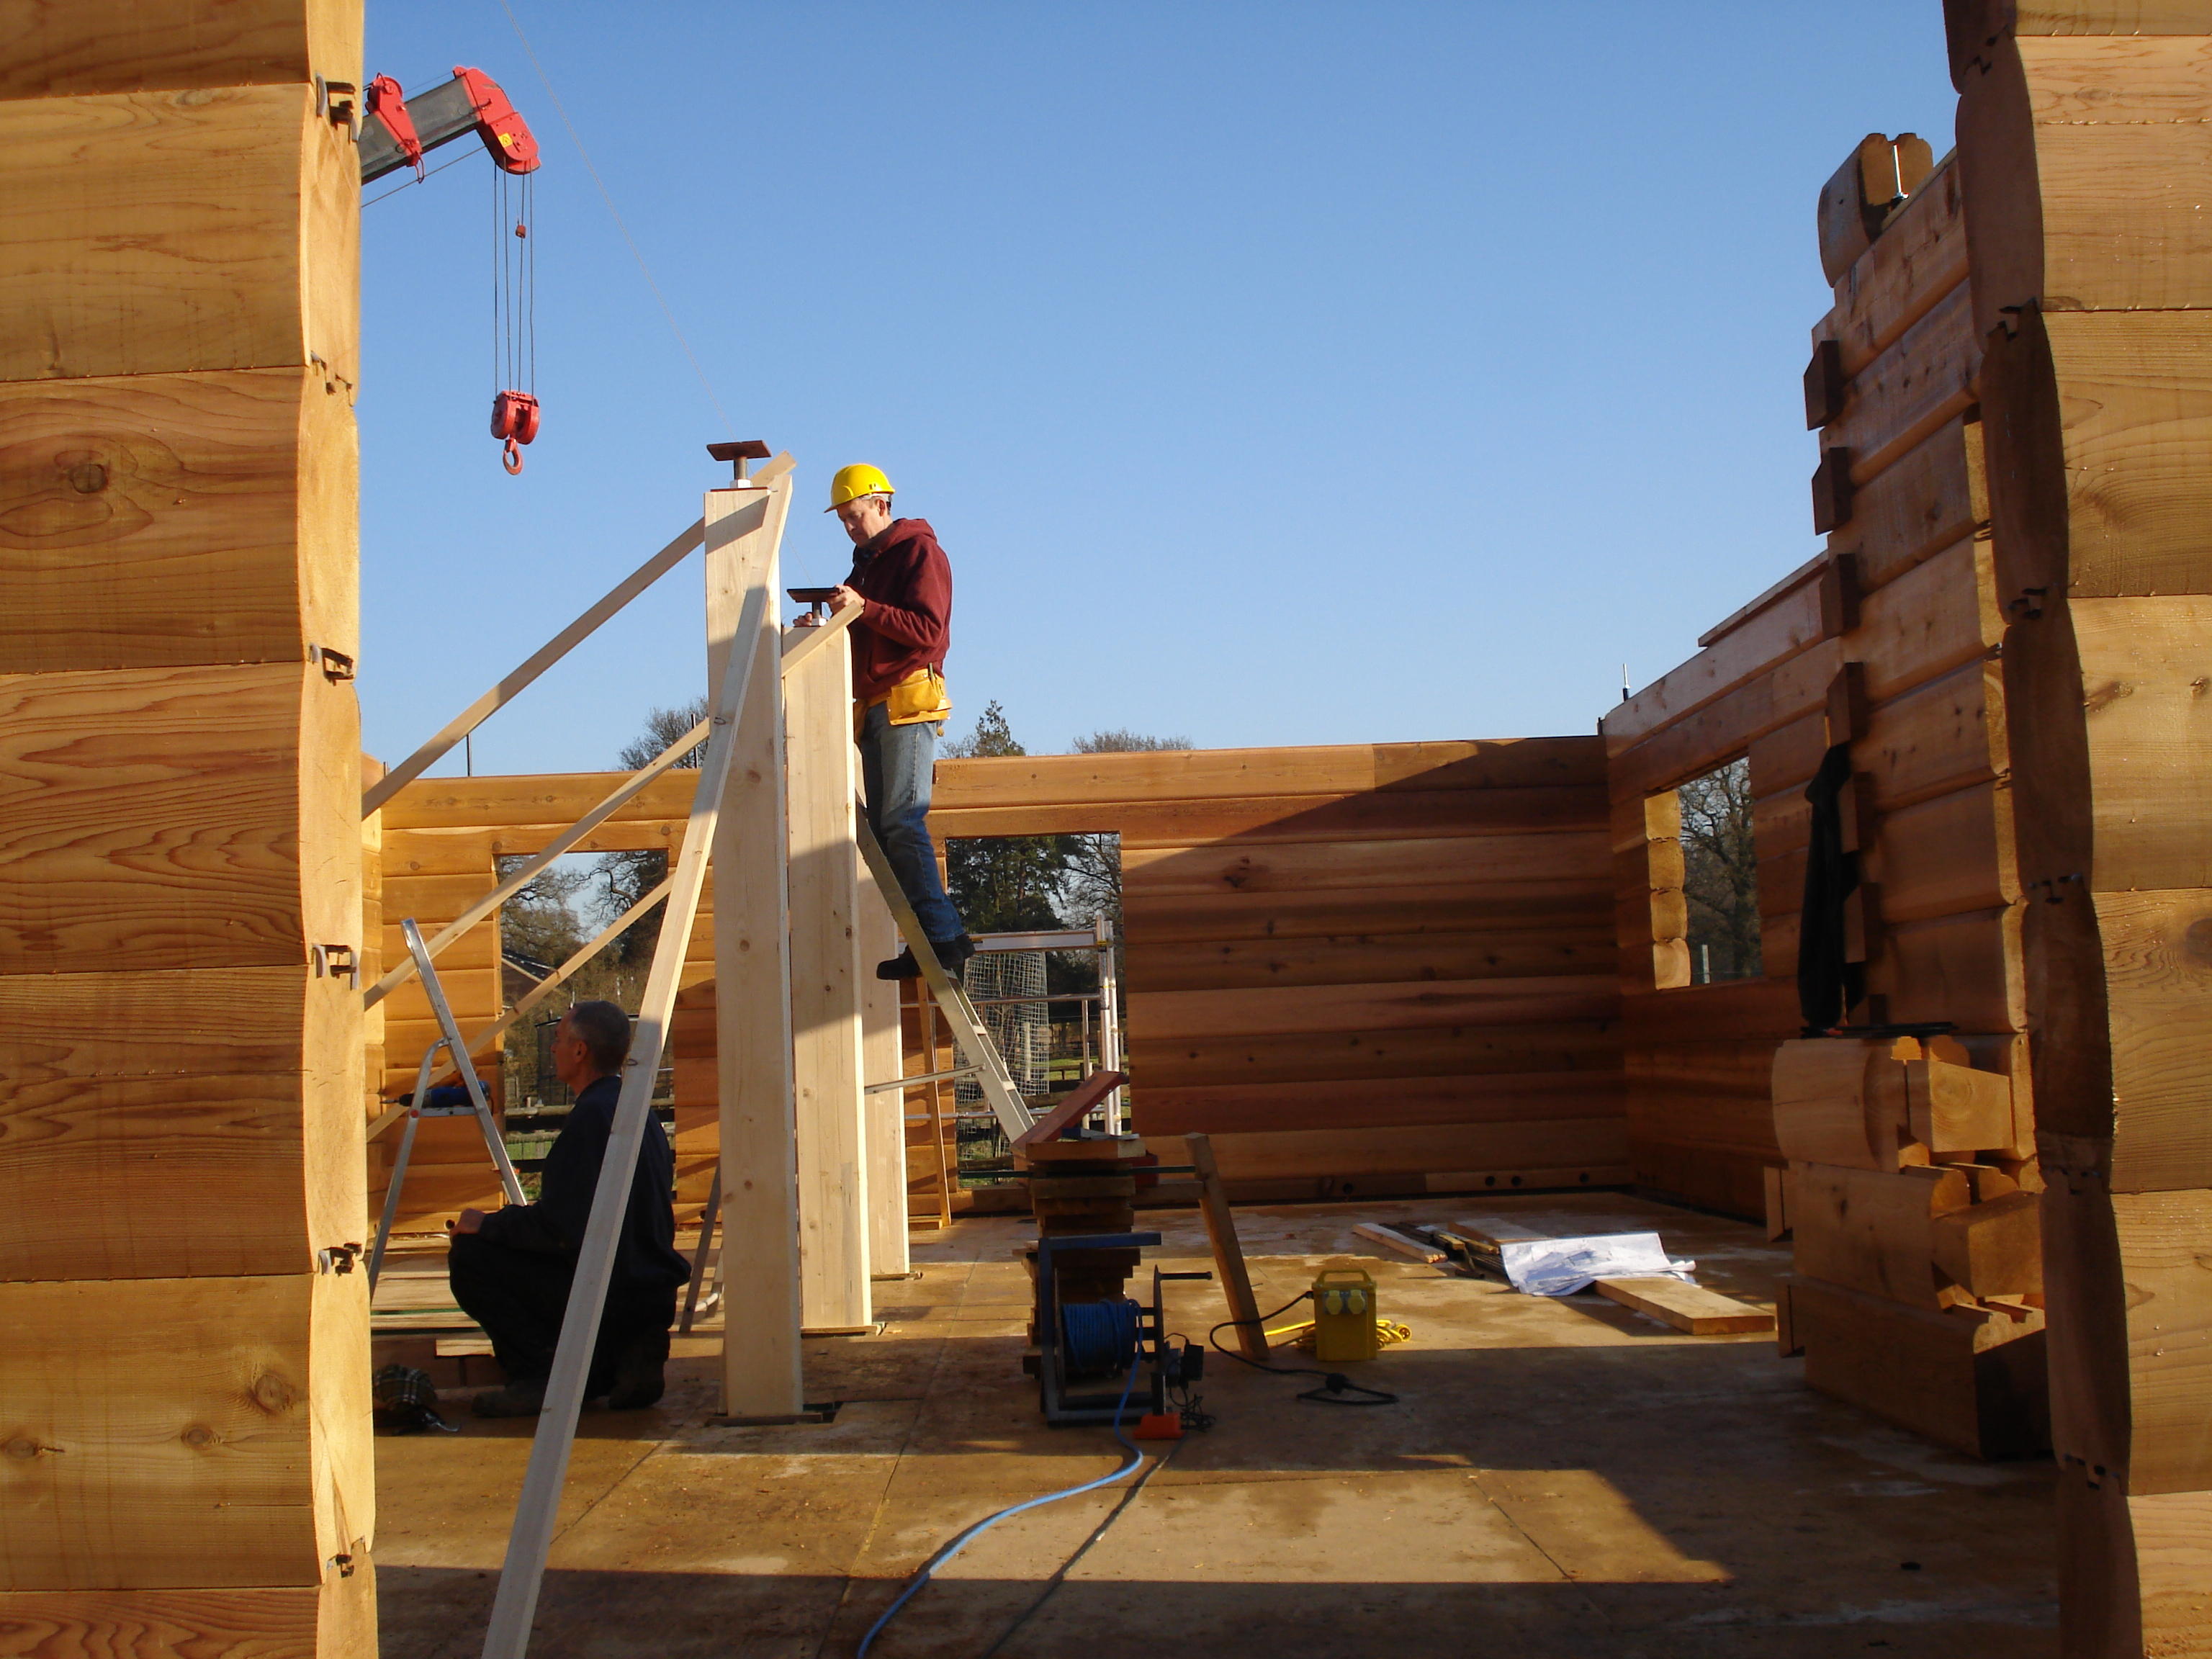
 So now we start doing some of the detail work inside the log house. With the dovetail design of our log house there are no solid log internal walls fitting into the external log walls to give it rigidity. Without some stiffening there is a tendancy for the logs in a log house to “buckle” or bow. So a stiffener is made up of 4 x 2 and 8 x 2 with slide plates for 14 inch long bolts to screw into the wall logs of the house. The slide plates and slots in the 4 x 2 enable the logs to continue settling with time. It was quite suprising putting the stiffeners up against the log house wall and seeing how much the walls had already started to bow in places, despite the 1/2″ threaded studs going down through the logs every couple of feet from top to bottom of the house.
 A plywood sheet will be put against the side face of the stiffener and become part of the stud walls to give the assembly even more rigidity but these cannot be added until the stud walls are in place.
Feb
20
2008
Plywood starts to go on the log house roof
Published by in Log House Construction
 Finally we can start to put the plywood sheeting on the roof. It may be a bit of overkill but we decided to put 1″ ply on for strength and peace of mind. It’s only a couple of hundred pounds more than using 3/4″ or 18mm as we must now call it but it is a small amount now rather than having a big problem later.
Feb
17
2008
Craning the ladder trusses into position
Published by in Log House Construction
The first 4 foot ladder truss is lowered in place. Begins to look like a roof now.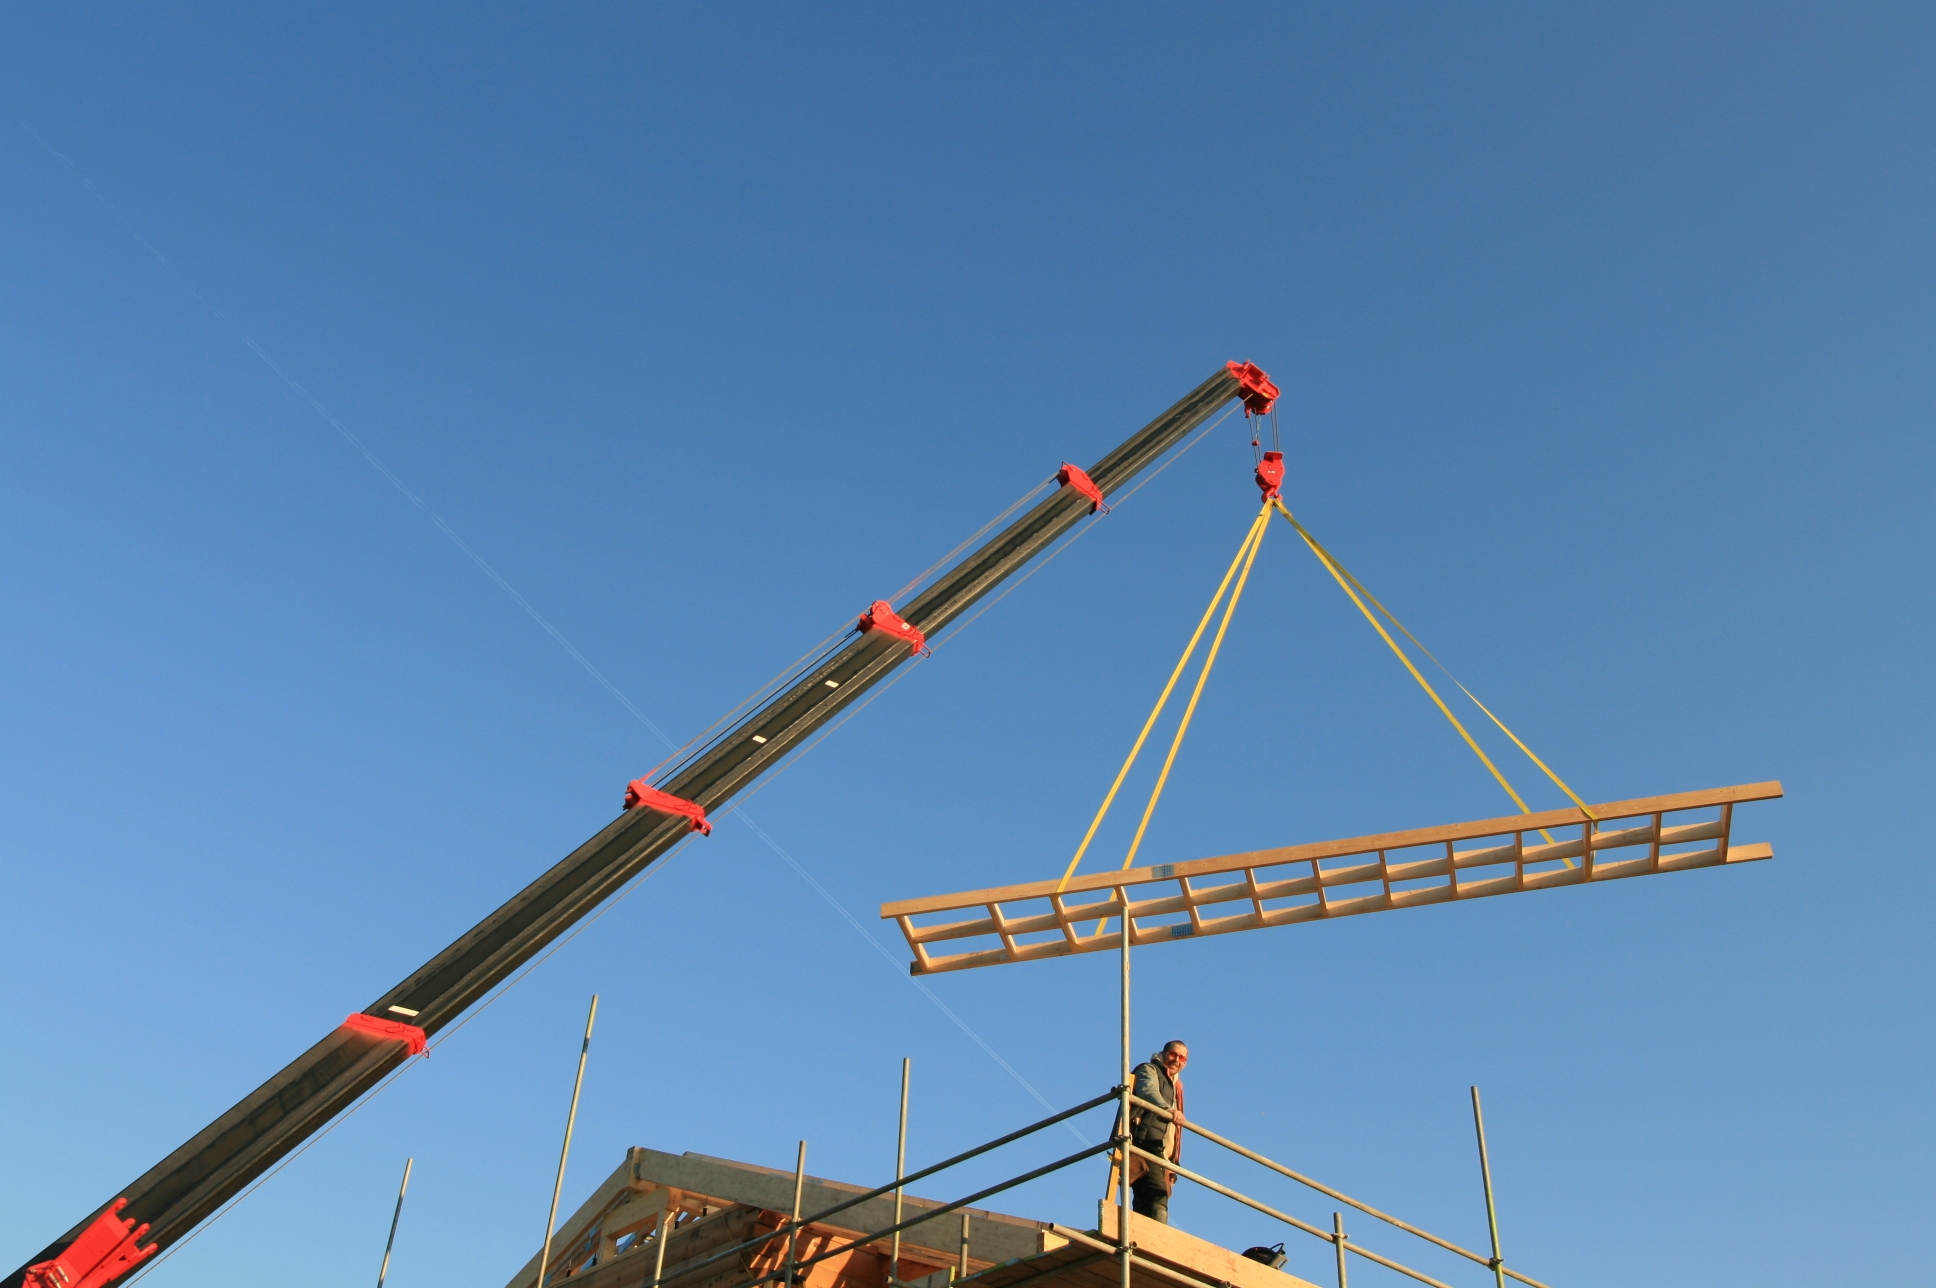
Feb
15
2008
Moving the ladder trusses in to place
Published by in Log House Construction
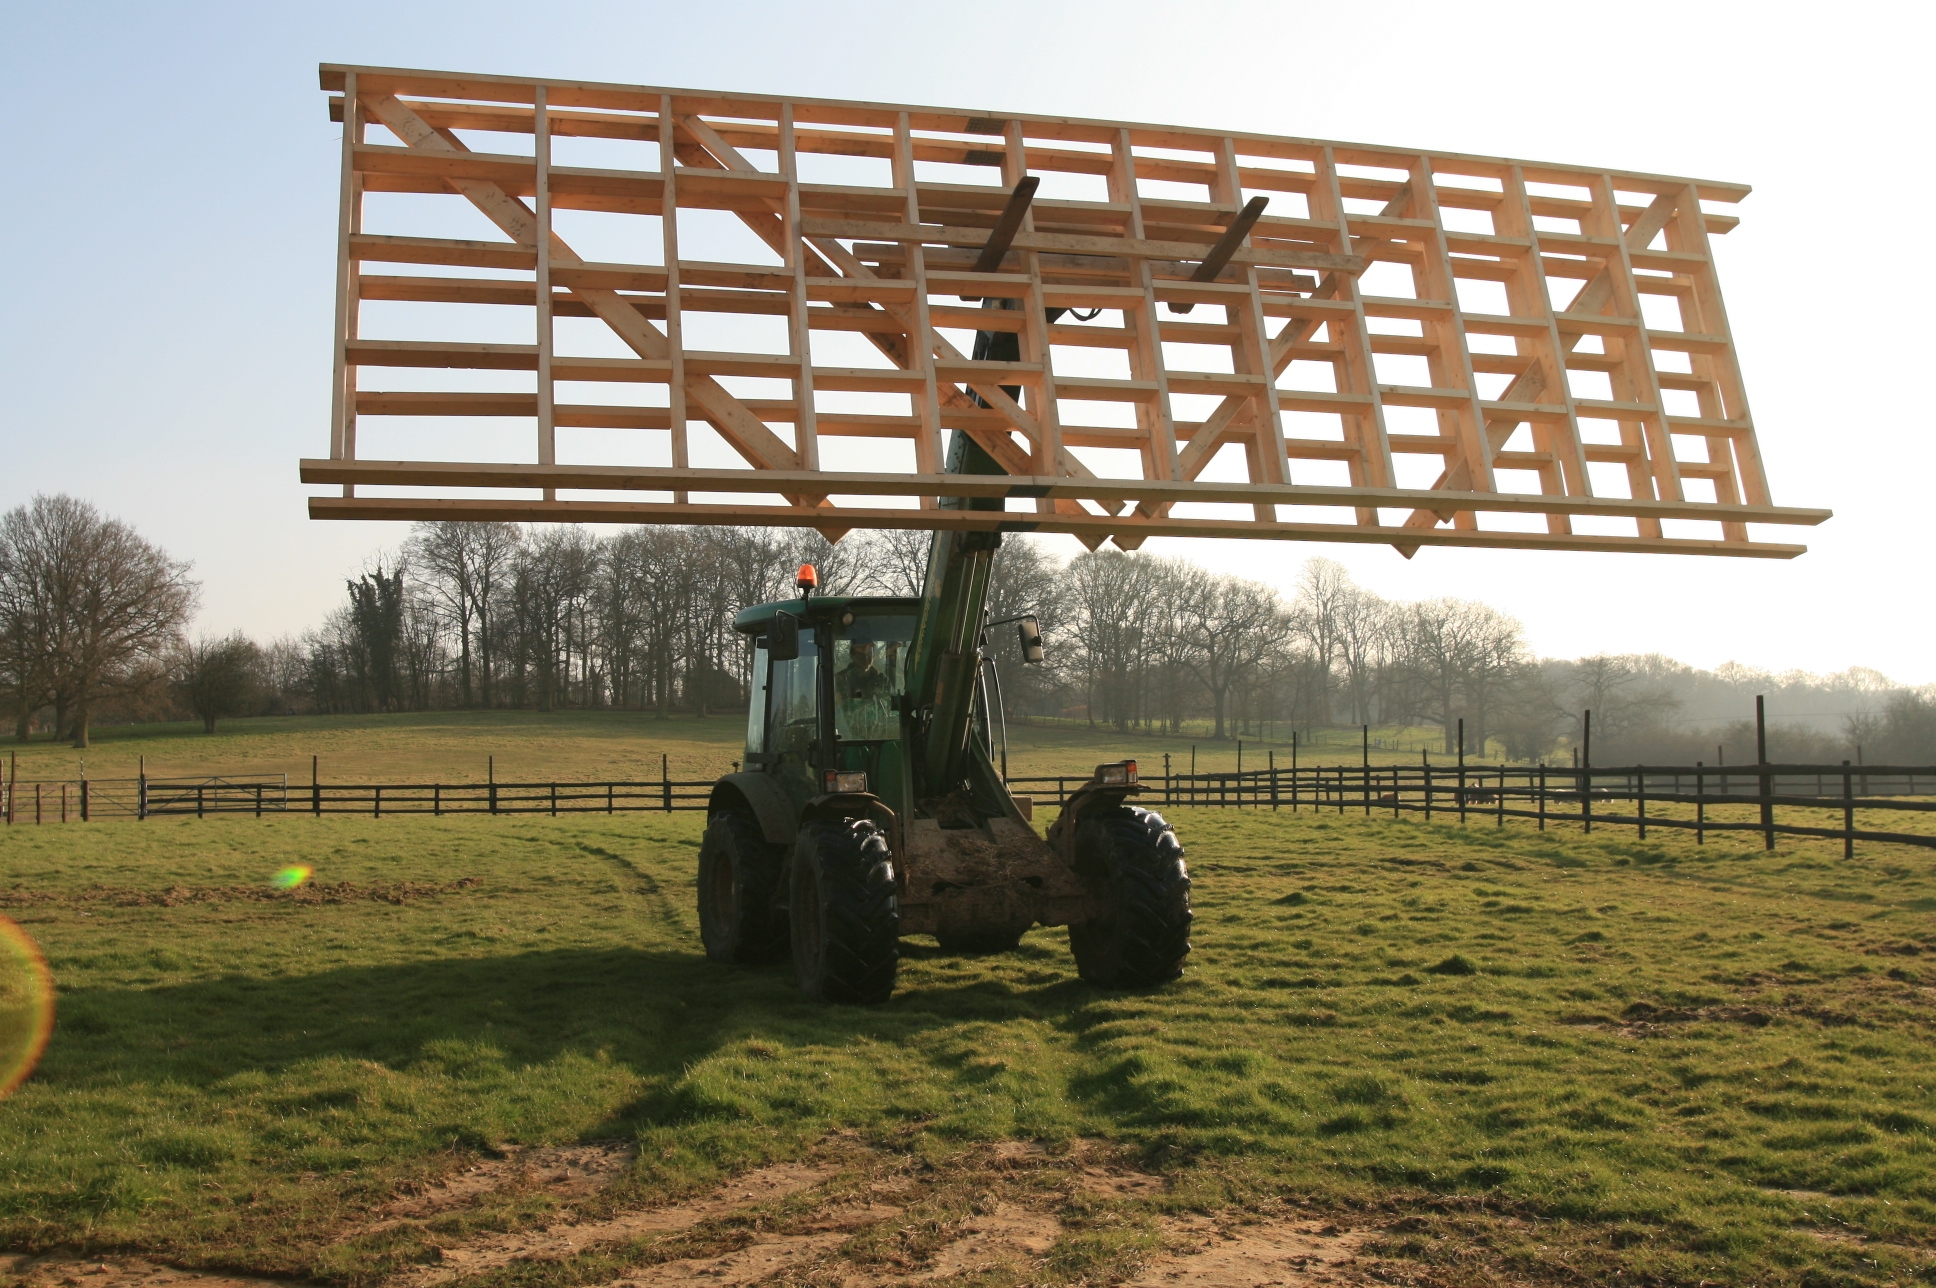 To get the large 8 foot ladder trusses for the roof overhangs on the south side of the site into place we decided to bring them all the way round on the teleporter across the fields, as there was not enough room to bring them round the side. The double V effect is 2 x 6 inch material to brace them as without this they are very flexy in this orientation.
Feb
13
2008
The Replacement Ridge Beam arrives
Published by in Log House Construction
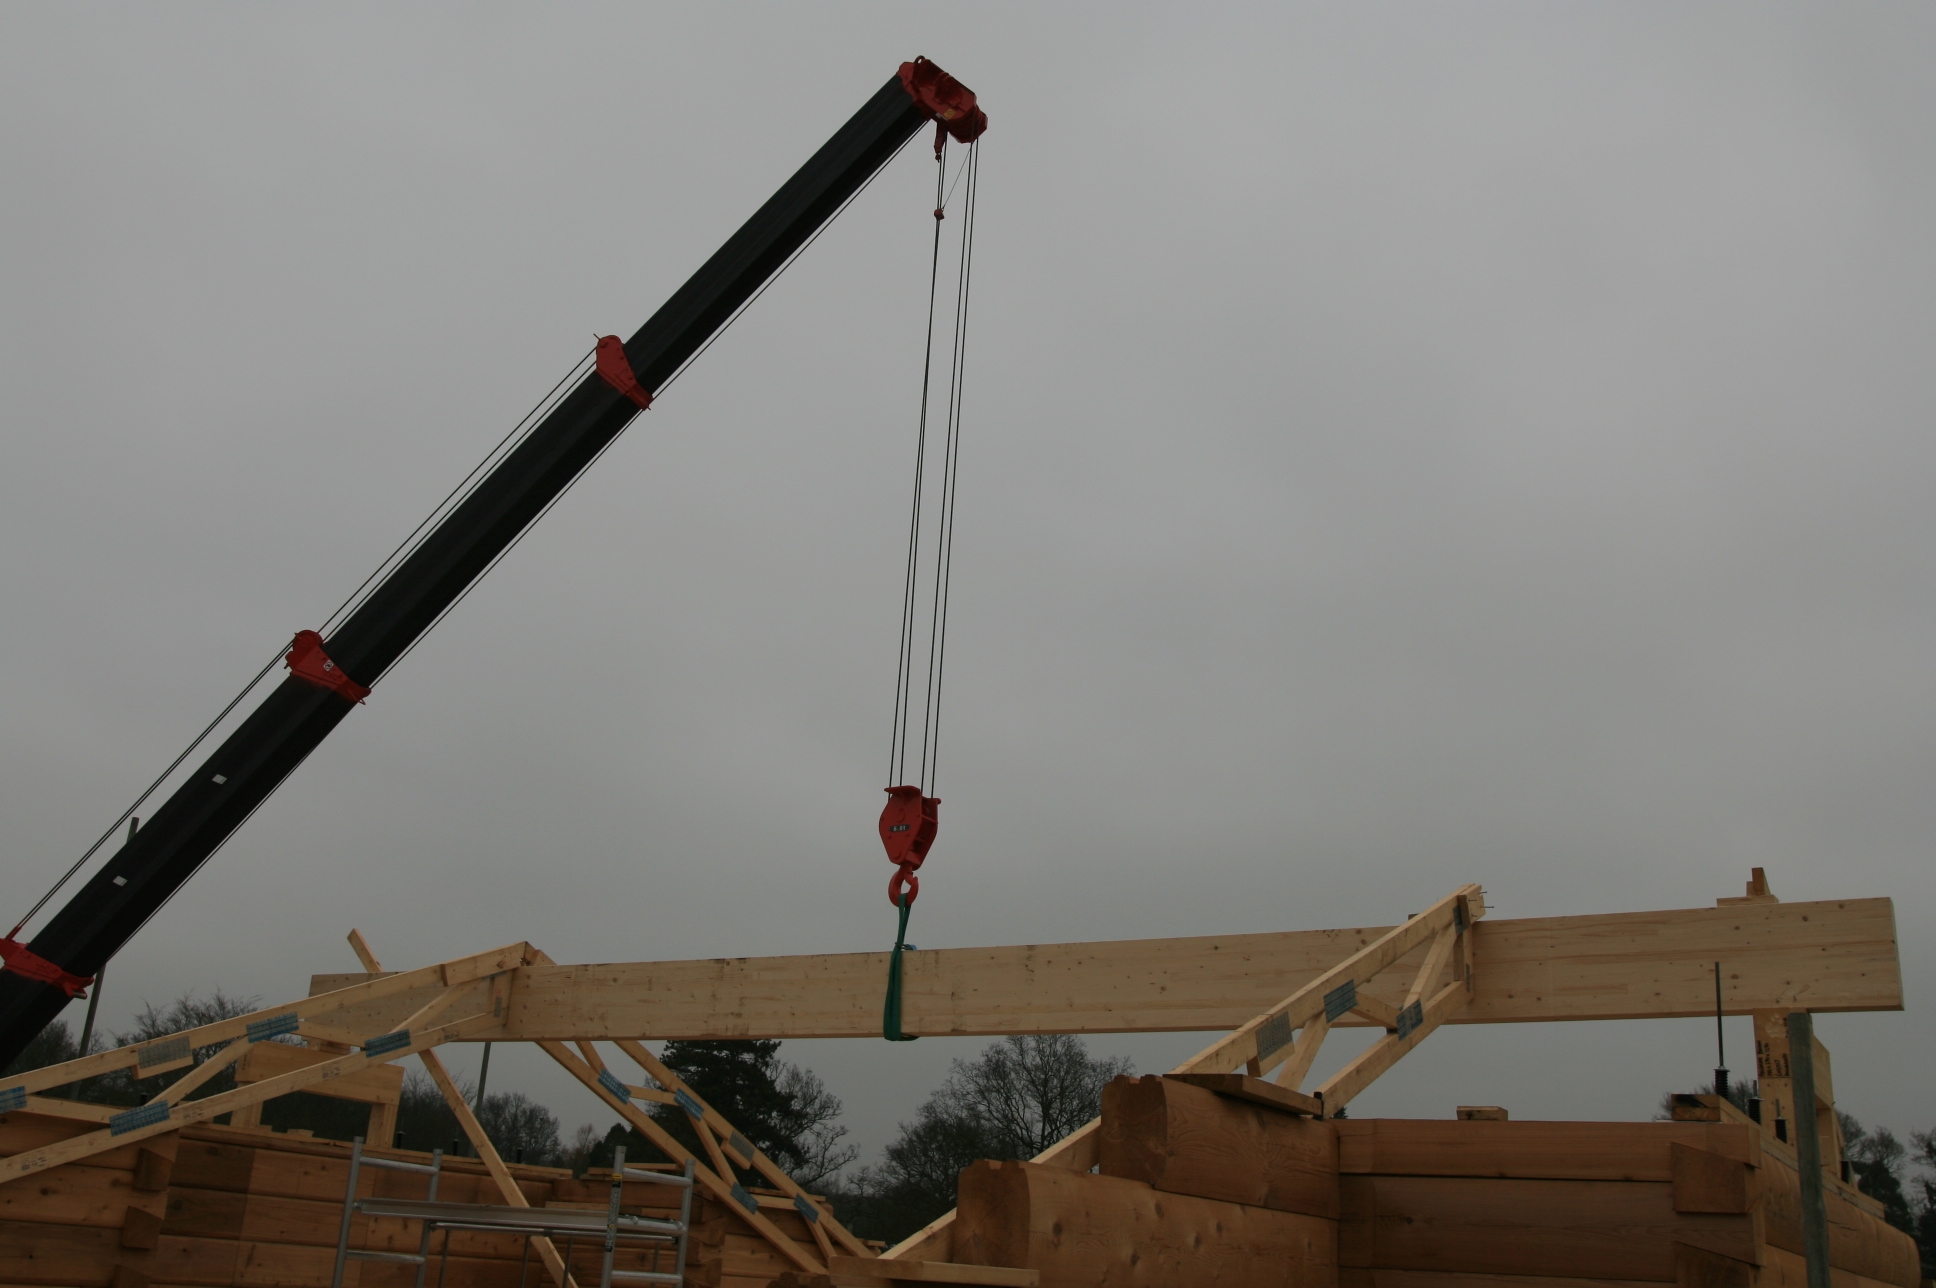 The roof suppliers are good to their word and the replacement longer ridge beam arrives and is quickly craned up. Now we can crack on with the roof construction.
Feb
12
2008
Filling in some spare time
Published by in Log House Construction
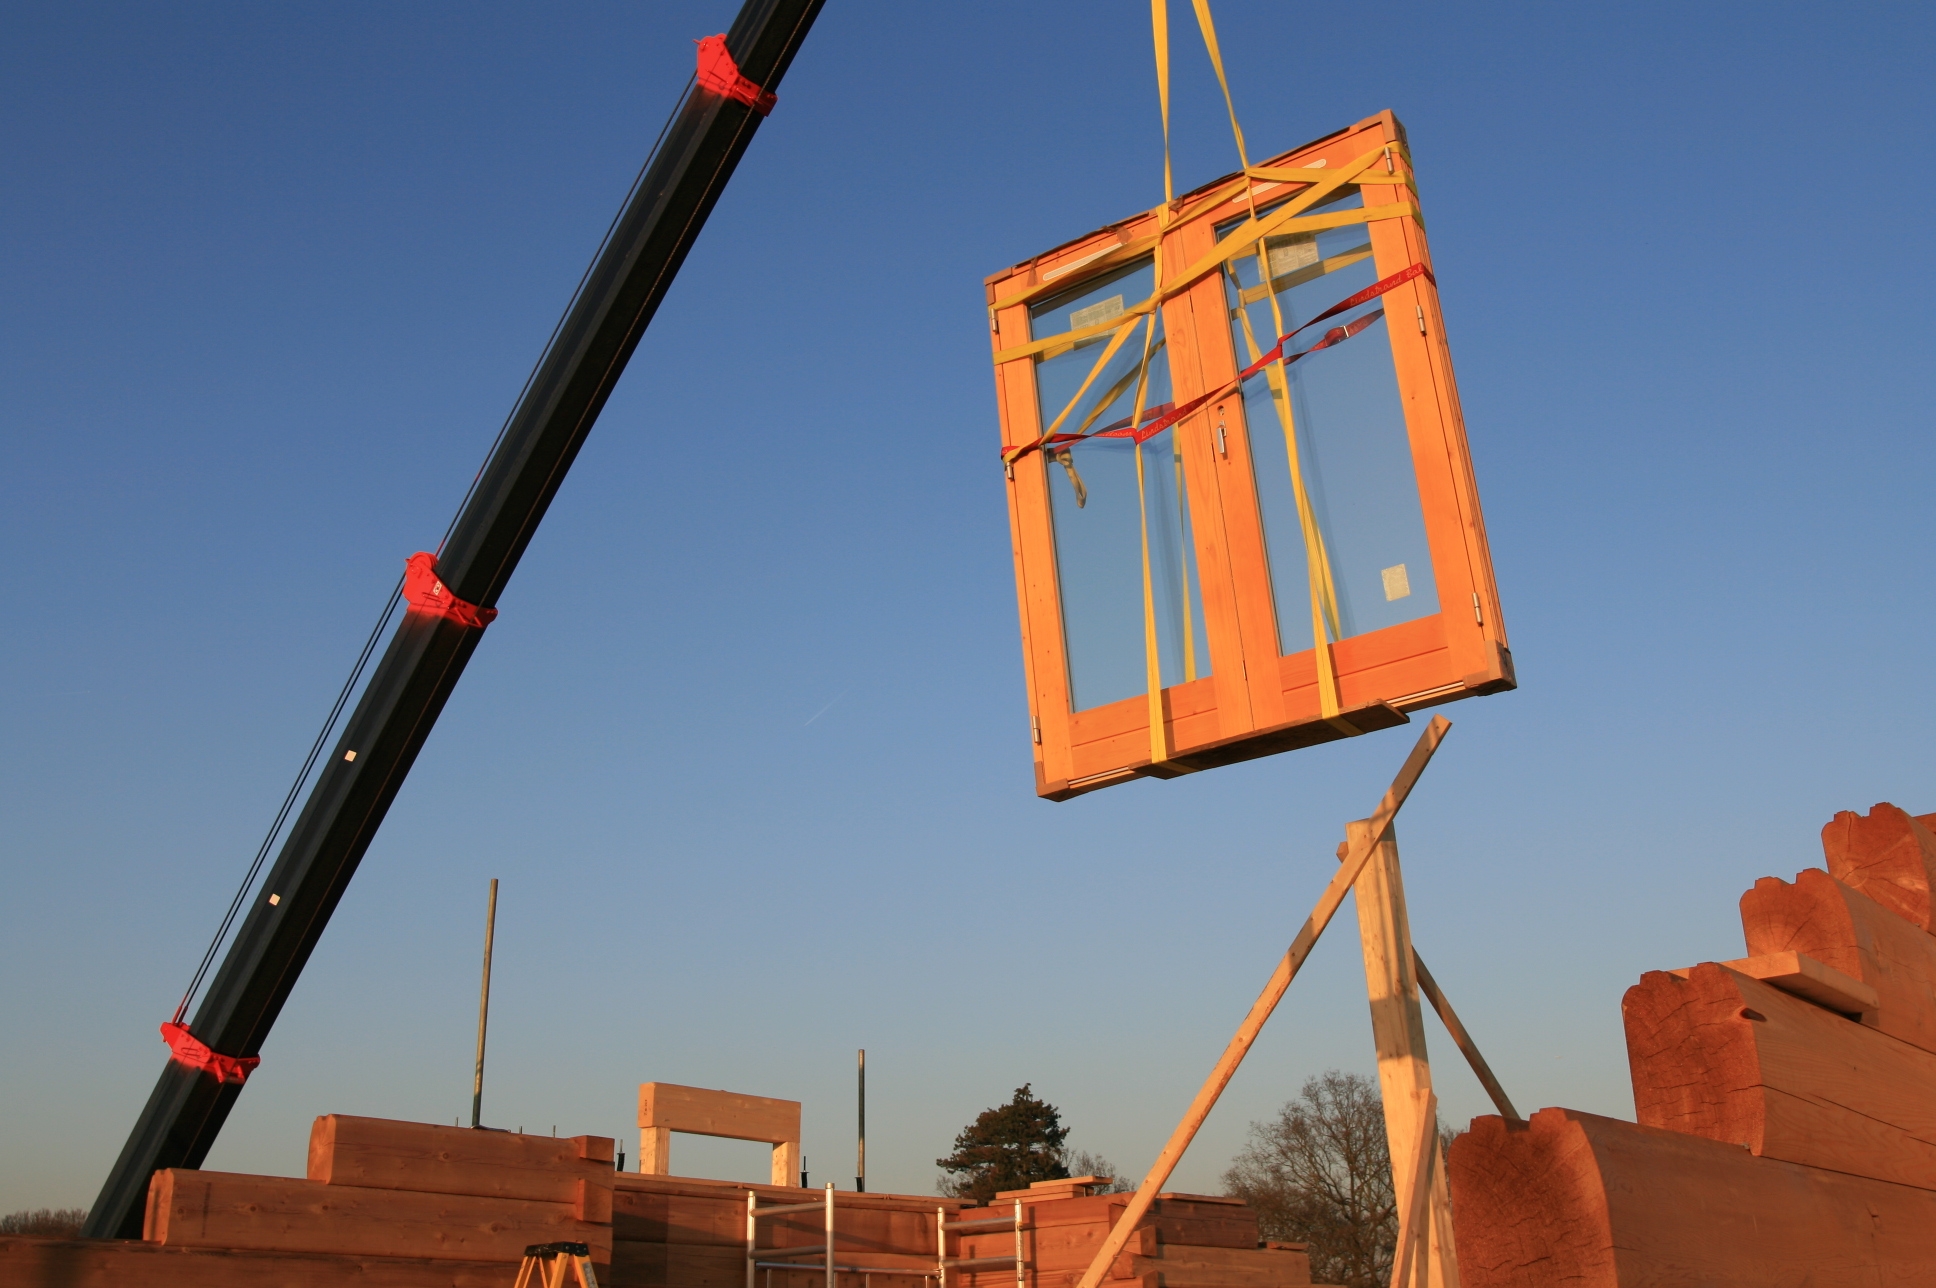 While we wait for the replacement roof trusses to come we use the otherwise idle small crane to lift up the heavy balcony doors and windows for the upstairs whilst there is access from above through the incomplete attic joists. Another job it does with ease!
Jan
31
2008
Up Go the Gable Ends
Published by in Log House Construction
The fine weather returns for a few days and we can crack on and finish stacking the logs. With the last courses of logs in place we can start the gable ends. No more taping, hurrah!
Dec
15
2007
Setting the Posts
Published by in Log House Construction
As we come towards the end of the ground floor log stack, it is time to get the posts up that will support the floor beams. We can then put the floor joists and a temporary floor down to enable the upstairs floor logs to be stacked and on it goes.