Archive for the ‘Log House Design’ Category

Jul 27 2009

Laundry Chute is finished at last on the log house

1

At last one of our wacky ideas is finished and has been made compliant with the current building regulations.

laundry-chute-five Whilst a laundry chute might seem a simple enough idea, it does in theory provide an excellent route for a fire downstairs to spread into the upper floor.

laundry-chute-six So a fire retarding “flap” was required. We achieved this with 3/4 inch thick oak (made out of two pieces of surplus oak skirting) and then edged it with intumescent strip.

laundry-chute-seven-edge-strip This is a close up of the furry strip which melts and seals the edge for around 30 minutes in the event of extreme heat. It is commonly available from builders merchants in handy little packs of a few strips a couple of feet long.

Jun 28 2009

Balcony progress on the log house

-

balcony-part-built We have now got the posts, handrails and spindles in place on the first balcony. We have used surplus Western Red Cedar for the spindles, and iroko for the rails and post. With the iroko posts fixing into the Western Red Cedar logs of the main house at the ends of each balcony, stainless steel coach screws were used of course to avoid the staining that occurs with normal plated steel fixings with this wood over time.

balcony-almost-complete Then the Western Red Cedar Fascia boards are fitted to wooden blocks fixed to the steel sub frames of the log house balconies.

Apr 1 2009

Putting exterior lights over entrance doors on the log house

-

electrical-wiring-for-wall-light-two.jpg We have done most of the wiring in the log house by drilling vertical conduit holes in the logs as they were stacked. However over door ways you cannot avoid the “recommended” short cut of taking the power cable up the back of the steel that stiffens the log assembly, across the door head and then out to the external

 electric-wiring-for-door-light.jpg  face of the log with a diagonally drilled hole to wait for the light fitting to arrive. Have a  look in the Log House Design category for more details of door and window openings if this is of interest.

Jan 18 2009

Fixing a hole where the rain gets in!

-

We continue to struggle with leaks on the most exposed south side of the house. We are blessed with a number of windy and wet days, punctuated by dry days, so we can continue our detective work with the mastic gun or gaffer tape.

 log-knot-leaks-five.jpg This knot on a header above the double doors looked suspect, so it gets the usual plugging treatment.

log-knot-leaks-six.jpg In goes the glue which is plugged with a Western Red Cedar dowel shaped by hand with the chisel.

 log-knot-leaks-seven.jpg This electrical cable for an outside light above the doors looked relatively well gunked up, but it lets masses of water in, we think! So to remove this from the equation of water sitting on the top of the door frame inside the house we make up a plywood plate with a very small hole for the cable.

log-knot-leaks-eight.jpg This is sealed and screwed in place. We will wait for more rain to see what these mods do. Of course the plate will be removed when the external light is fitted, and this will cover up the cable exit in the log, but we need to isolate the causes of the leaks before internal architrave can be fitted.

Jan 2 2009

More leaks on the log house and a not so happy new year.

-

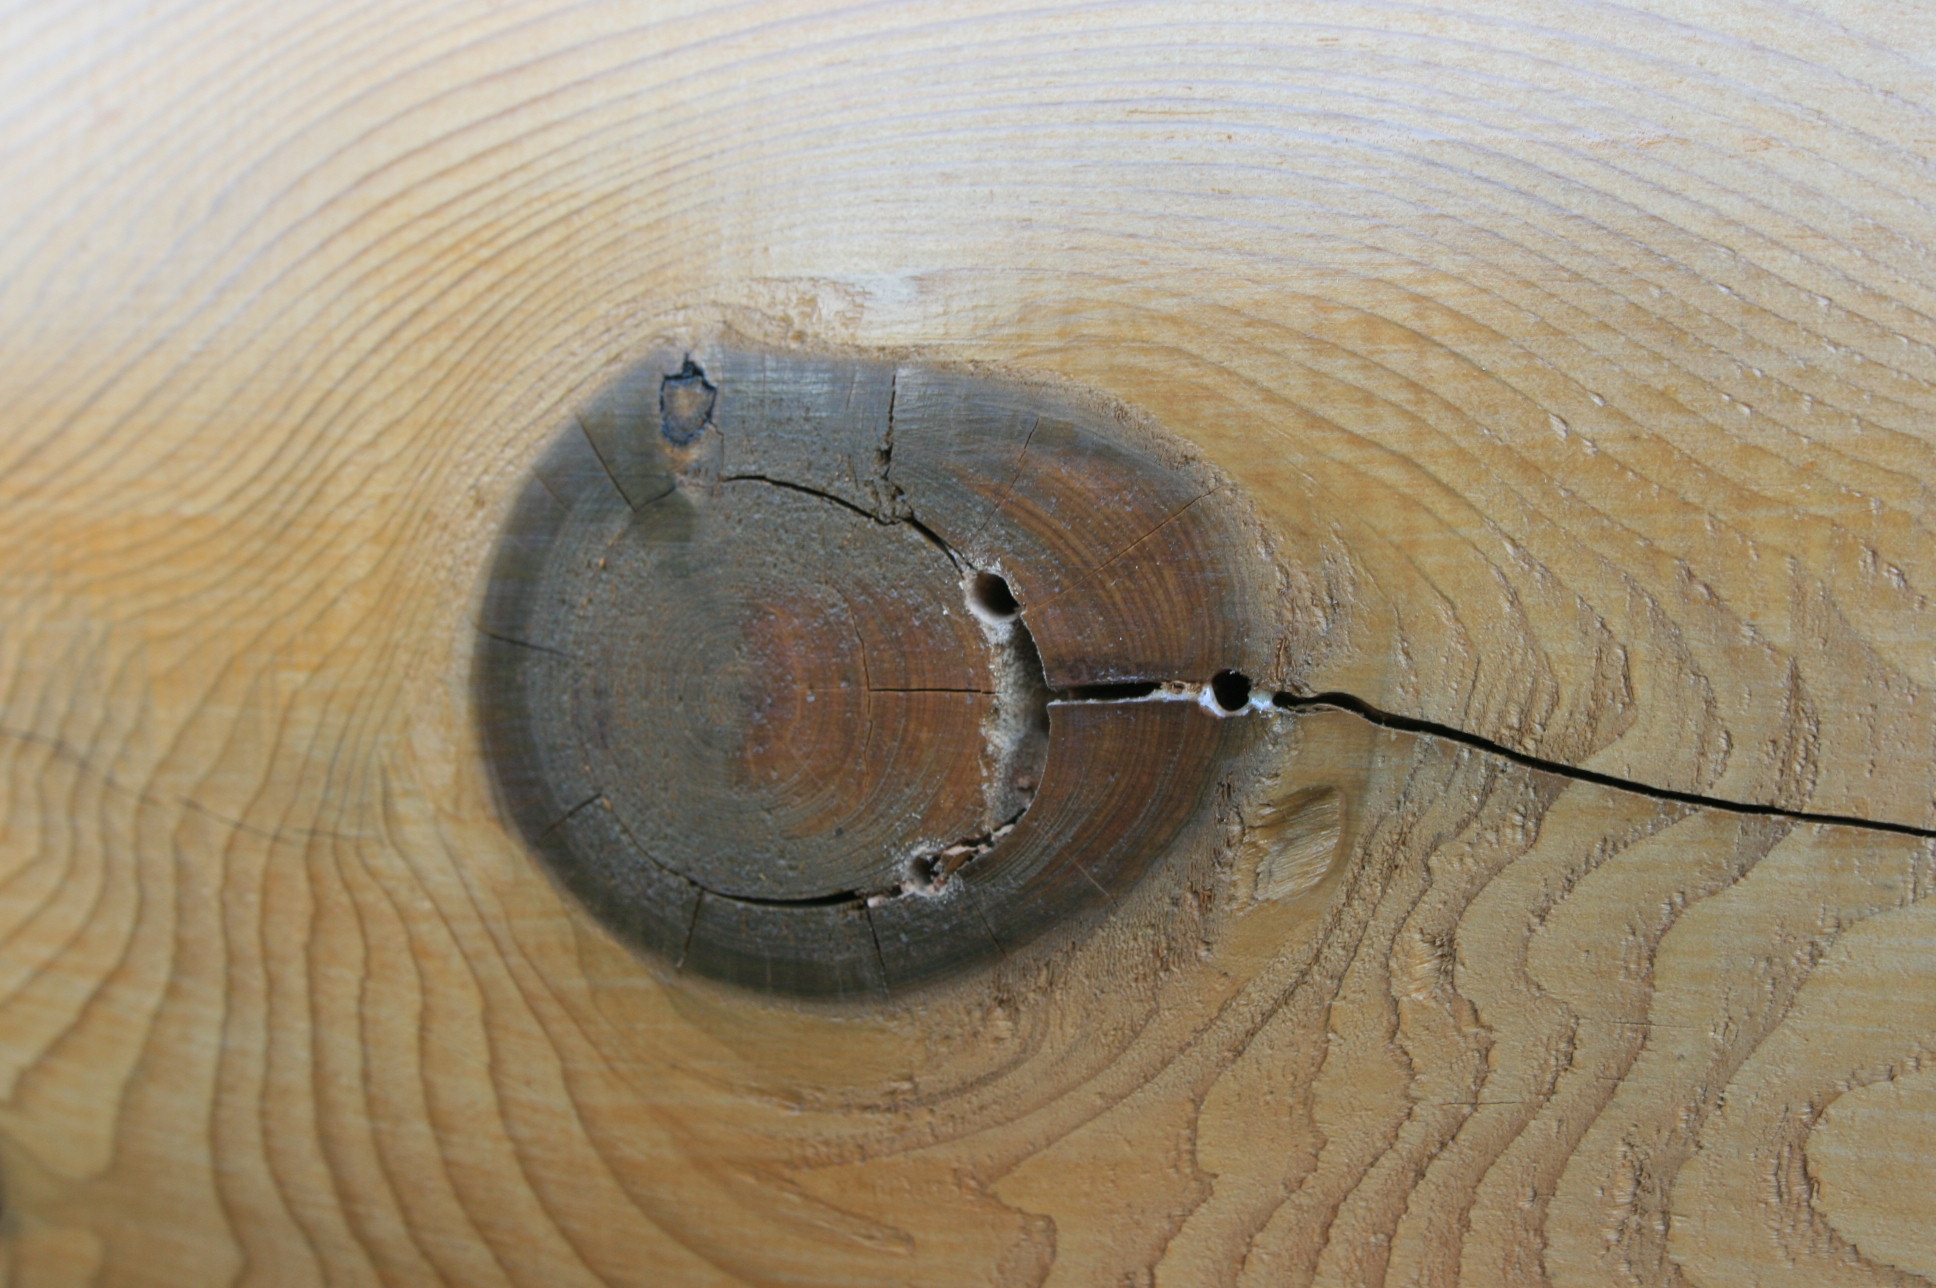
Well, we had hoped to be in the new house for Christmas, but the devil as they say is in the detail and it is taking a long time to get all the little bits and pieces sorted. Mid December we had some strong Southerly winds and 24 hours of rain that gave the south facing logs a good testing and sadly found them lacking.

window-testing-and-taping.jpg 
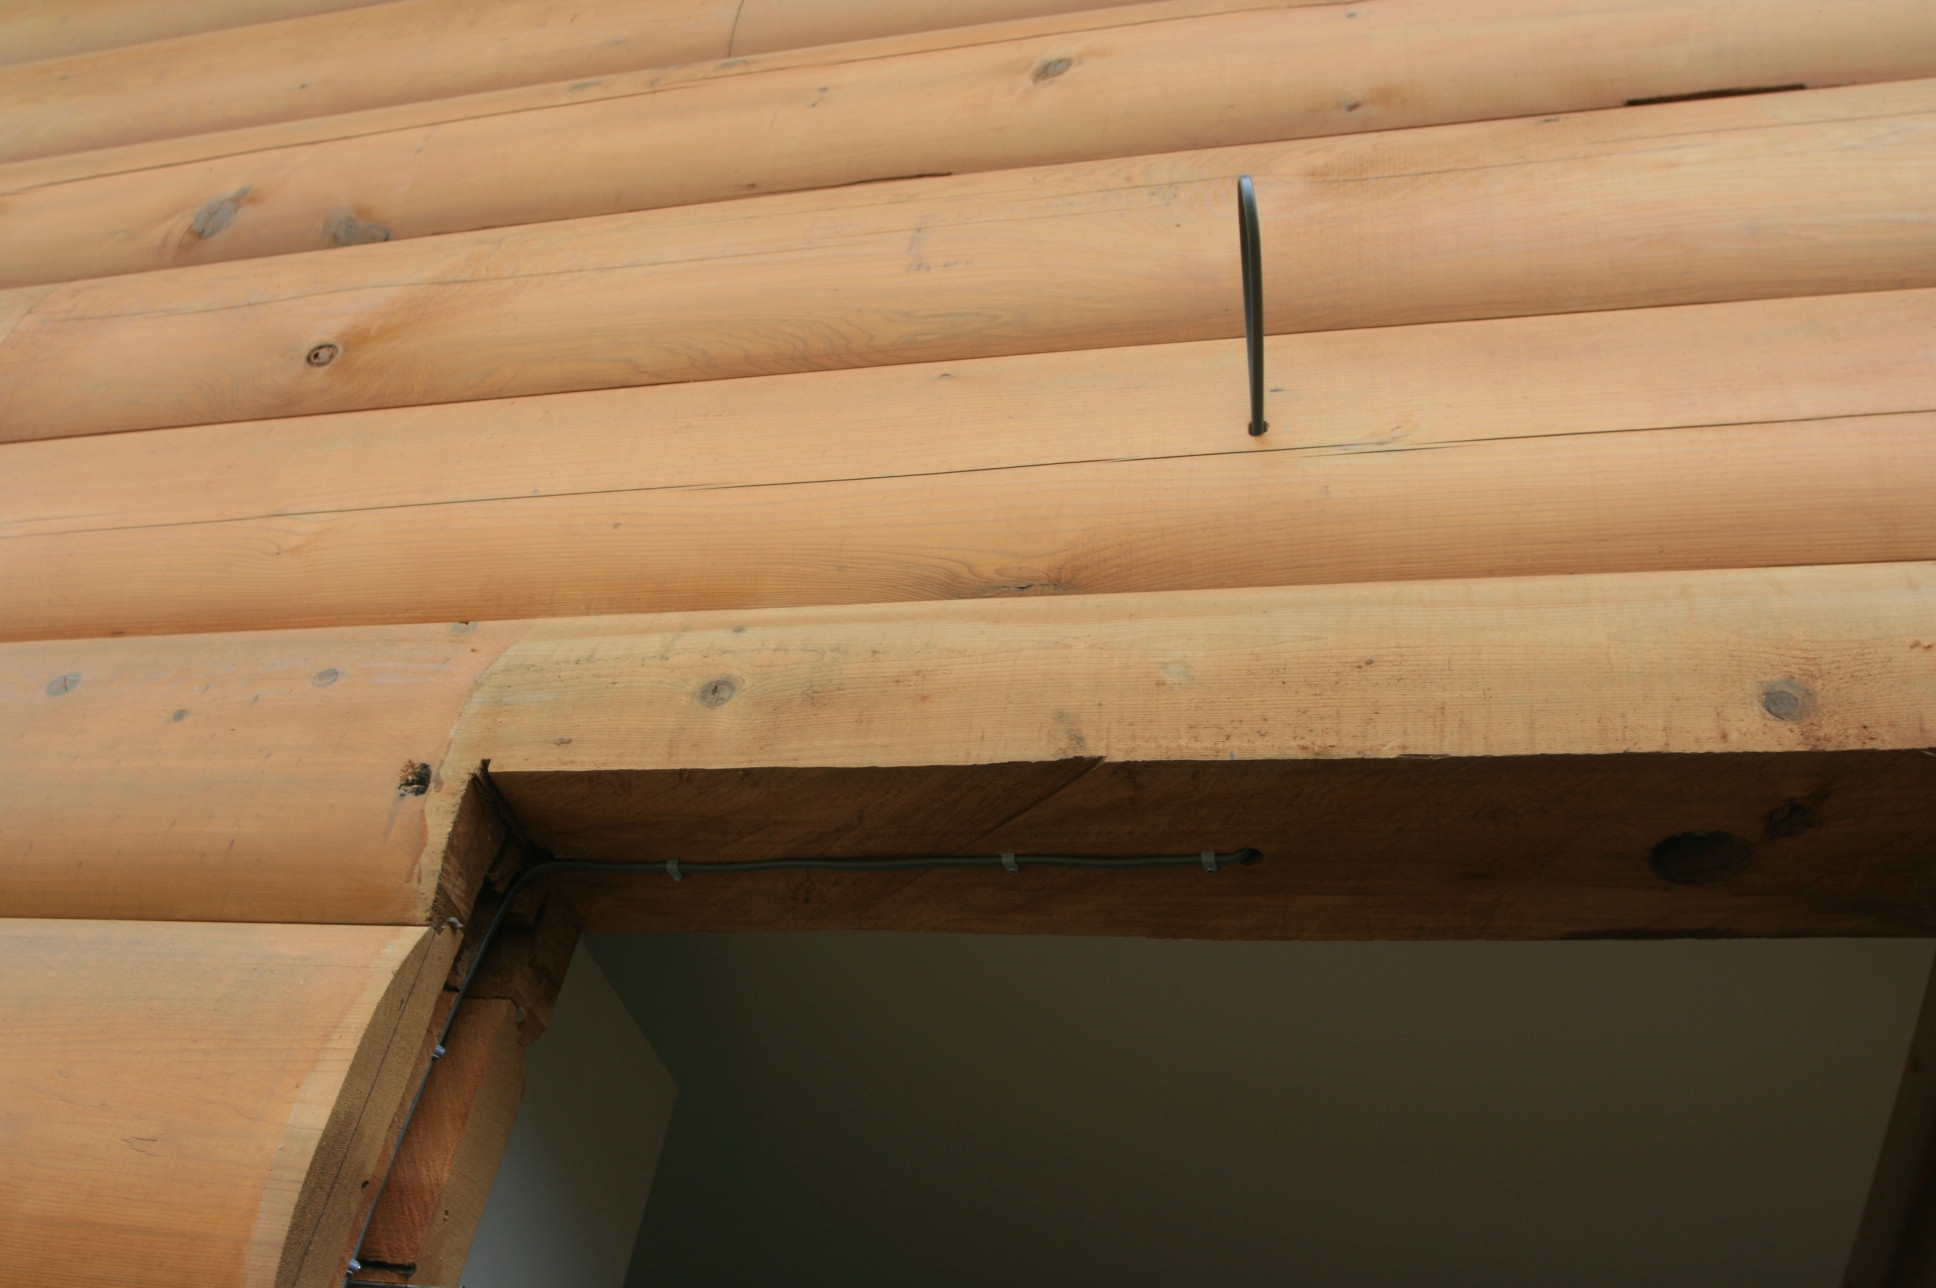
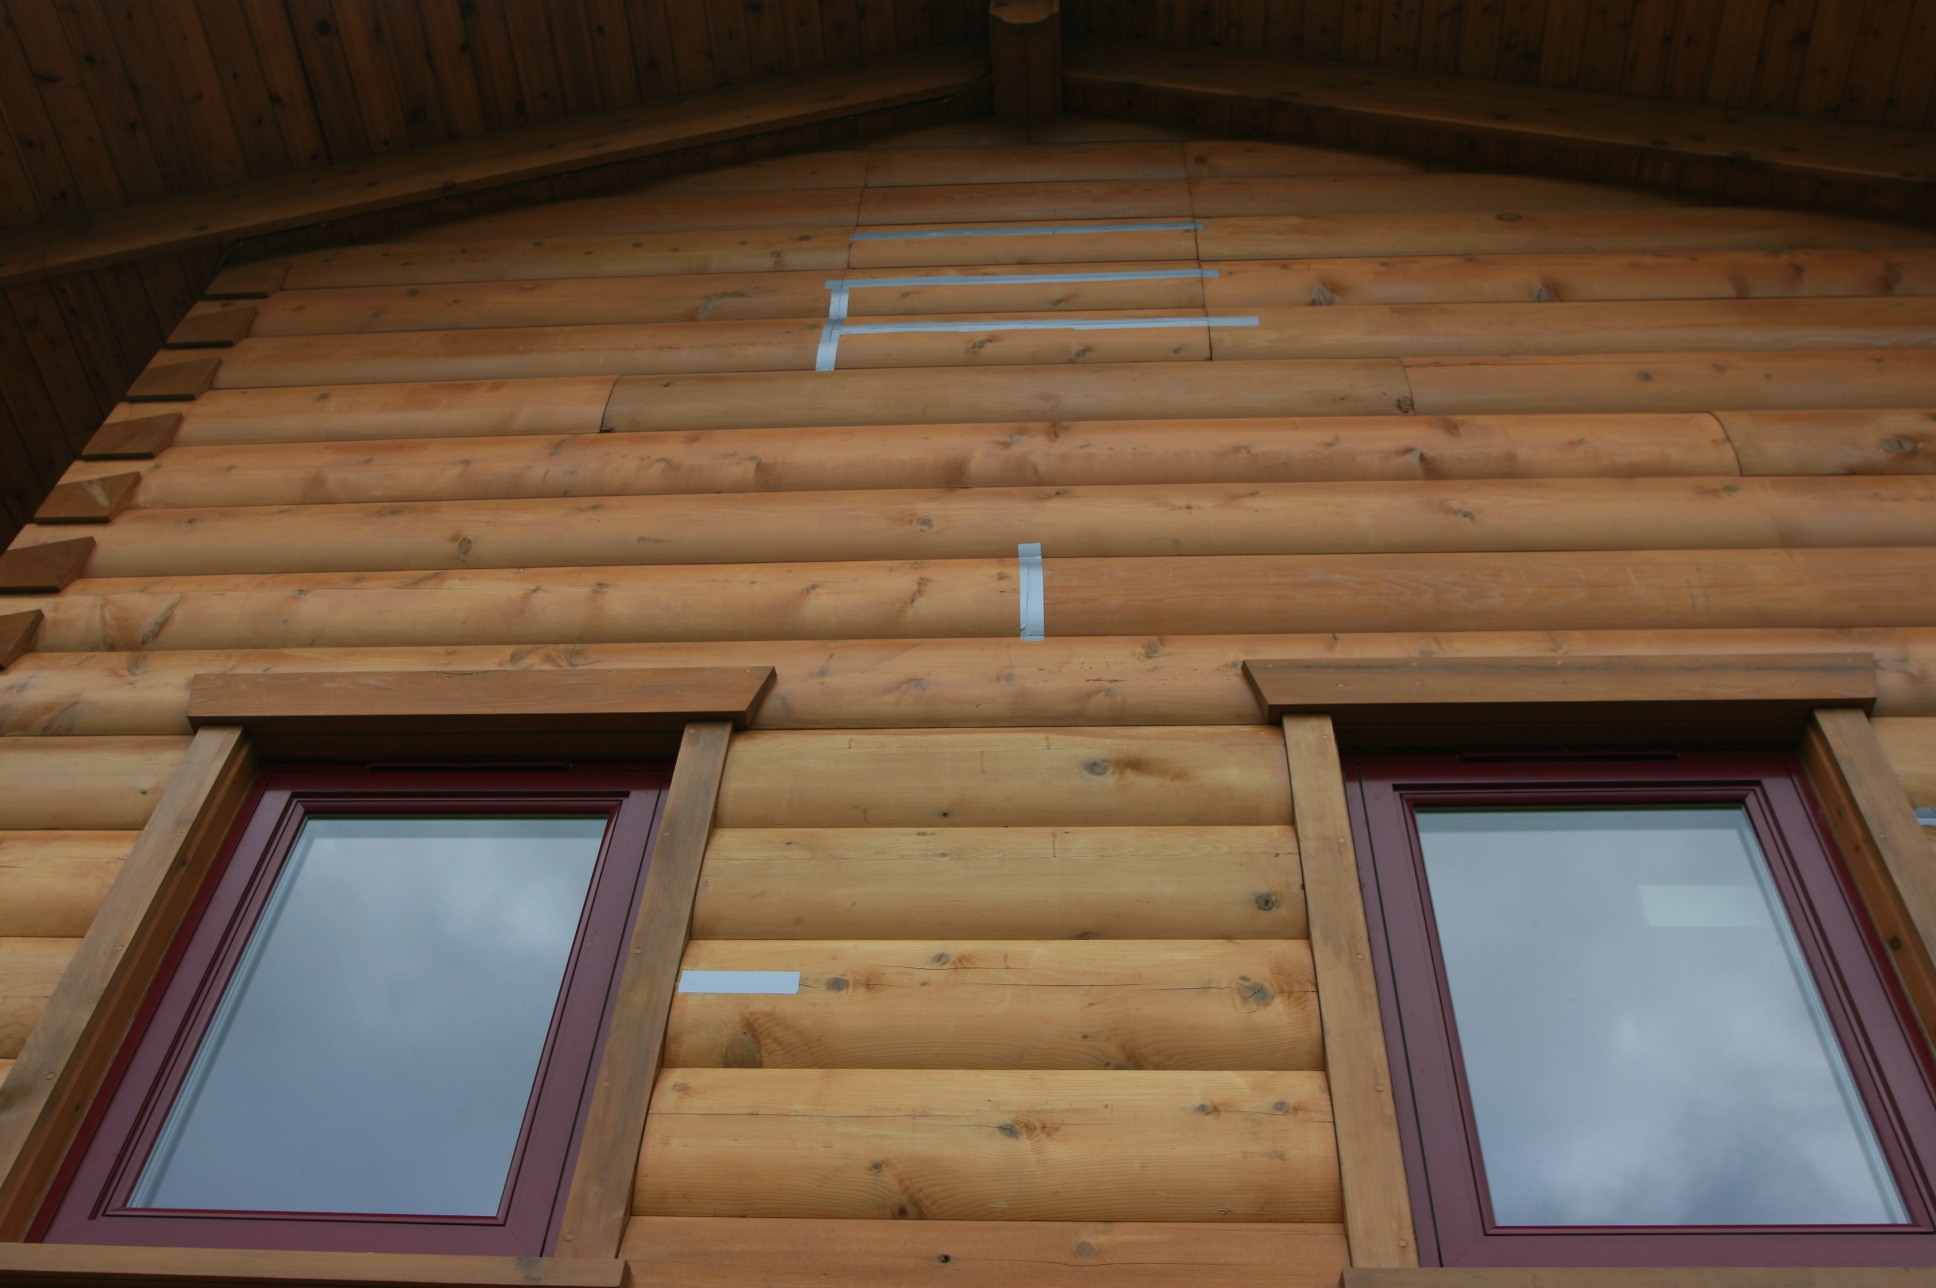
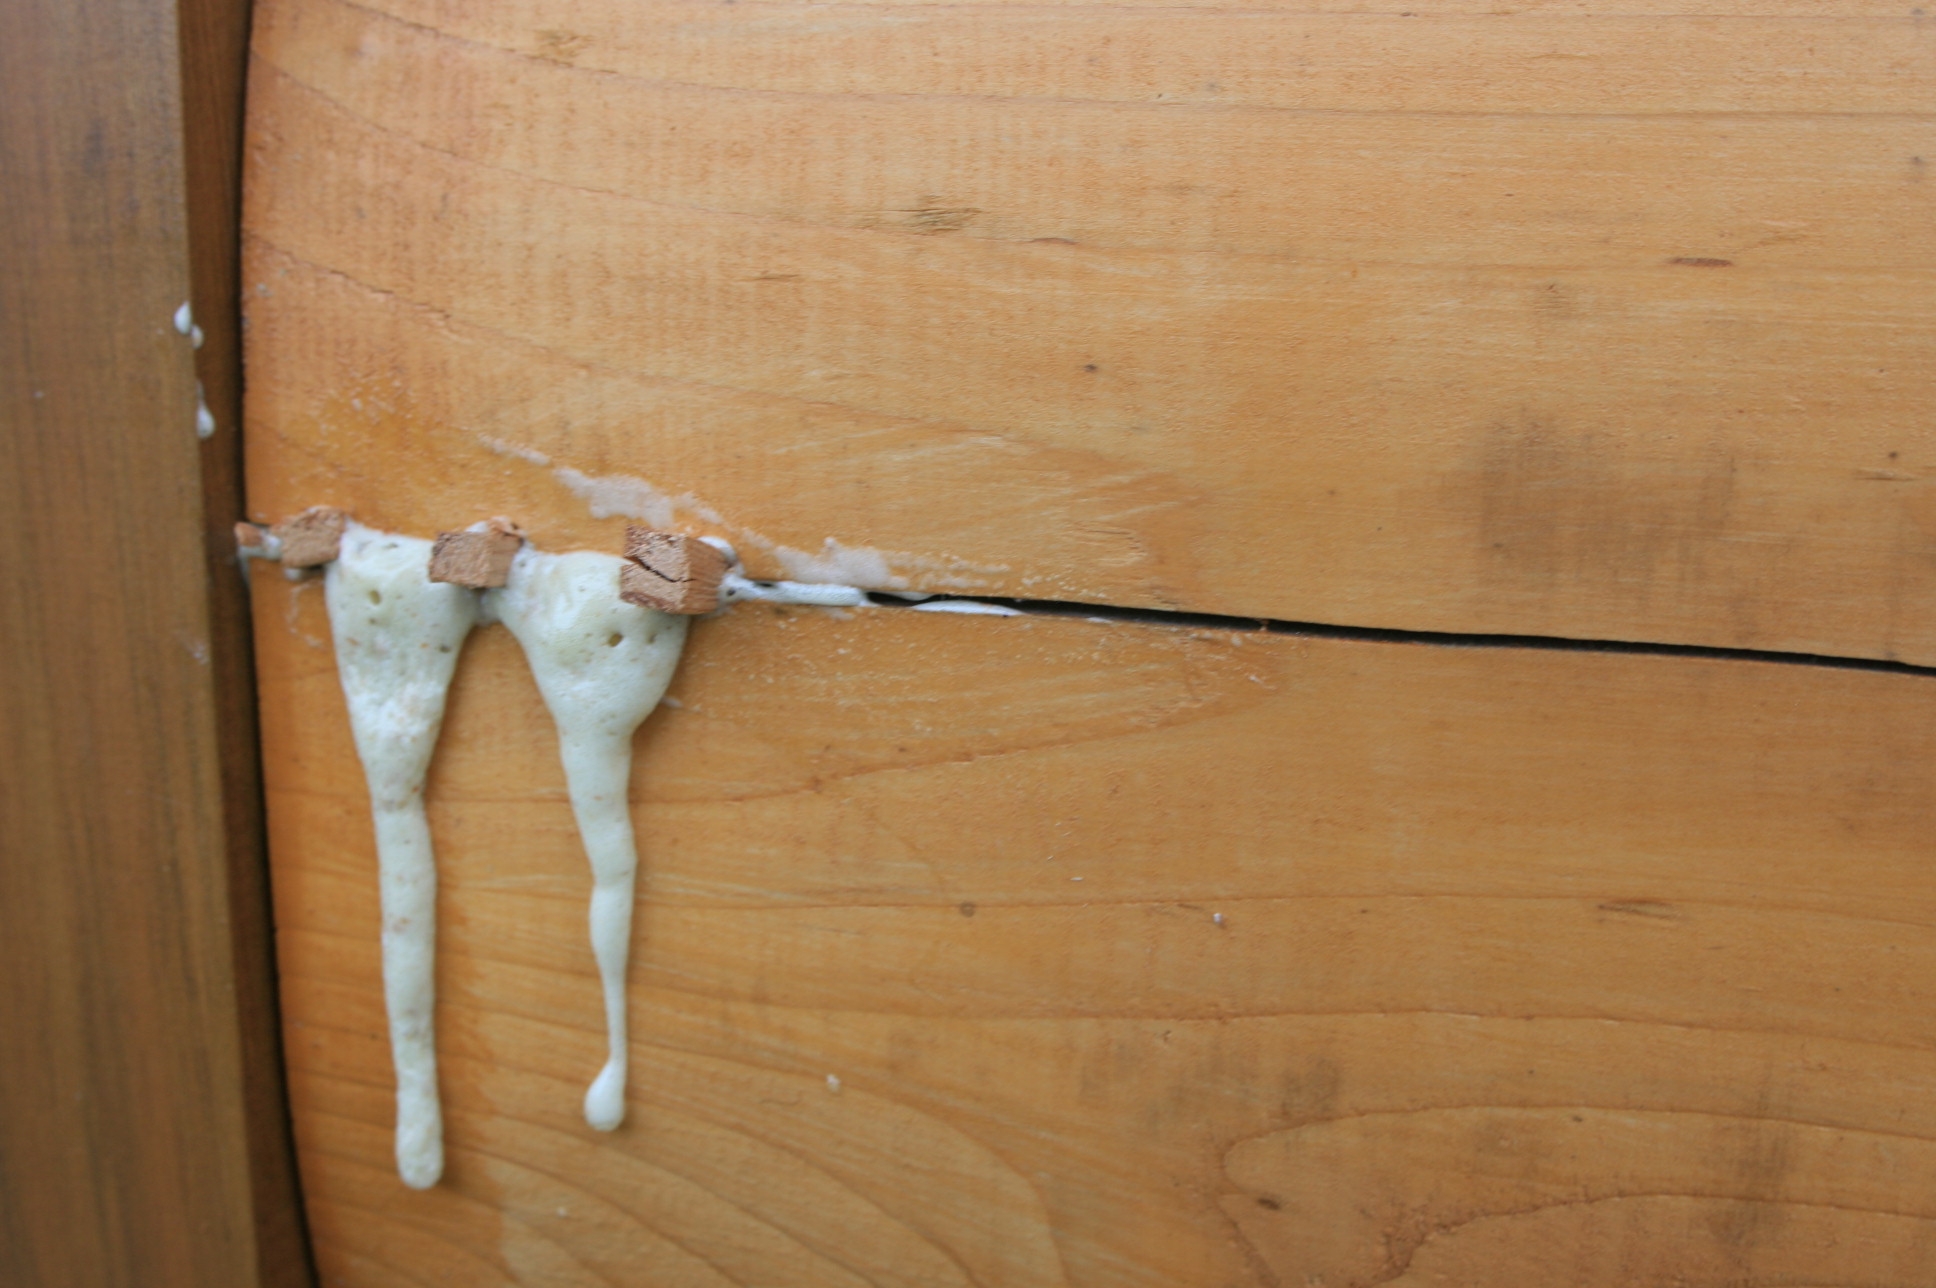
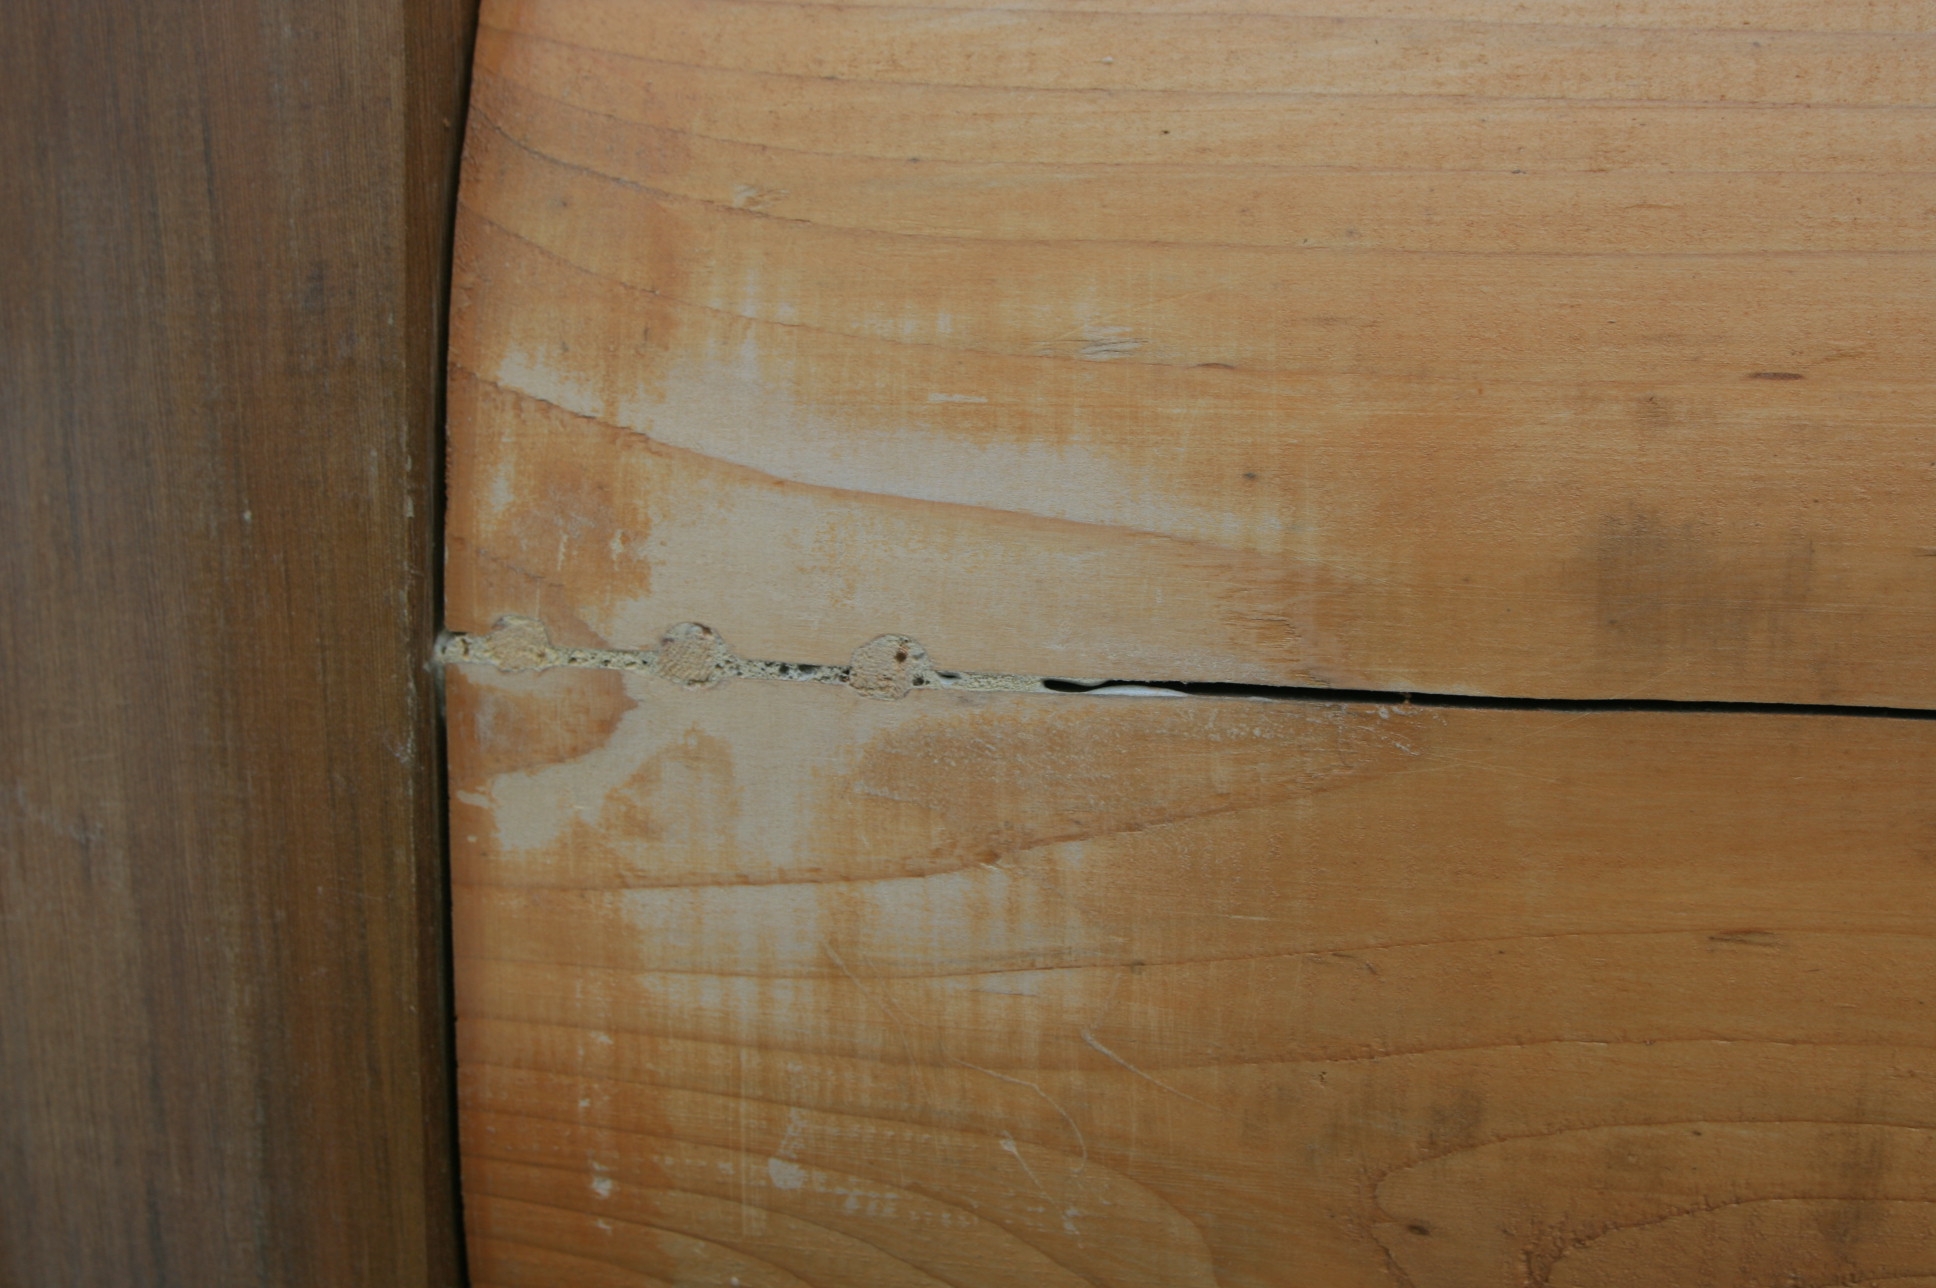
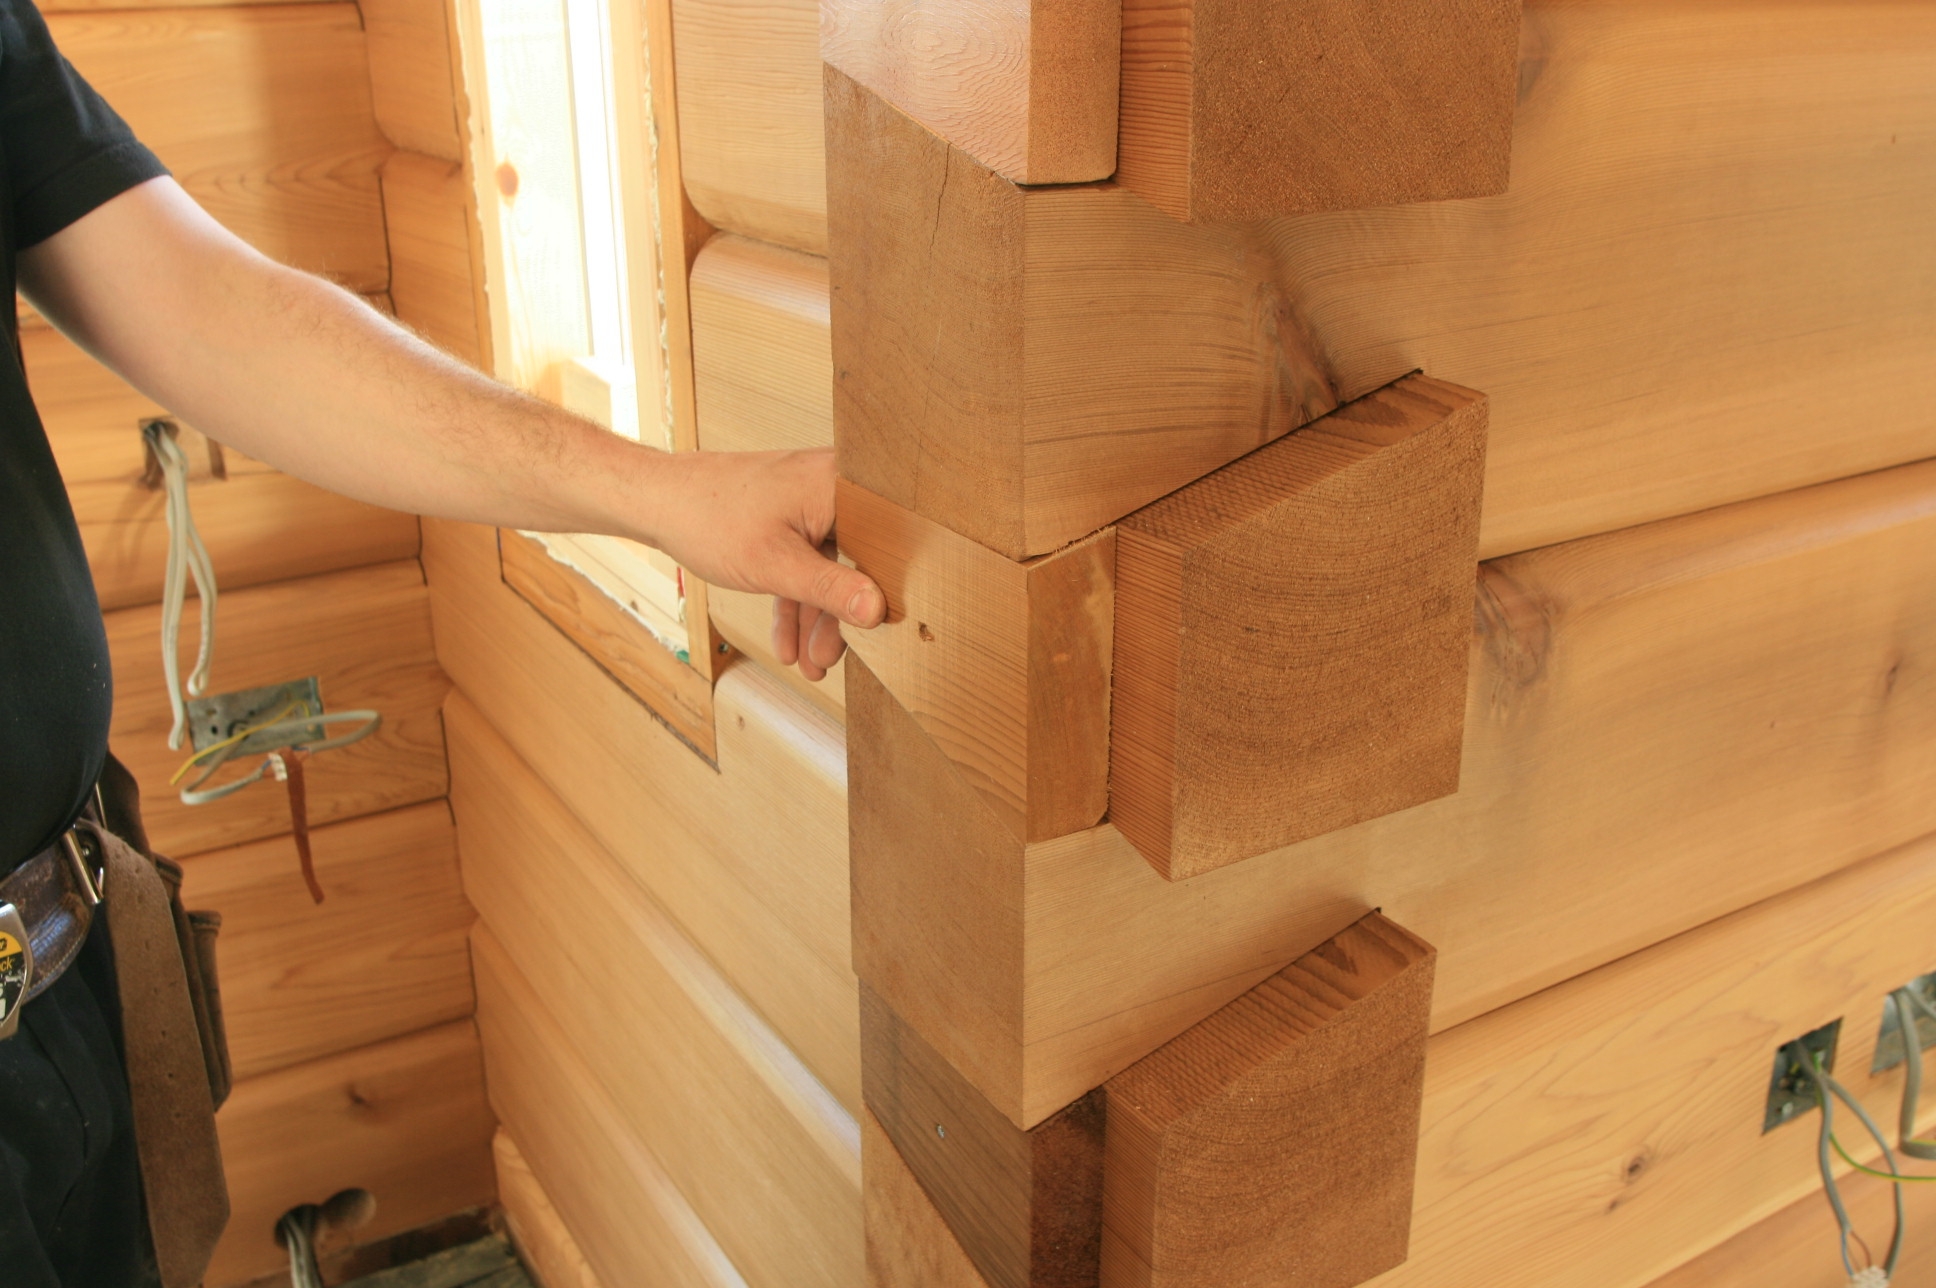
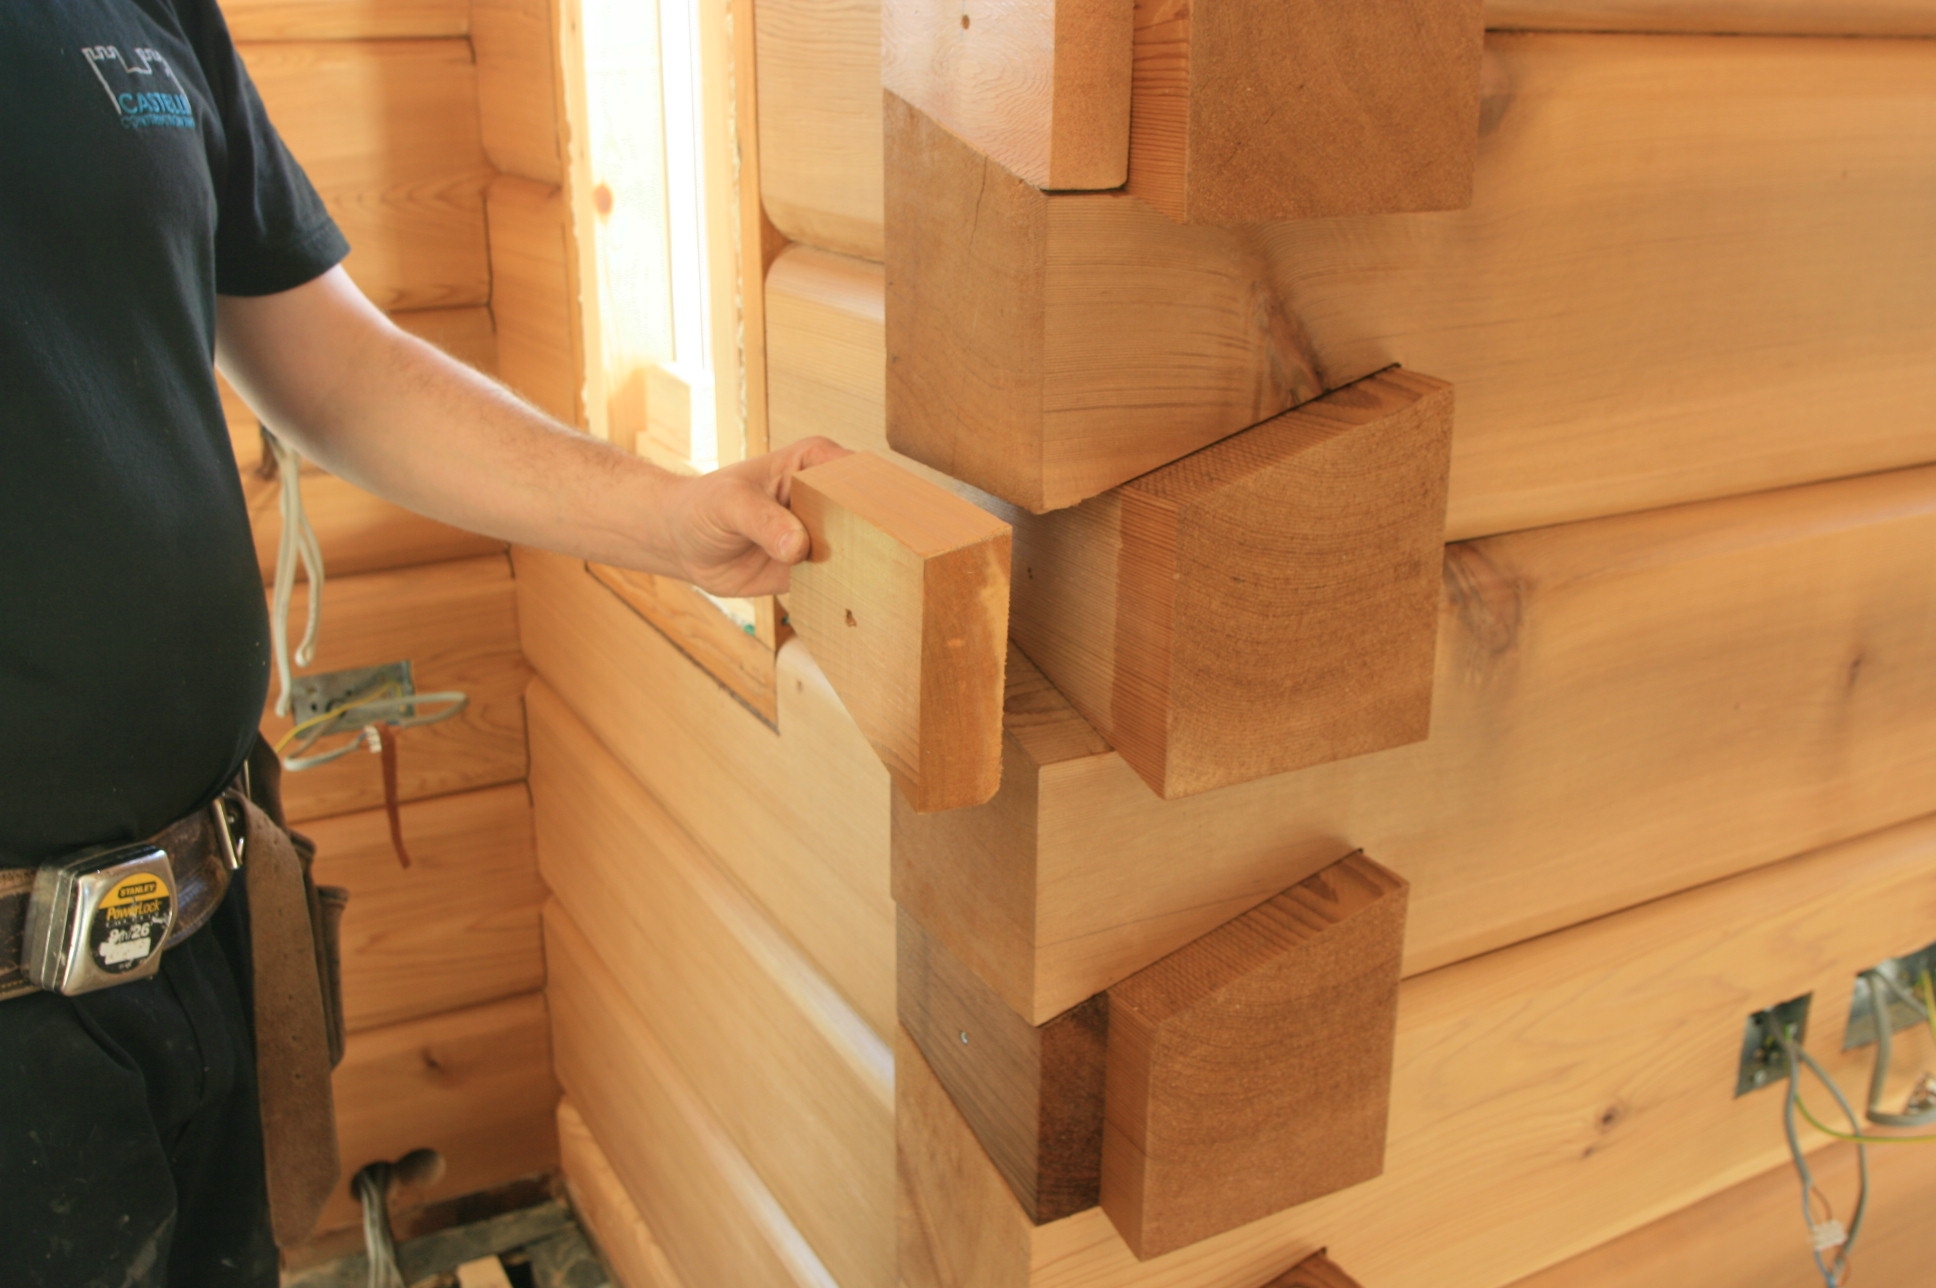
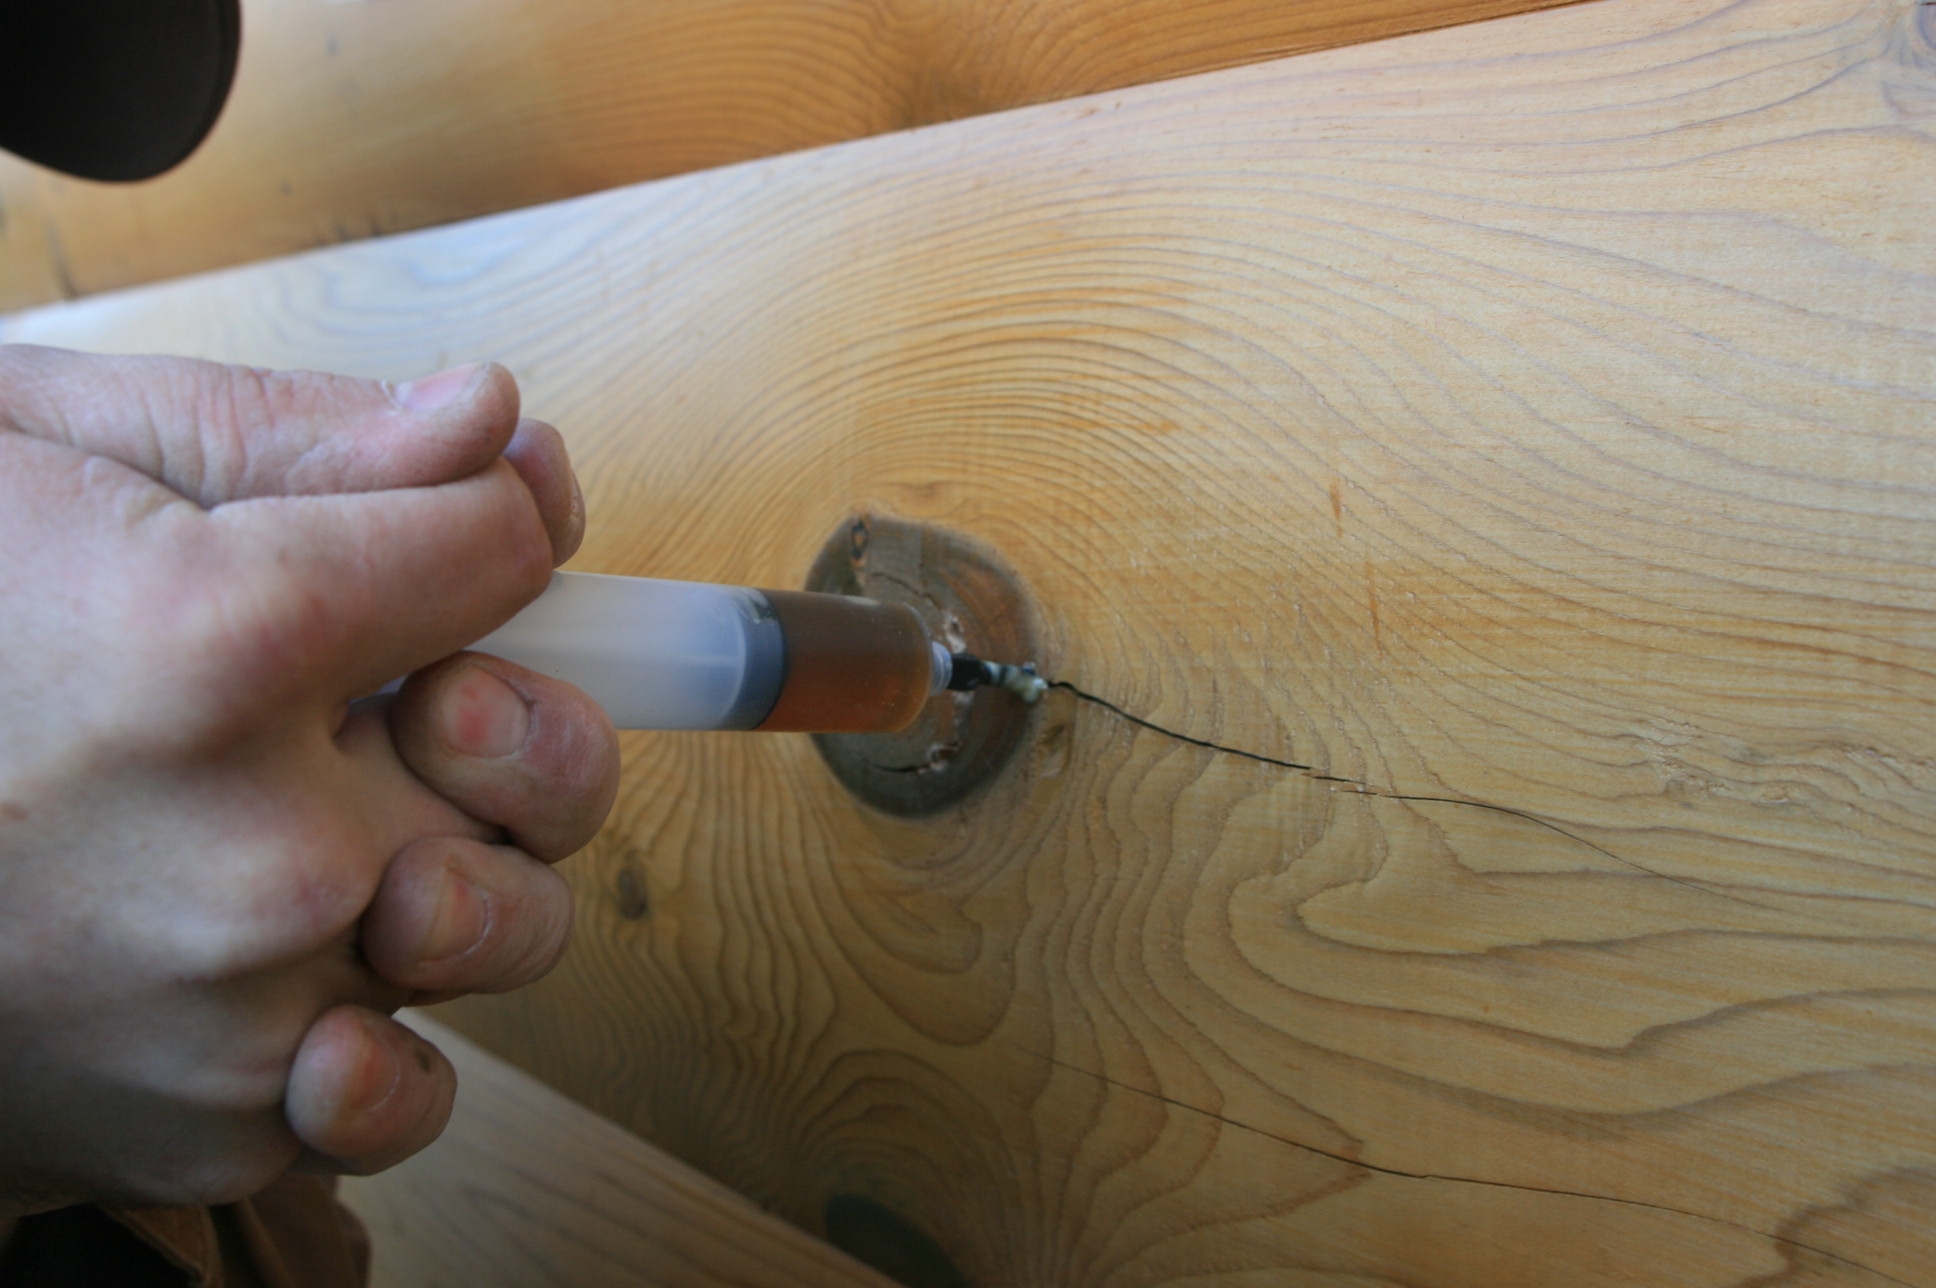
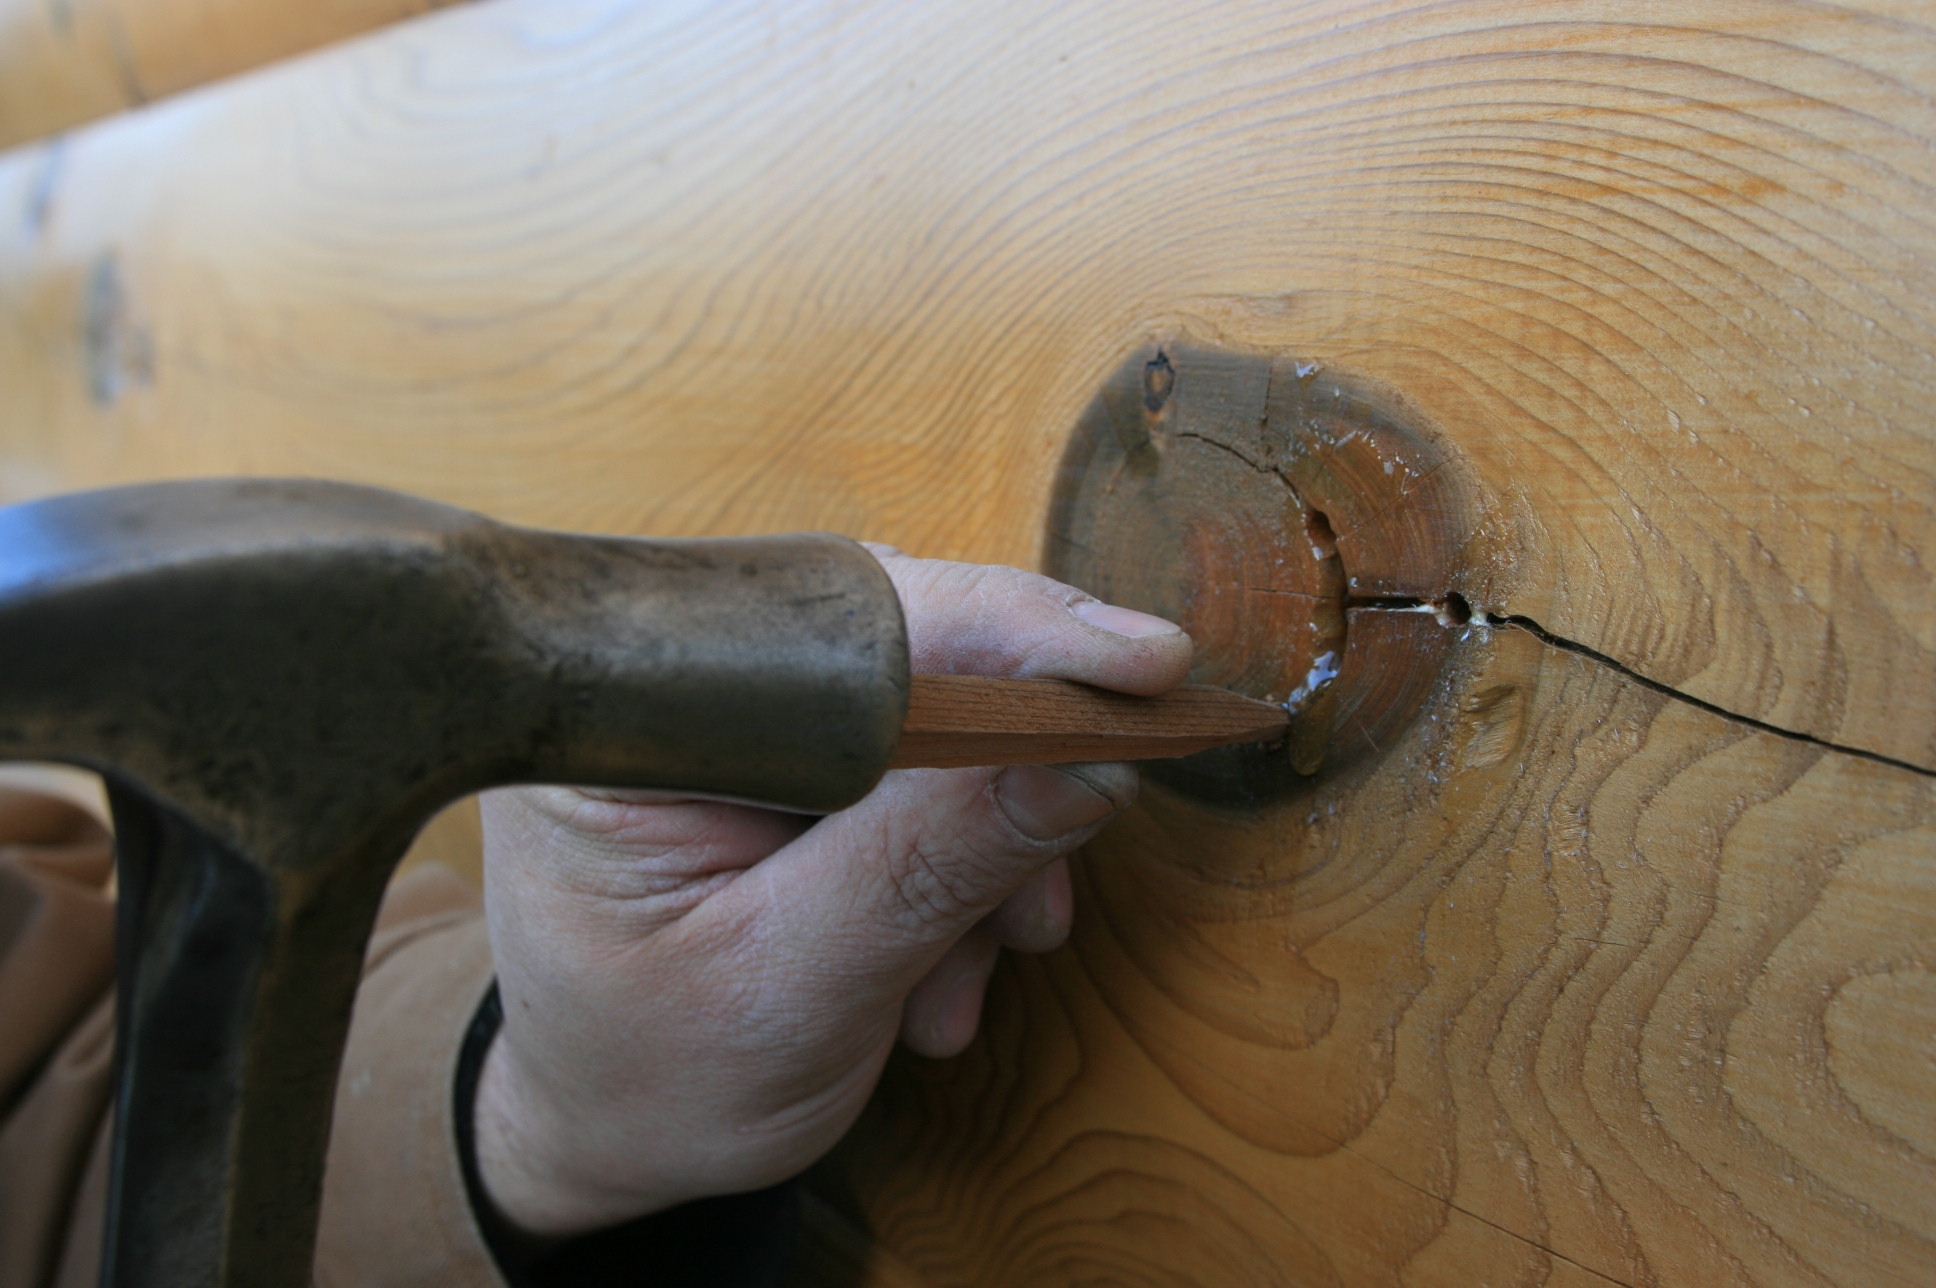
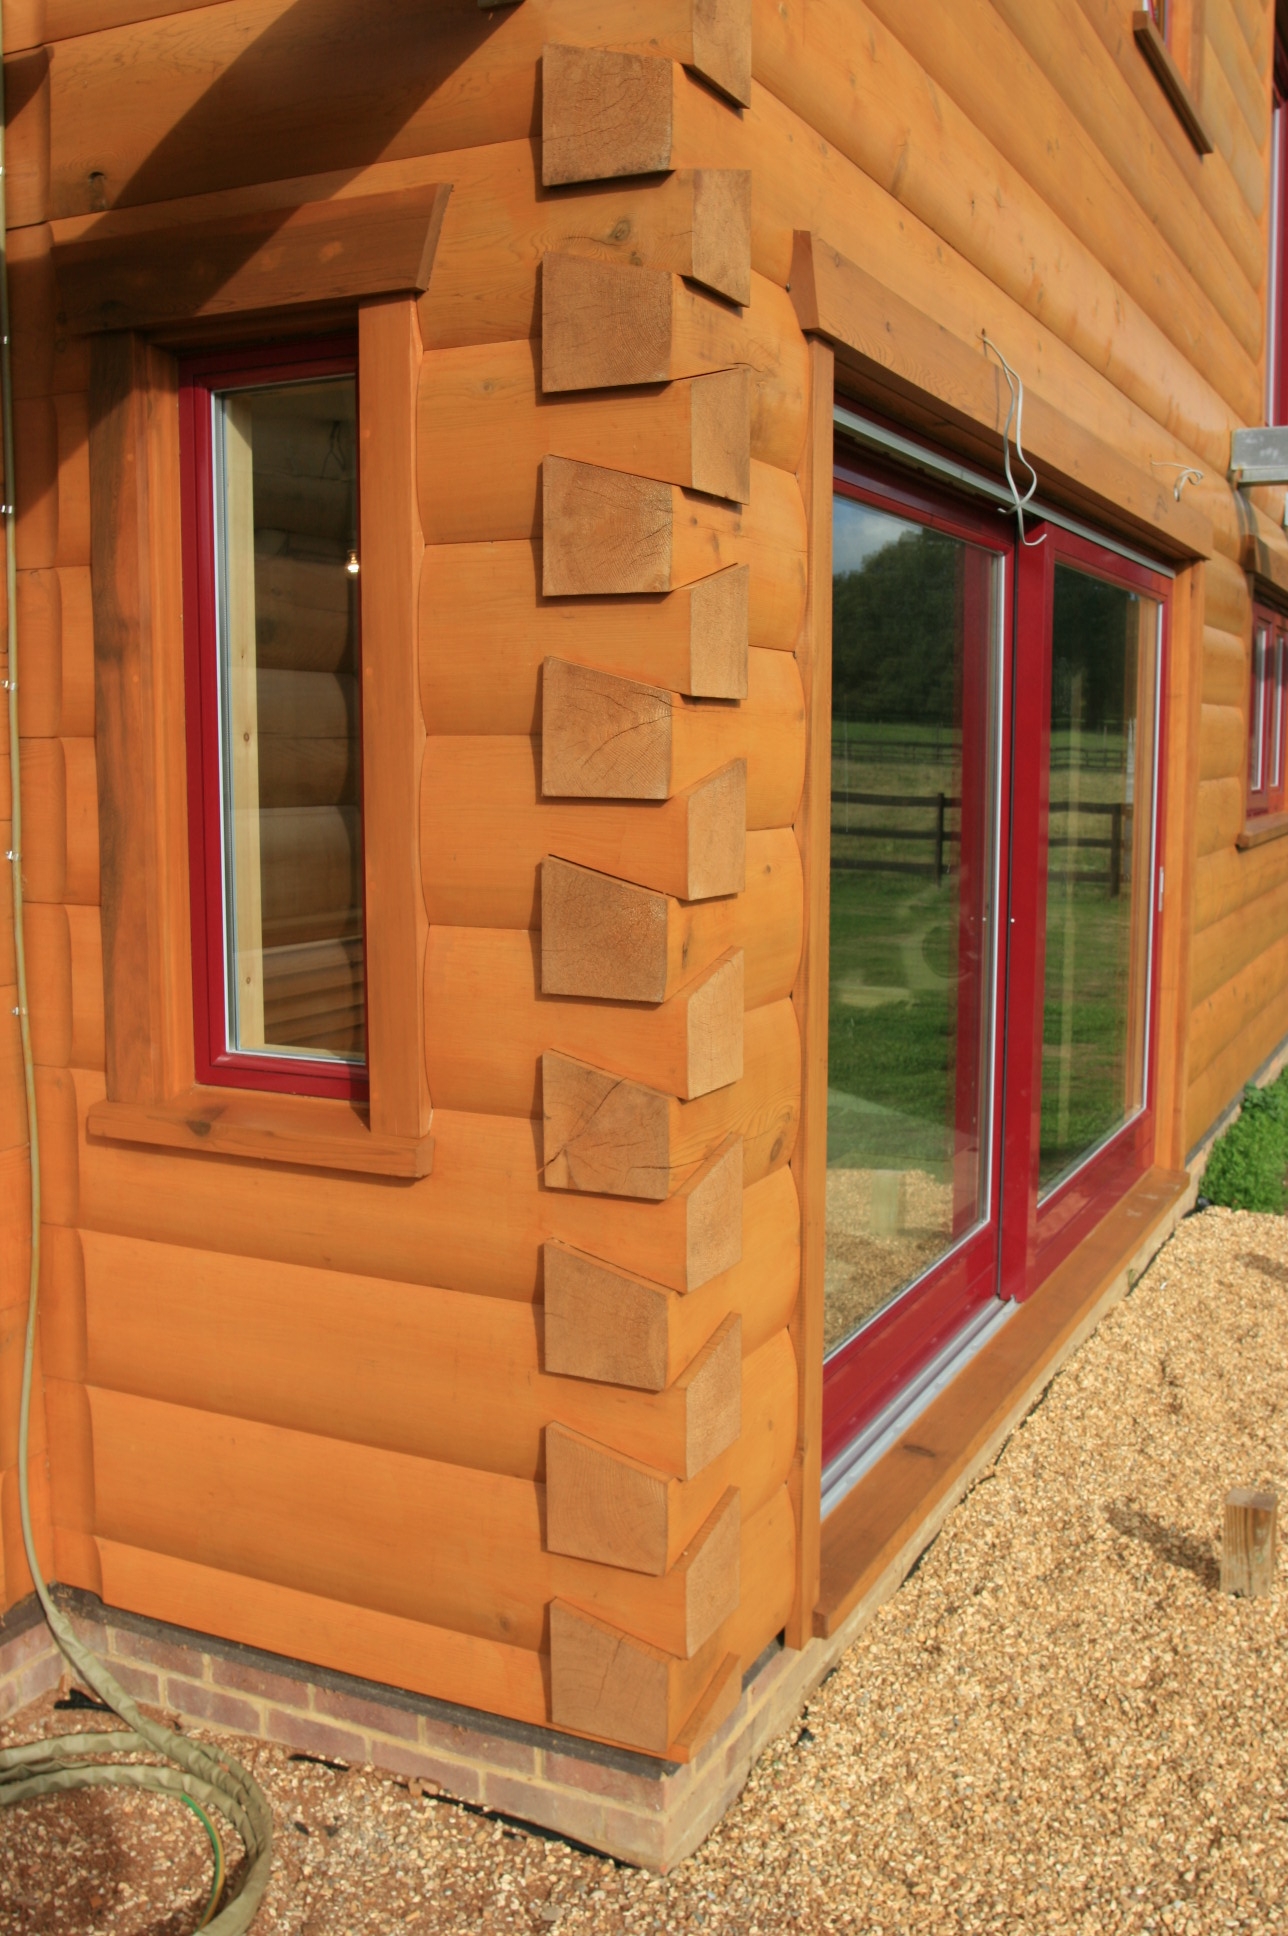
We found the leaky knots in the last post, but also some strange drips from some of the studs that run vertically through the house, just above the top of the frame of the glass double sliding doors. We think it could be water running along some of the “shakes” in the logs and some how getting round the 6 seals that run along the log. So as well as filling short shakes with glue as per the last post, we have also covered some of the larger shakes higher up the house with duct tape, to give us a quick idea as to whether they are the culprit.

Of course now we need mother nature to repeat her strong Southerly wind and persistent heavy rain. With high pressue weather, light winds and no rain over us for the last 10 days, we may have to resort to simulating the rain.

window-testing.jpg 
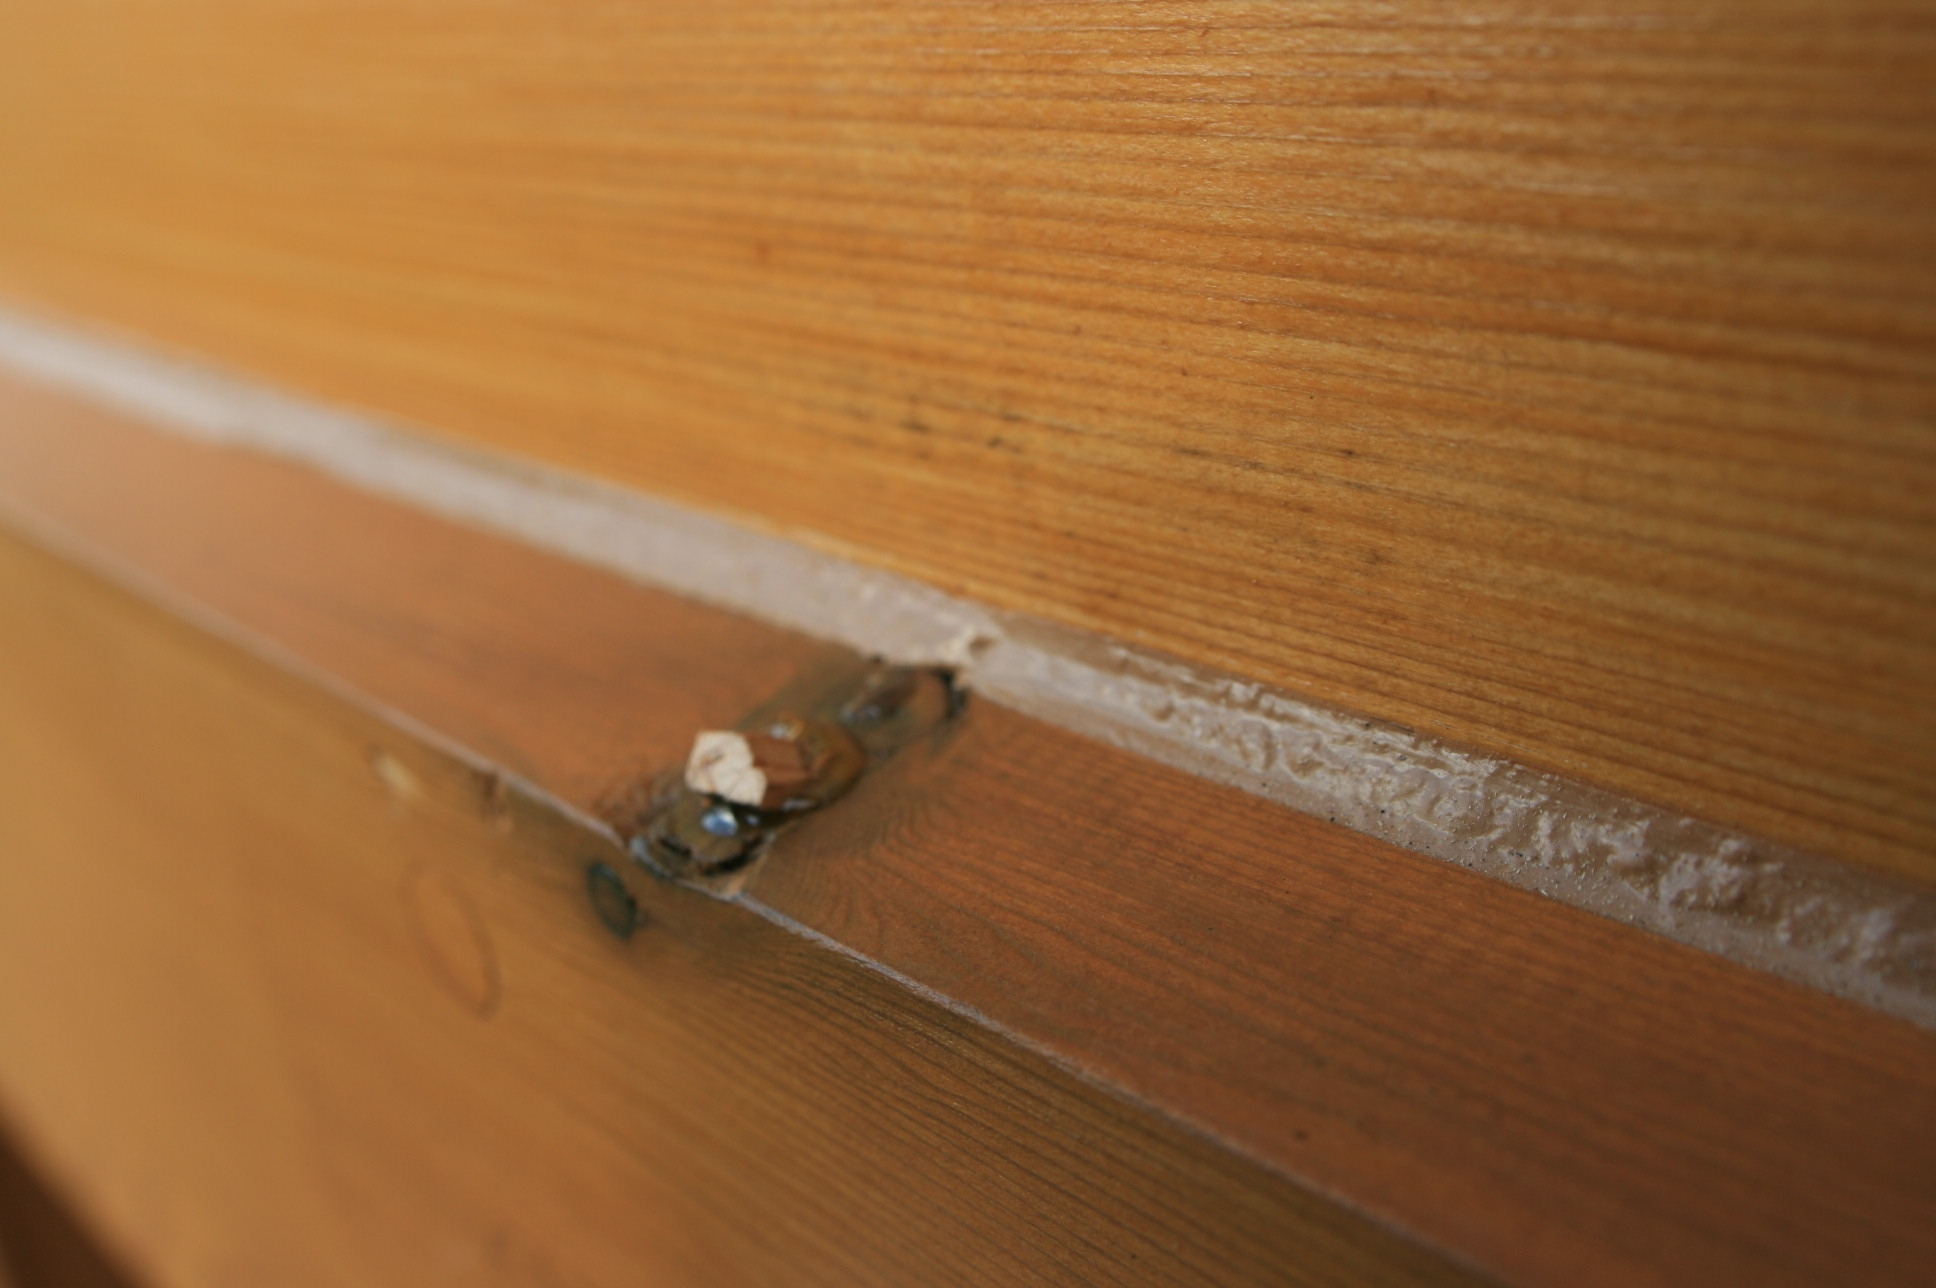
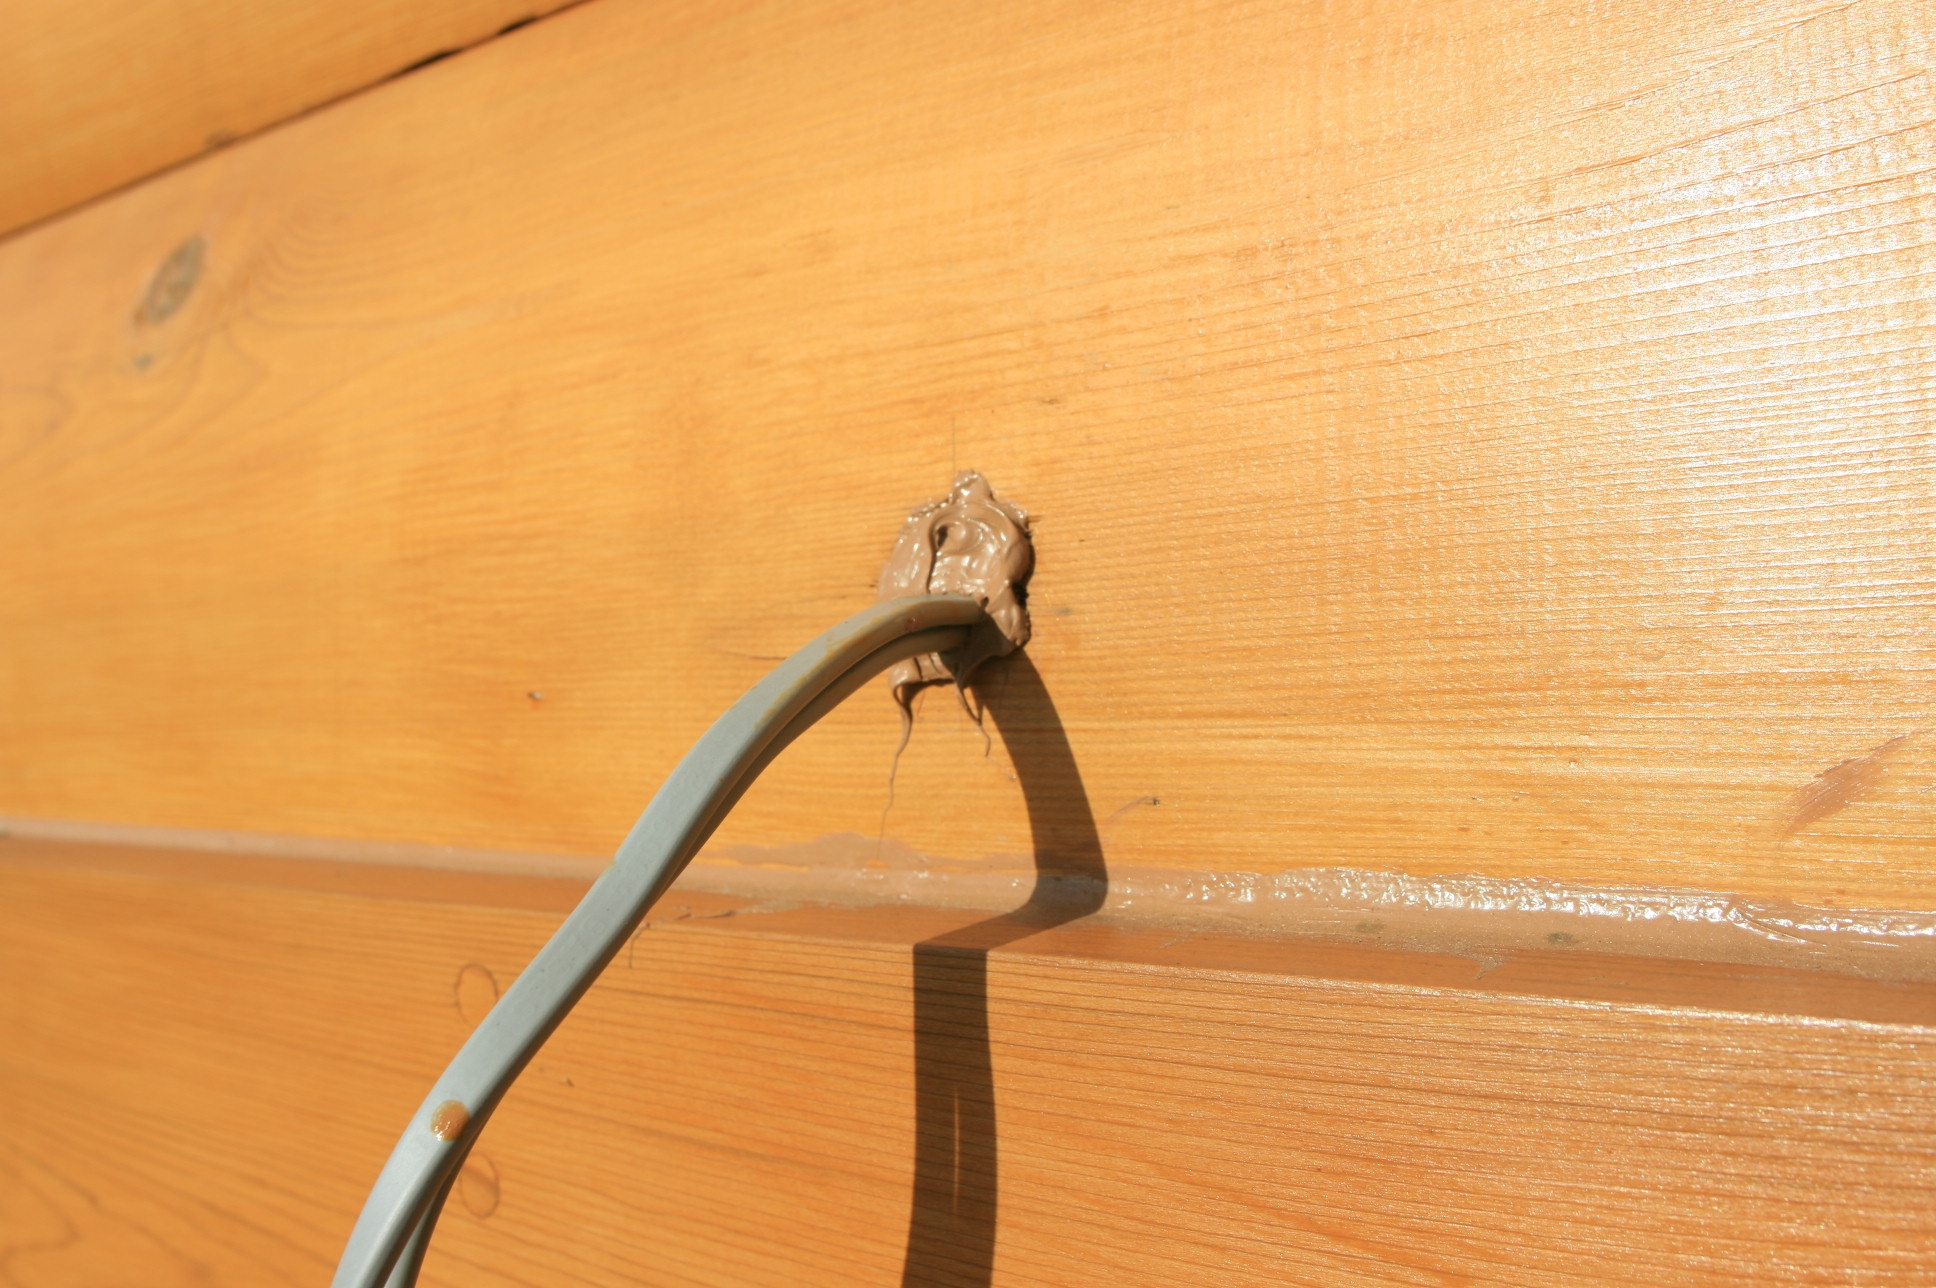
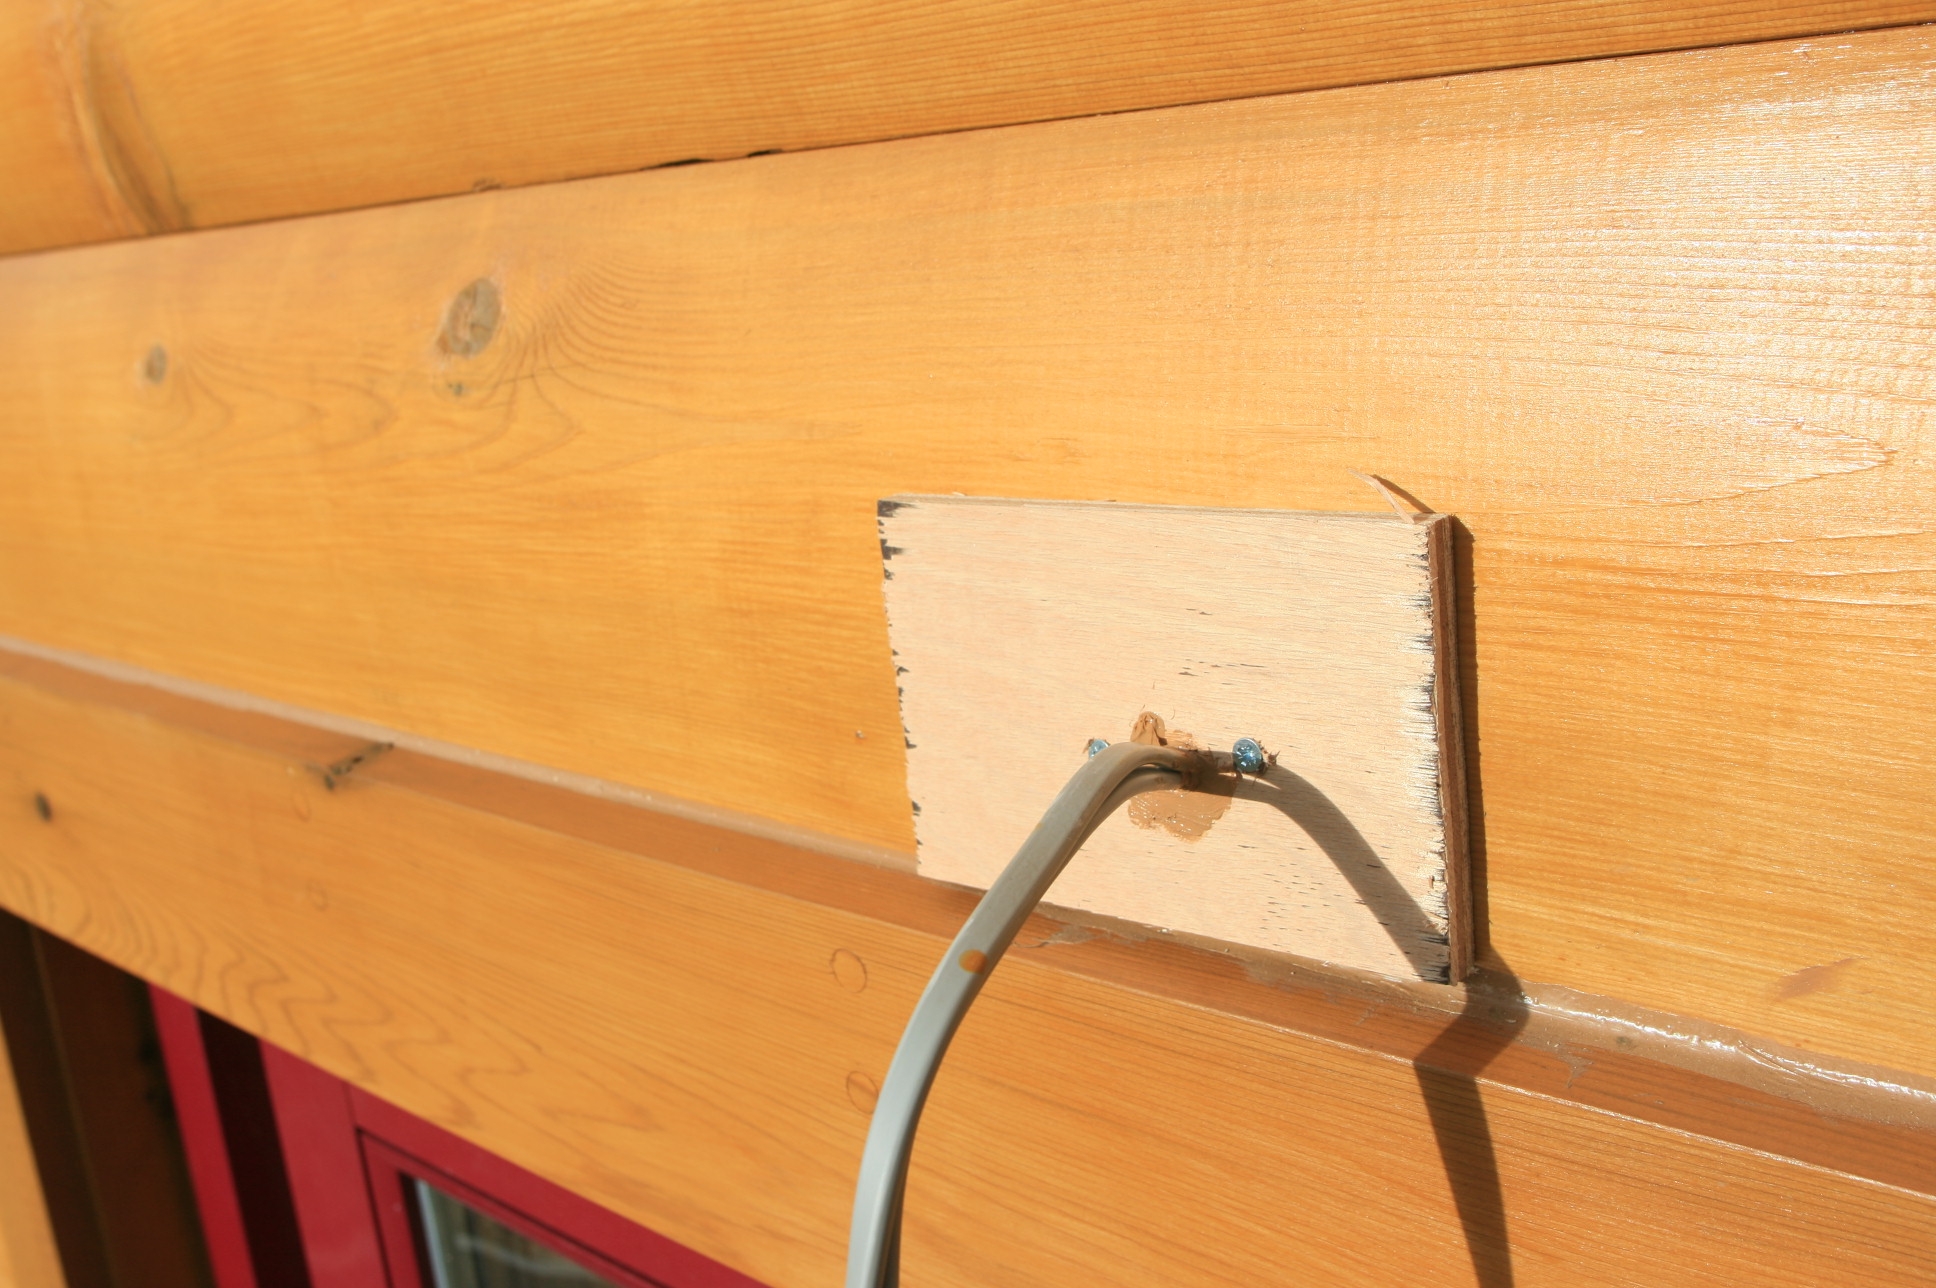
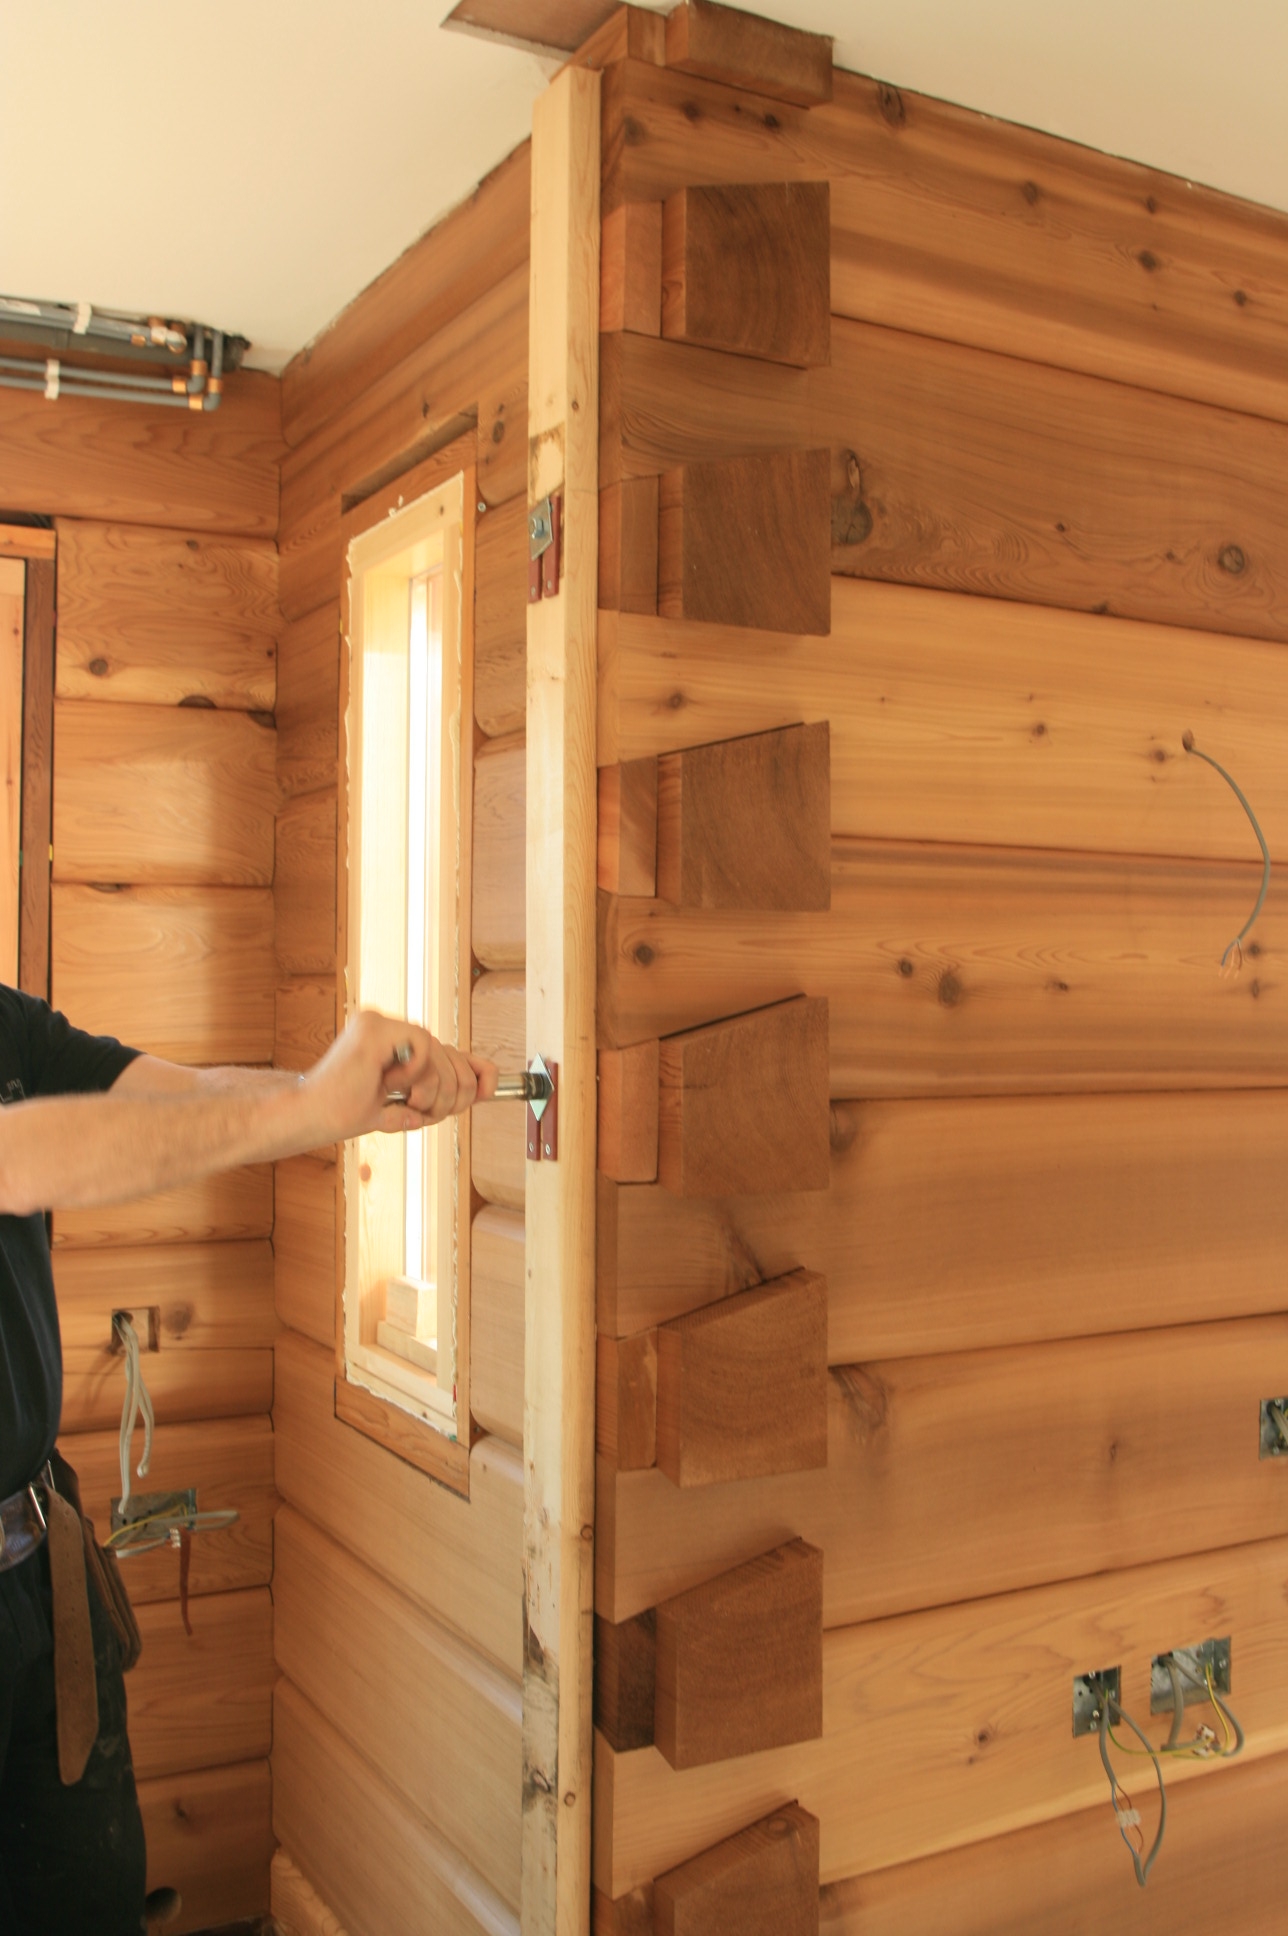
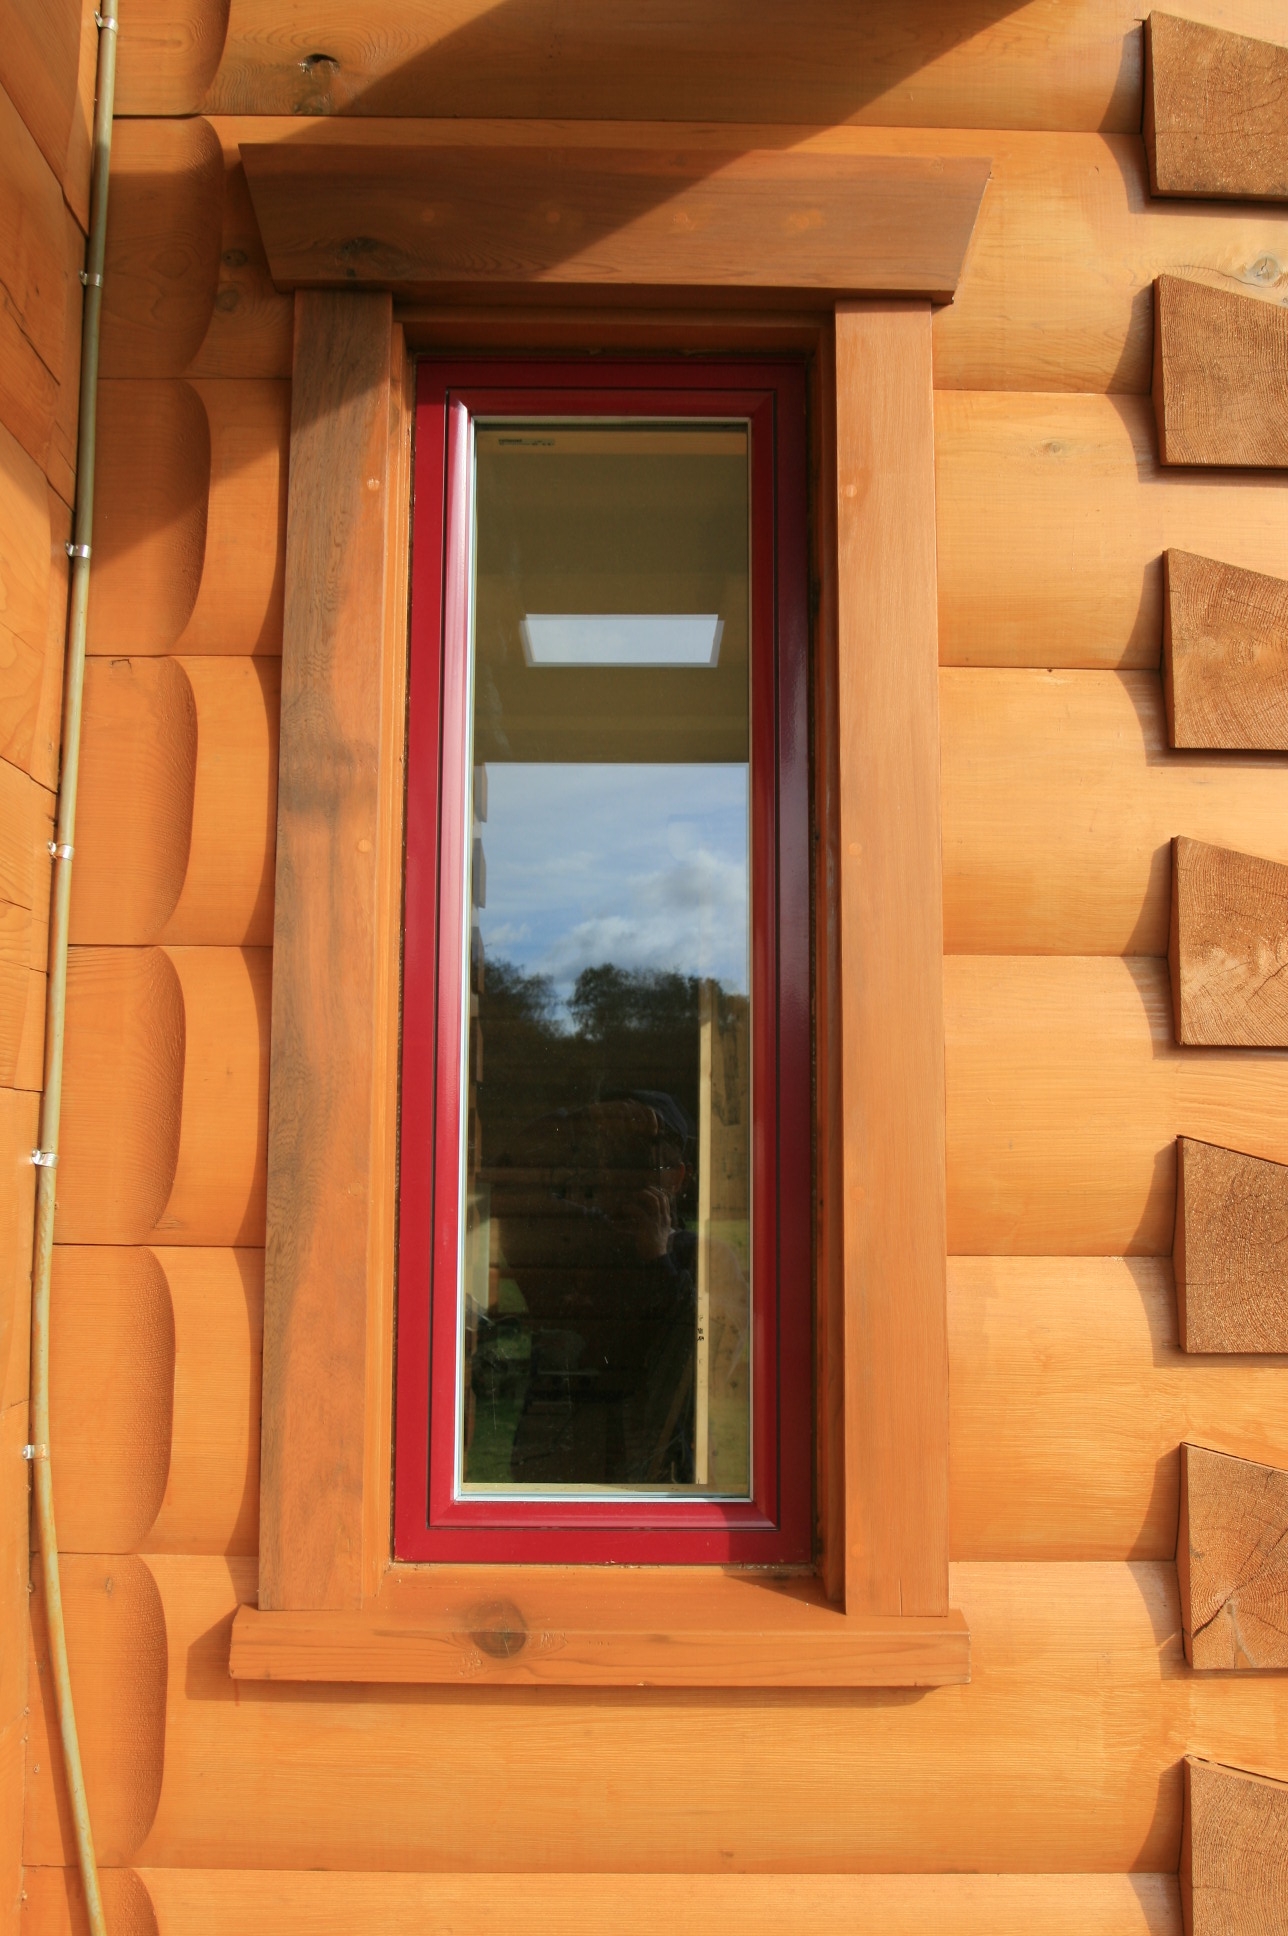
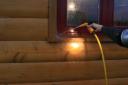
Like this! Here we were trying to find a very small leak during that day of rain, and in the end had to resort to the hose pipe. We found it, but it was so small, we’re not sure how to seal it. It’s a real strange one between the bottom of the external architrave and the window sill and other than taking the architrave off again, we may have to “can foam” it from behind.

Dec 24 2008

Sealing shakes on the log house

-

log-shake-sealing-one.jpg As well as some leaking knots, we also have some large cracks in some logs called “shakes” that go deep enough into the logs to cause leaks with strong wind and rain. Here the shake is allowing water to get in behind the window architrave, so we have drilled it and used a syringe with expanding glue like we did for the knots to attempt to seal up the shake close to the window.

 log-shake-sealing-two.jpg Once the glue is set the wooden pegs we drive into the drill holes are shaved off.

log-shake-sealing-three.jpg For any poor log home enthusiast who needs to know, this is the glue we are using.

Dec 12 2008

Building a stud wall off an internal dovetail corner in the log house

-

When we first looked at the detail drawings for the house from the log supply company we were concerned with how we would build some of the internal walls off the corner of dovetails where they appear in the house.

 wall-dovetail-stud-block.jpg First of all, using some left over Western Read Cedar, we need to make sufficient infill blocks to creat one consistent surface to commence the log wall

 wall-dovetail-stud-detail.jpg Then these are screwed in place and this creates the consistent surface for the stud wall to be fixed too.

wall-dovetail-stud-with-stiffner.jpg Then a piece of 4 x 2 is slotted and two 6″ “lag bolts” are used to secure this to the end of the dovetail and the start of the wall is in place. The lag bolts and slide plates must be set so that the bolts go into side grain and not end grain so you need to take this into account when marking out and making the two slots. 

The advantage of putting the blocks in place to create a flat surface for the stud wall to start is that if you should ever wish to take the wall down you will be able to do so, remove the infill pieces and you have just a few screw holes to plug and hey presto, no one knows the wall was ever there.

Dec 2 2008

Fixing a hole where the rain gets in to the log house

-

So the house is made of a natural material, so naturally it has a few quirks. Like leaking from strange places when the rain is heavy enough and the wind is strong enough to find any ways in.

log-knot-leaks-one.jpg

 With some recent weather we were surprised to find water dripping on the inside of the log walls in a few places. The culprits were large knots in the wood that went throughthe log and were near “shakes” (cracks) in the log or had cracks in themselves.

log-knot-leaks-two.jpg So we measured where the offending knots were inside the house and went outside and translated these dimensions to the culprits on the outside (as the knots are not necessarily going straight through the logs). We then drilled with a 6mm drill in a few places.

log-knot-leaks-three.jpg Then we put some polyeurythene glue in using a syringe with a needle to get it deep into the wood.

 log-knot-leaks-four.jpg And then we hammered some wooden pegs in to keep the glue in and help pressurize it into the cracks. We now have to wait to see if this works next time we get heavy rain and wind. Or of course you could test it with a high pressure hose pipe (not a steam cleaner or pressure washer!)

Oct 31 2008

Last Window in the log house

-

window-cutting-with-trims.jpg    

The last window installation is completed with the headers and architrave fitted. With our recent experience of leaks on the logs and with this window facing the south west winds we have been very carefull to make sure it is well sealed.

window-cutting-complete-view.jpg

Oct 27 2008

Log siding completed

-

wall-siding-in-place-downstairs.jpg A week or so later and all the siding in the house is fitted. You can see the difference at the far end of this room, compared with the original shot before fitting shown below.

log-siding-acclimatising.jpg