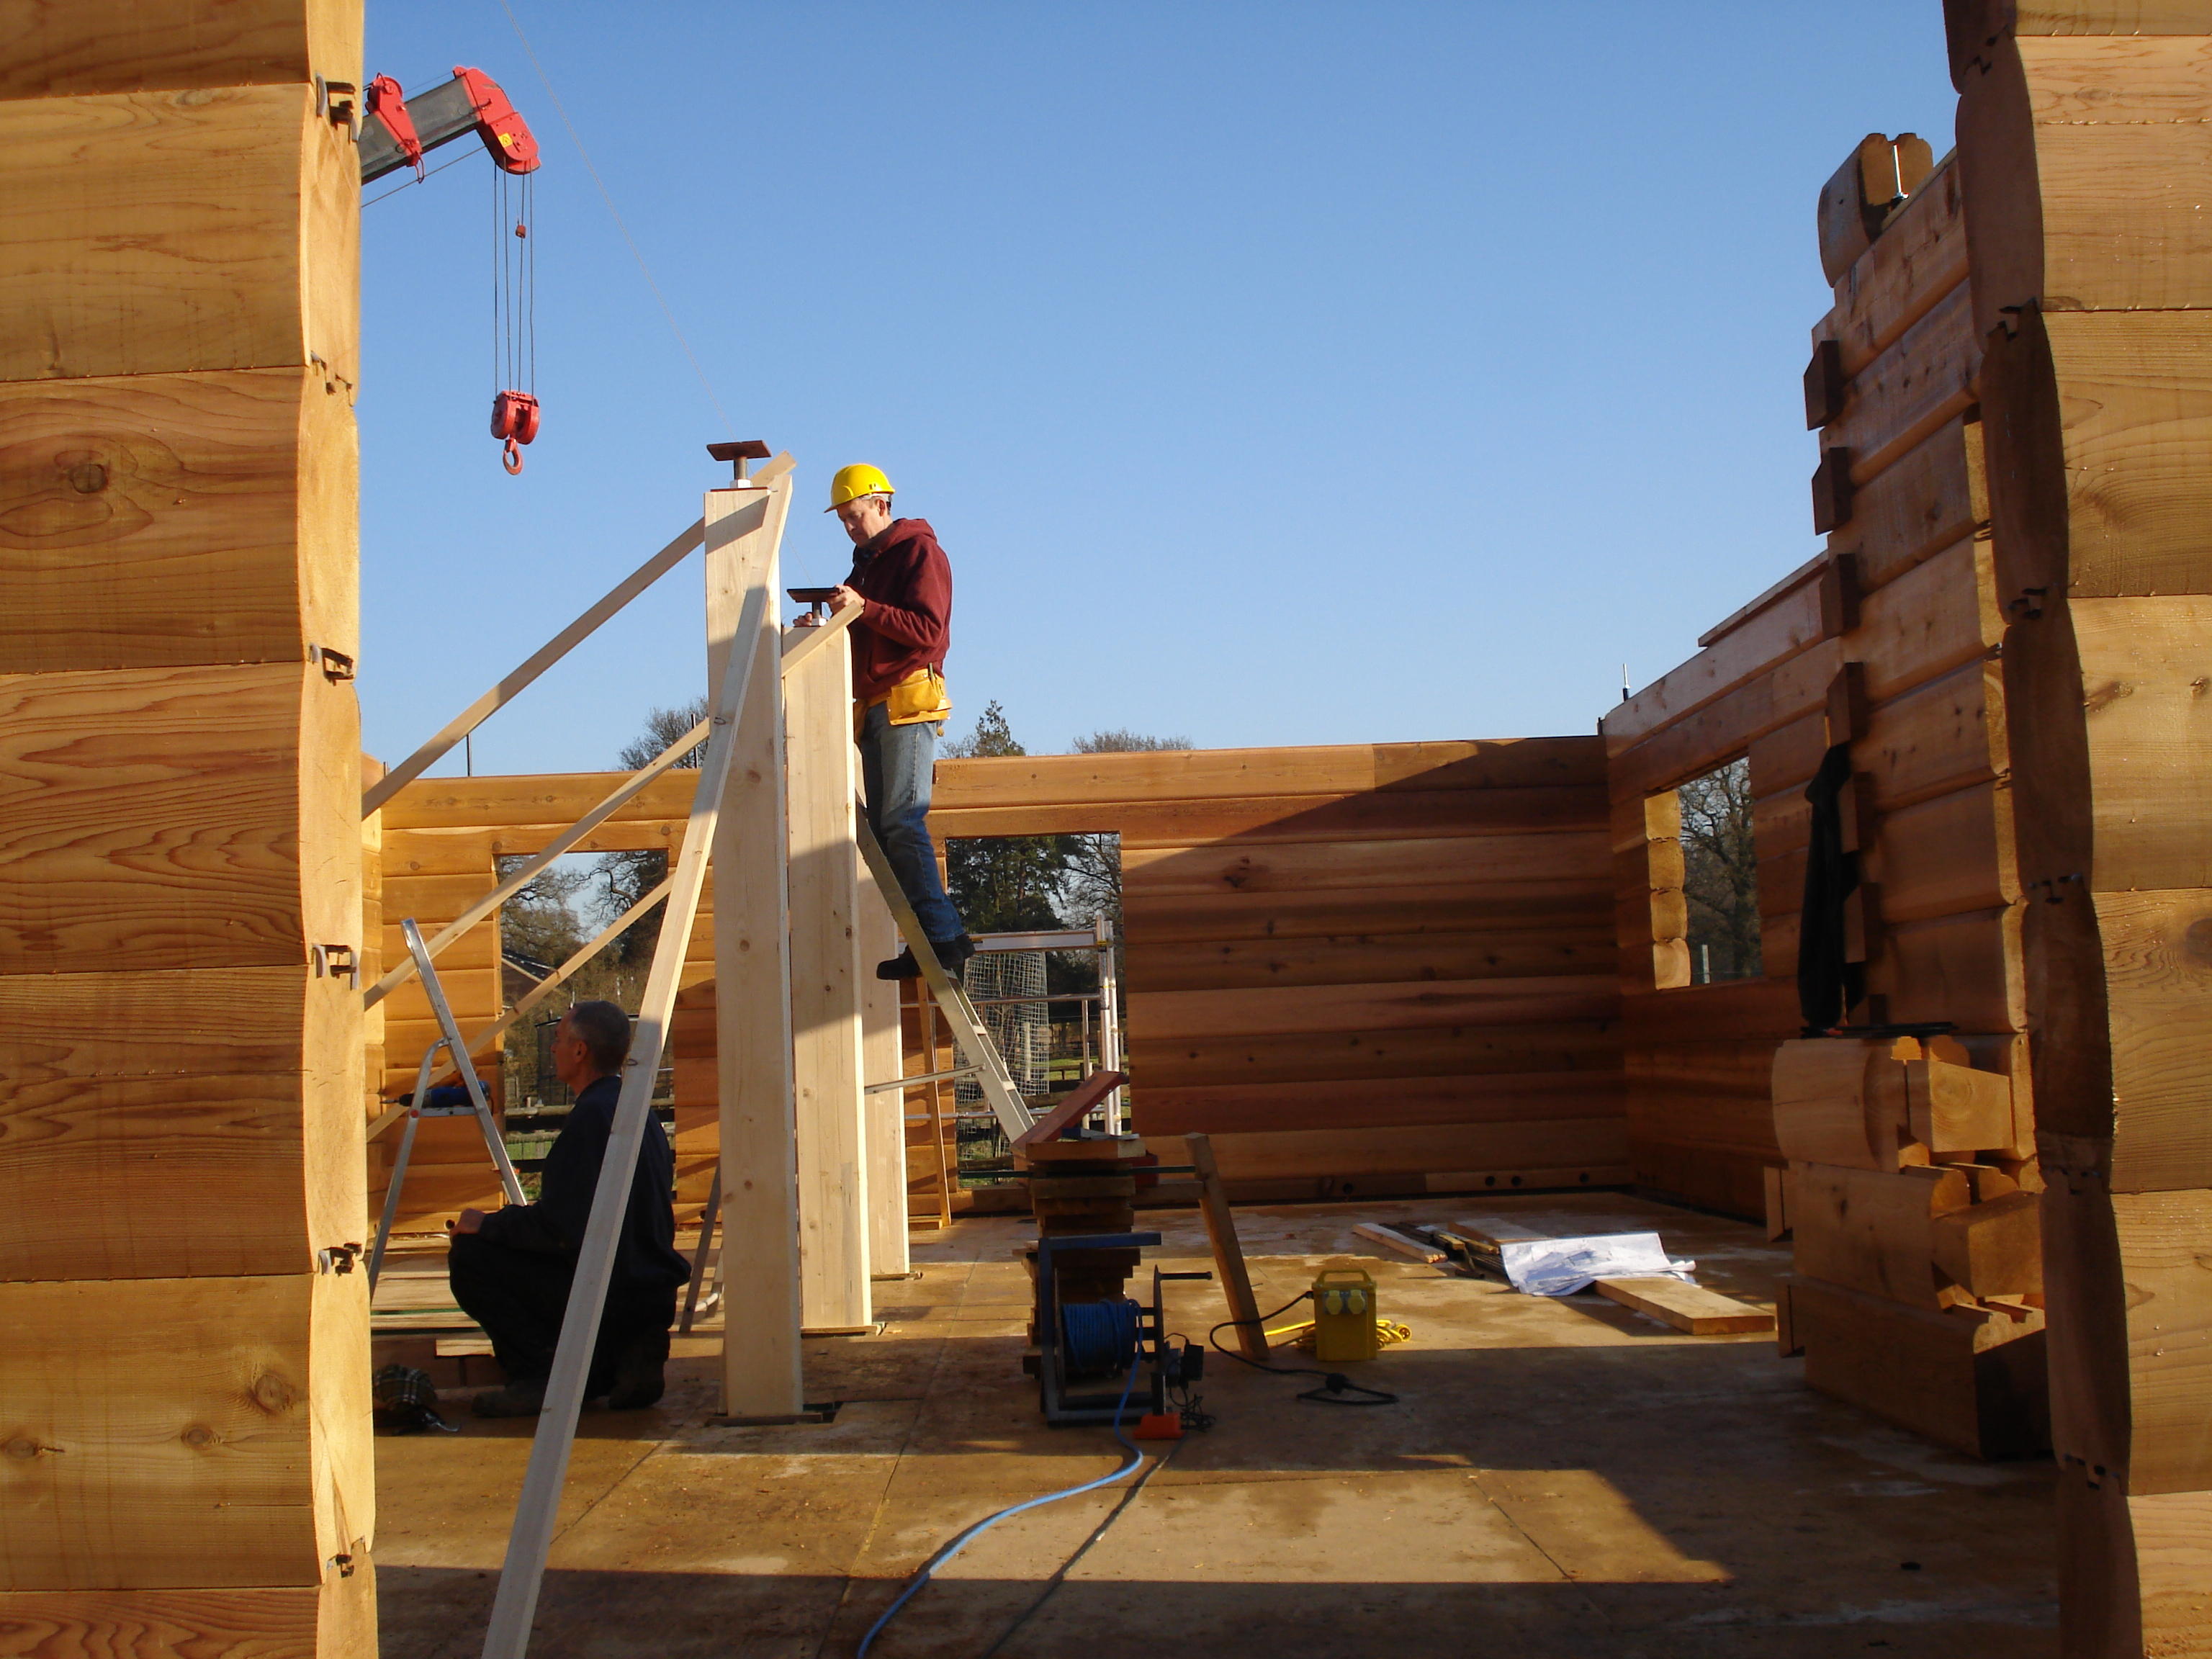
As we come towards the end of the ground floor log stack, it is time to get the posts up that will support the floor beams. We can then put the floor joists and a temporary floor down to enable the upstairs floor logs to be stacked and on it goes.
Published by in Log House Construction
As we come towards the end of the ground floor log stack, it is time to get the posts up that will support the floor beams. We can then put the floor joists and a temporary floor down to enable the upstairs floor logs to be stacked and on it goes.
Published by in Log House Construction
Prior to the logs arriving we sat down and decided where we would need wiring conduit for electrical, tv, phone etc services that would be set in the log walls. Then, as each log is stacked you have to drill with a long auger, checking with some conduit as you set each log that you are drilling bang on vertical. Where the conduit runs were going from floor to ceiling so going through 10 or more logs, the conduit was put in place after about 6 logs and left in place and logs lowered onto the conduit. It’s also very easy to forget to put a hole in, and once the next log is in place it’s too late! So bits of conduit were left in place sticking up to remind us.
Published by in Log House Construction
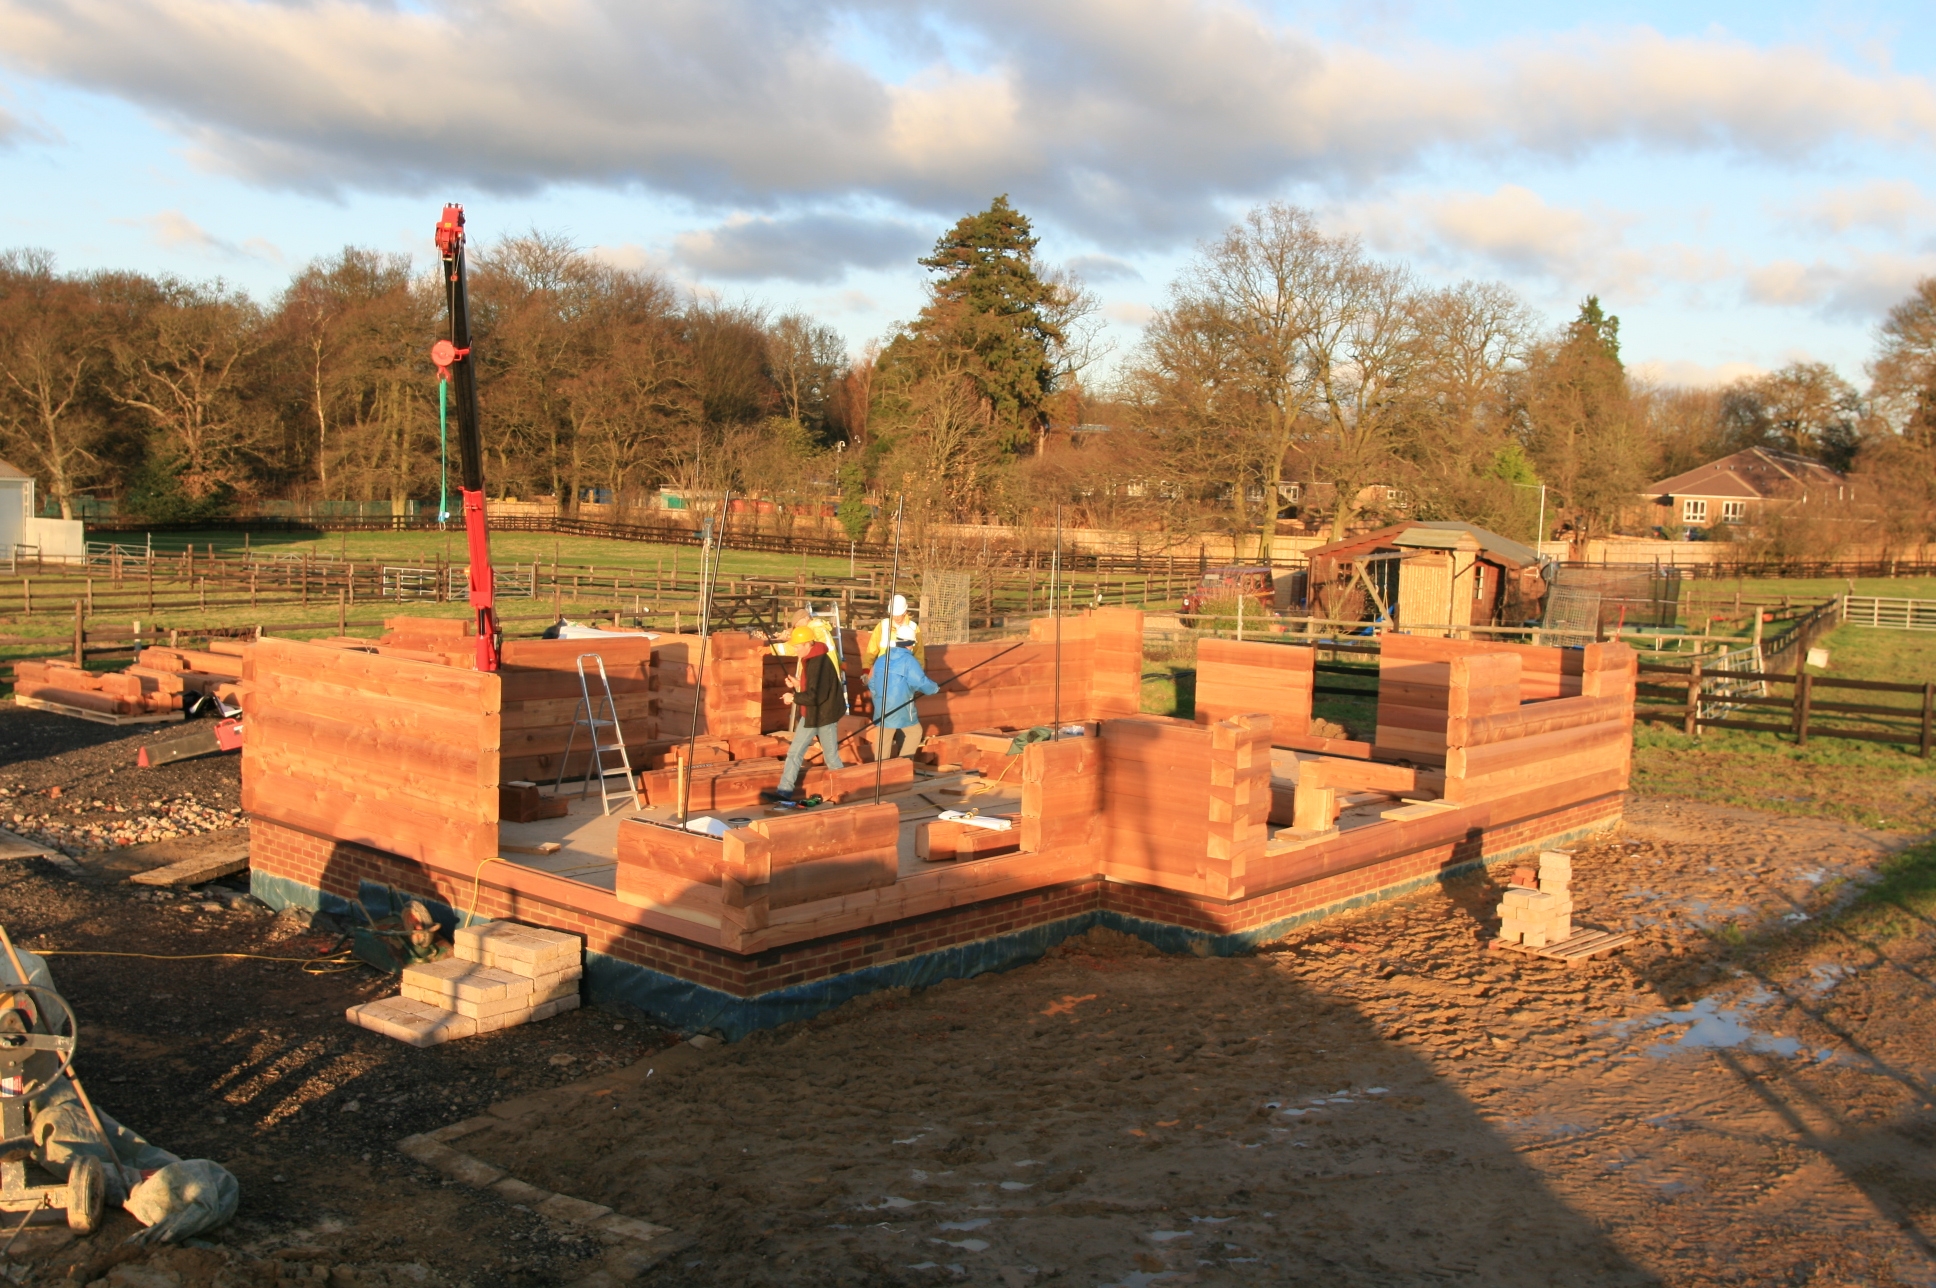 After just 3 days of stacking logs we are half way through the ground floor. Visually progress is going to be quick to start with but will slow up as we have to put in the joists for the floors when we get to the top of each floor. Nevertheless it is good fun and the weather is being very kind to us if a little cold.
Published by in Log House Construction
 Unfortunately the attempts of the North American suppliers to palletise the logs in the construction sequence is somewhat erratic. So logs that are for much later on need to be found a temporary home to one side to avoid constantly moving them around and risking damaging them. This get’s bigger and bigger until you reach the end!
Published by in Log House Construction
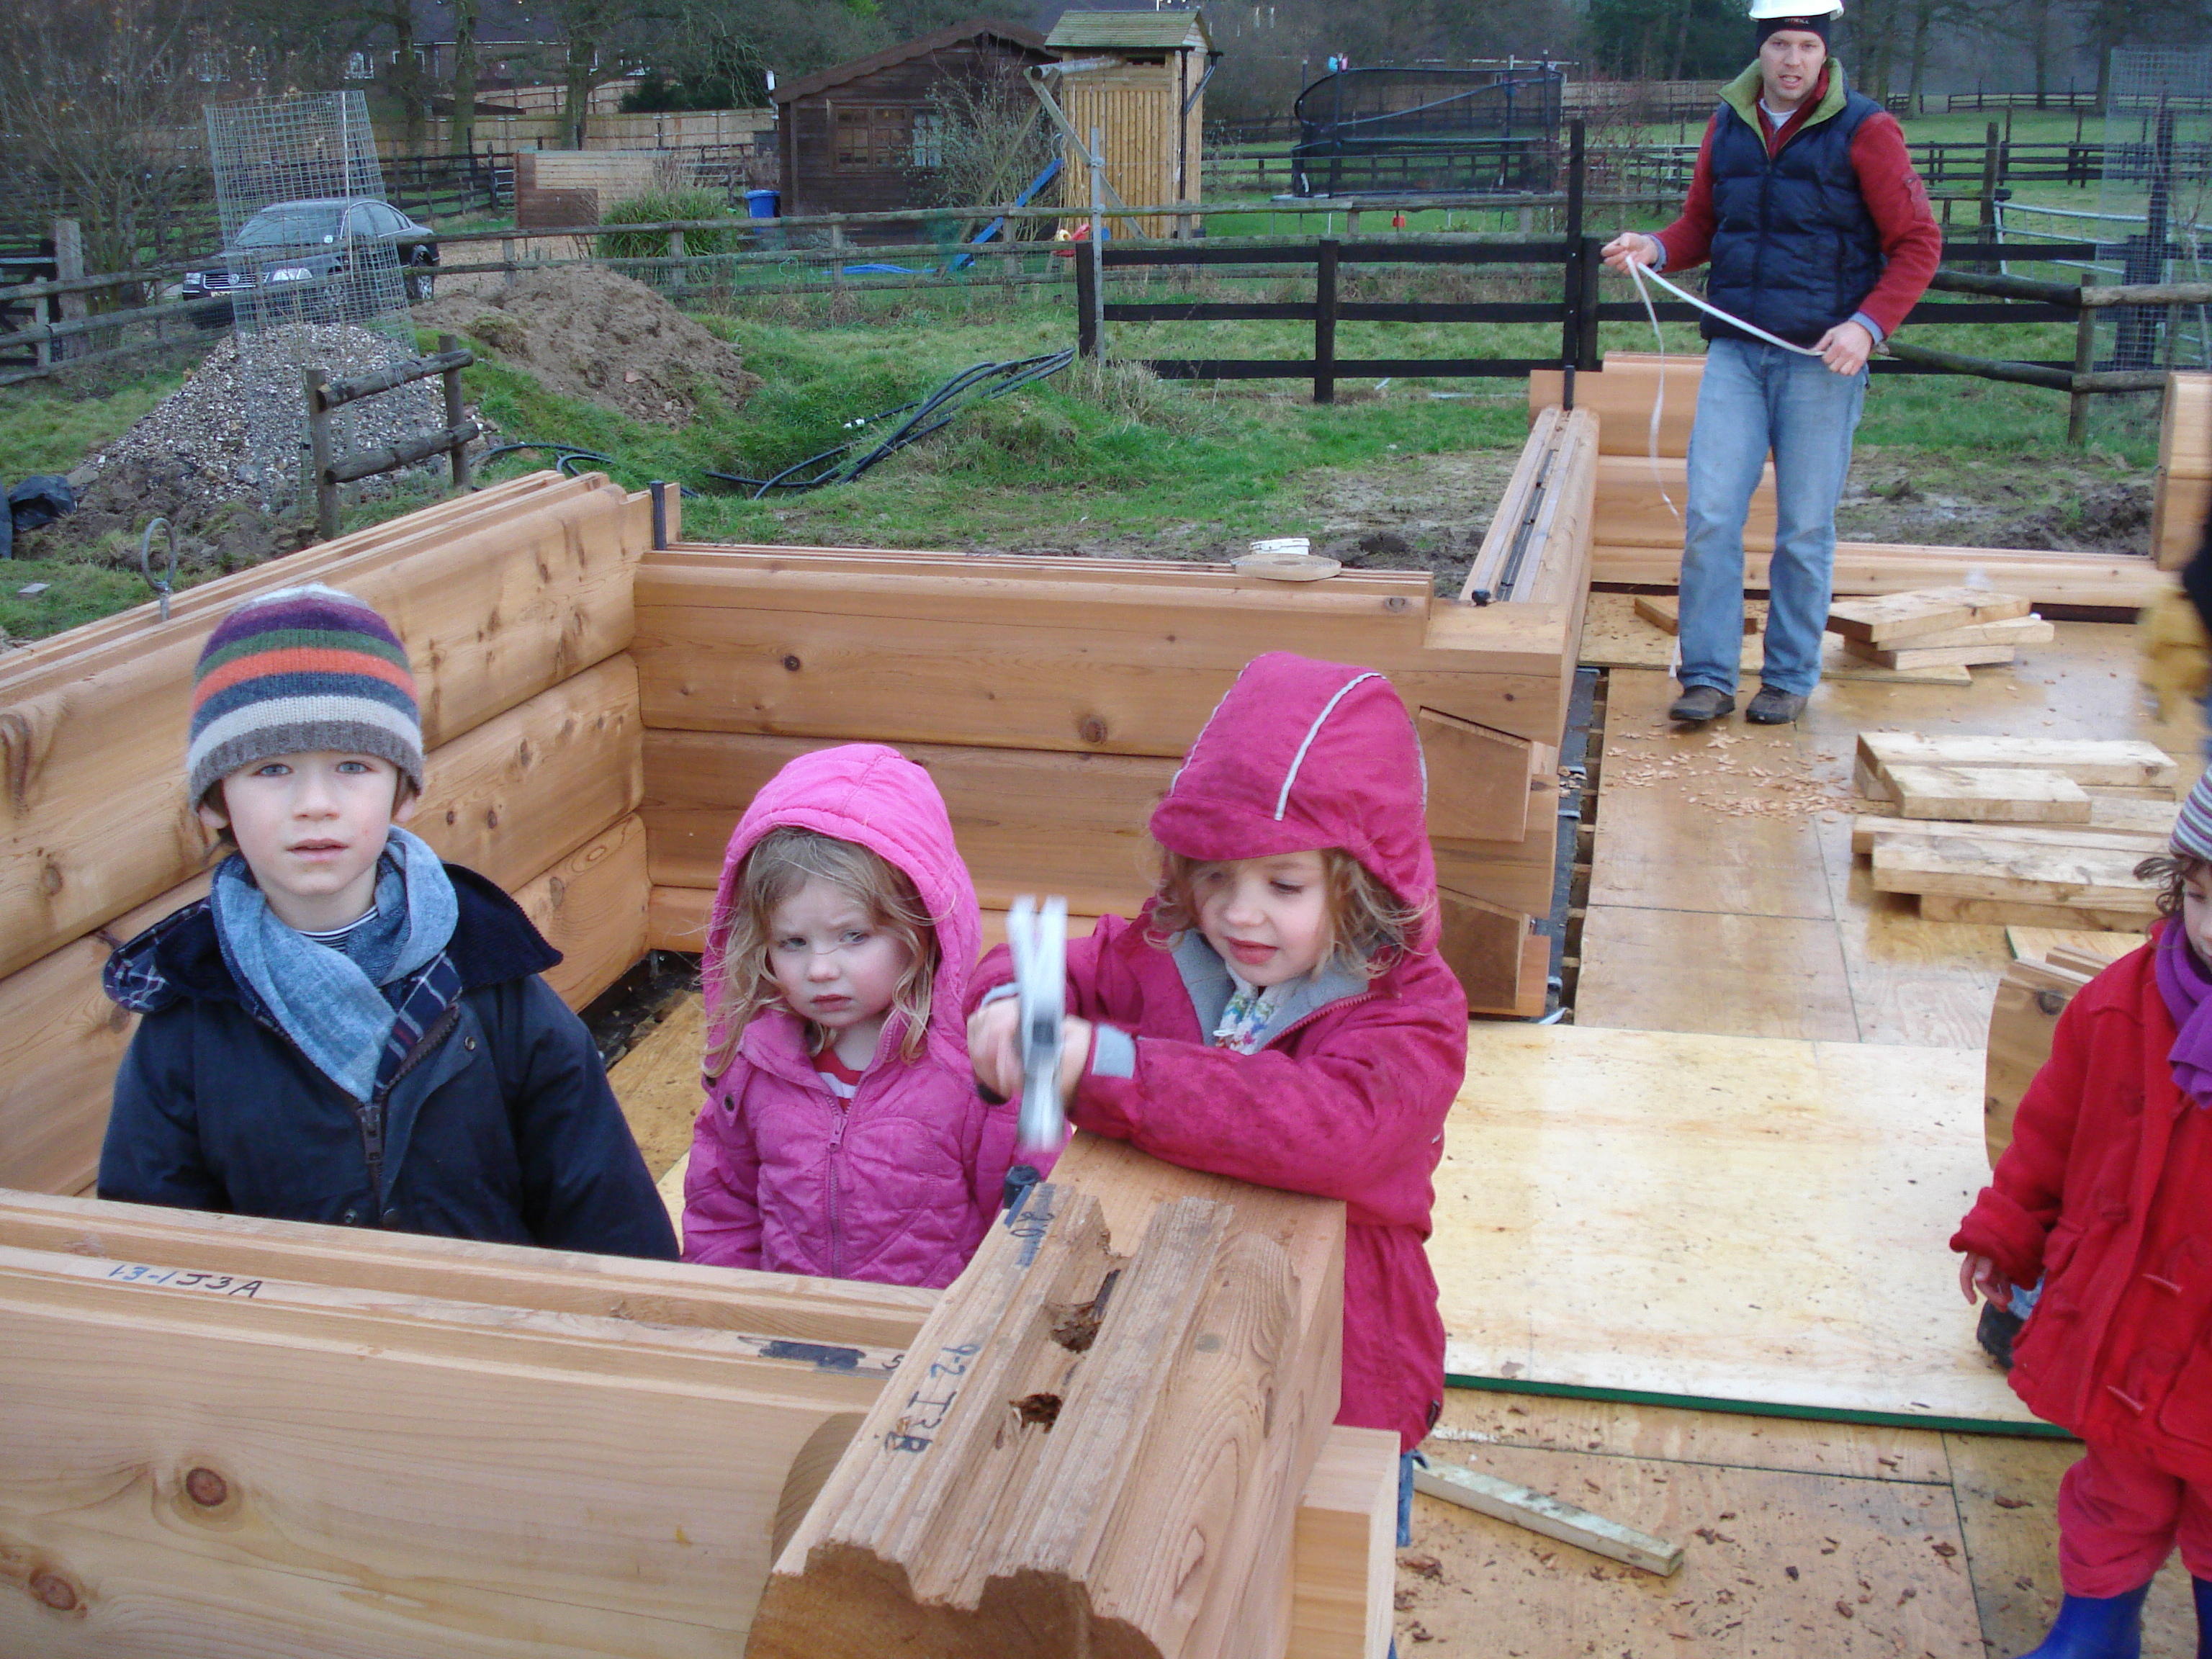
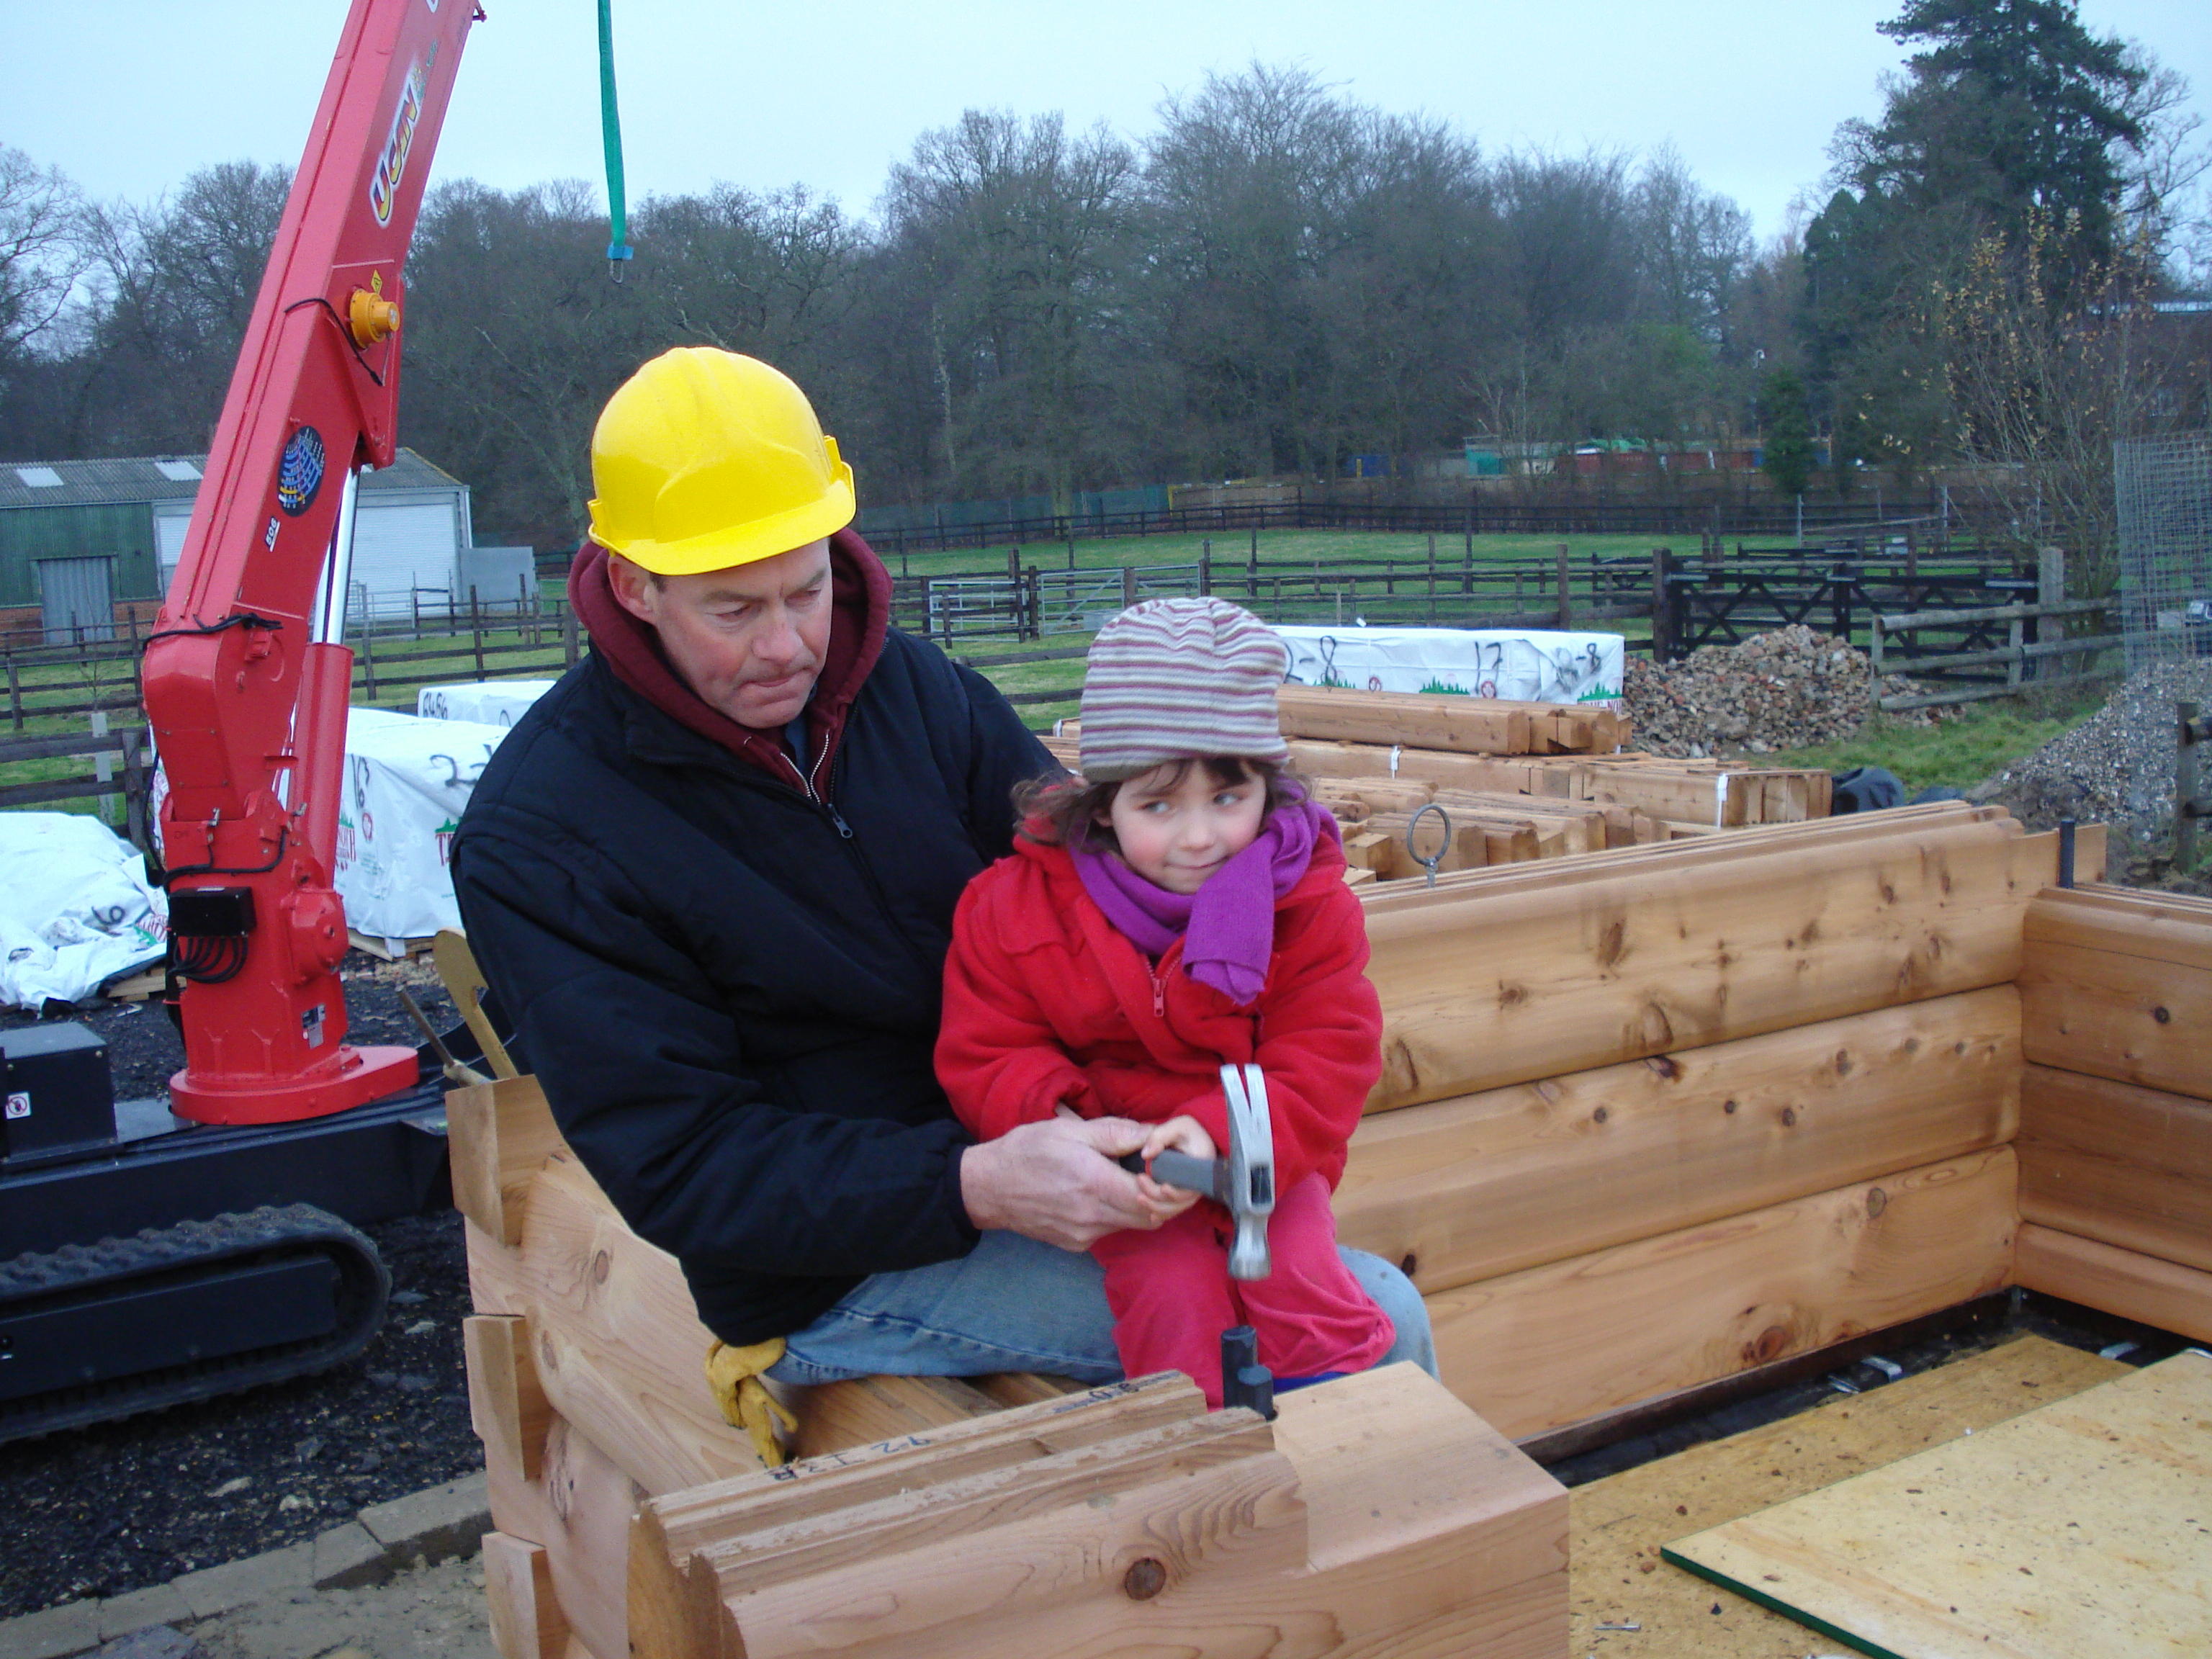
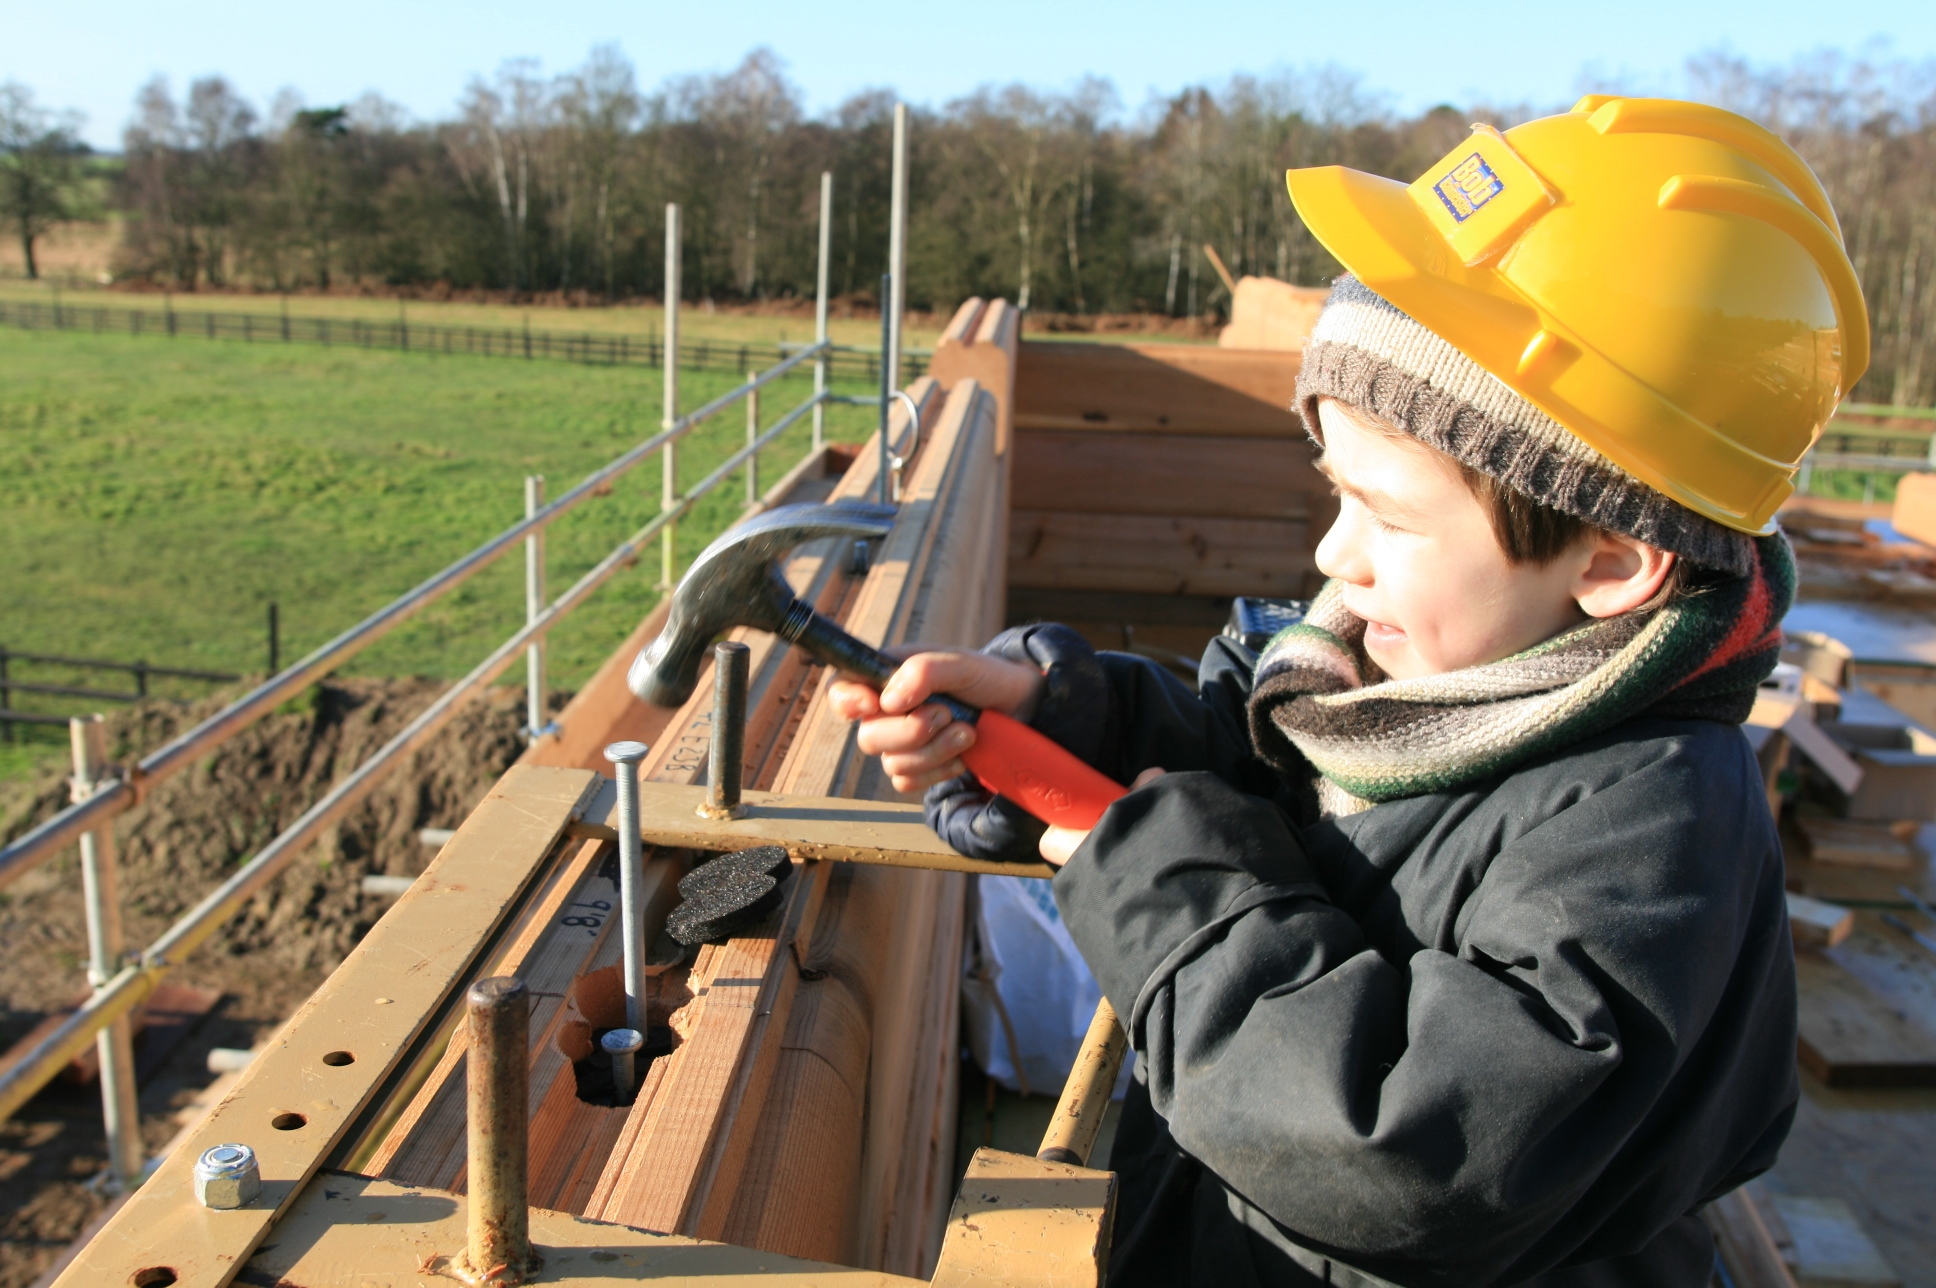
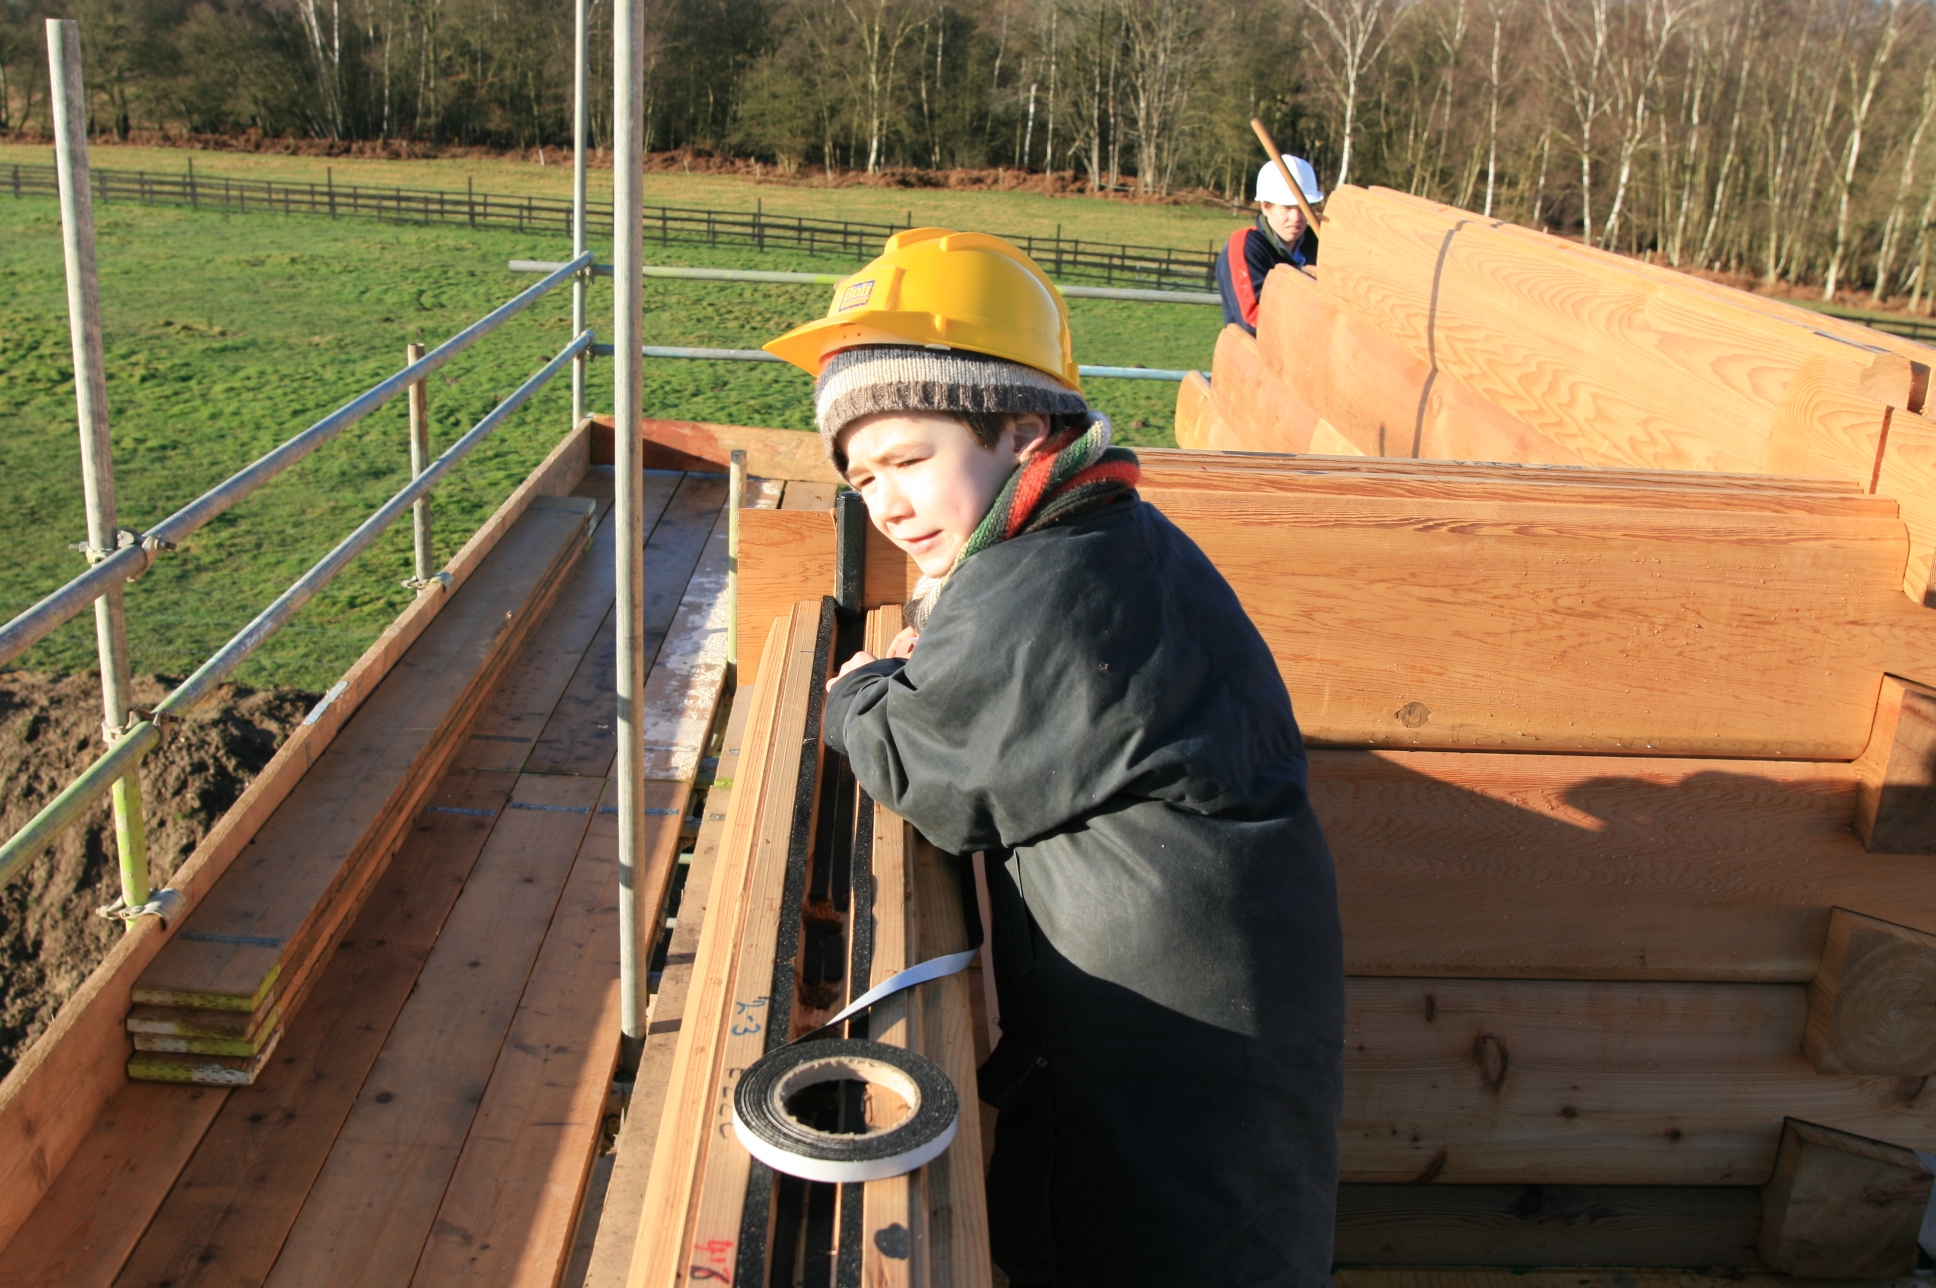
Oh dear, all the Canadian children in the village get to hear there is a log house going up and want to help George!
Published by in Log House Construction
At each corner a plastic “keylock” gets hammered in. Here our wonderful technical support Doug helps Lily knock one in to a log just to show her brother she can do stuff too.
Published by in Log House Construction
Where a log run is long a “butt spline” is used to link logs together. This is a plastic “wedge” that is wrapped in foam gasket and is driven apart with two monster nails.
Published by in Log House Construction
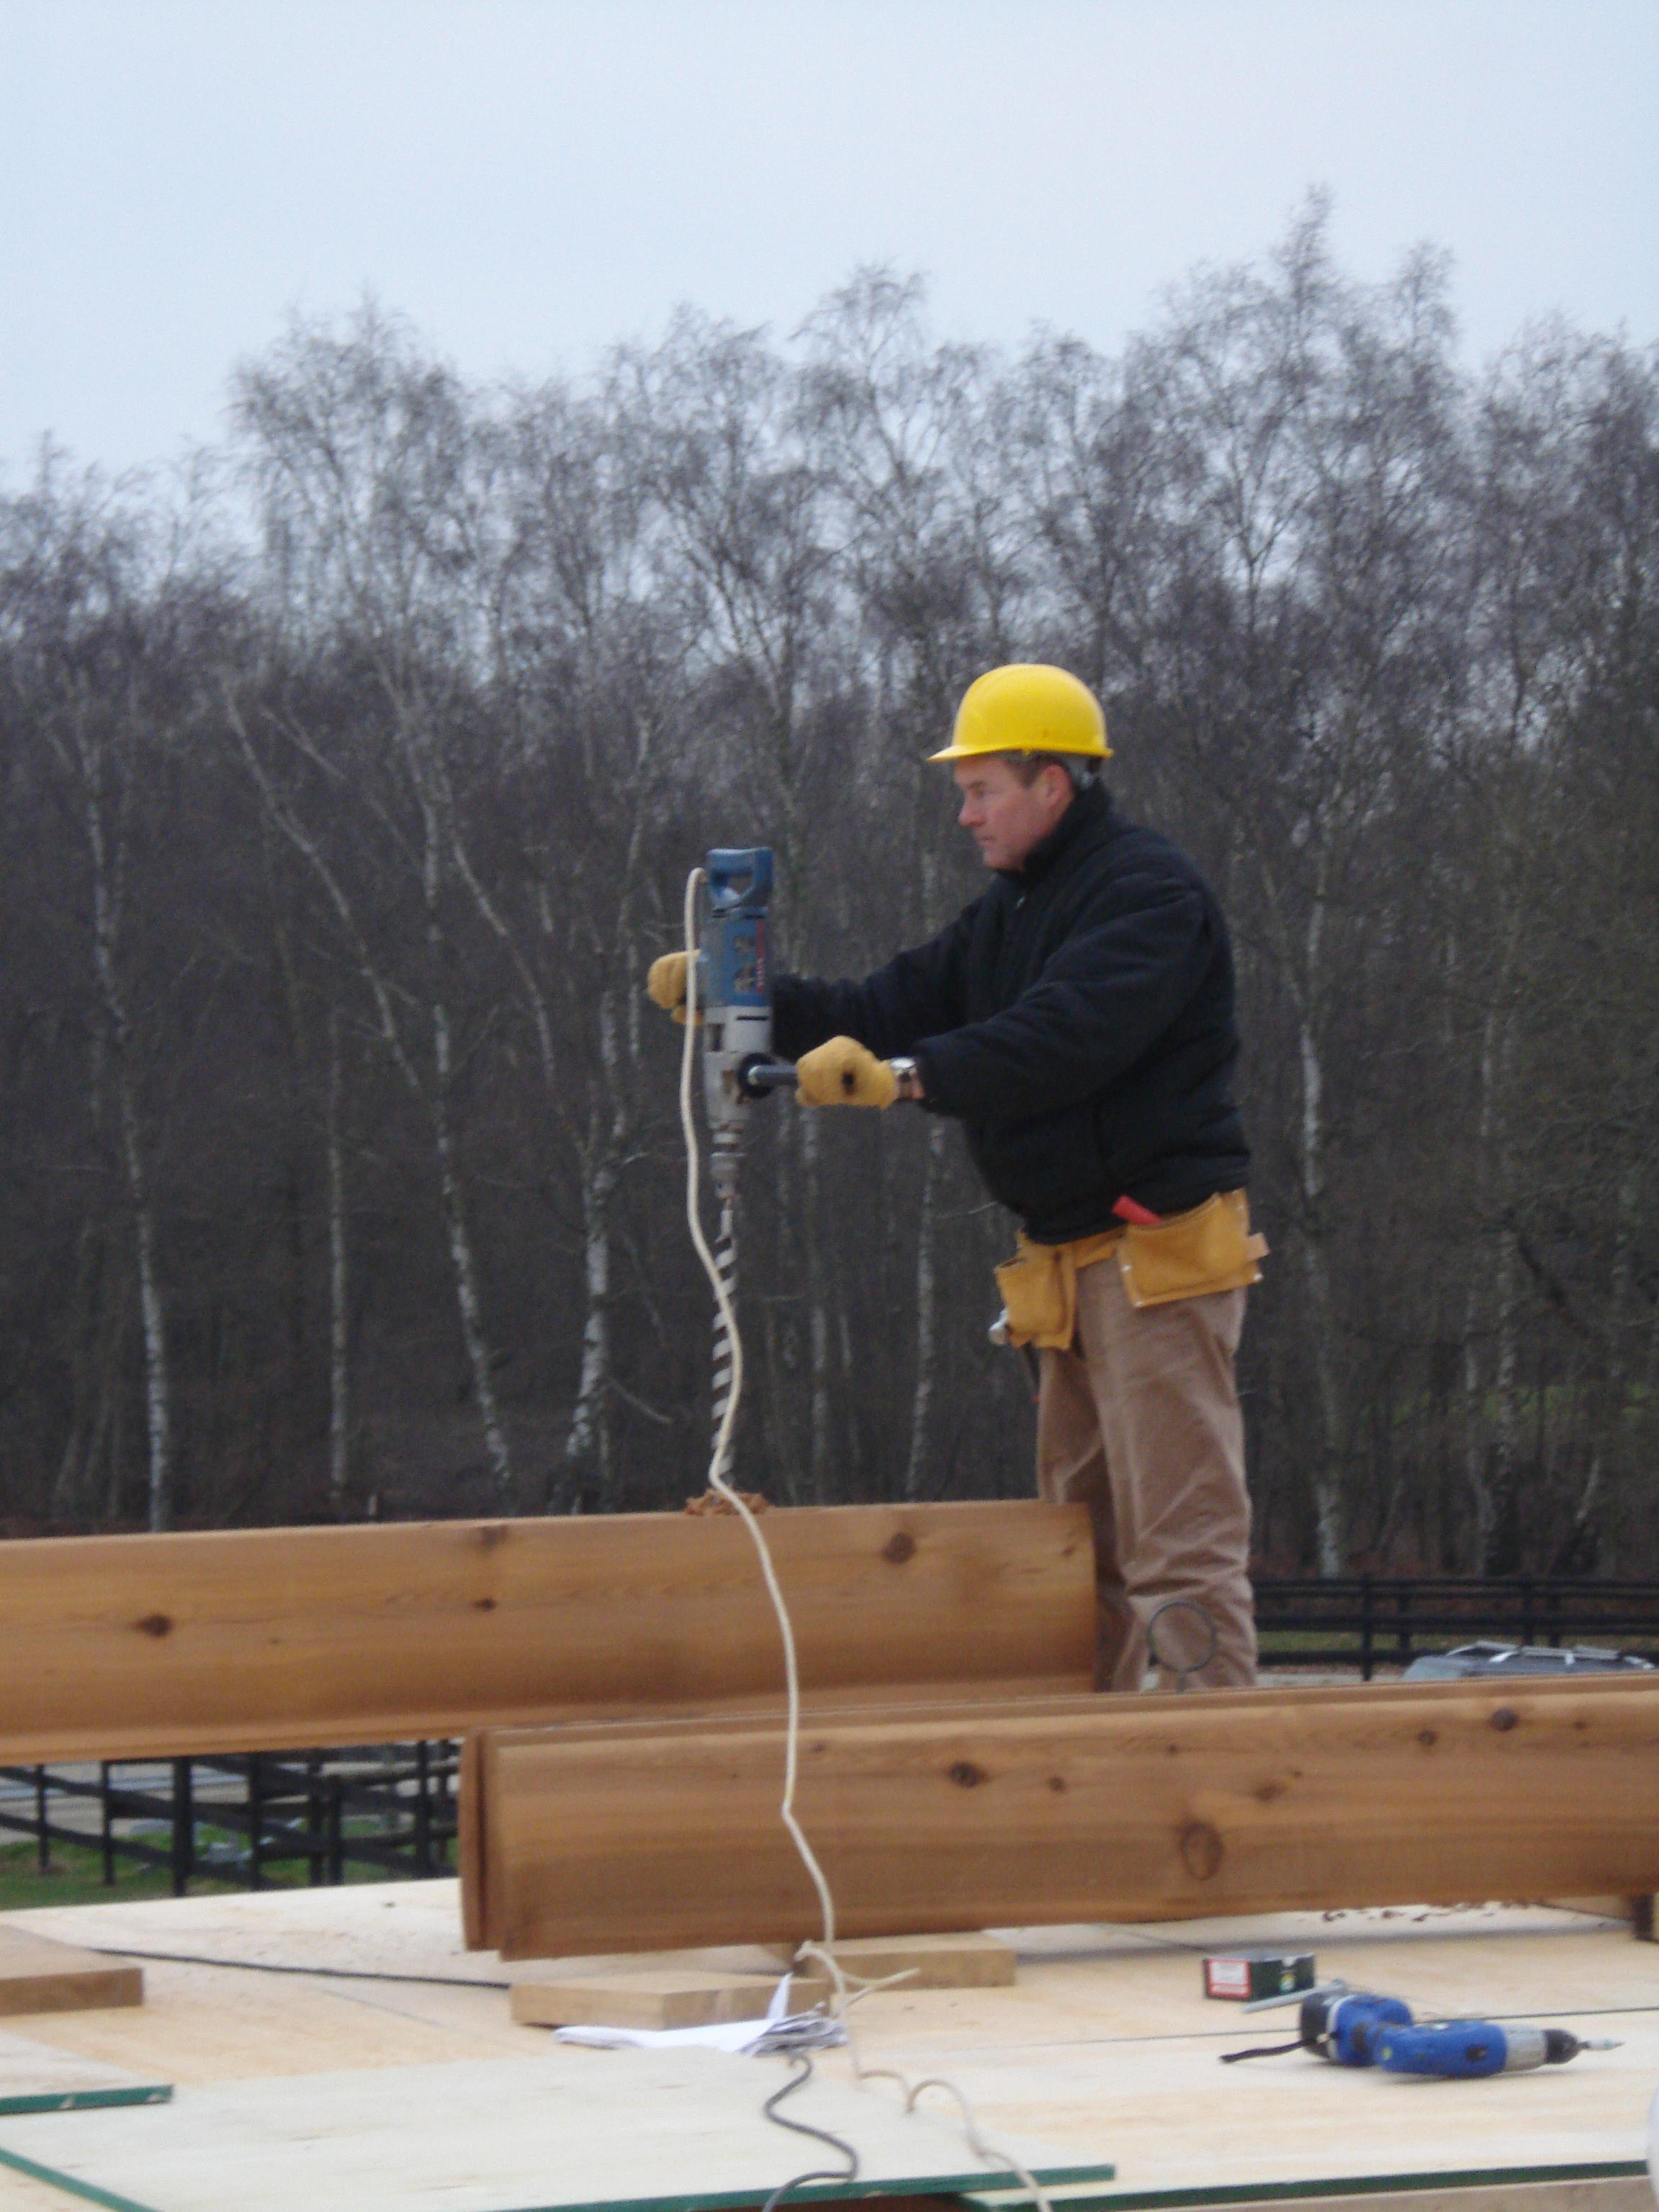
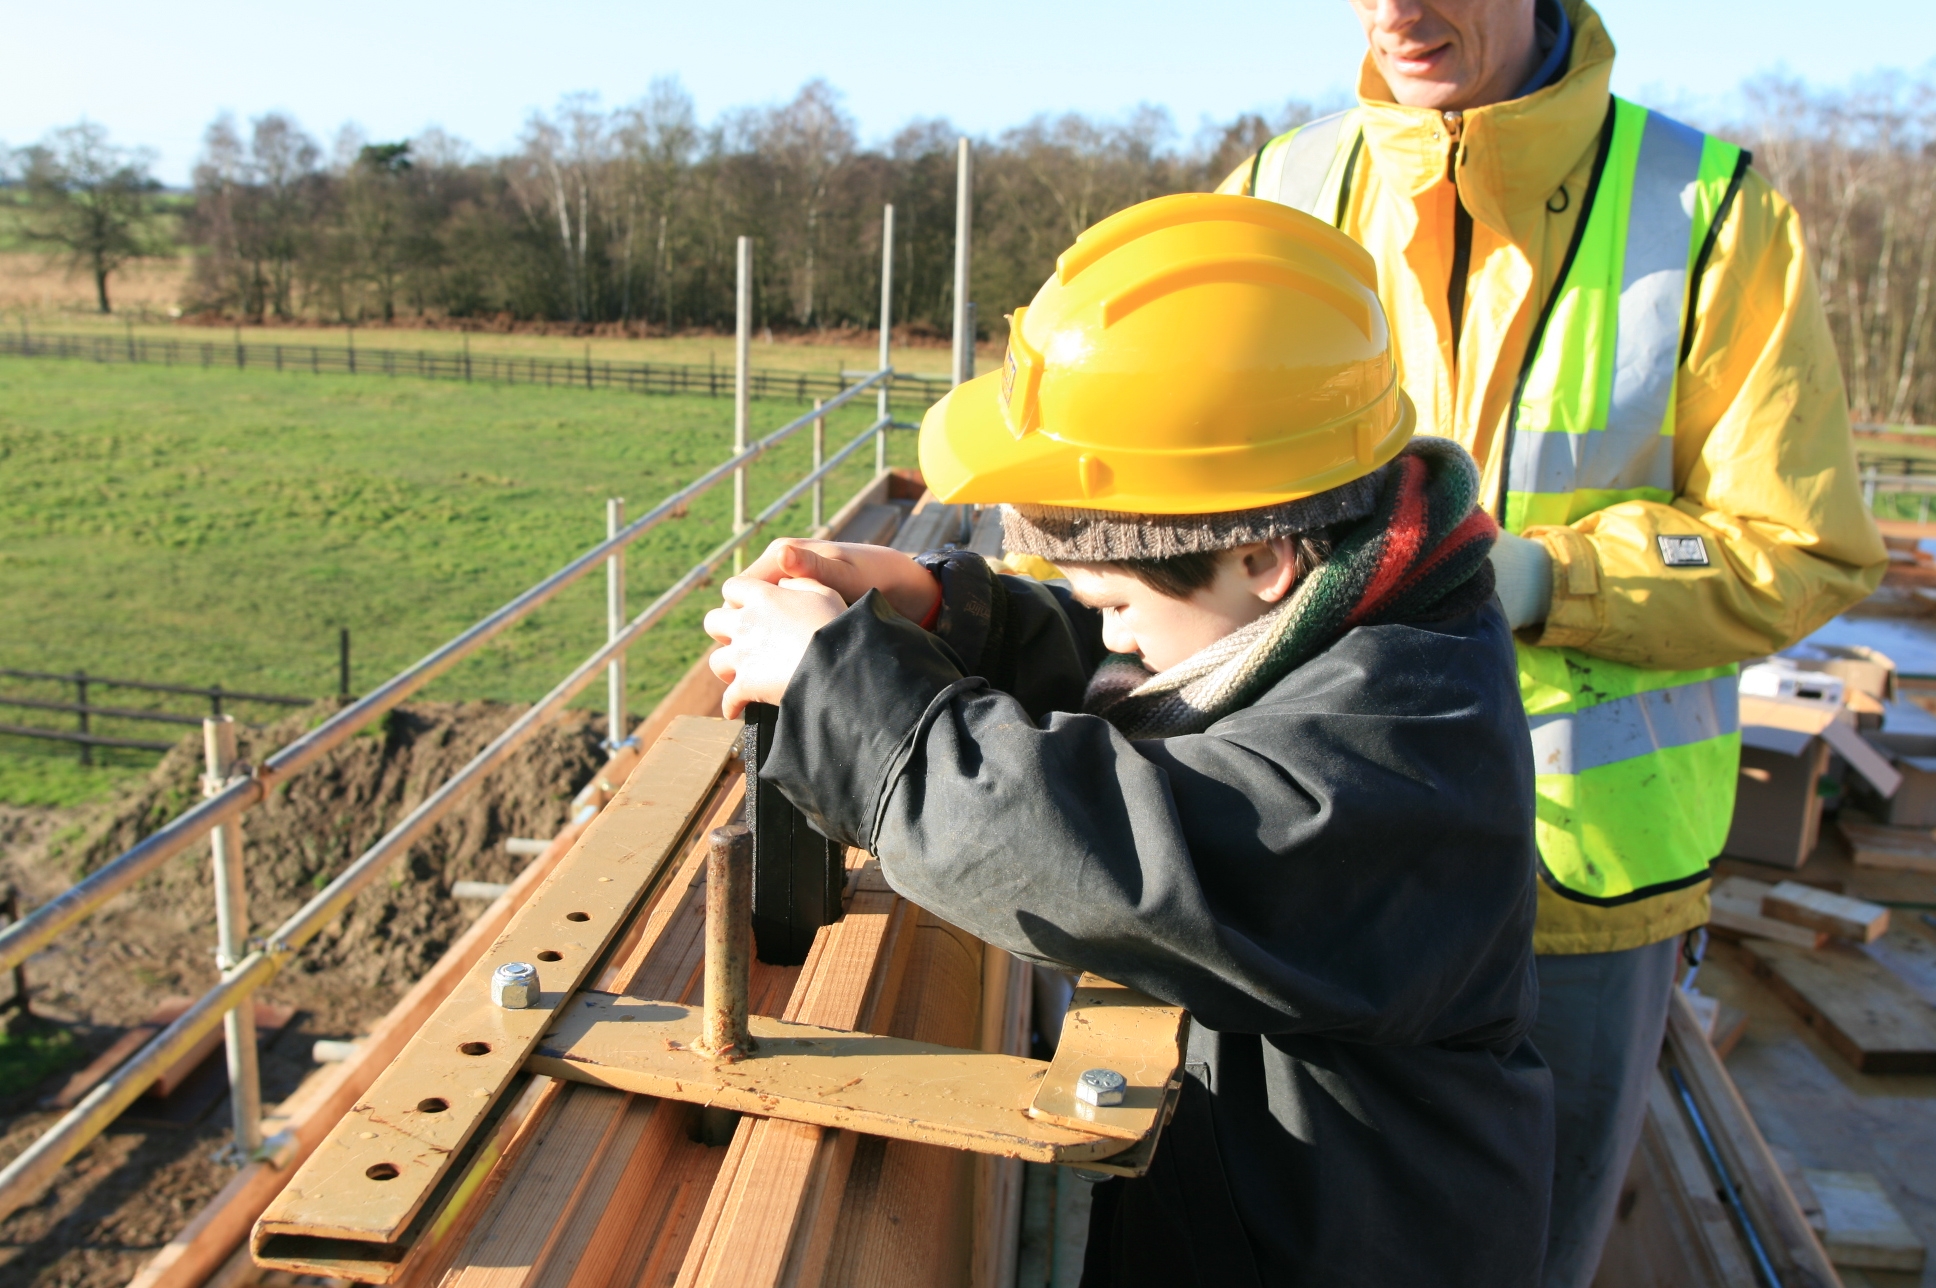
 All the logs need tilting when putting in place to get the dovetail ends to engage properly and the crane is ideal for this, giving millimetre control. For more details on mini crane hire try http://www.unic-cranes.co.uk/cranes.php?lang=en . They are self operated and you go on a half day training course before you hire them, for which you must have a yellow high viz jacket, steel toe cap boots and a safety hat.
Published by in Log House Construction
 All the log joints need to be sealed with 4 lines of sealing foam and 2 lines of butyl rubber. The sealing foam is childs play according to George.
Published by in Log House Construction
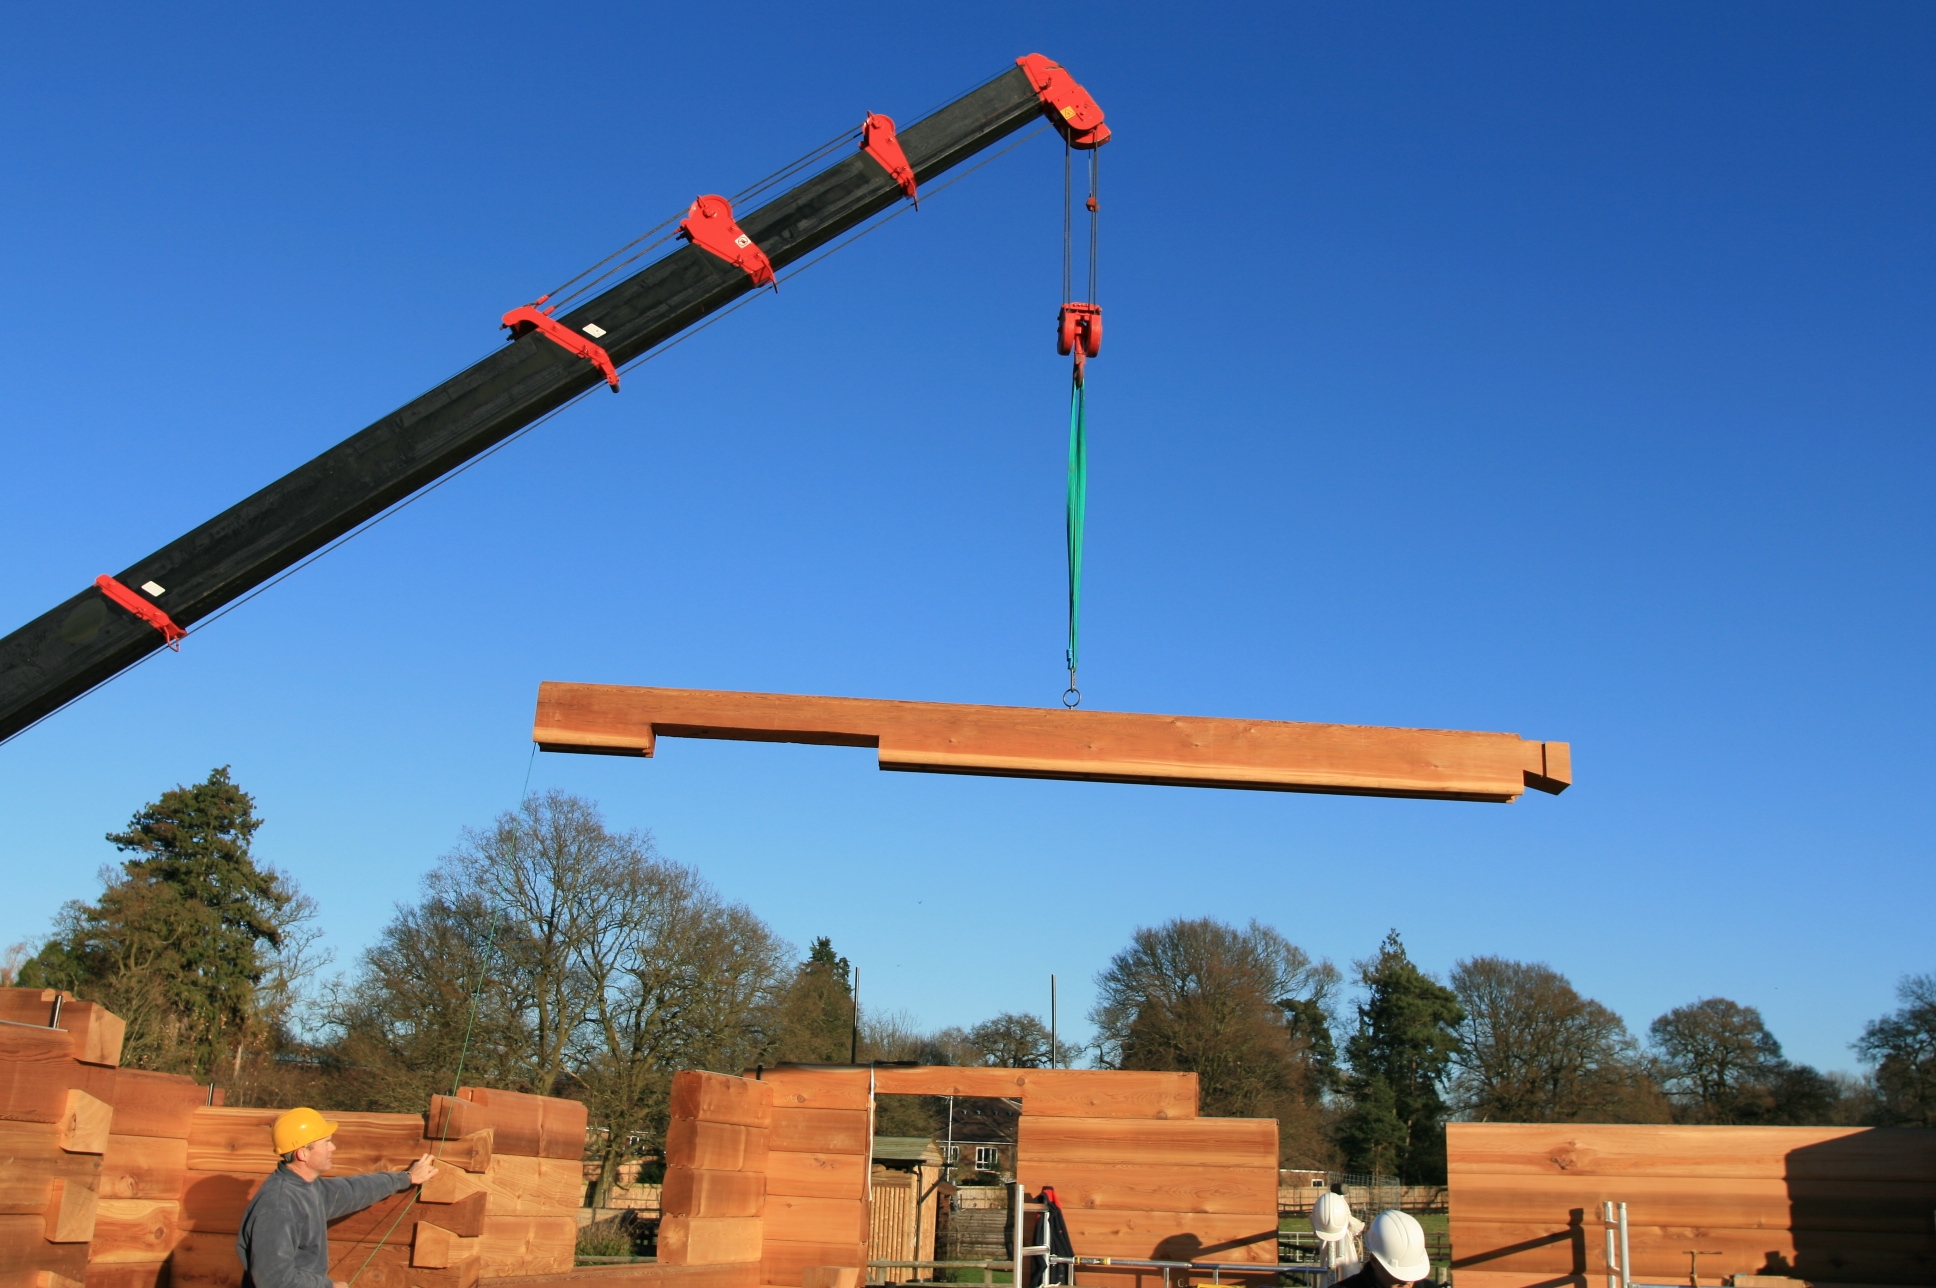
We use a self hire crane to position all the logs. It has a remote control so that whoever is controlling it can be at the business end where the log is to be positioned. Seems much safer that a conventional crane with only semaphore signals to the driver. Our technical assistant Doug is a pleasure to work with despite the great additional cost and his experience helps us keep out of trouble as the logs are stacked.