Published by in Log House Design
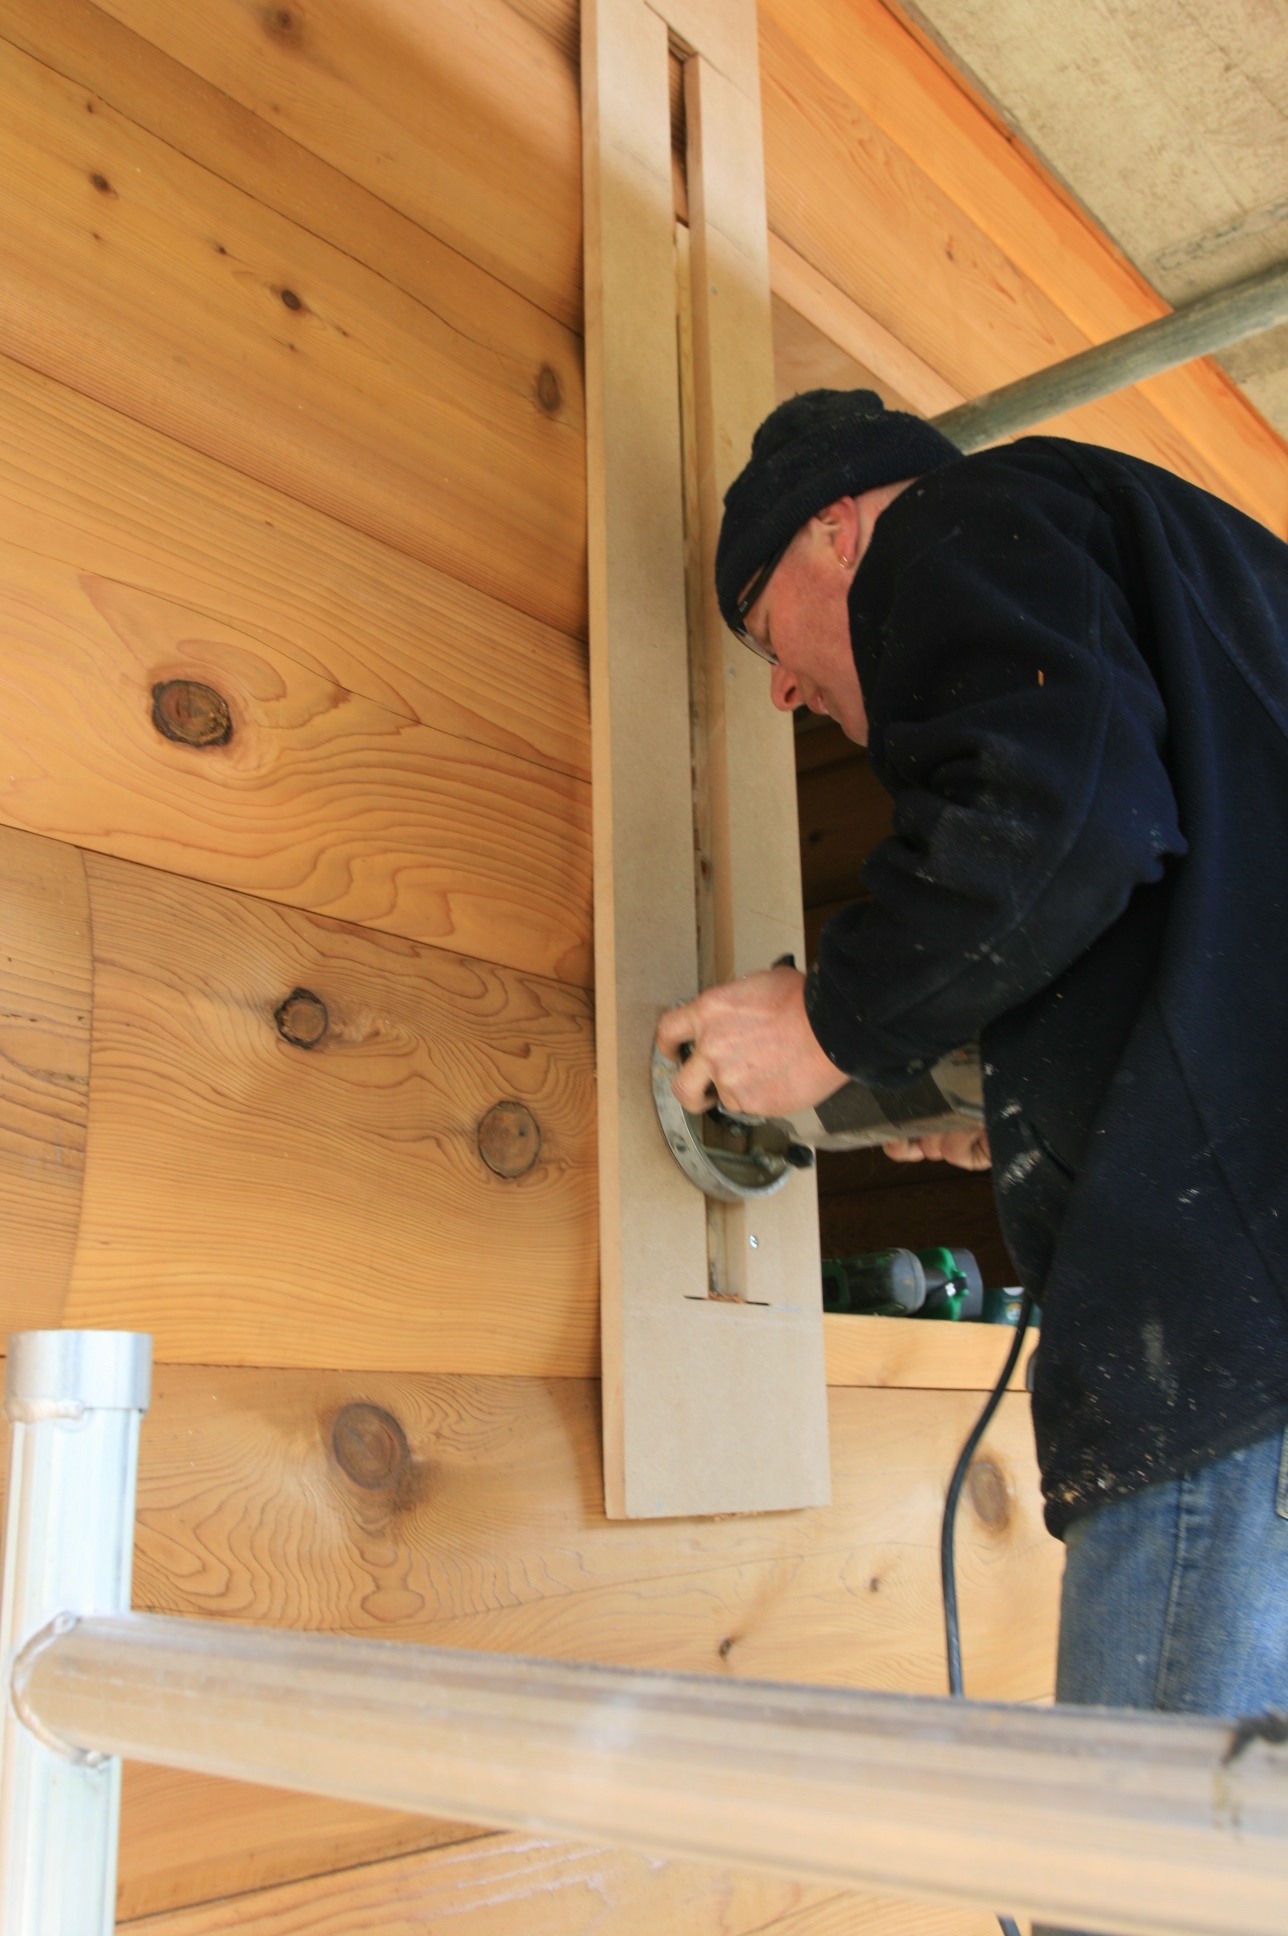
Our aluminum clad windows and doors were manufactured in Denmark so the fitting of them to the log house is down to us to sort out. So we took the smallest window in the house and made a trial set of linings.
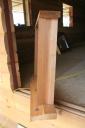
Then we routered the outside of the log “D” profile to create a flat surface for the external architrave to sit in.

Then we made a header with the same angle on the ends as the log dovetails so that it looked in keeping with the logs.
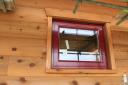
We are going to look at this for a week or so to make sure we are happy with the look before maching all the other window and door linings.
Published by in Log House Design
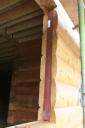
To avoid the logs twisting at their “free” ends at all the window and door openings, a “slot” is cut with a chain saw (yes a chain saw!) and a piece of steel channel set in.
Published by in Sedum Roofing
Two days to cover the log house roof with the first layer of felt and we are have a watertight roof. A good job, because the weather is going downhill this weekend with 100mph storms forecast. Another layer is yet to be fitted before the sedum rolls can be added to finish it off. These will need to be cut and delivered within 24 hours or the sedum like any plant will die.
In the mean time we will get to work on sorting out some more Western Red Cedar for the window and door linings so that we can get the house watertight.
Published by in Ground Source Heat Pump
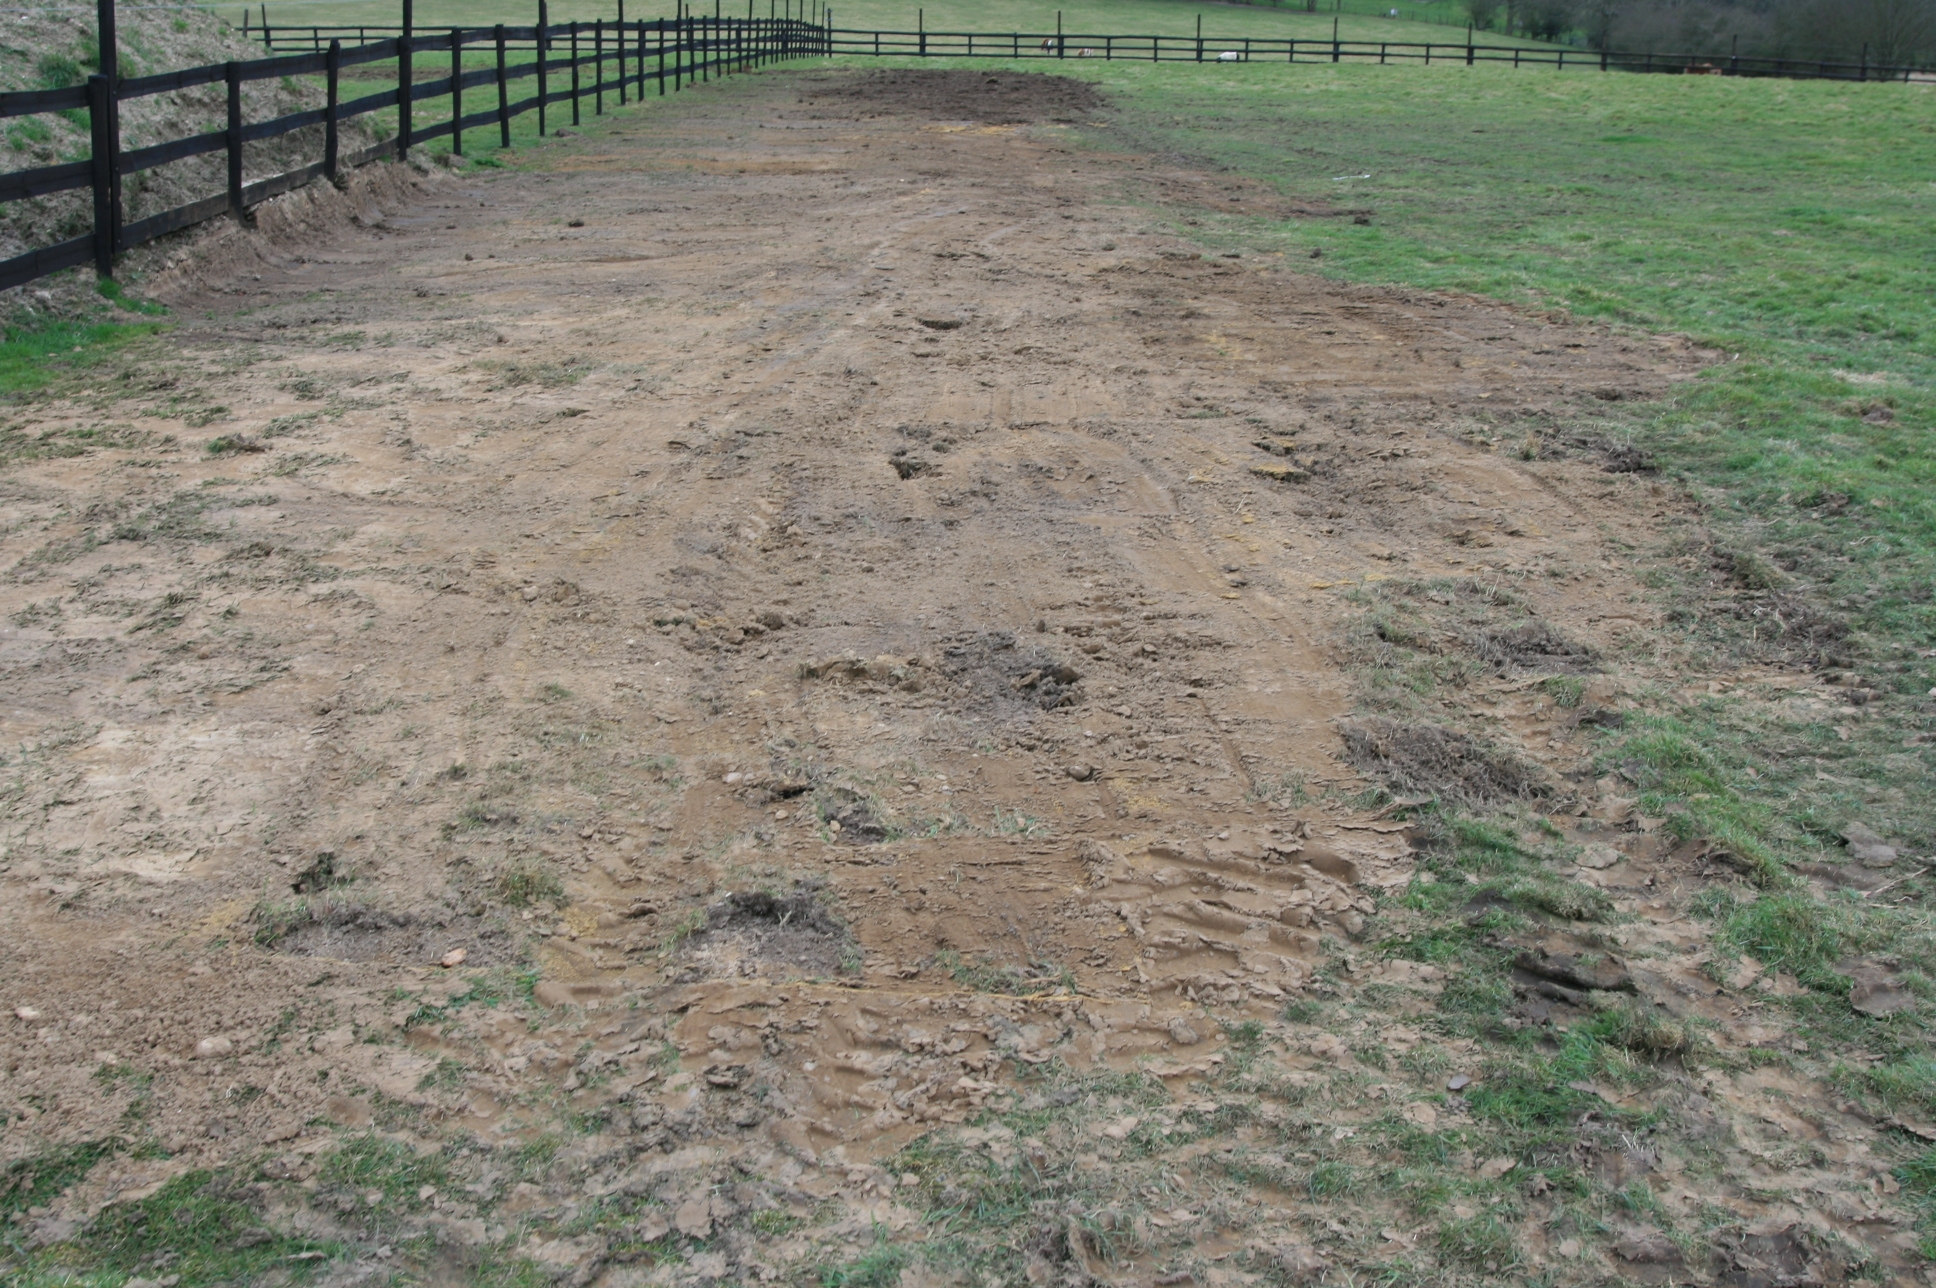
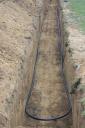
Just three days later the second ground loop is buried and just awaits the scaffold to be removed so that we can take the pipes the last few metres into the house and hook them up to the heat pump.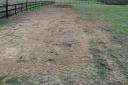
Published by in Sedum Roofing
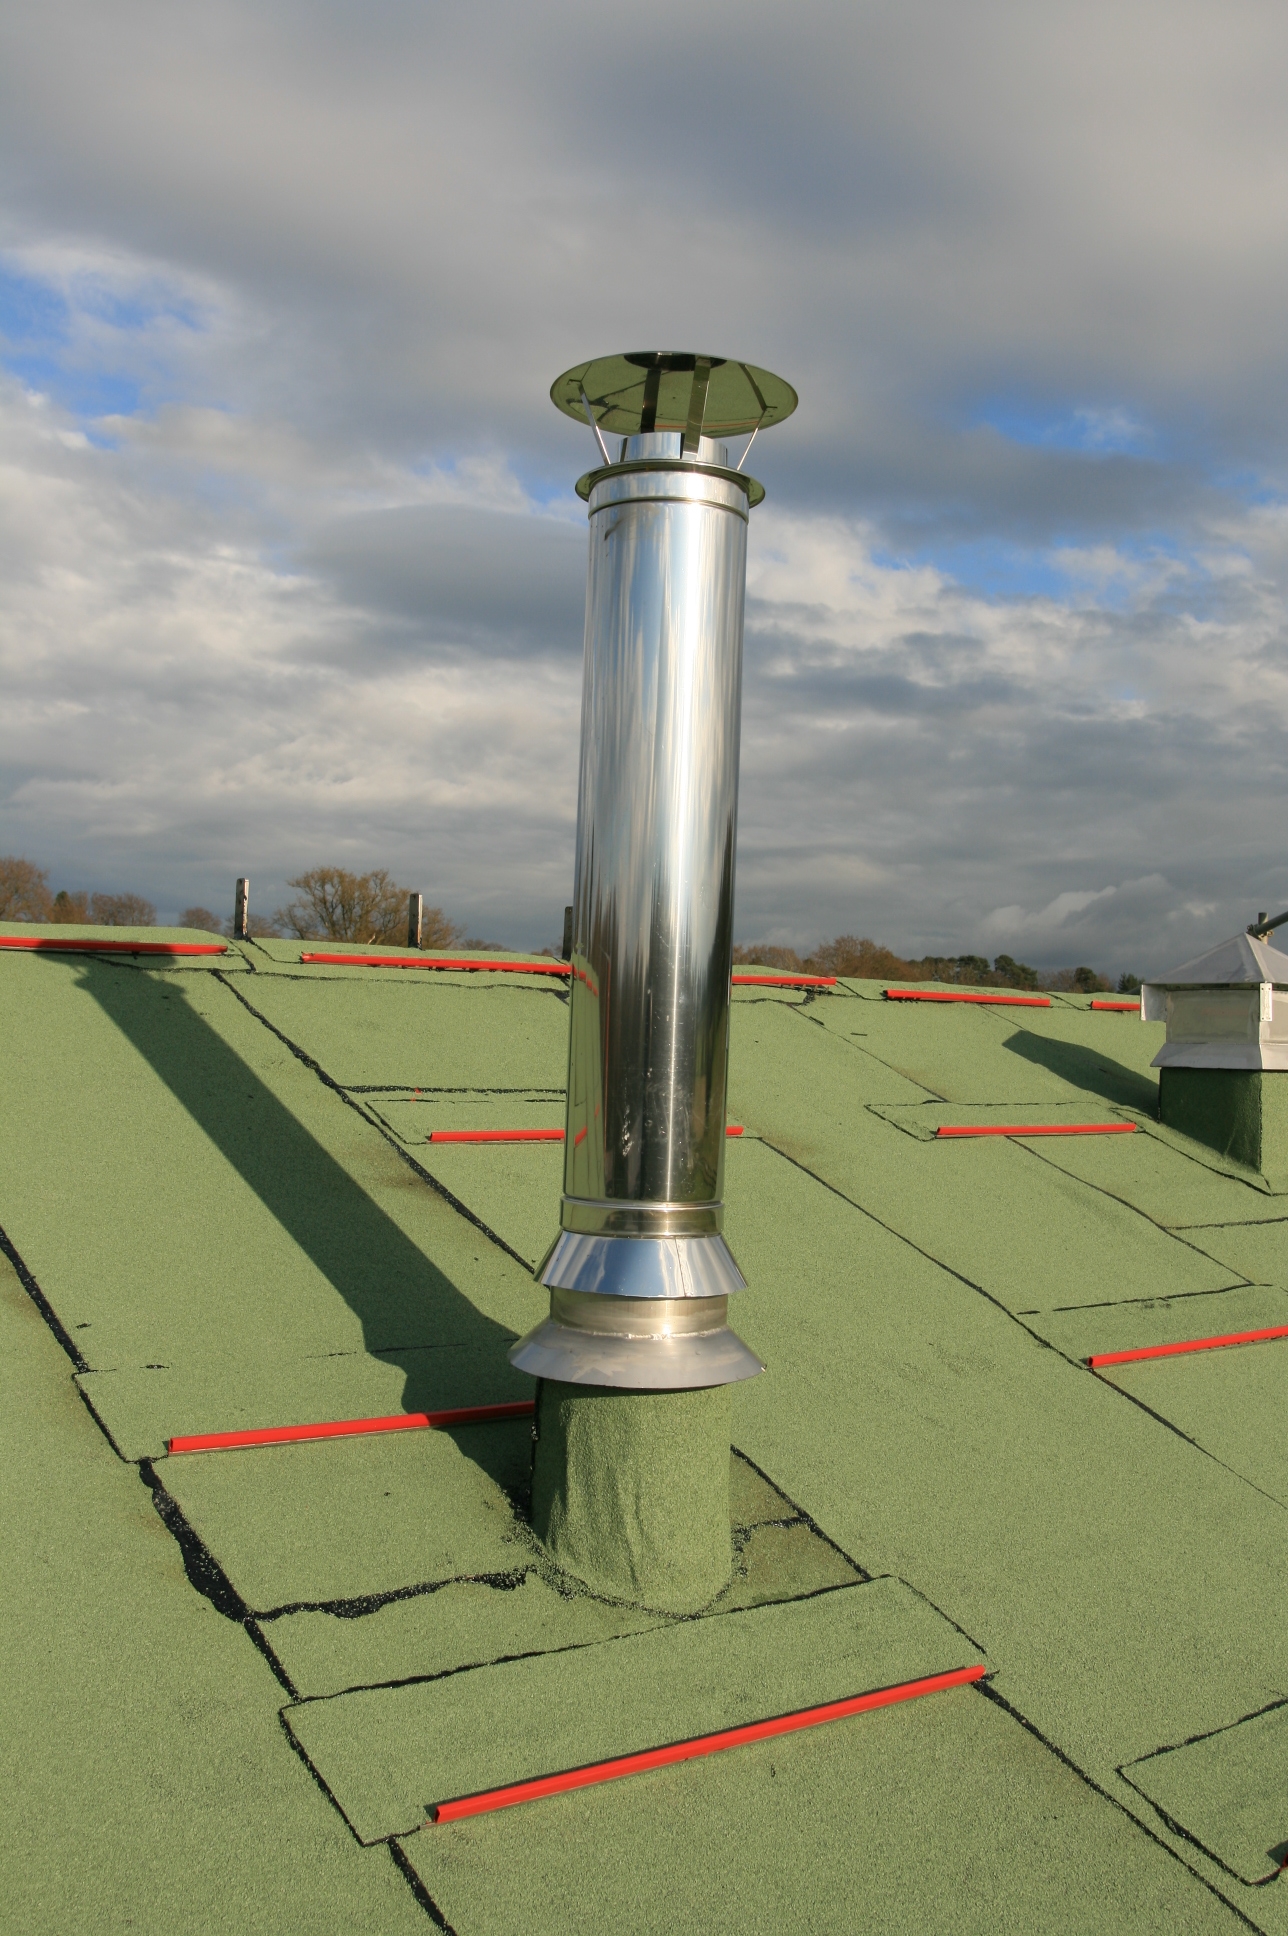
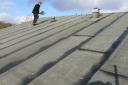
Most sedum roofs have generally been applied to flat roofs. So safety considerations for maintenance and attention to the roof in later years are reasonably easy to accommodate with off the shelf roof safety solutions. Our roof has a slope of 22 degrees and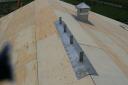 so we had to work with some helpful consultants on a workable solution that would meet the safe working at height regulations. We have secured this plate at the ridge and it will be covered with the felt and sedum and another rail will then bolt on top to contain safety lines used by personel on the roof.
Published by in Sedum Roofing
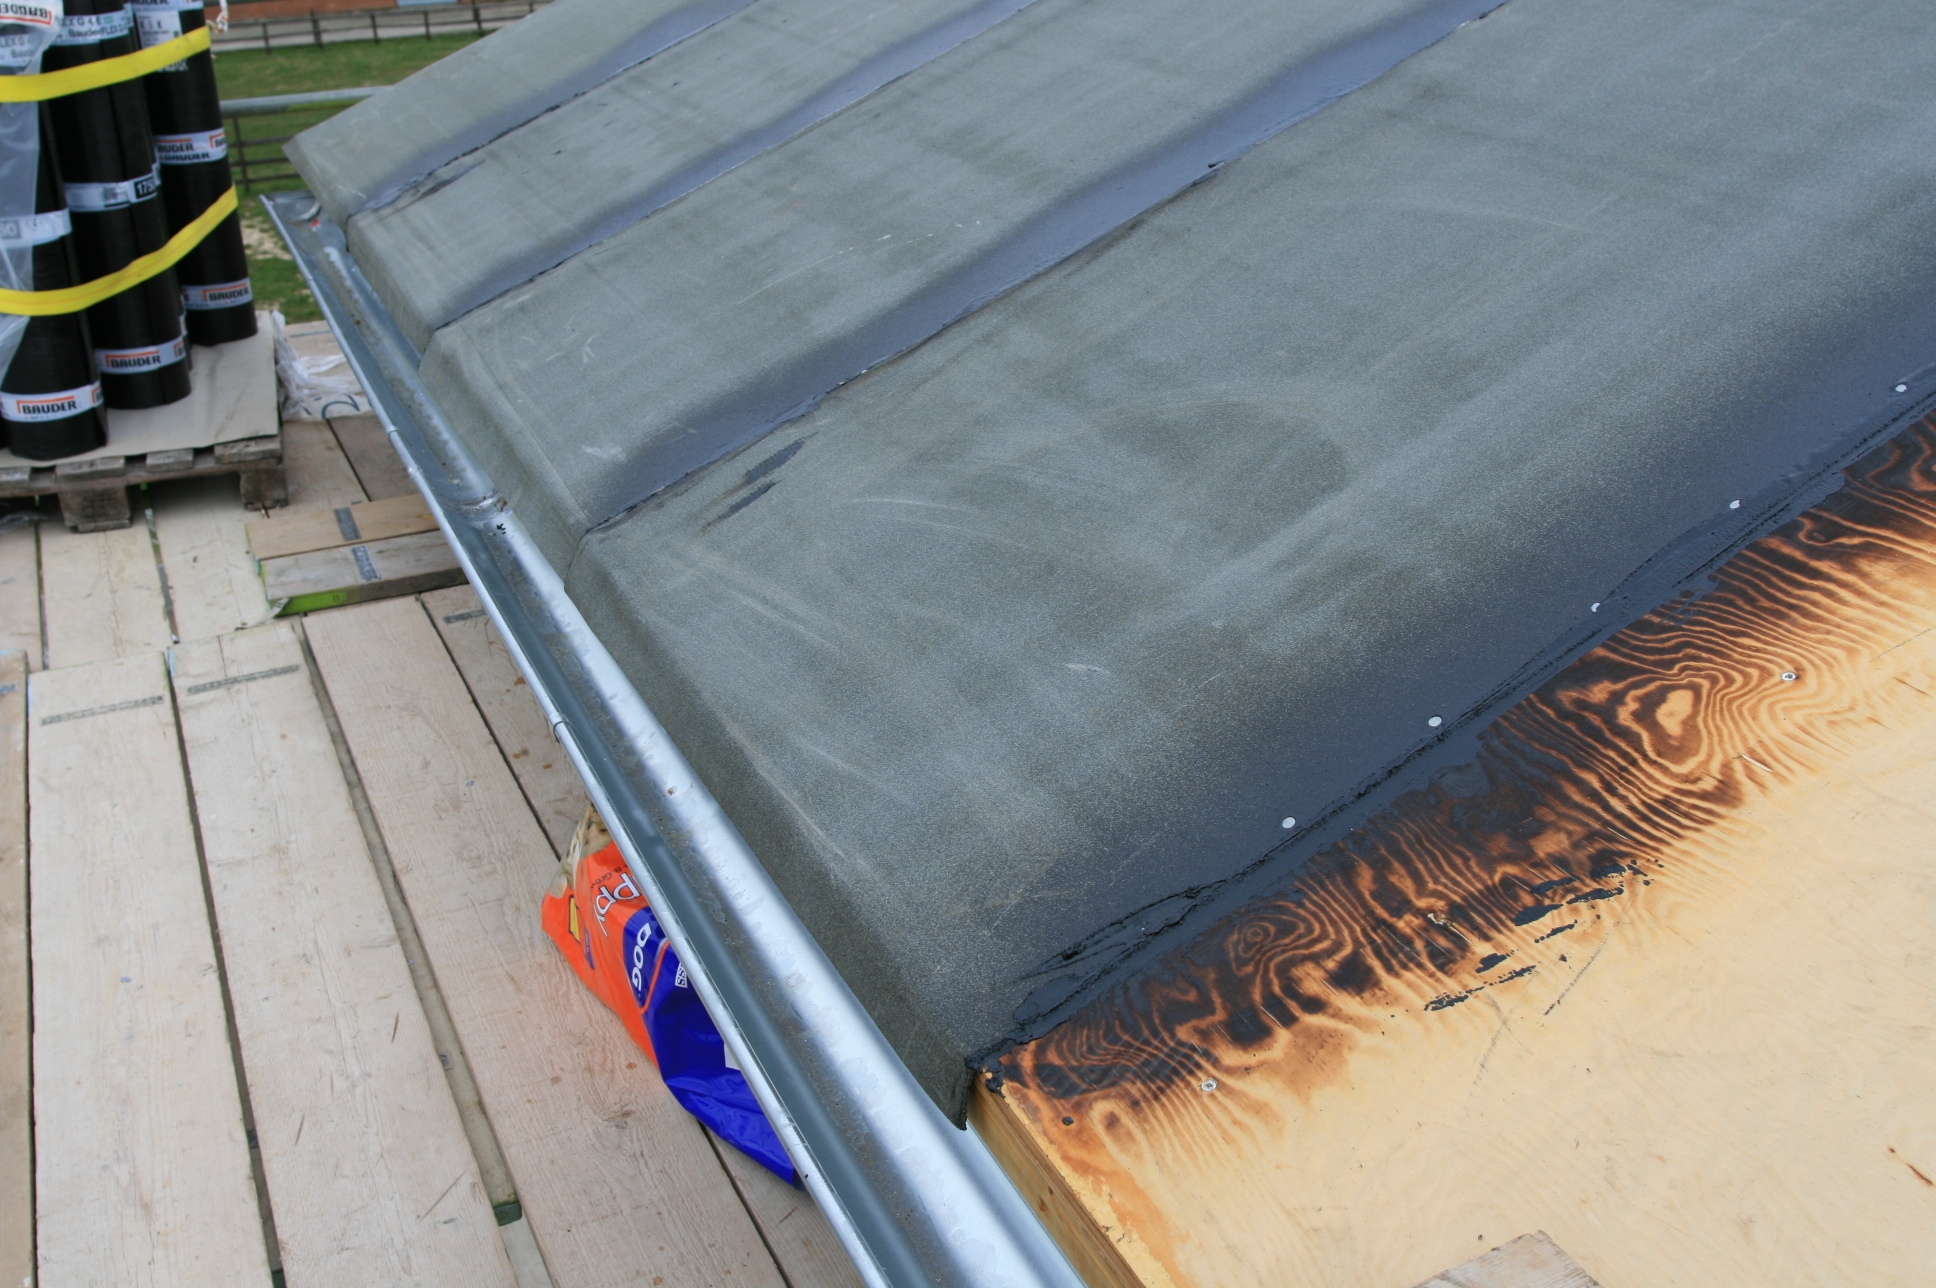
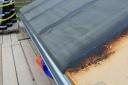 At last the roofers have arrived and start to put the first layer of felt on the 1″ plywood roof. This is the first layer of our sedum roof construction and once this is on we can breath a sigh of relief because the roof will at least be waterproof. You can also see our zinc guttering we bought in Germany in late 2006 which has been waiting in the shed for a while!
Published by in Ground Source Heat Pump
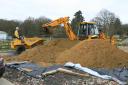
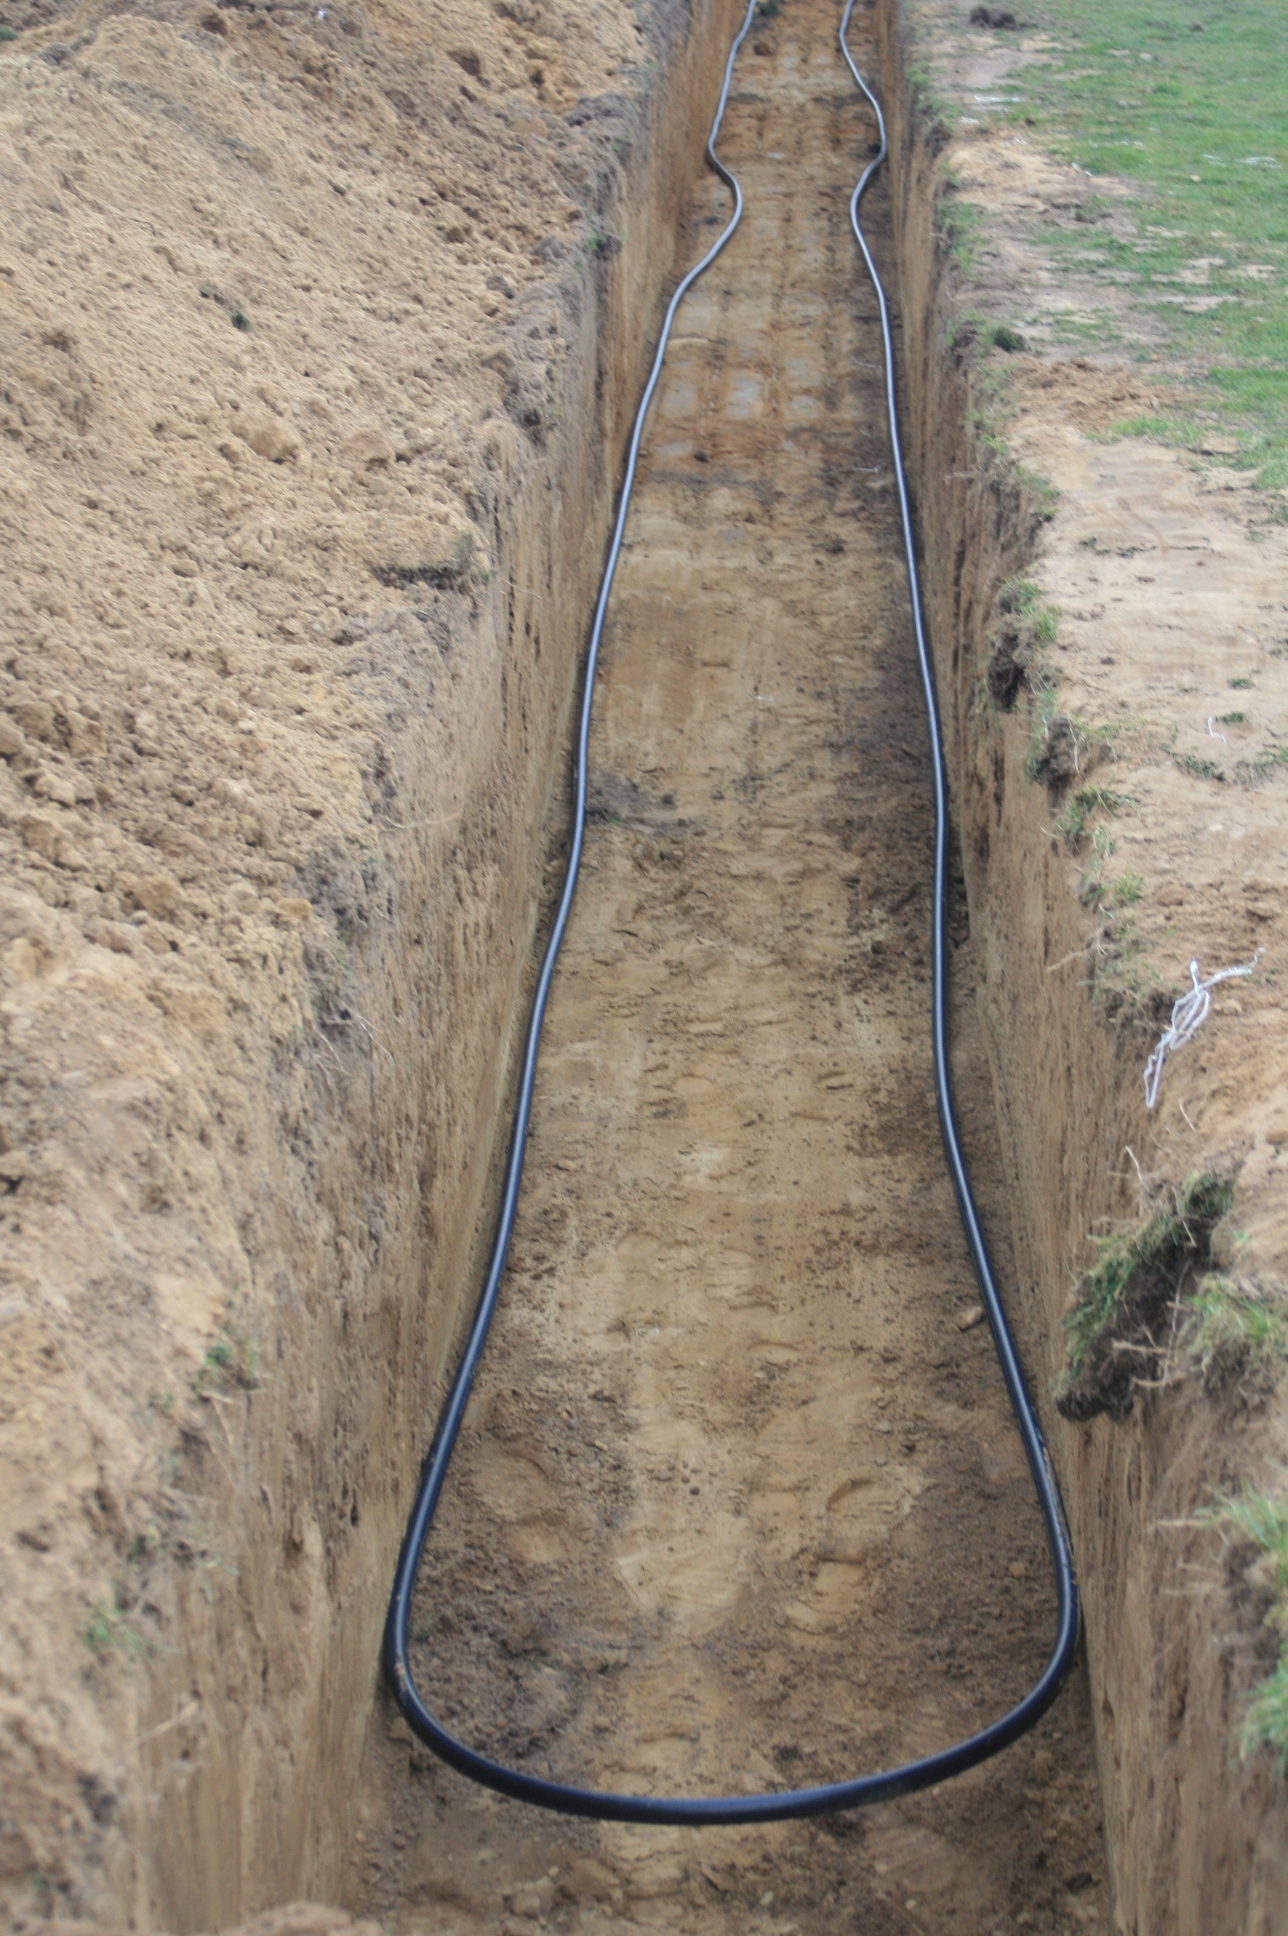
 How to stick 300 metres of ground source ground loop in the ground! Dig a trench 1 metre wide, 1 metre deep and 150 metres long. Put pipe in trench, order in 30 tons of soft sand, bed the pipe in this and then back fill the dig and top soil you took out.