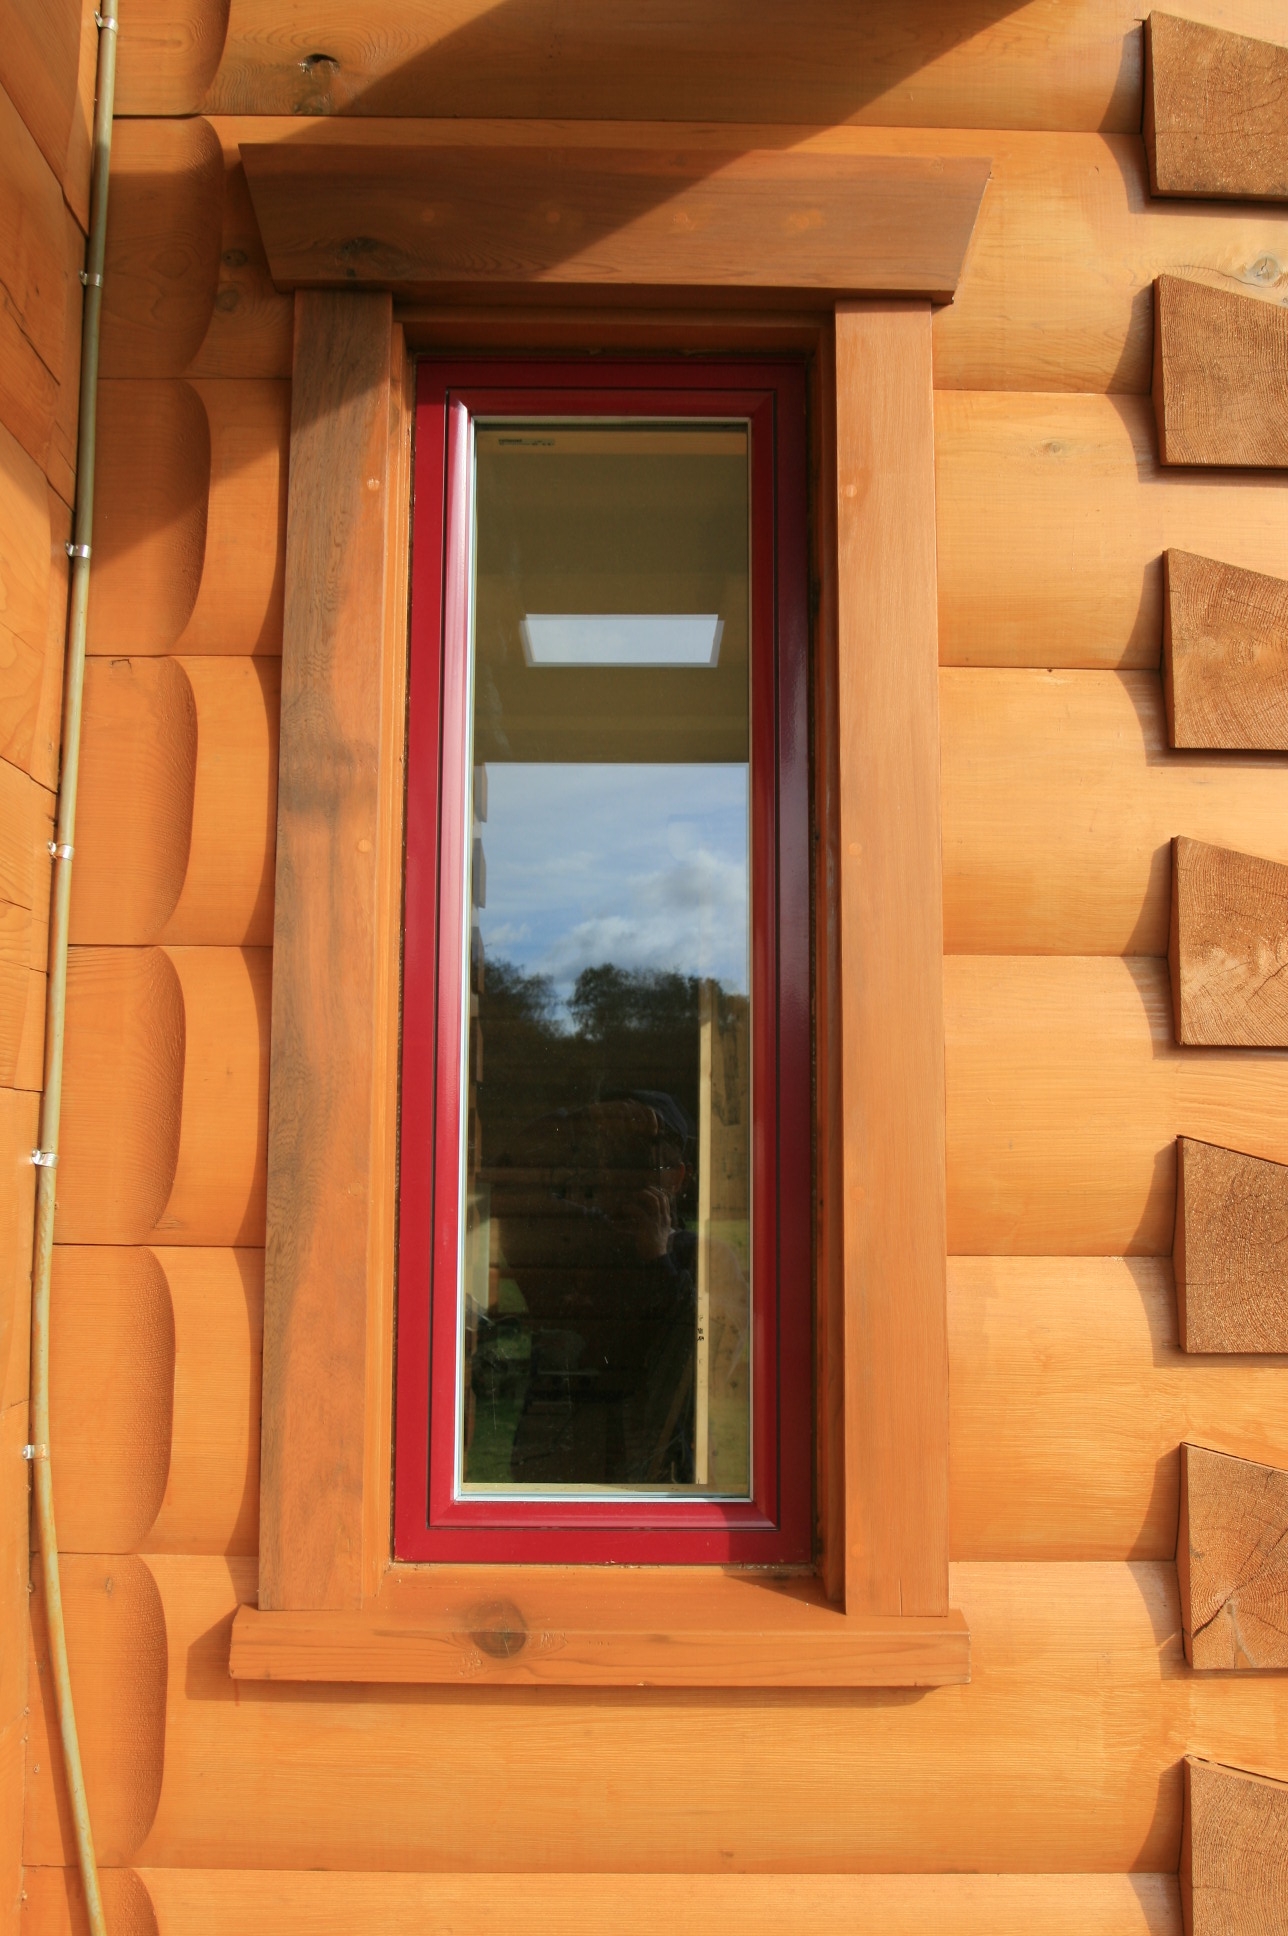
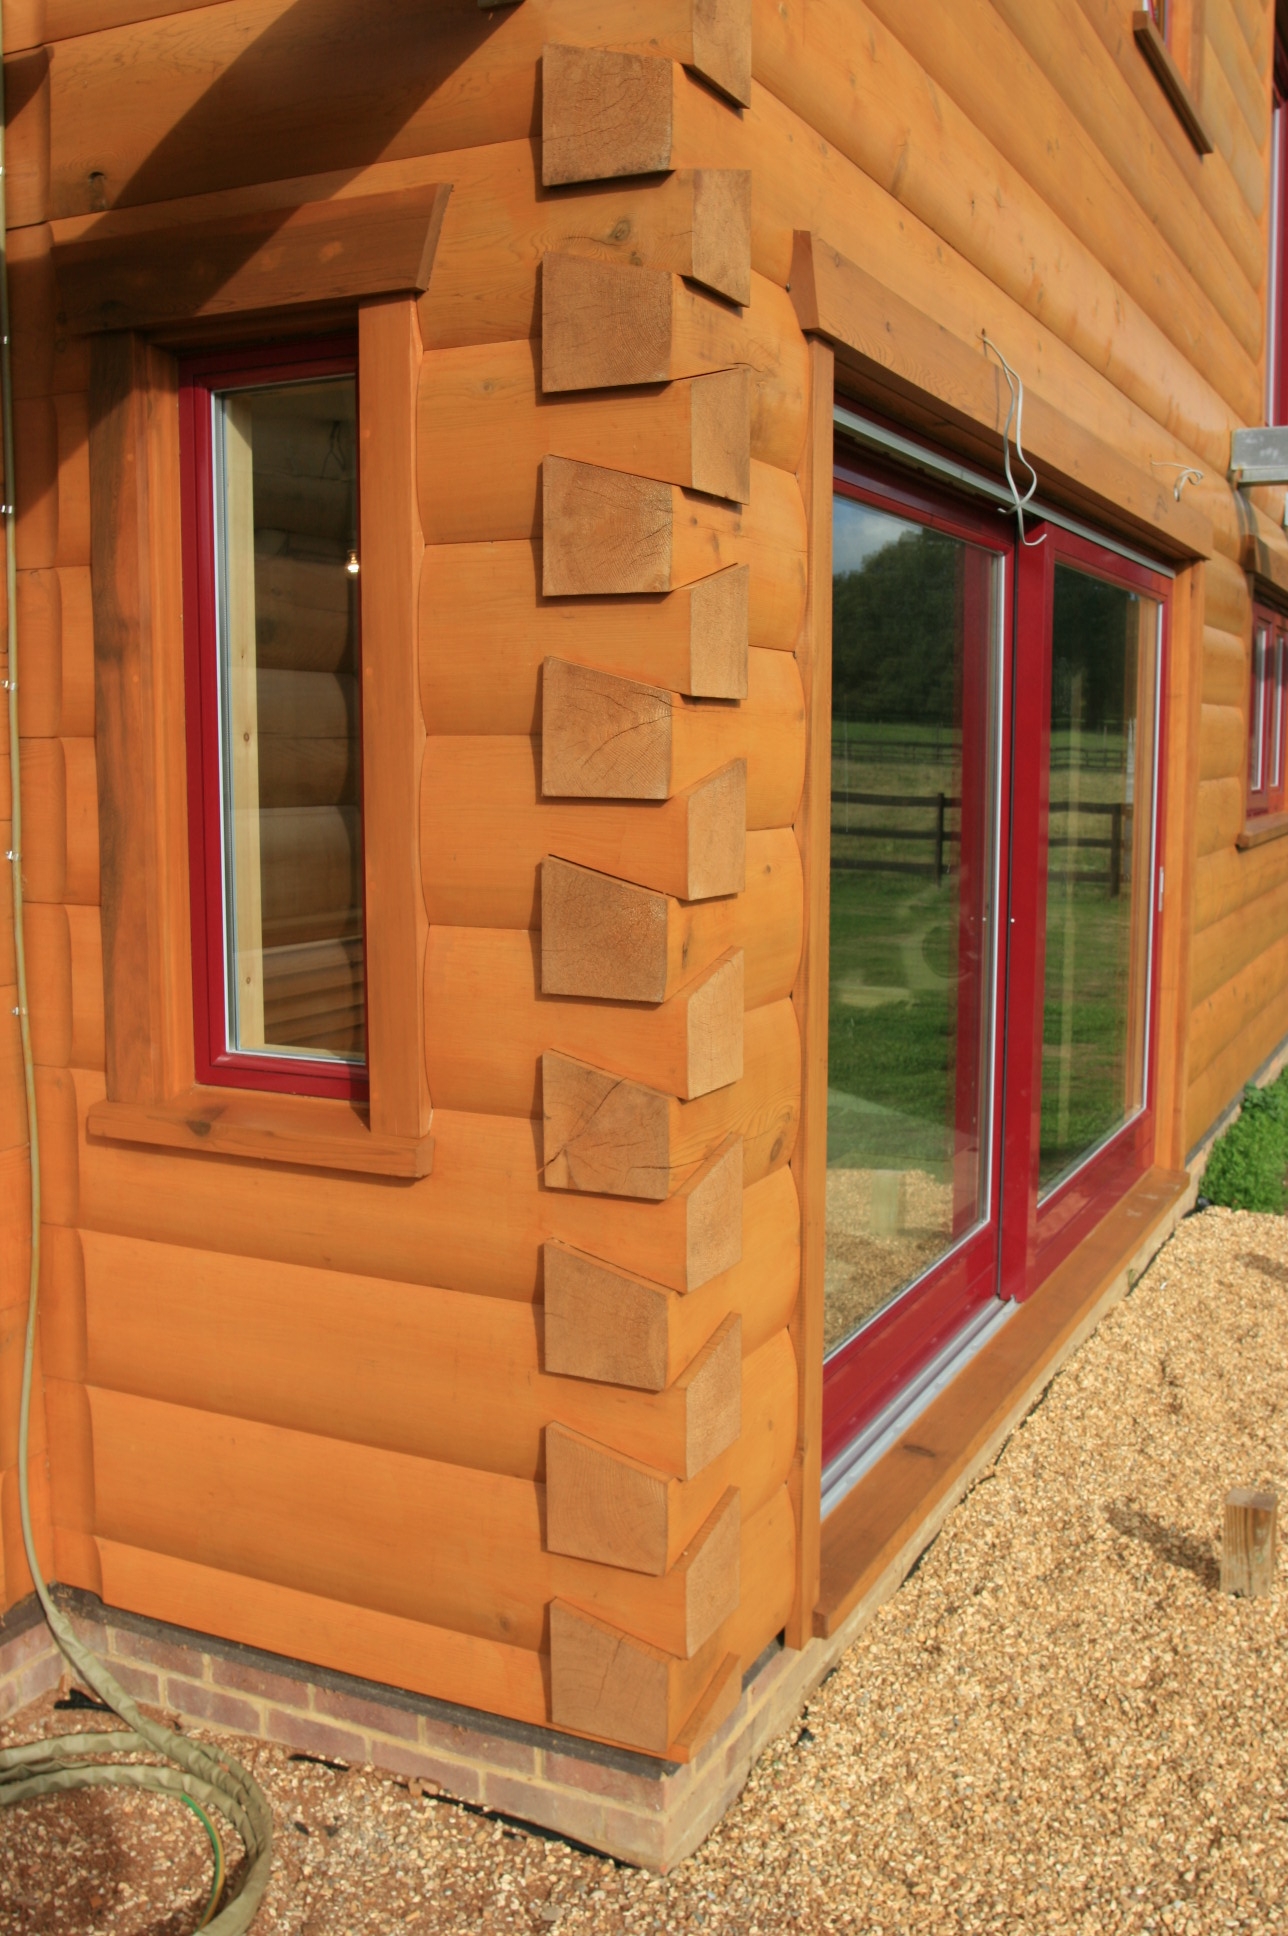
The last window installation is completed with the headers and architrave fitted. With our recent experience of leaks on the logs and with this window facing the south west winds we have been very carefull to make sure it is well sealed.
Published by in Log House Design
The last window installation is completed with the headers and architrave fitted. With our recent experience of leaks on the logs and with this window facing the south west winds we have been very carefull to make sure it is well sealed.
Published by in Log House Construction
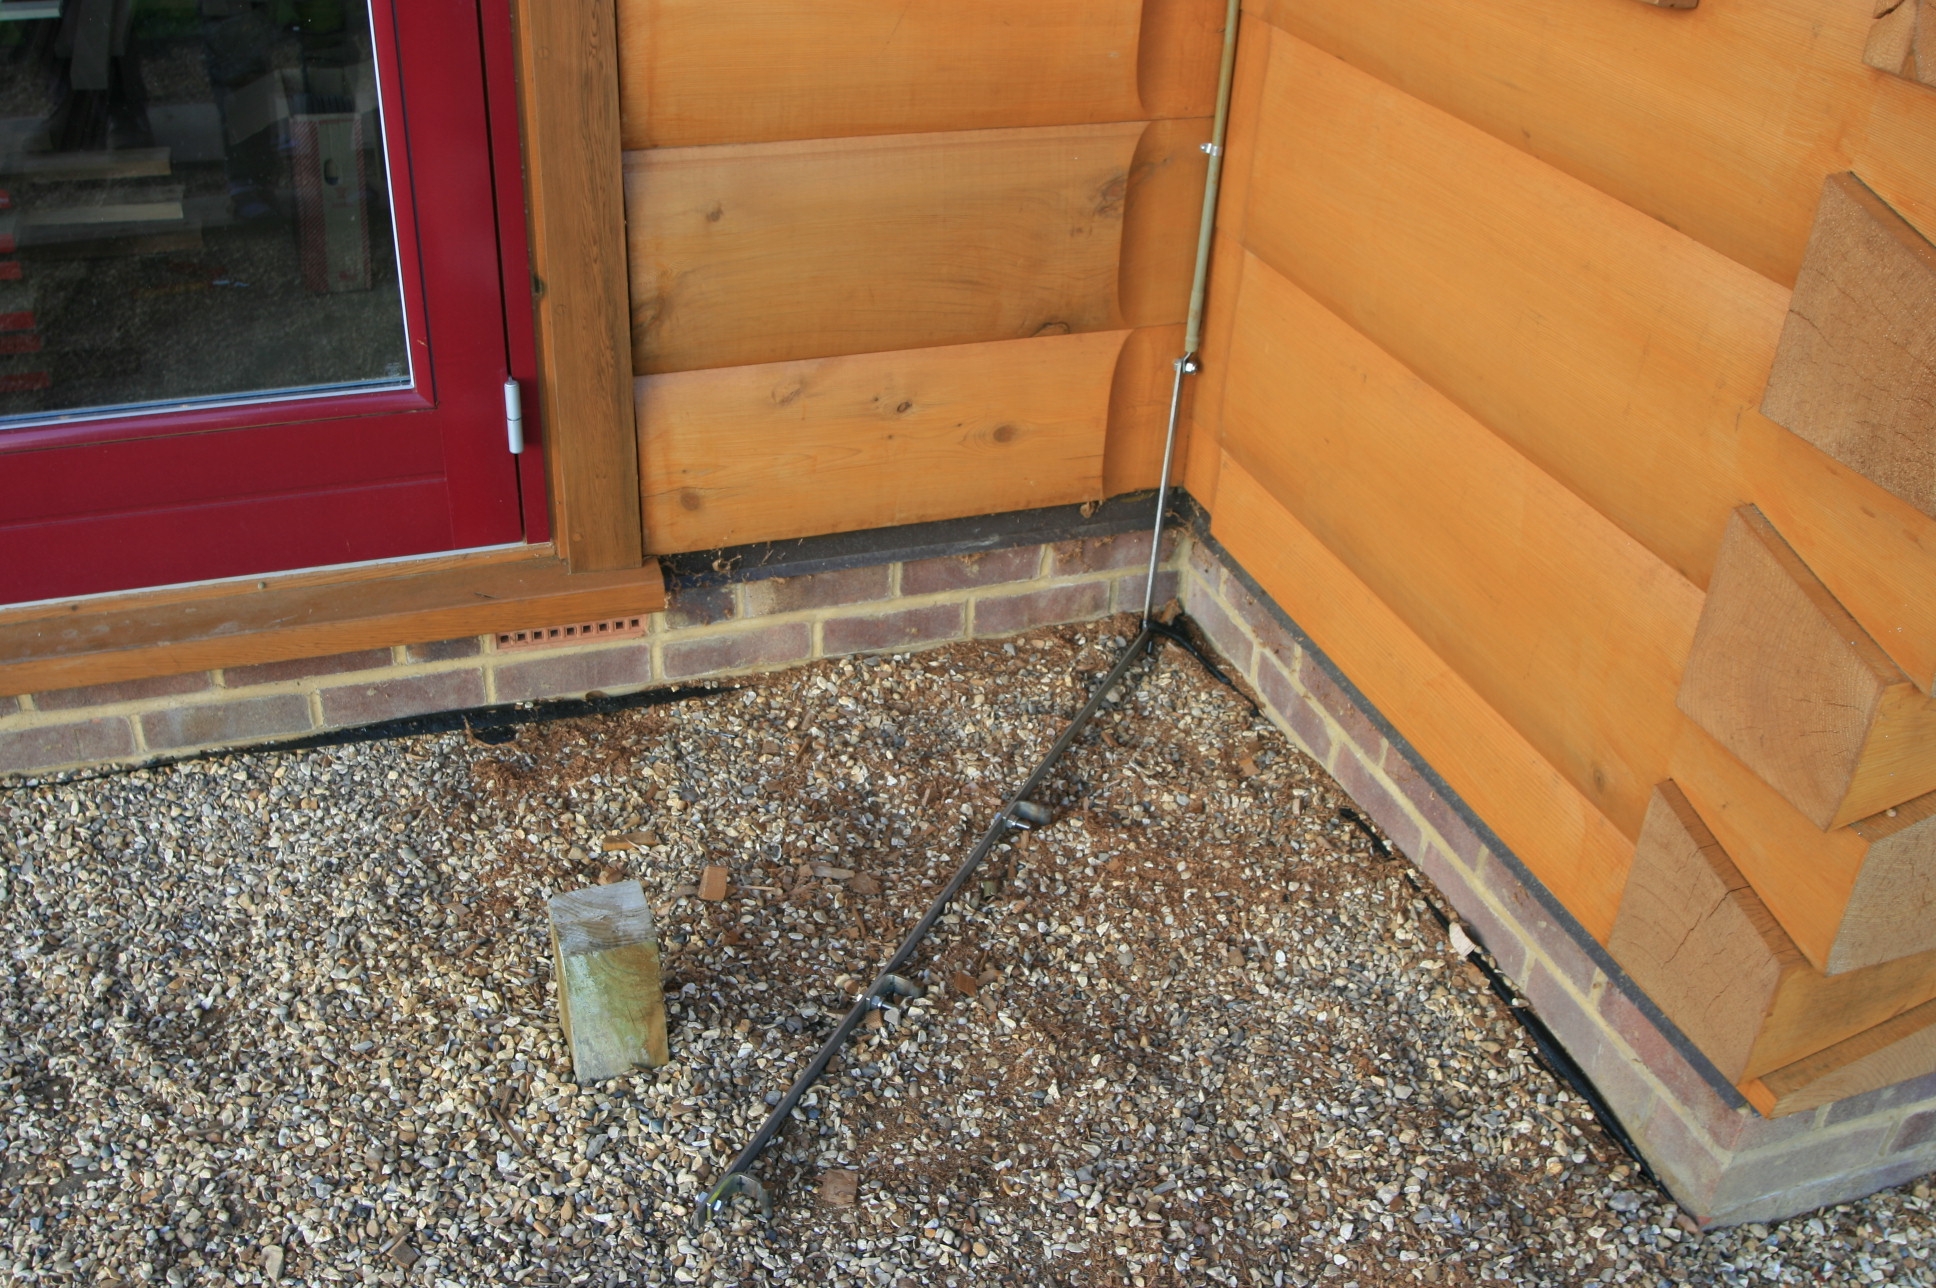
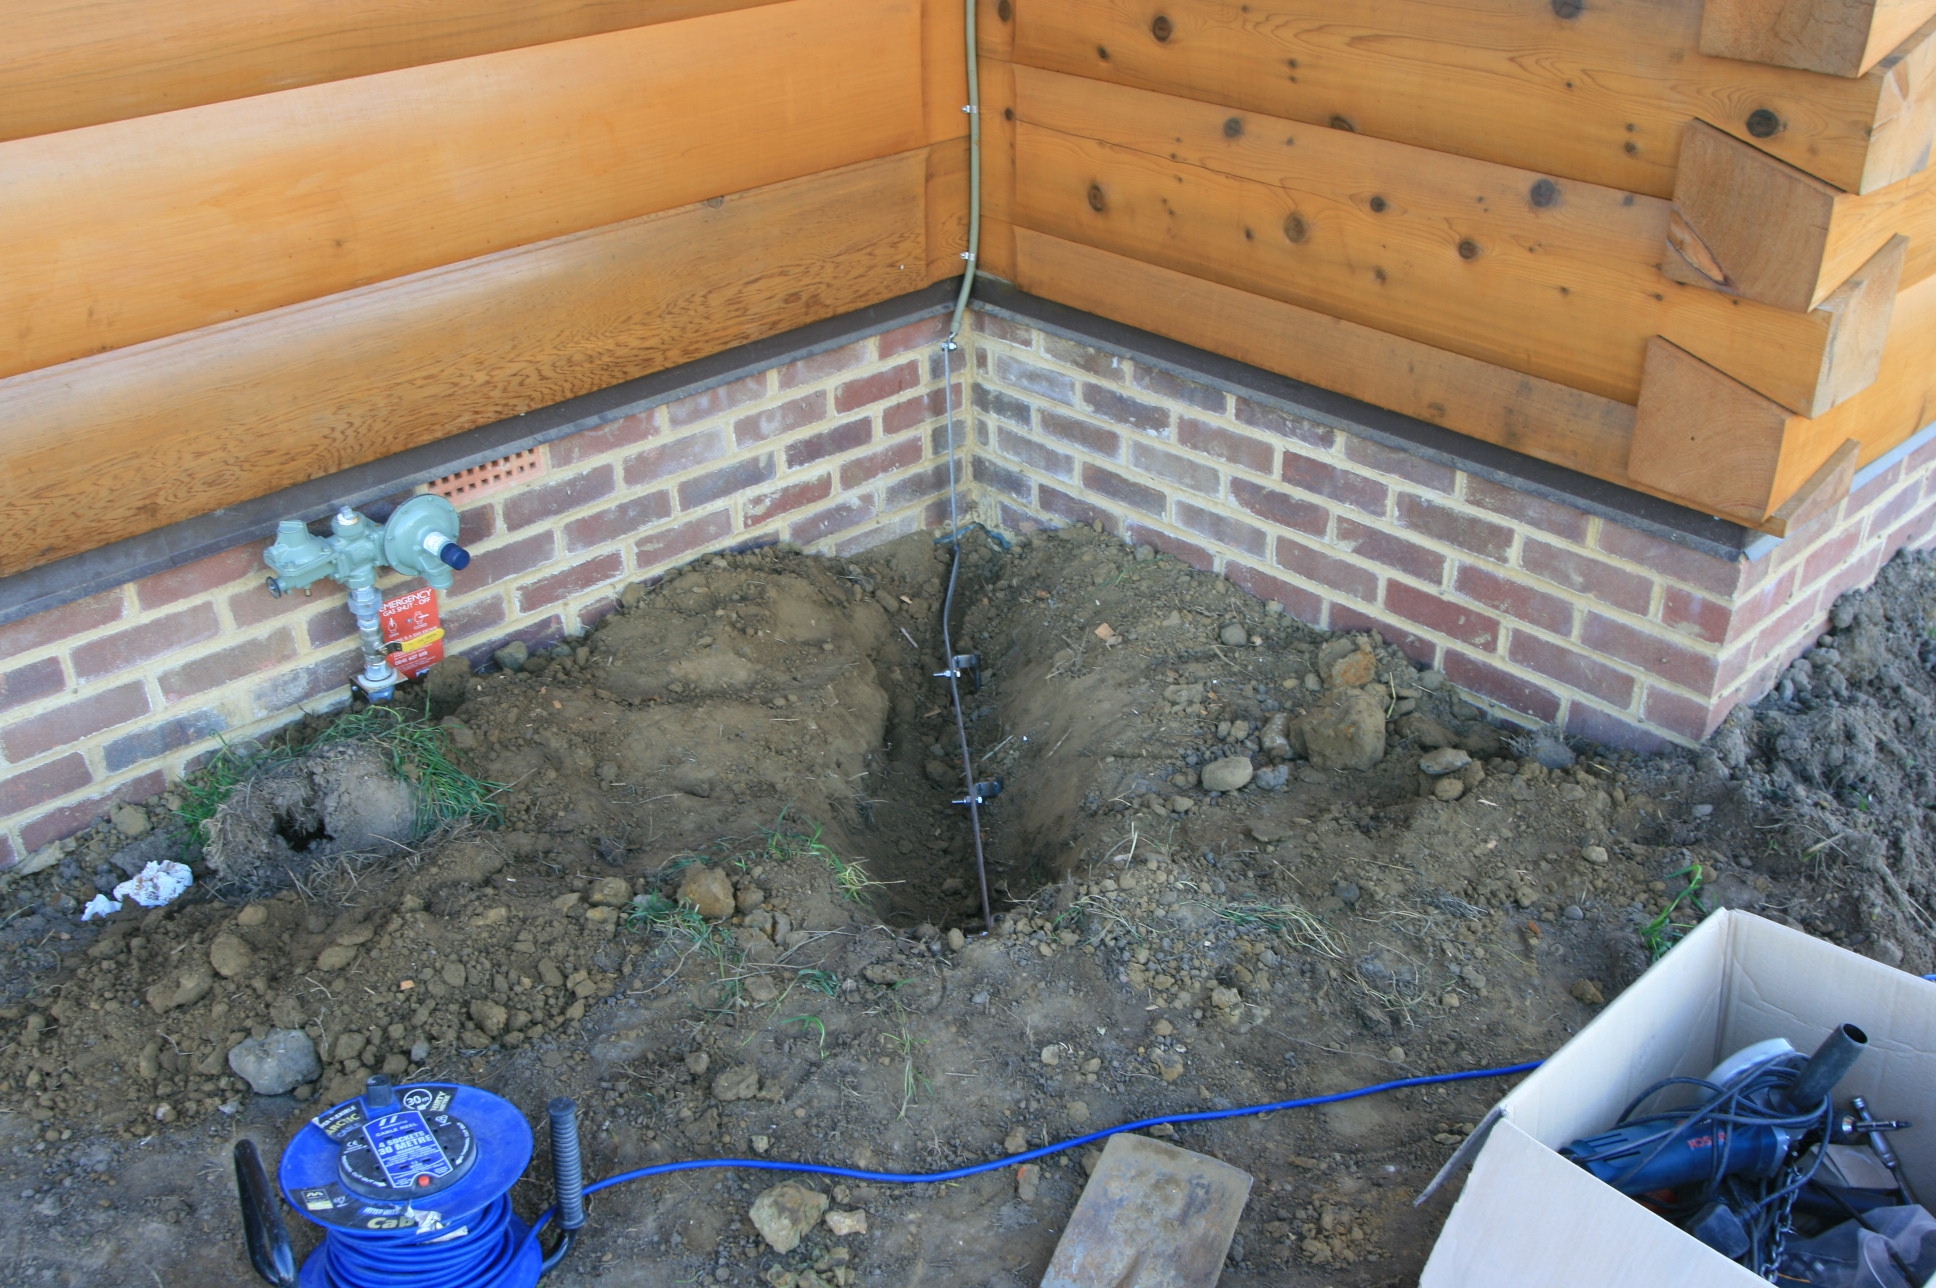 While the lightening Conductors have been fitted to the roof and the copper conductor put in place down the side of the house, they have not been connected to any earth rods. How many rods you need depends on the resitivity of the ground, which depends on whether it is sandy, clay or whatever. Our friendly Lightening Conductor designer suggested for our soil type we should have 3 earth rods on each side, 2 metres deep and connected across the top with a strip to which the copper conductor is connected with a soldered tag. Fortunately this summer has been miserable and incapable of getting things hot enough to create any thunder and lightening.
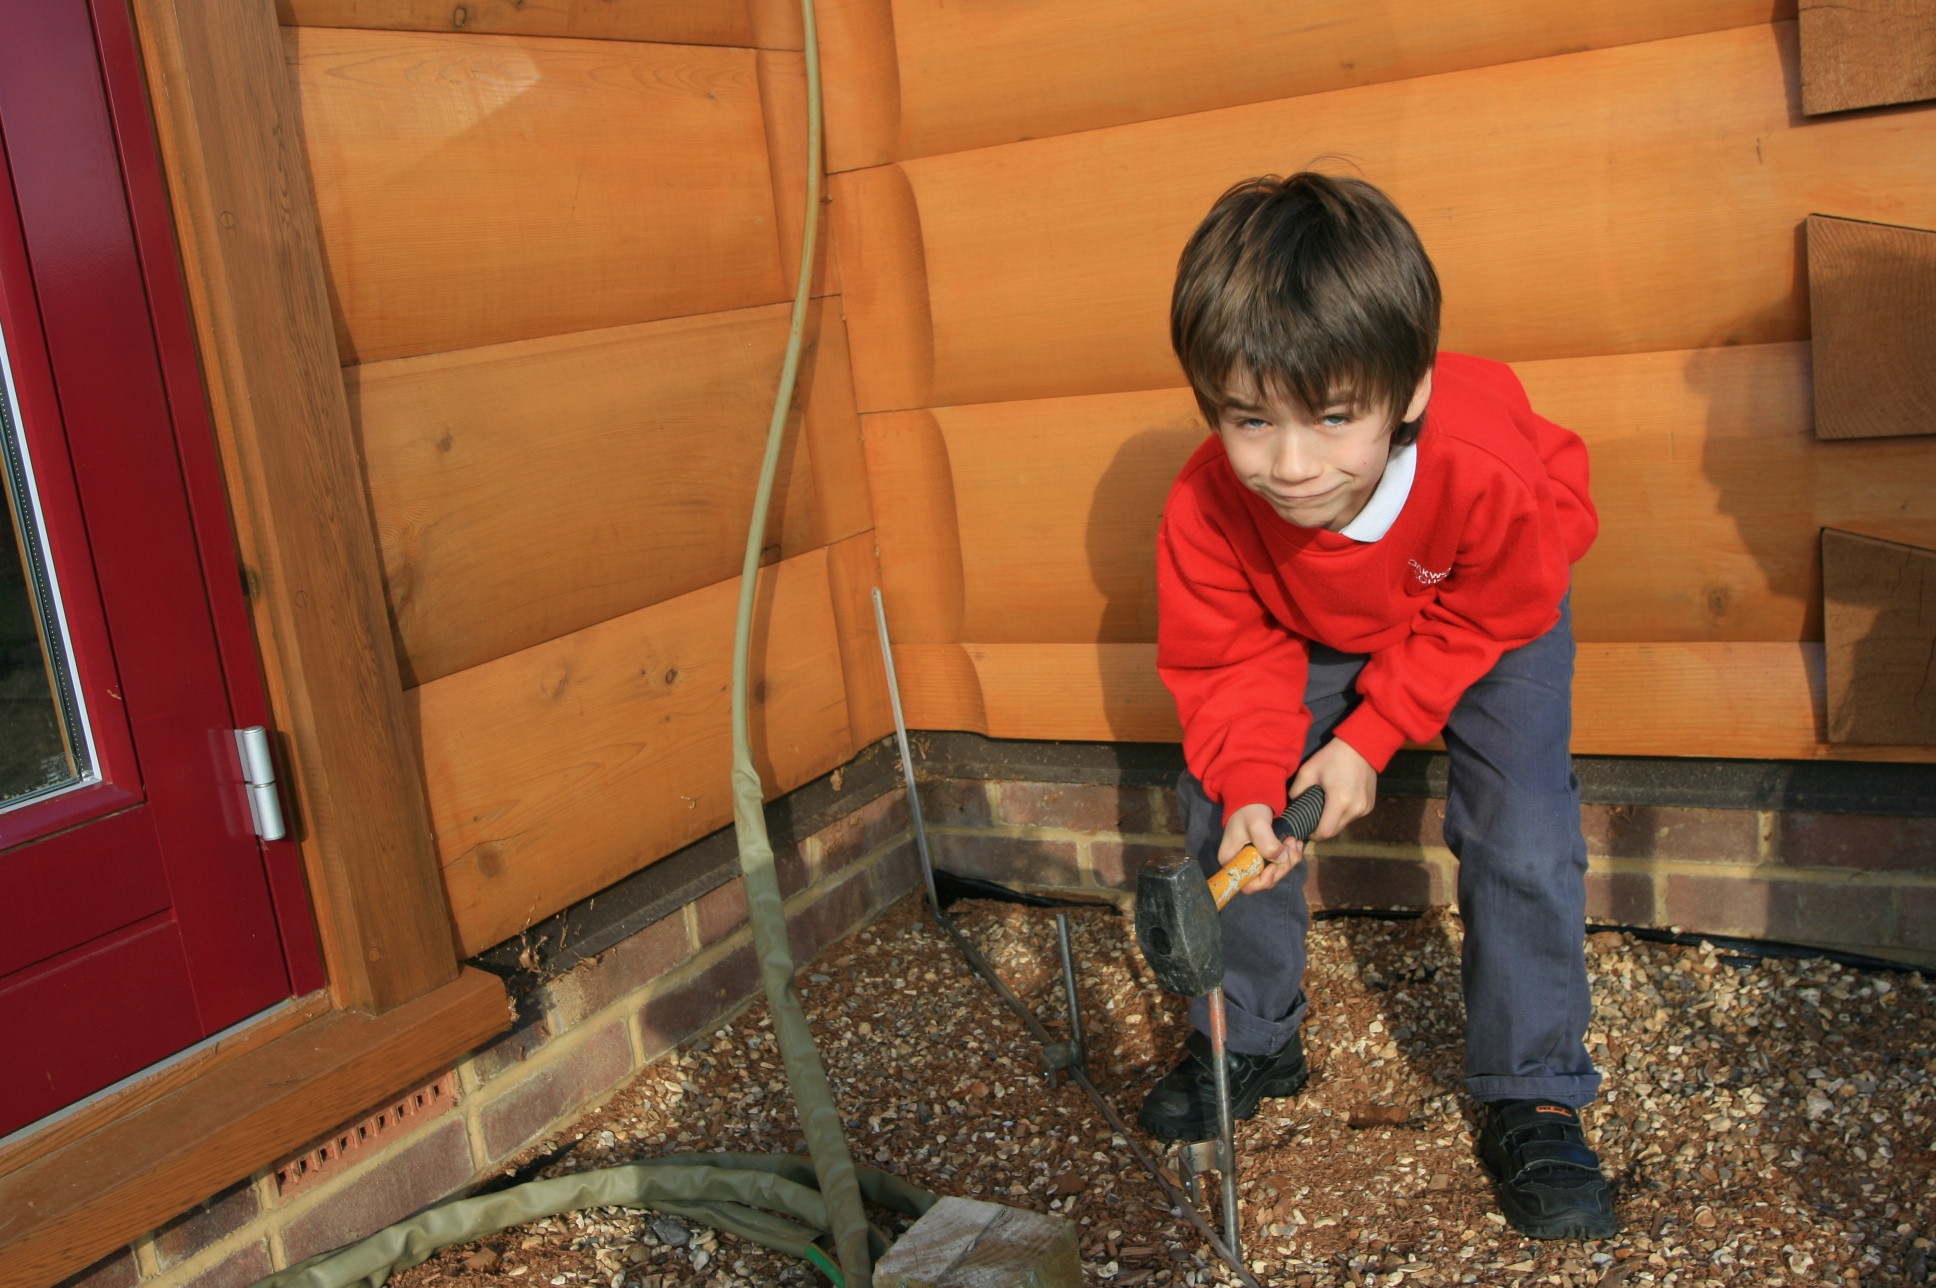 The rods are reasonably easy to knock into the ground as around the house much of it has been disturbed to do the foundations so has not fully compacted yet since the backfill.
On the south side of the house we had put teram and pea shingle down where the decking will go so the conductor assembly will sit nicely under the deck
Published by in Log House Design
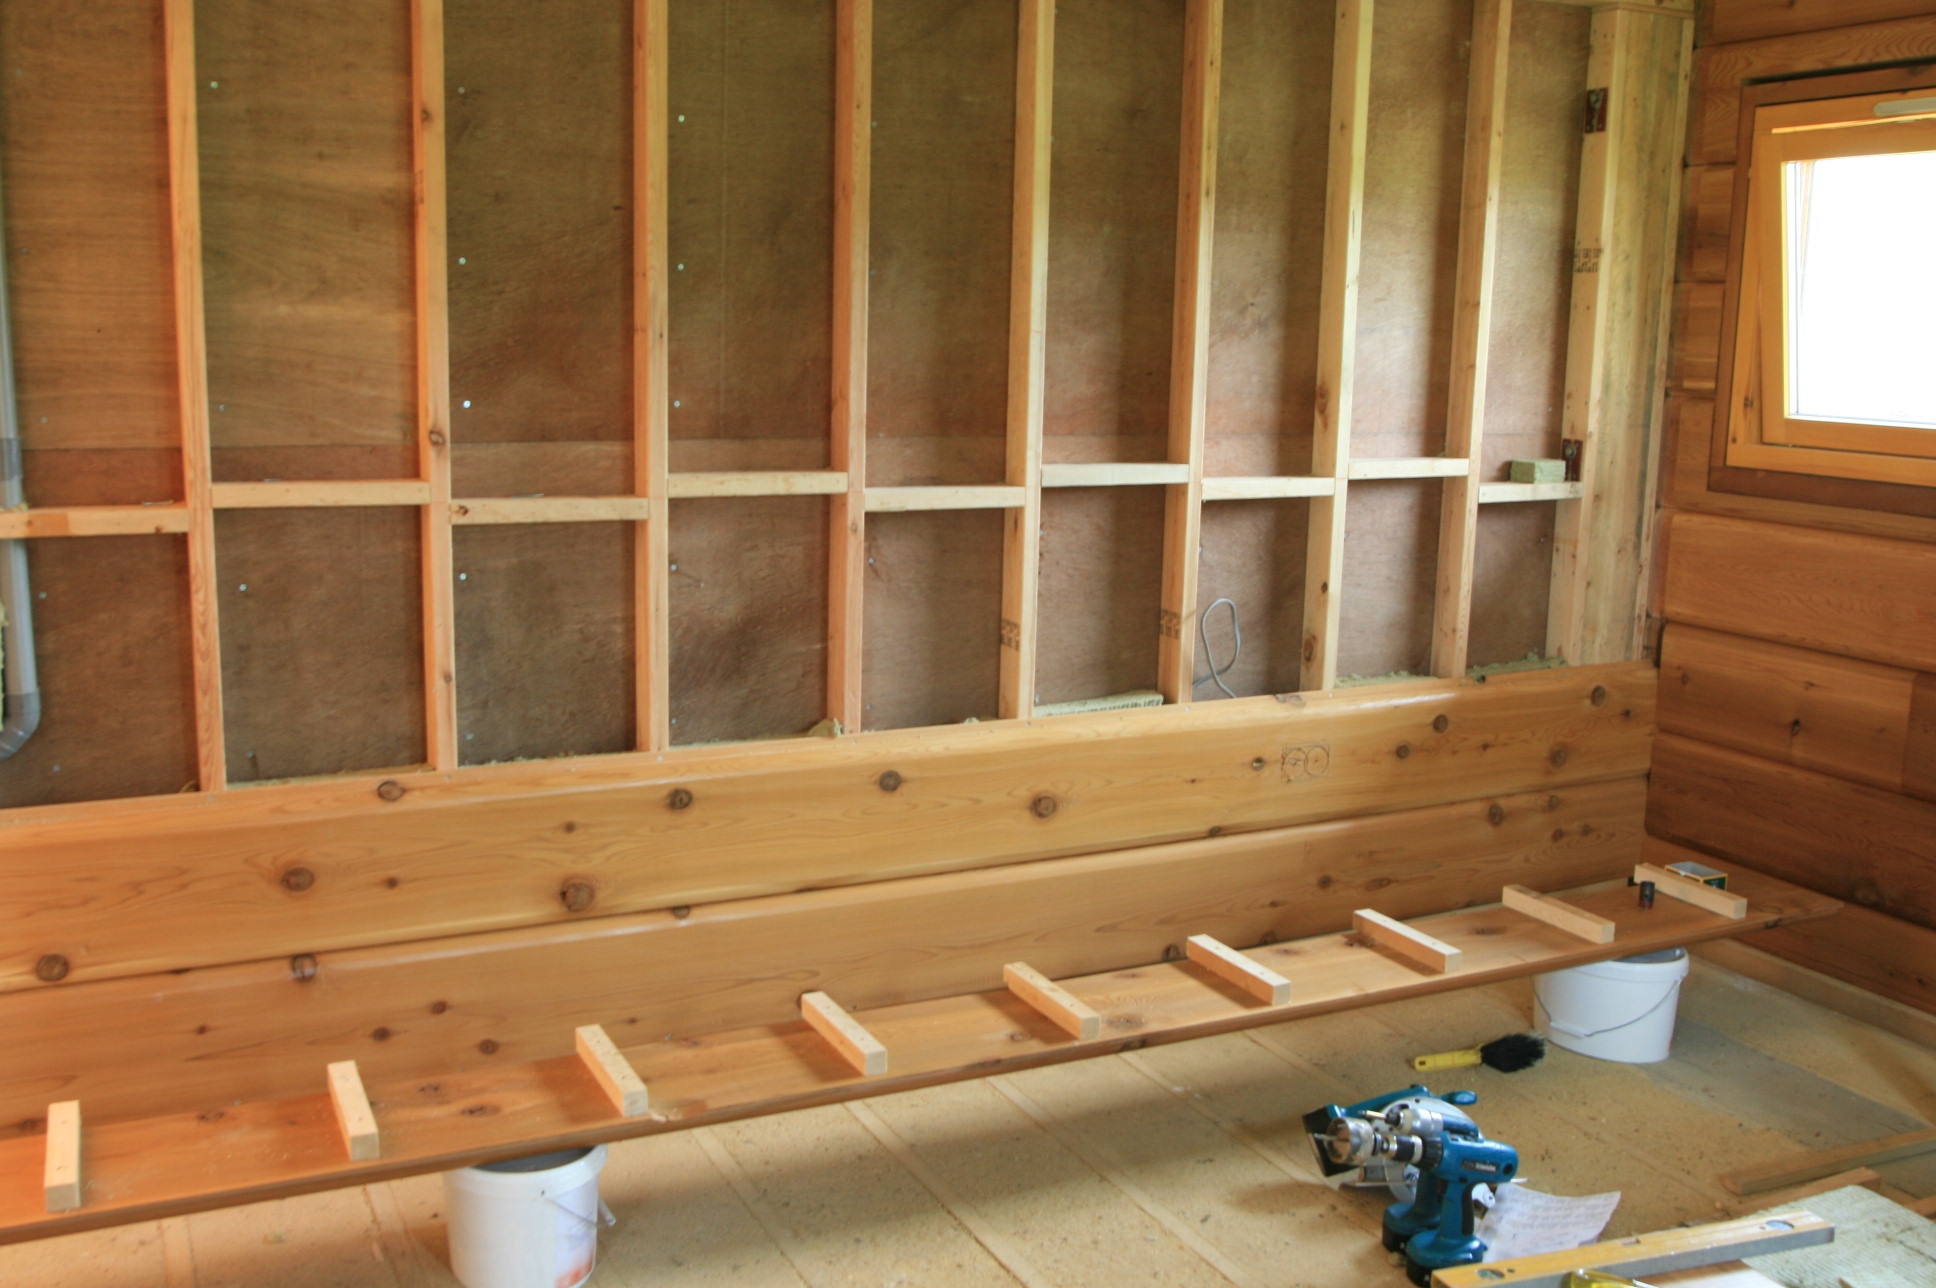
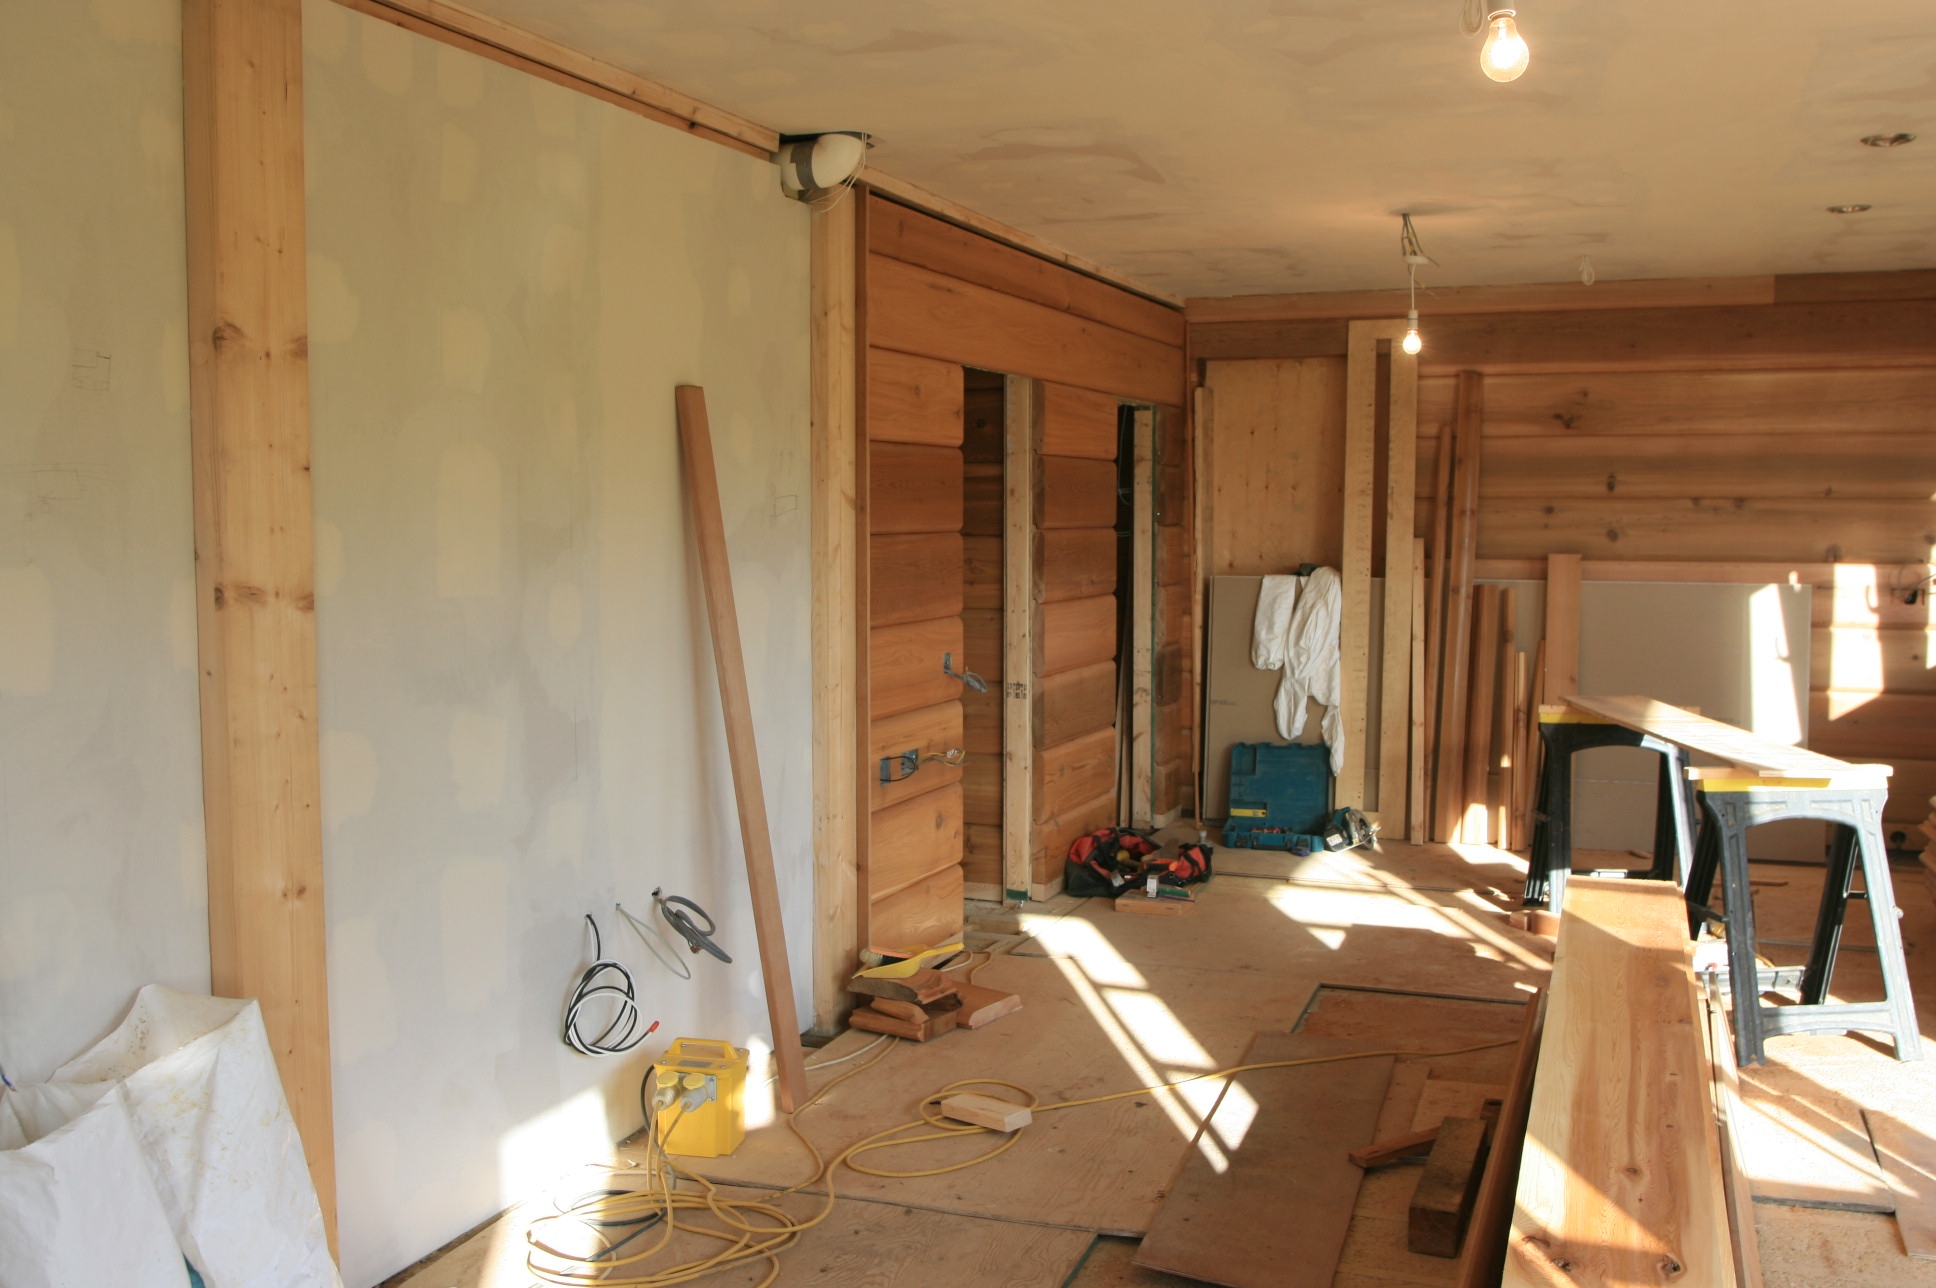 A week or so later and all the siding in the house is fitted. You can see the difference at the far end of this room, compared with the original shot before fitting shown below.
Published by in General
 With some of the rooms now pretty finished we are ready to prepare the floors prior to putting down the wood flooring.
To level the pug floor screed we use some latex floor levelling compound. With the underfloor heating switched on this will dry quite quickly.
Published by in Log House Design
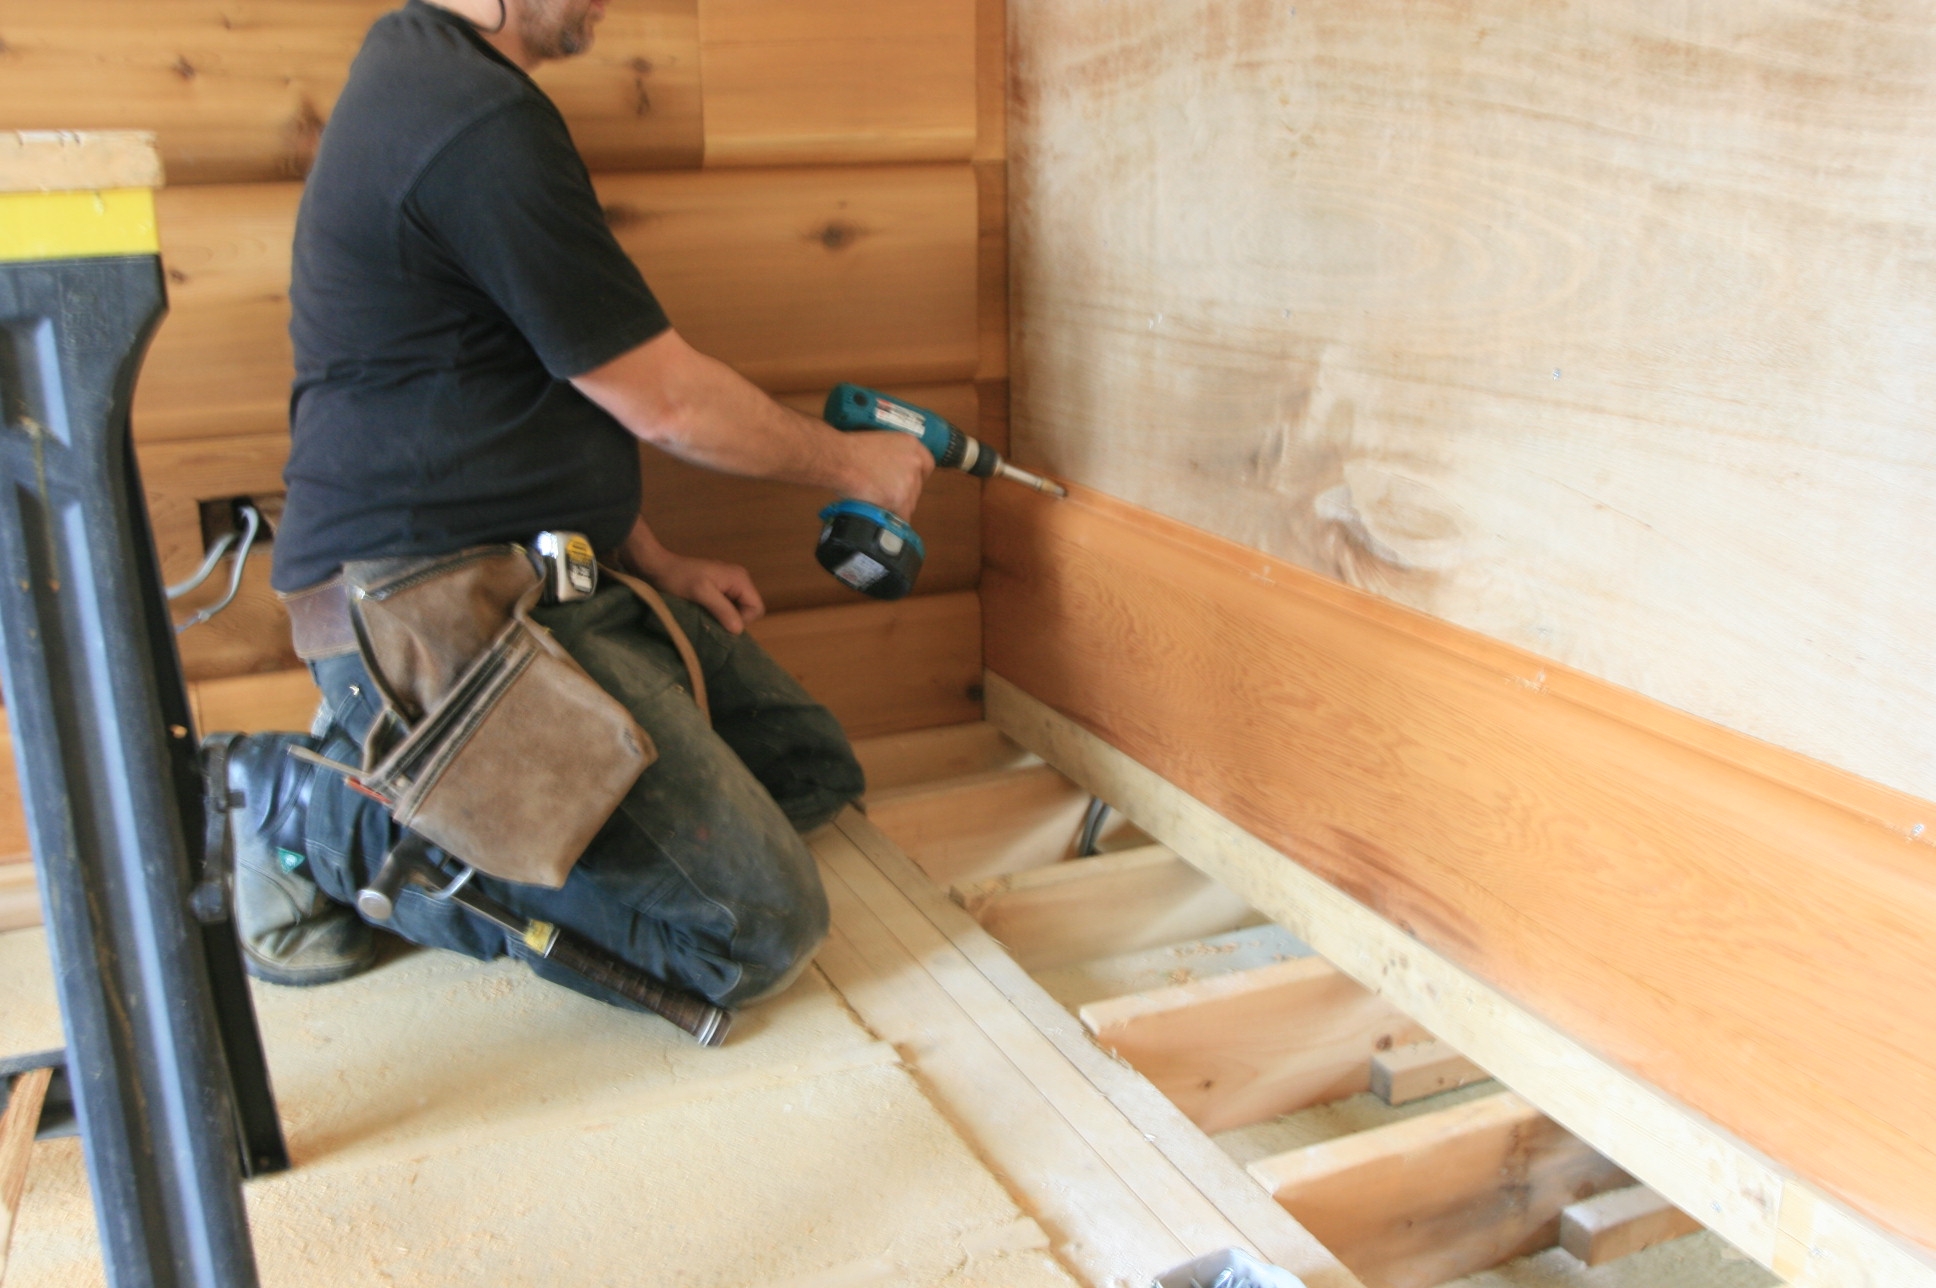 Having given the siding a week to acclimatise to the heated house, we can now start to fit it. It is 2″ thick, and our skirting is about 4 inches tall, so we pack out the bottom (first) piece of siding with some 4 x 2 reduced to 3.5″ which also sets the siding so that it is at the correct hieght to the logs on the walls and therefore looks like it is part of the log wall.
The house has several 7″ square posts supporting the roof through the floors and one of these just falls in the wrong place for the siding, which cannot be slid into position because of the post protruding in th adjacent side wall close to the corner.
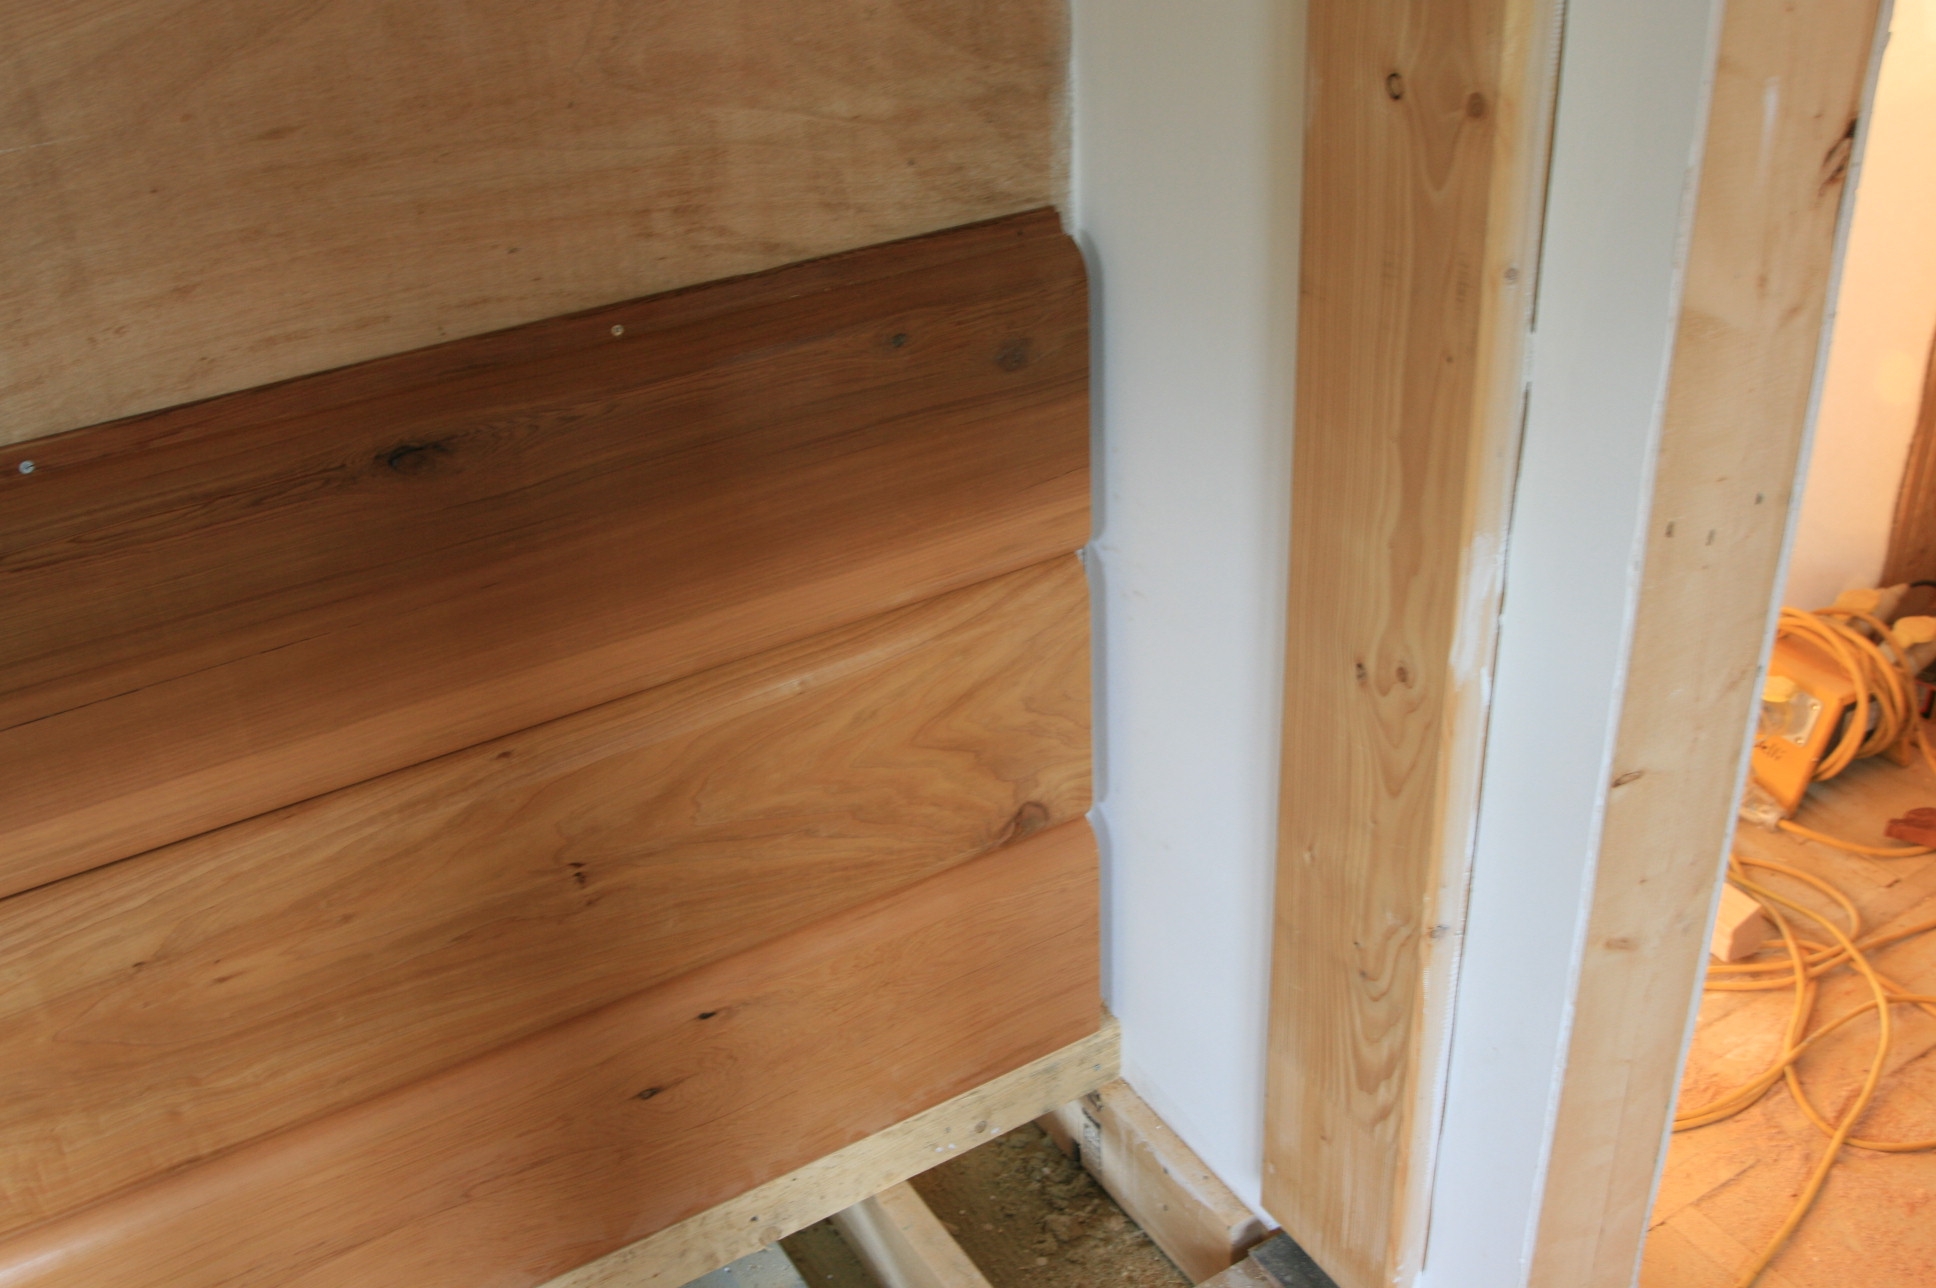 So we have to cut the siding lenghts slightly short and will have to fit a trim to cover this up later when all the siding has been fitted.
This particular stud wall has siding on both sides so we have to come up with a clever way around things to avoid showing any fixings on the log.
 So we fix battens to the back of the siding, lift the siding in place and then screw through the battens to fix the siding to the studs. As each piece of siding is put in place, sound insulation is dropped in place to fill the gap as we go along.
Published by in Log House Construction
Prior to the internal architrave being fixed to the window linings, we will need to fill any gaps with can foam to complete the insulation and avoid any air gaps etc.
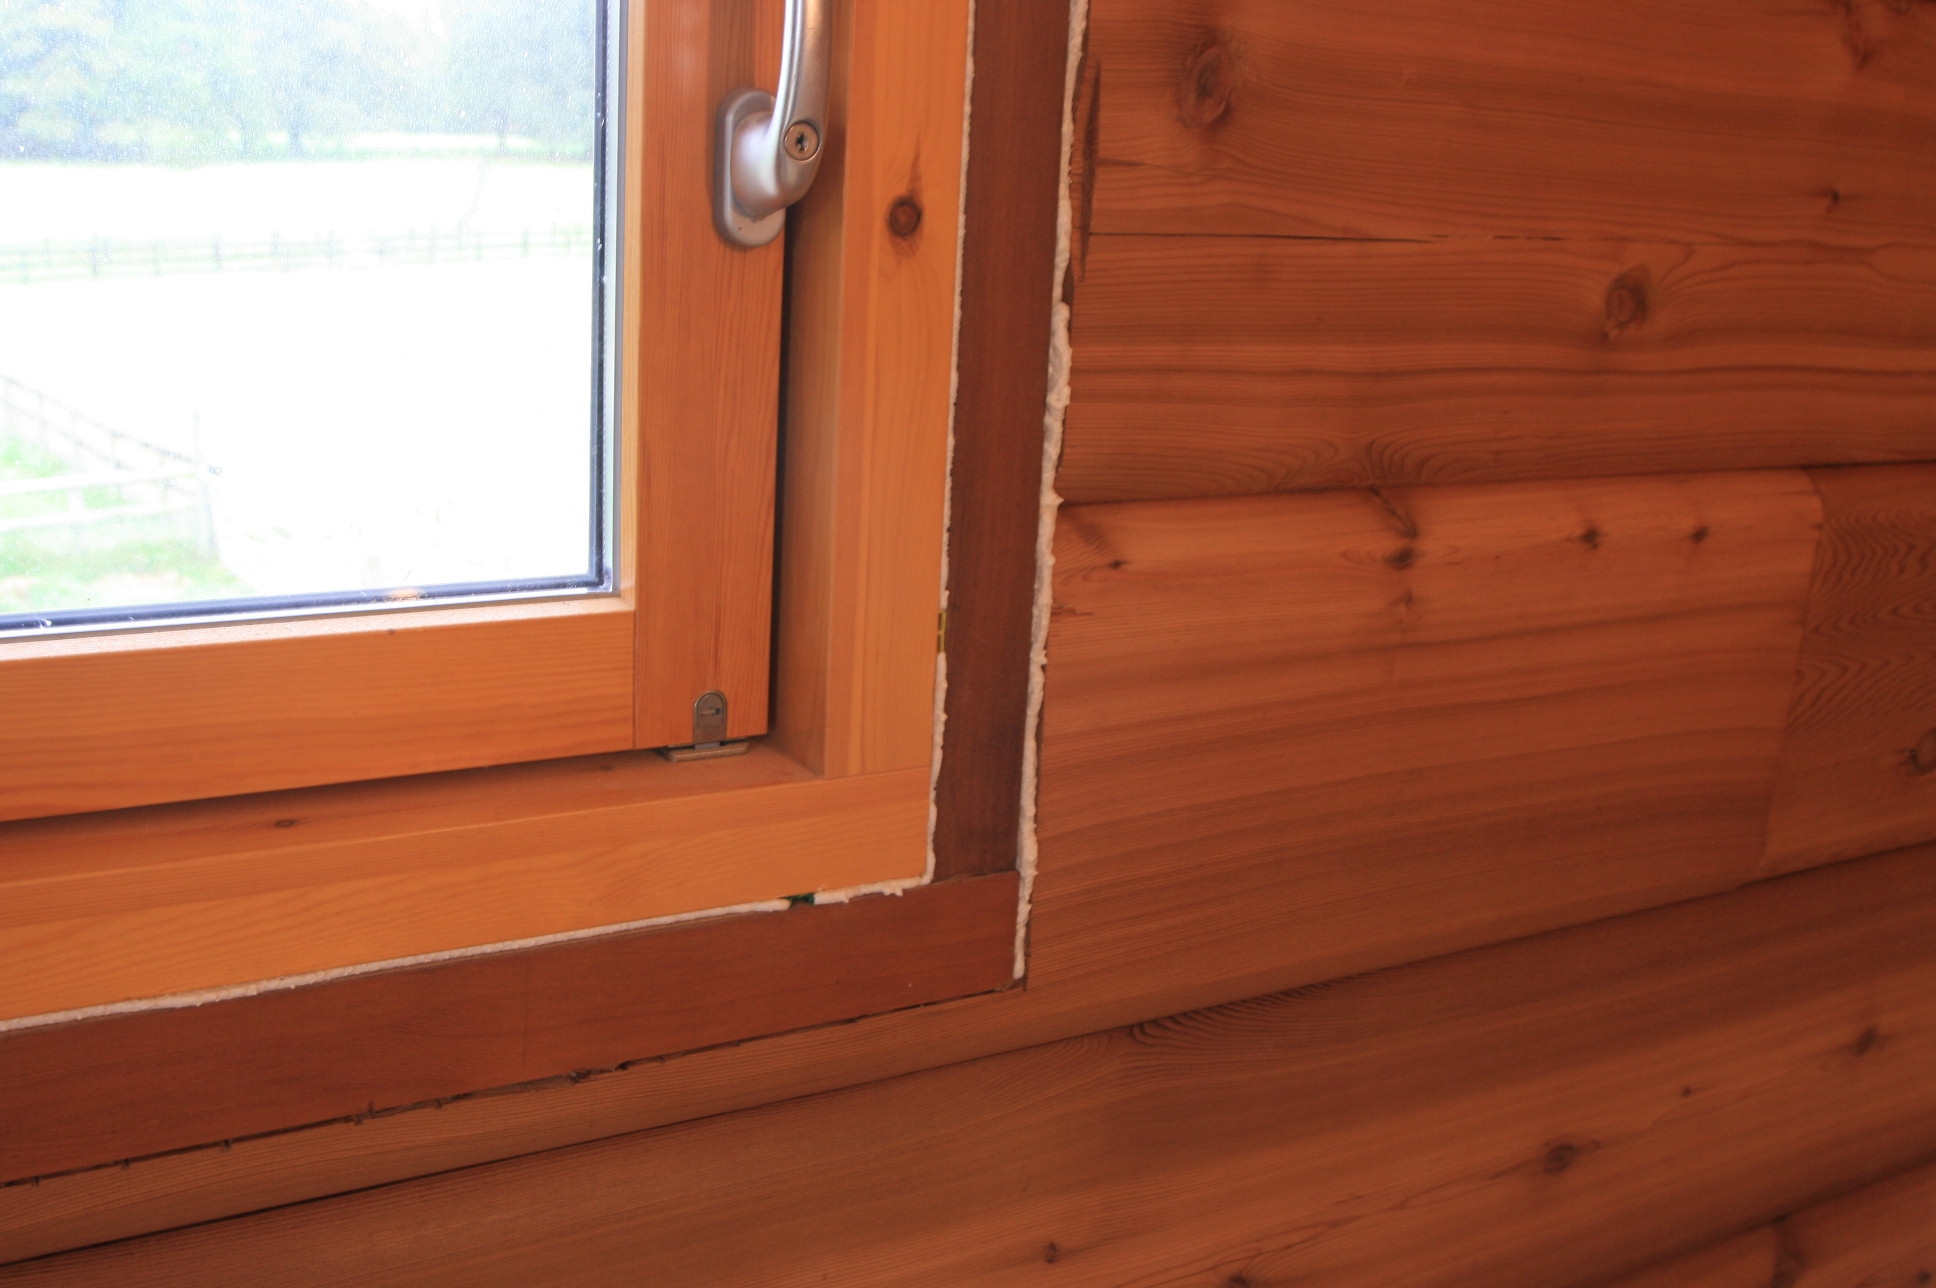 After allowing the foam a day to expand, any excess is cut off and then the architrave can be fitted. With Architraves, you either use the same material as the logs, or something that is noticeably different so that it does not look like a poor attempt at a match. We have settled on American Oak to go round the windows and doors as it will take the knocks better than Western Red Cedar.
Published by in Log House Construction
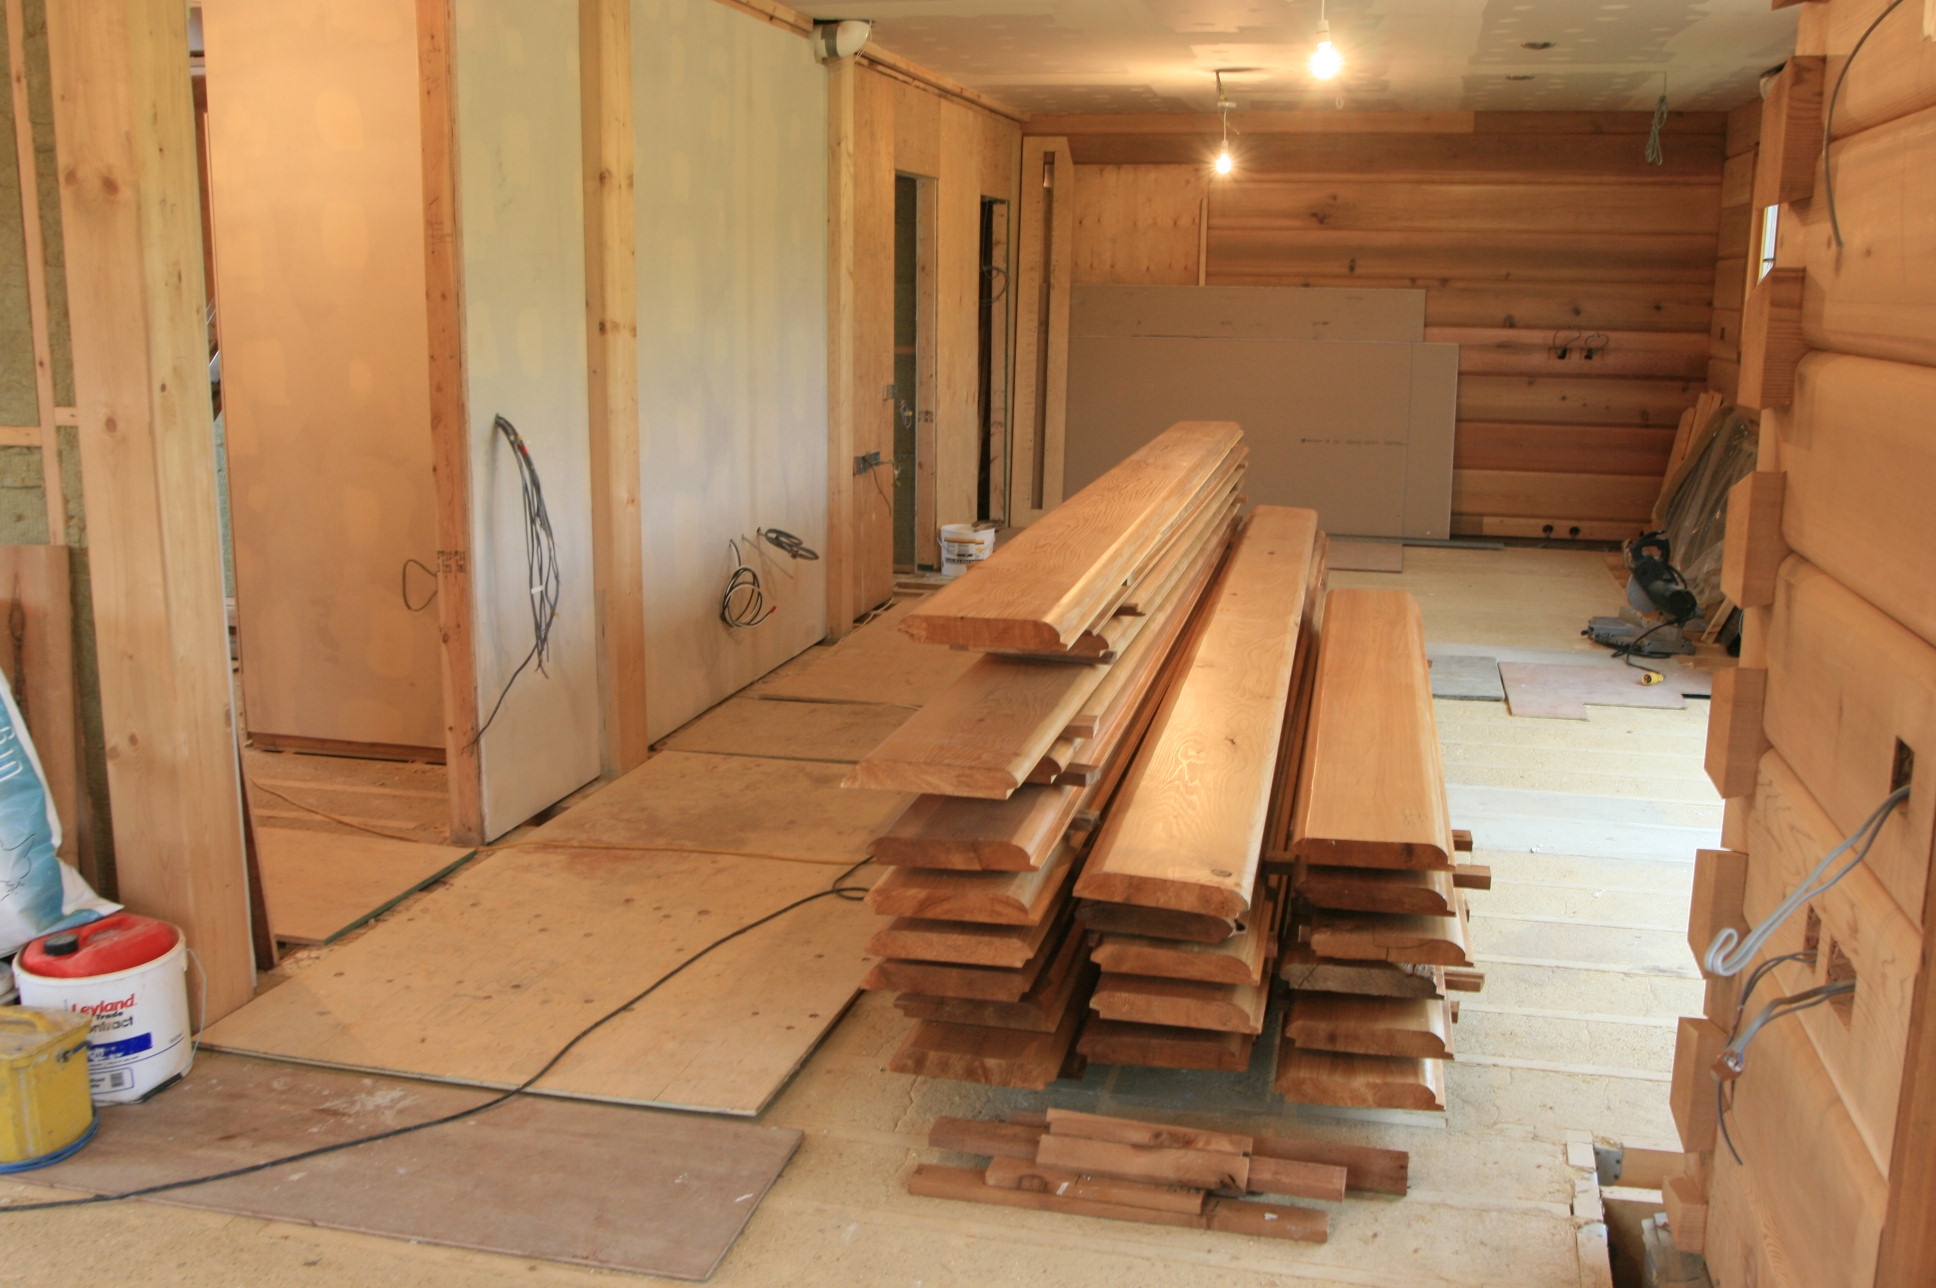
Some of the internal walls in the house will be plasterboard, and some will be log siding, which is like a slice of wood that has been machined to look like the inside face of logs used for the house external wall. We have pre-painted lots of it with a wood treatment and now that the underfloor heating is on, we can bring it over prior to using it on the walls at the left back part of this view.
By bringing it into the house a week or so before, it has a chance to settle down and dry out a bit more before fixing, reduing the potential for settlement after fixing.
Published by in Log House Design
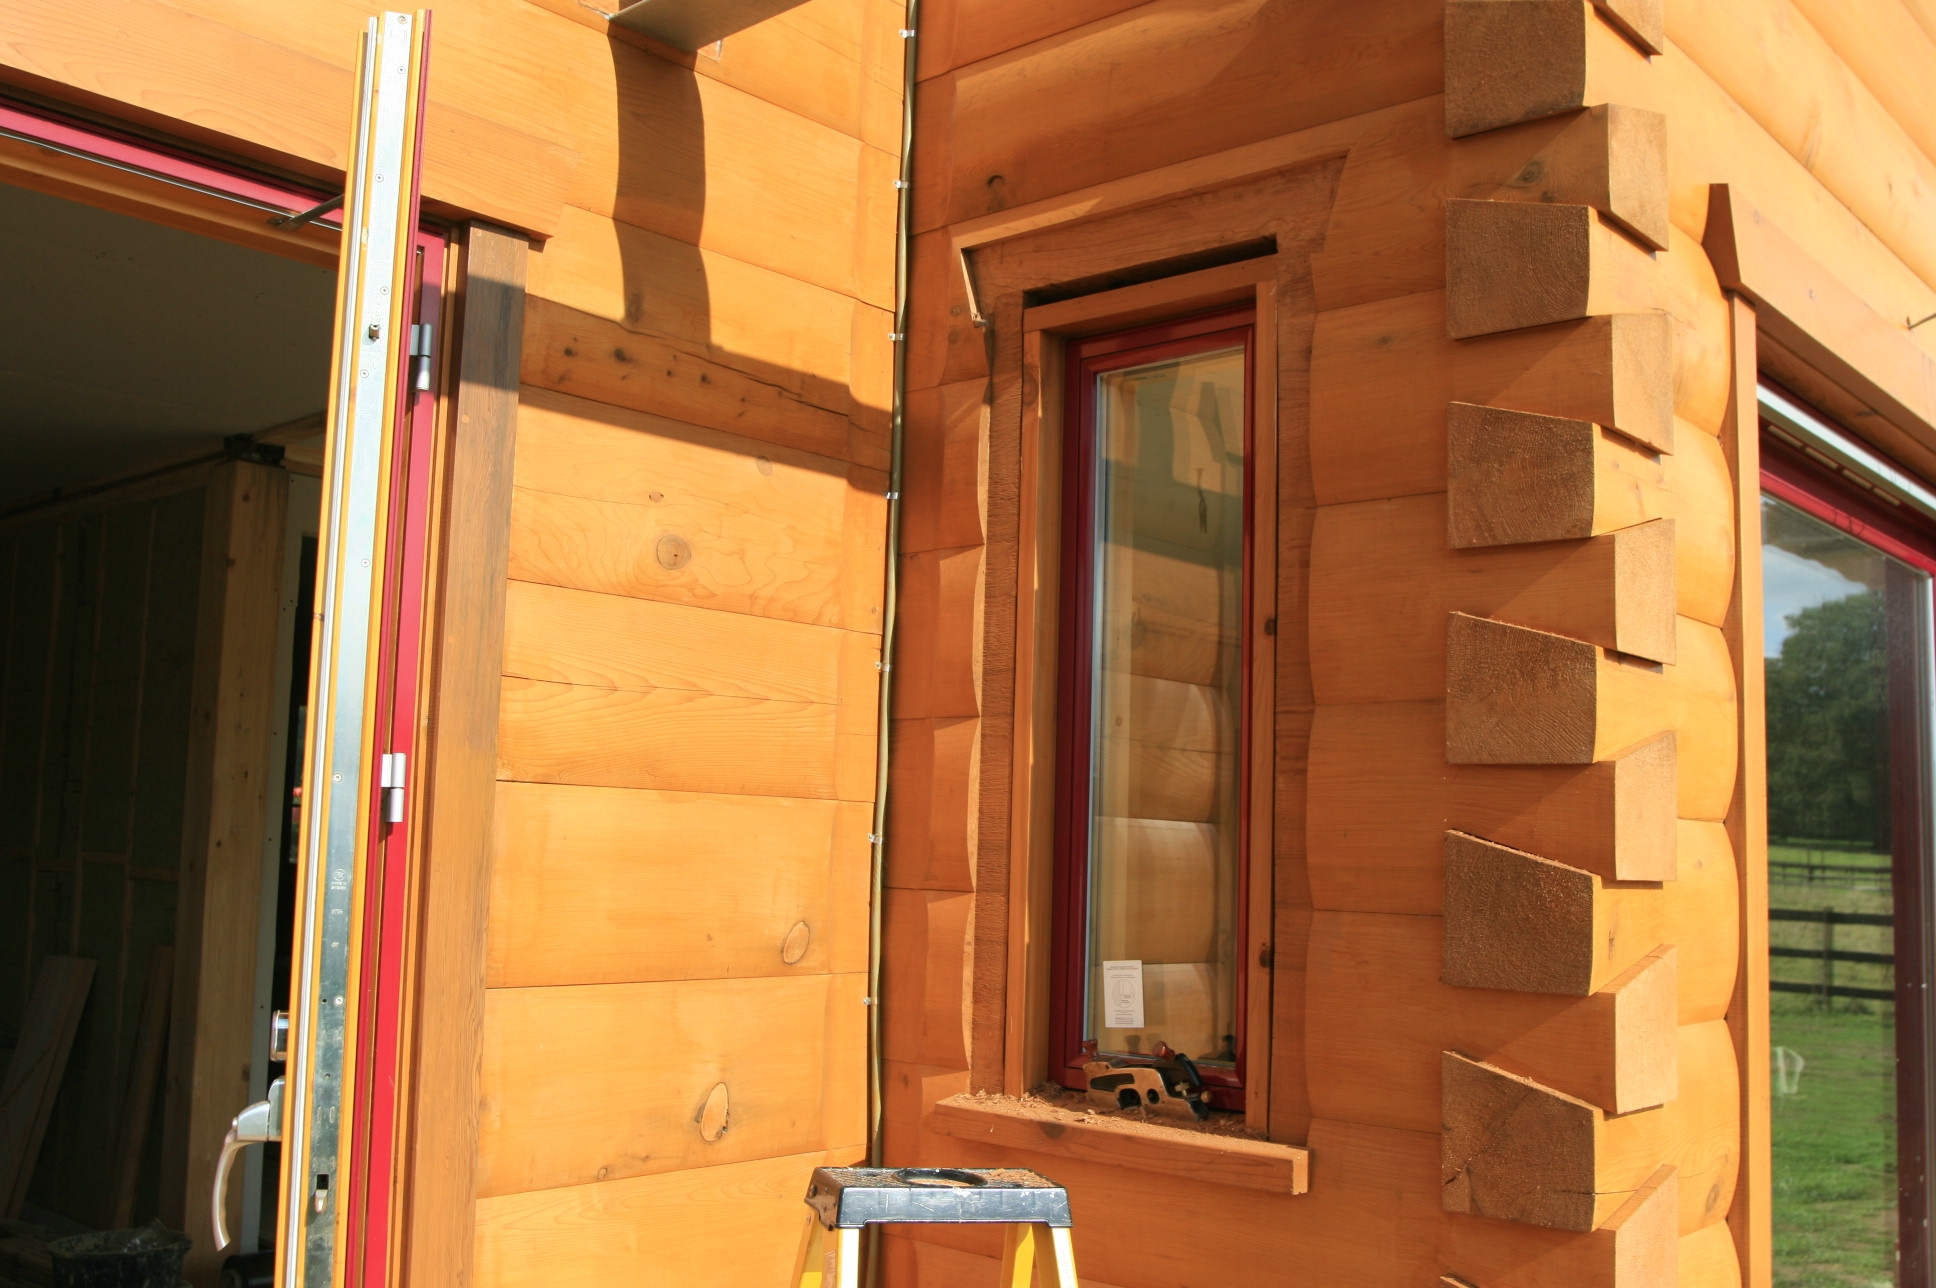 We have a few dry days to get the extra window work finished off. The jigs we used to guide the router on the main doors and windows have to be modified because the return on the wall is quite small and the dovetails get in the way as well.
Here we have finished the routering for the architraves and header and just need to give the routered surfaces some protection treament before fitting. We will also put plenty of silicon to help seal the log to architrave and header faces.
Published by in Log House Design
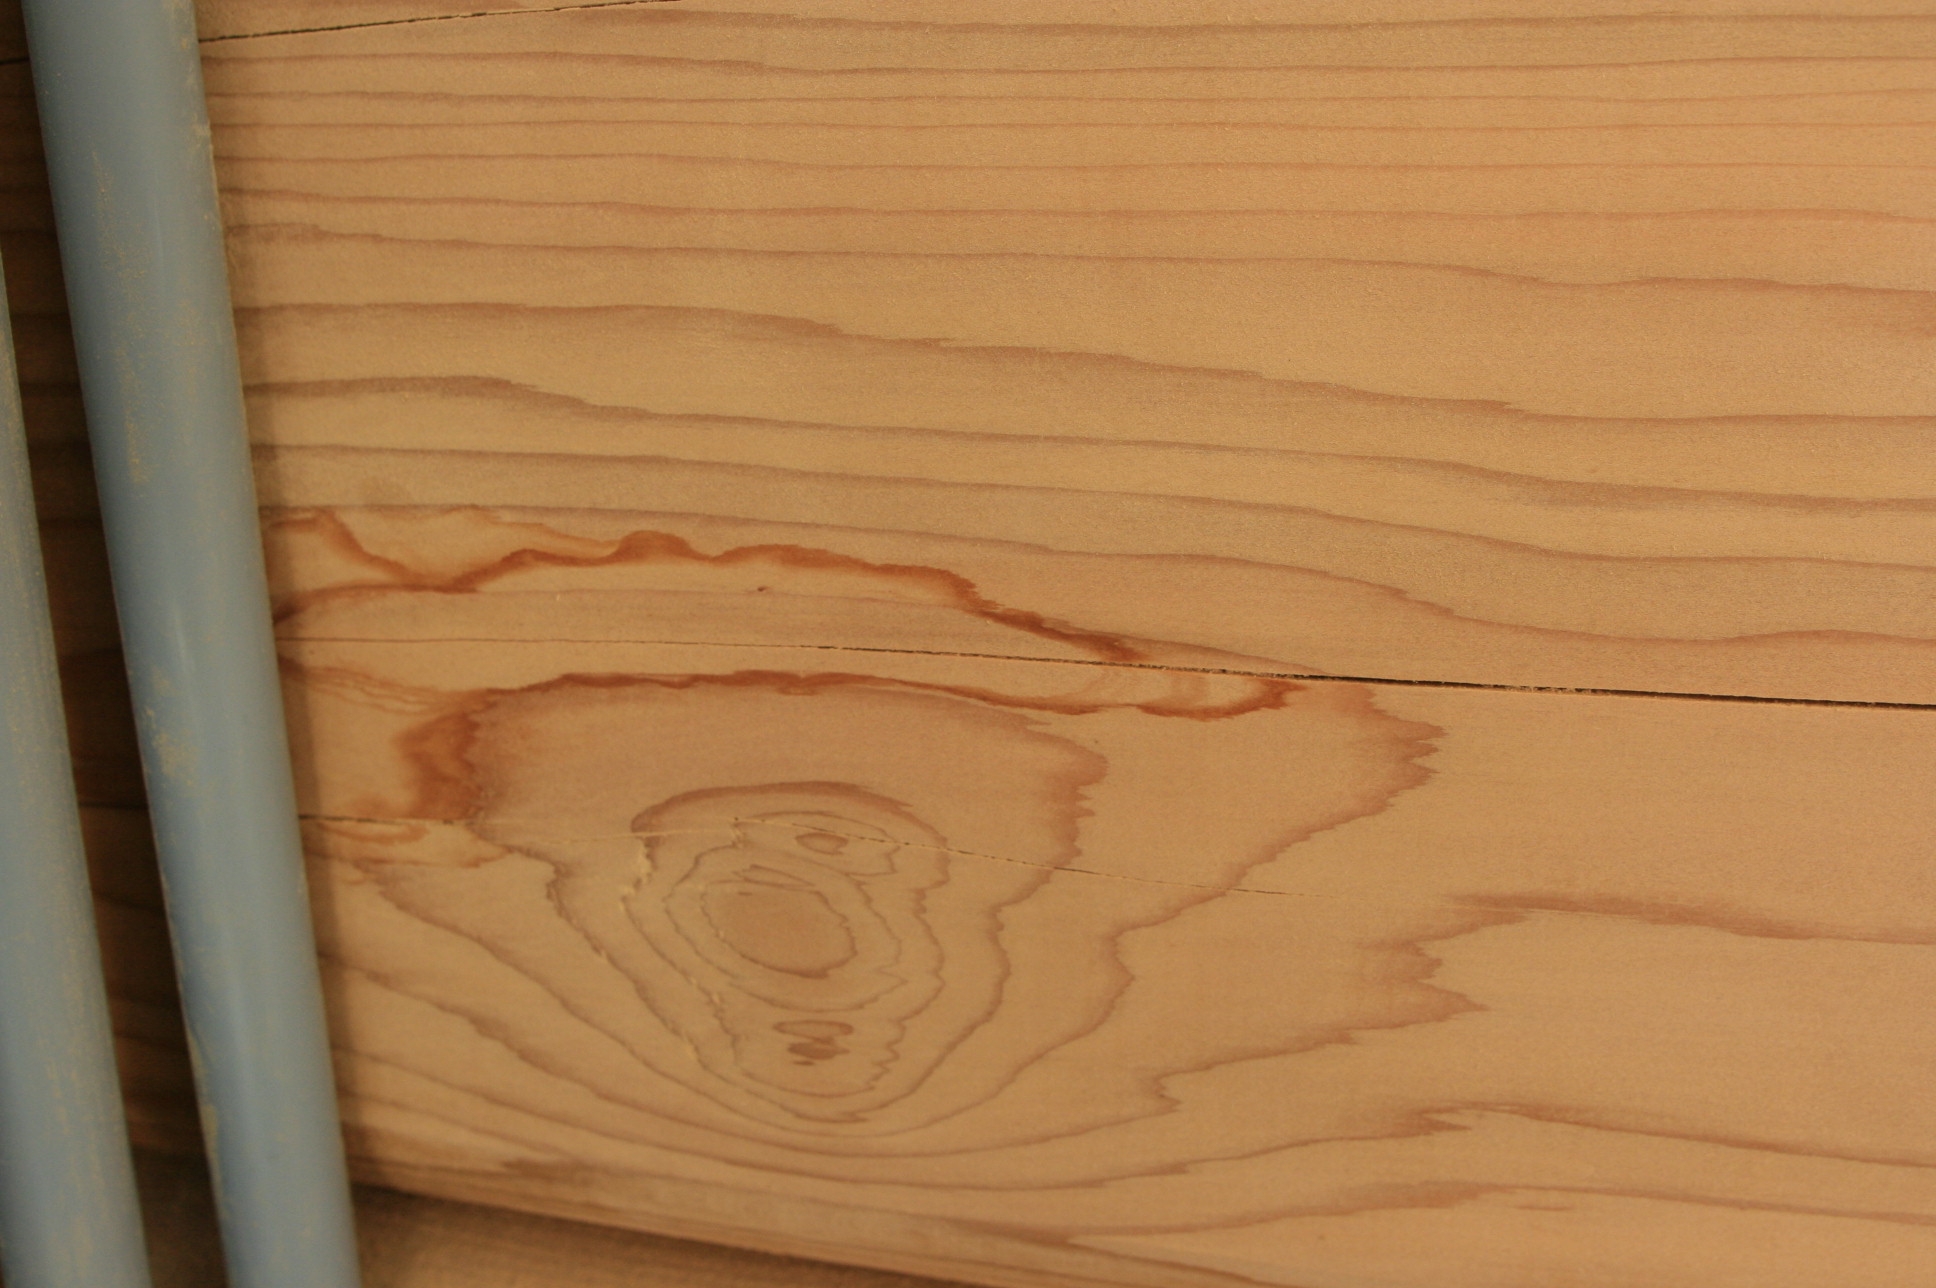 Ho Hum, we have some heavy driving rain the other day and found damp patches on the inside of some of the logs. Looking on the outside it looks as if there are cracks that extend along some of the logs for a considerable lenght, and in some places go all the way through the log. This cracking or “checking” is normal as the logs dry out. We experienced similar problems with water penetration in our earlier log house, and it sometimes needs and exact combination of rain and wind direction for the pesky crack to be found and the water to be pushed through it. So it really is a one or two day a year issue, but much better to discover it now, while we can fix it.
We contacted the North American log house supplier and they will be sending us a repair proceedure they recommend to deal with this.
Published by in Ground Source Heat Pump
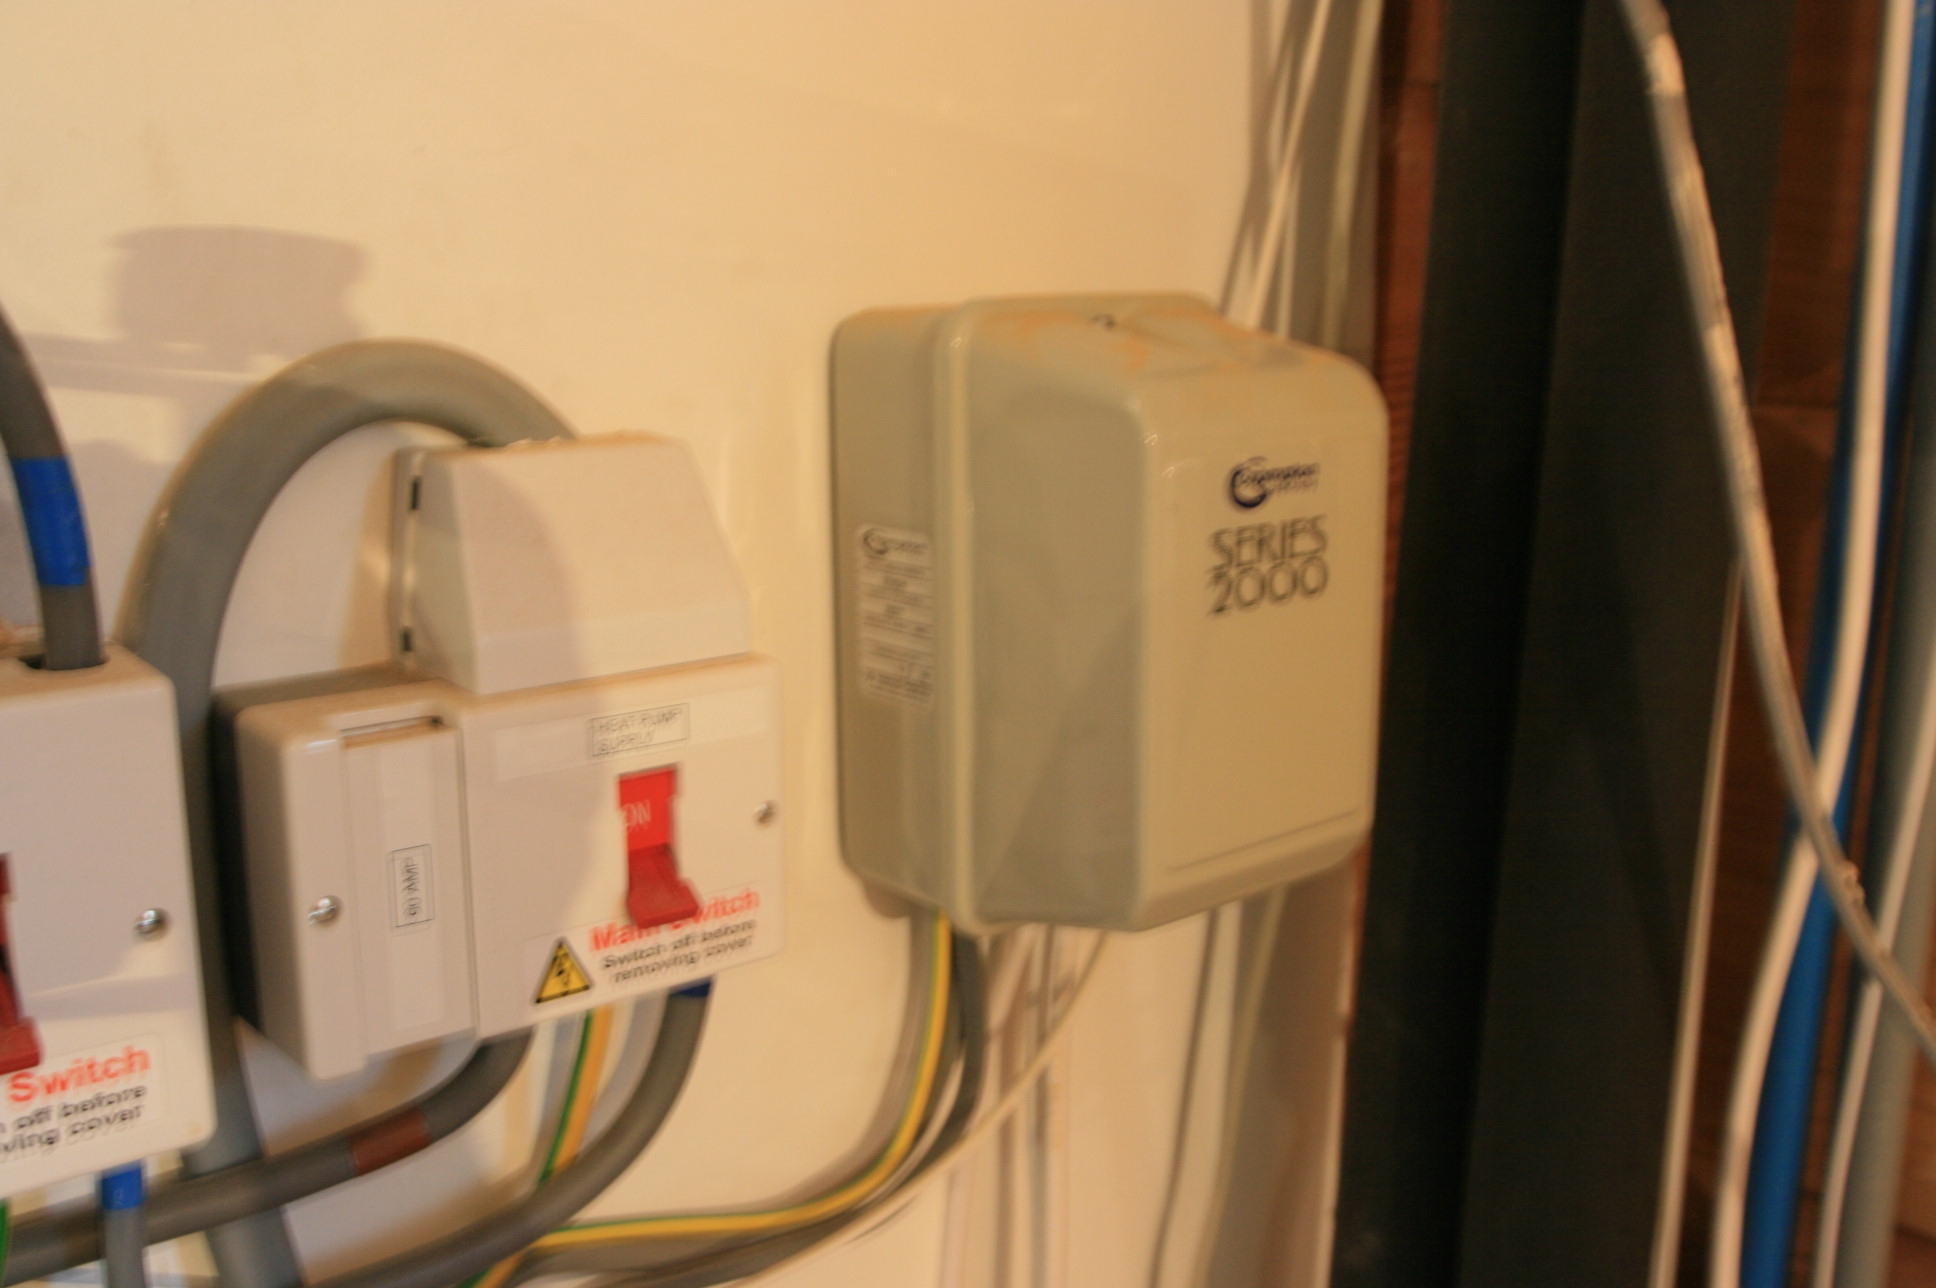 Before we could have the heat pump commissioned the other week we had to make sure the heat pump could control the pumps for the underfloor heating manifolds. As there is one manifold for each floor of the house, each with it’s own pump to drive the warm water through the floors covered by each manifold, you cannot connect lots of pumps to the heat pumps “P1” terminal, you have to use a relay with sufficient “ways” on it to deal with the number of manifolds and pumps that you have. It is a normal 230V relay, which sits on a base and has a cover to protect it.