Archive for October, 2008

Oct 15 2008

An Extra Window in the log house

-

window-cutting-out.jpg Adjacent to the two full height sliding glass doors our original house design had a full depth window on the return wall. The North American log house supplier was not happy to combine this with the two sliding glass doors to provide a truly panoramic view, but wanted to put a dovetail corner between the full height window and the sliding glass doors.

By the time the log kit arrived, the technician who helped with the build had told the production department responsible for machining the logs to leave the window opening out. He strongly advised we should leave the full height window out because there was considerable chance of the remaining short logs cracking.

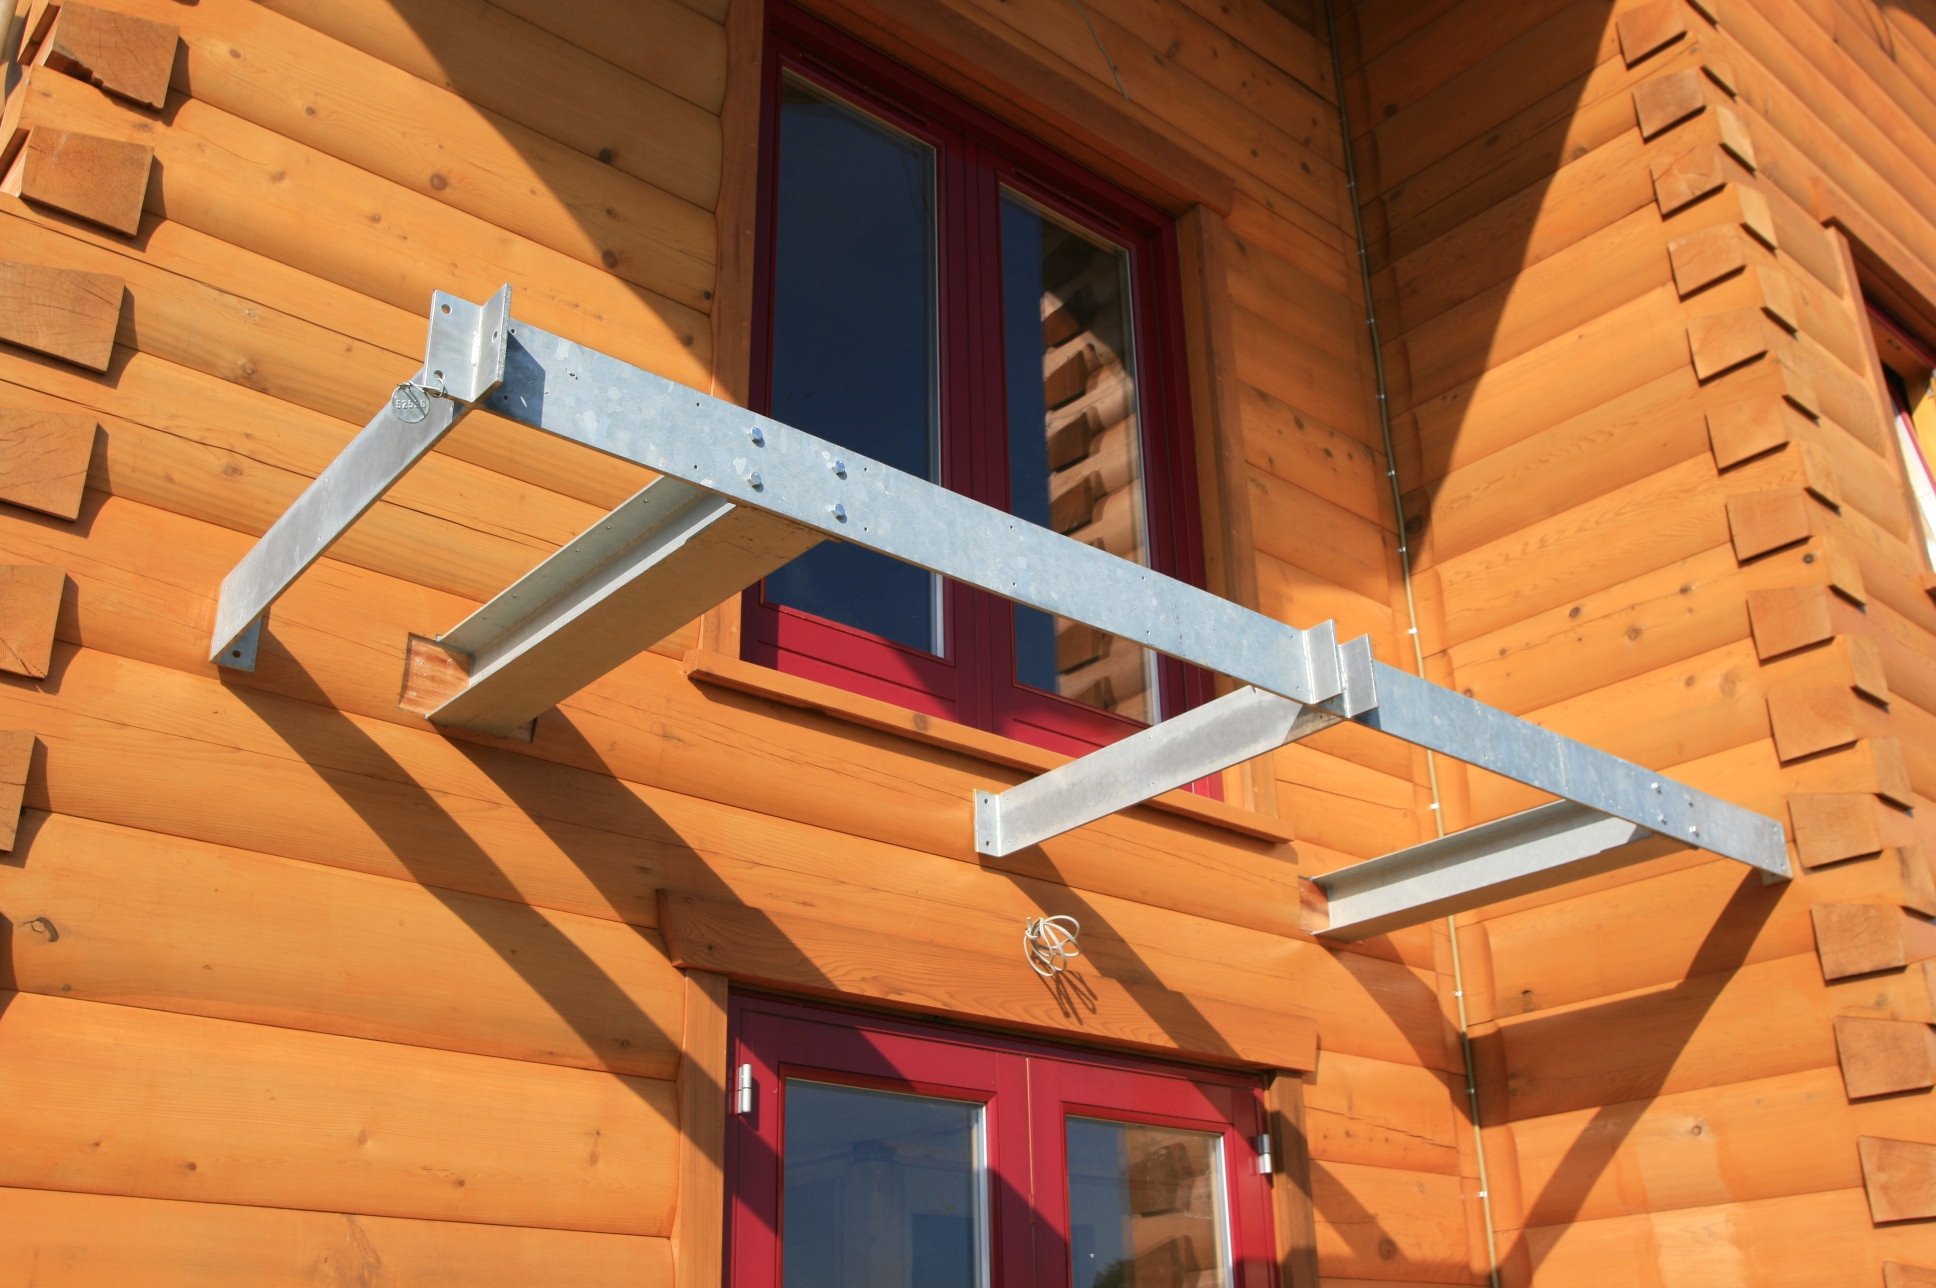
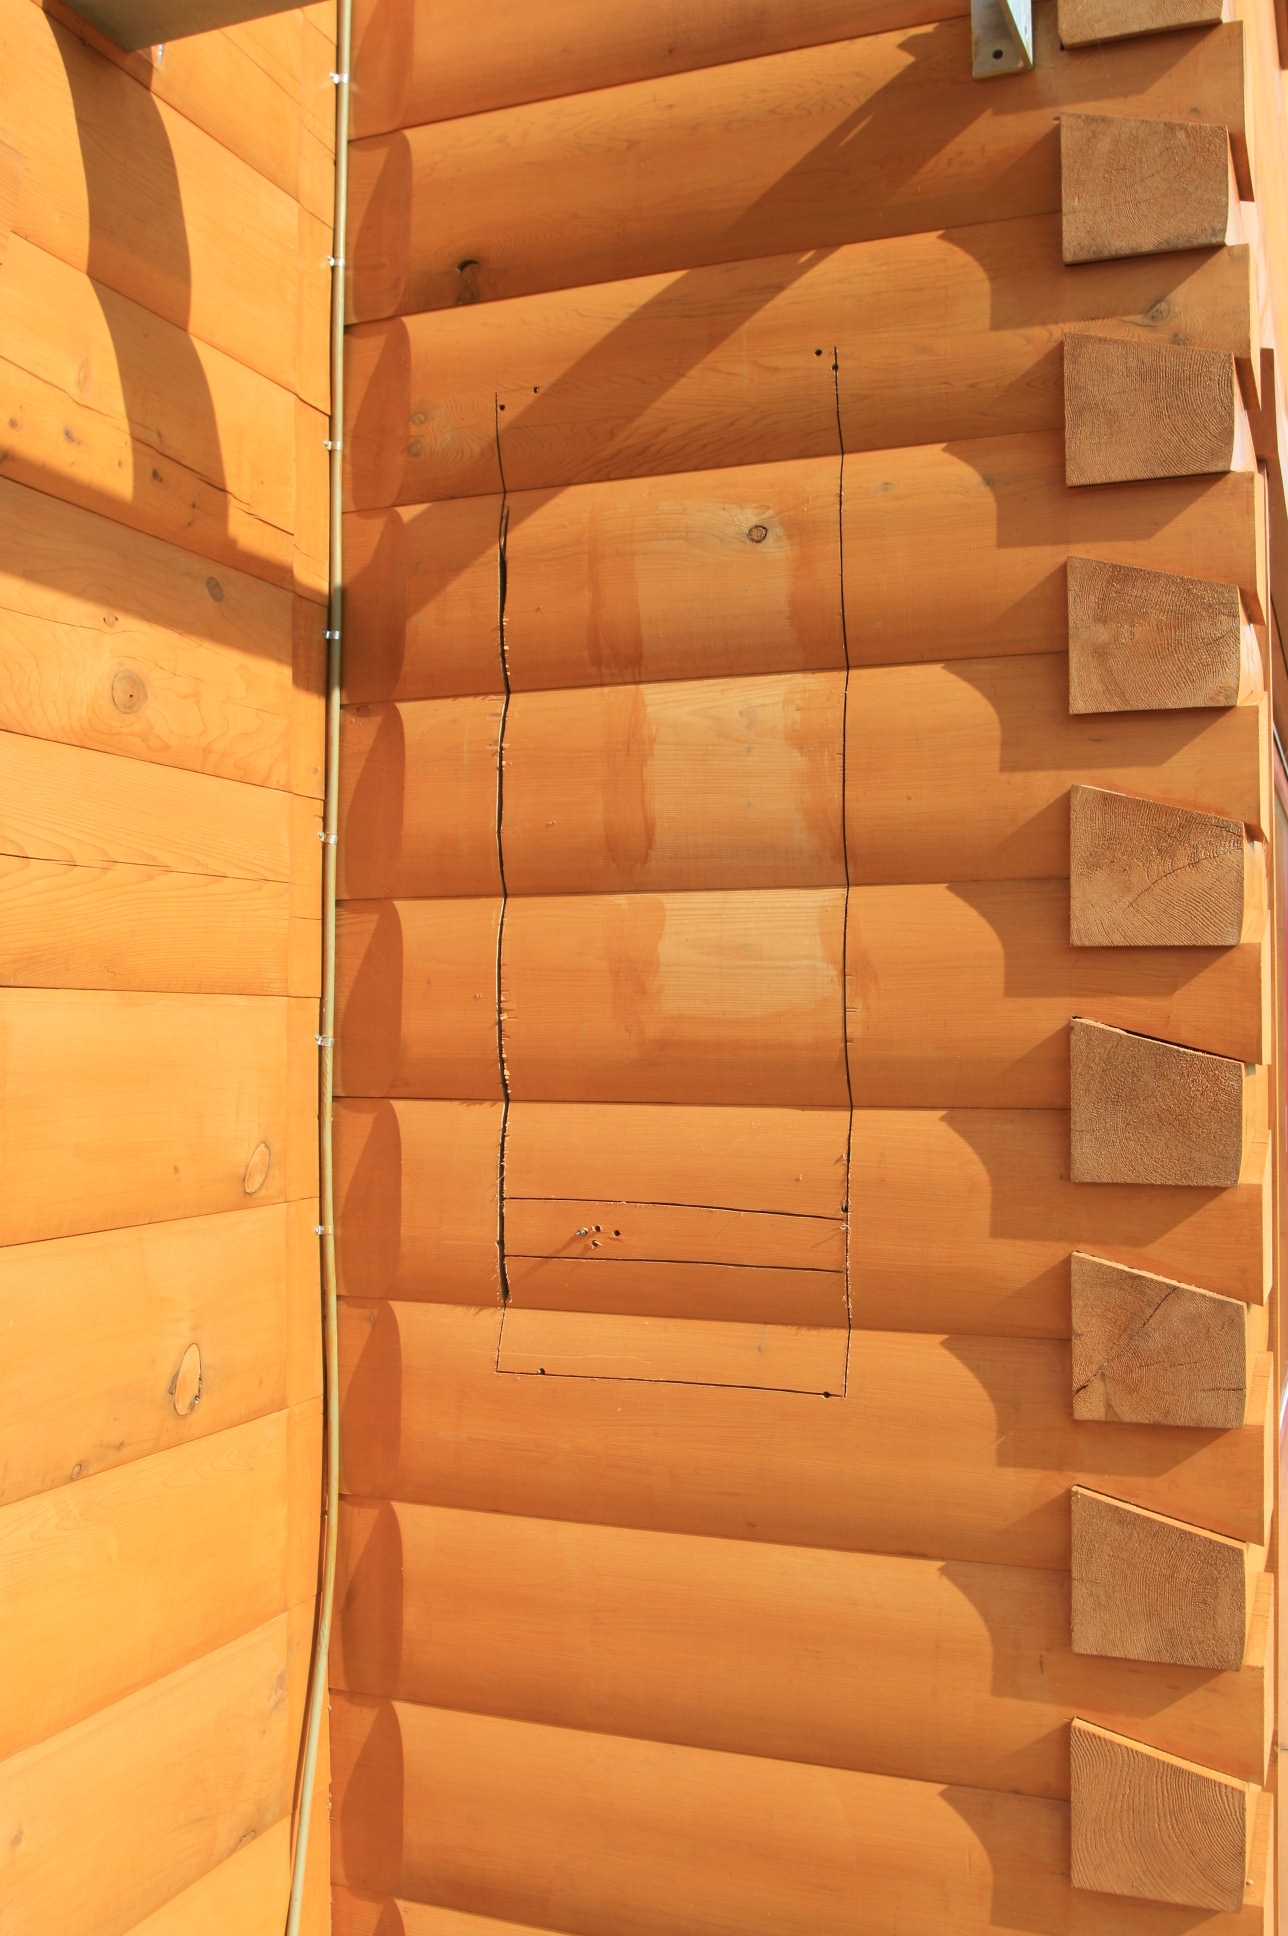
So we decided to compromise and put in a half height window (similar in height to the other windows in the house) and make it narrower, so that less material was taken out and the remaining log ends were a bit longer. We also, because of timing, were able to leave doing this until the house had settled down for 6 months during the build, so was hopefull a lot more stable and less likely to start any cracking.

window-cutting-out-inside.jpg 
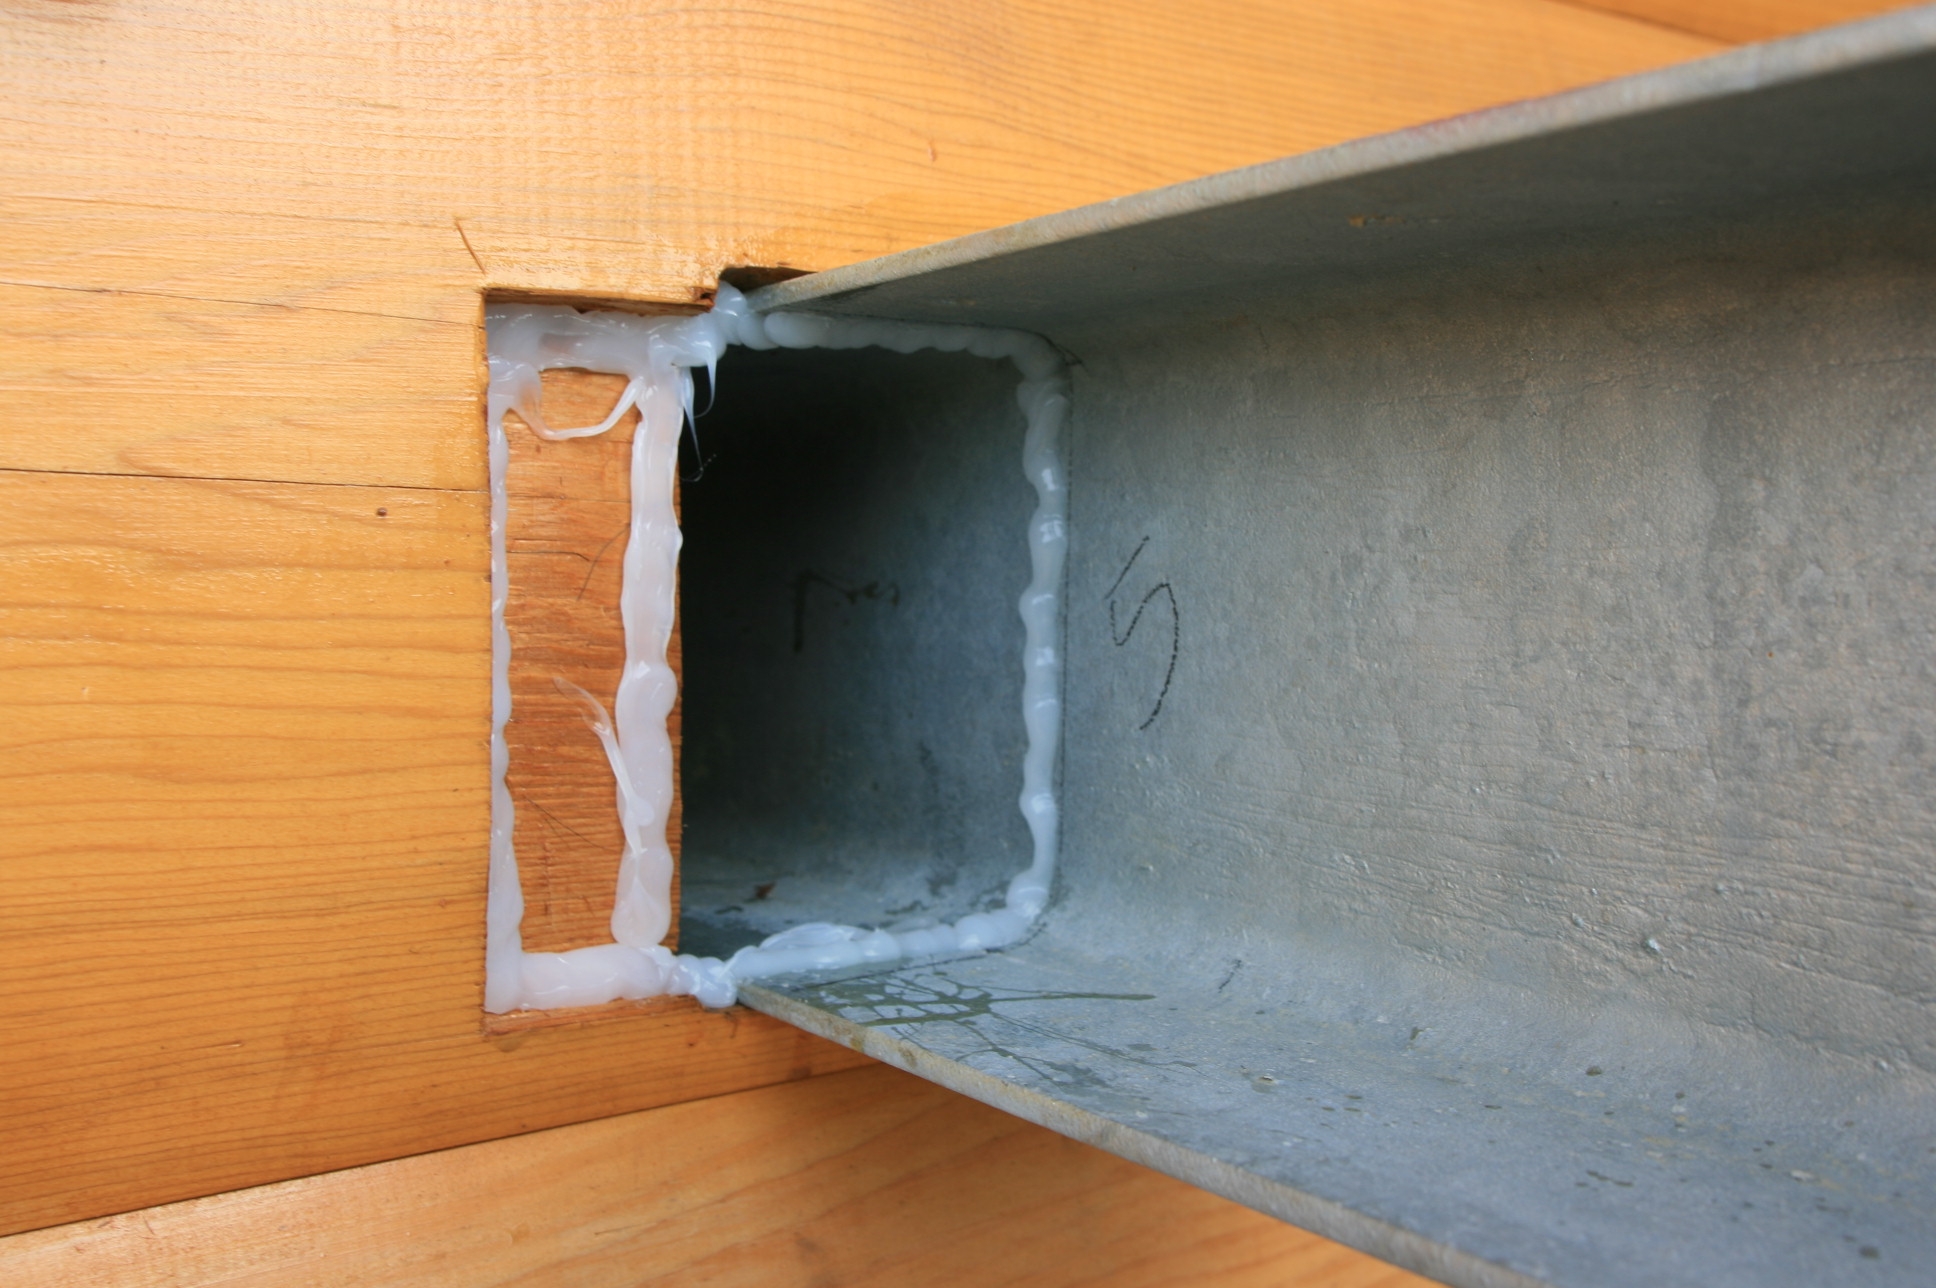
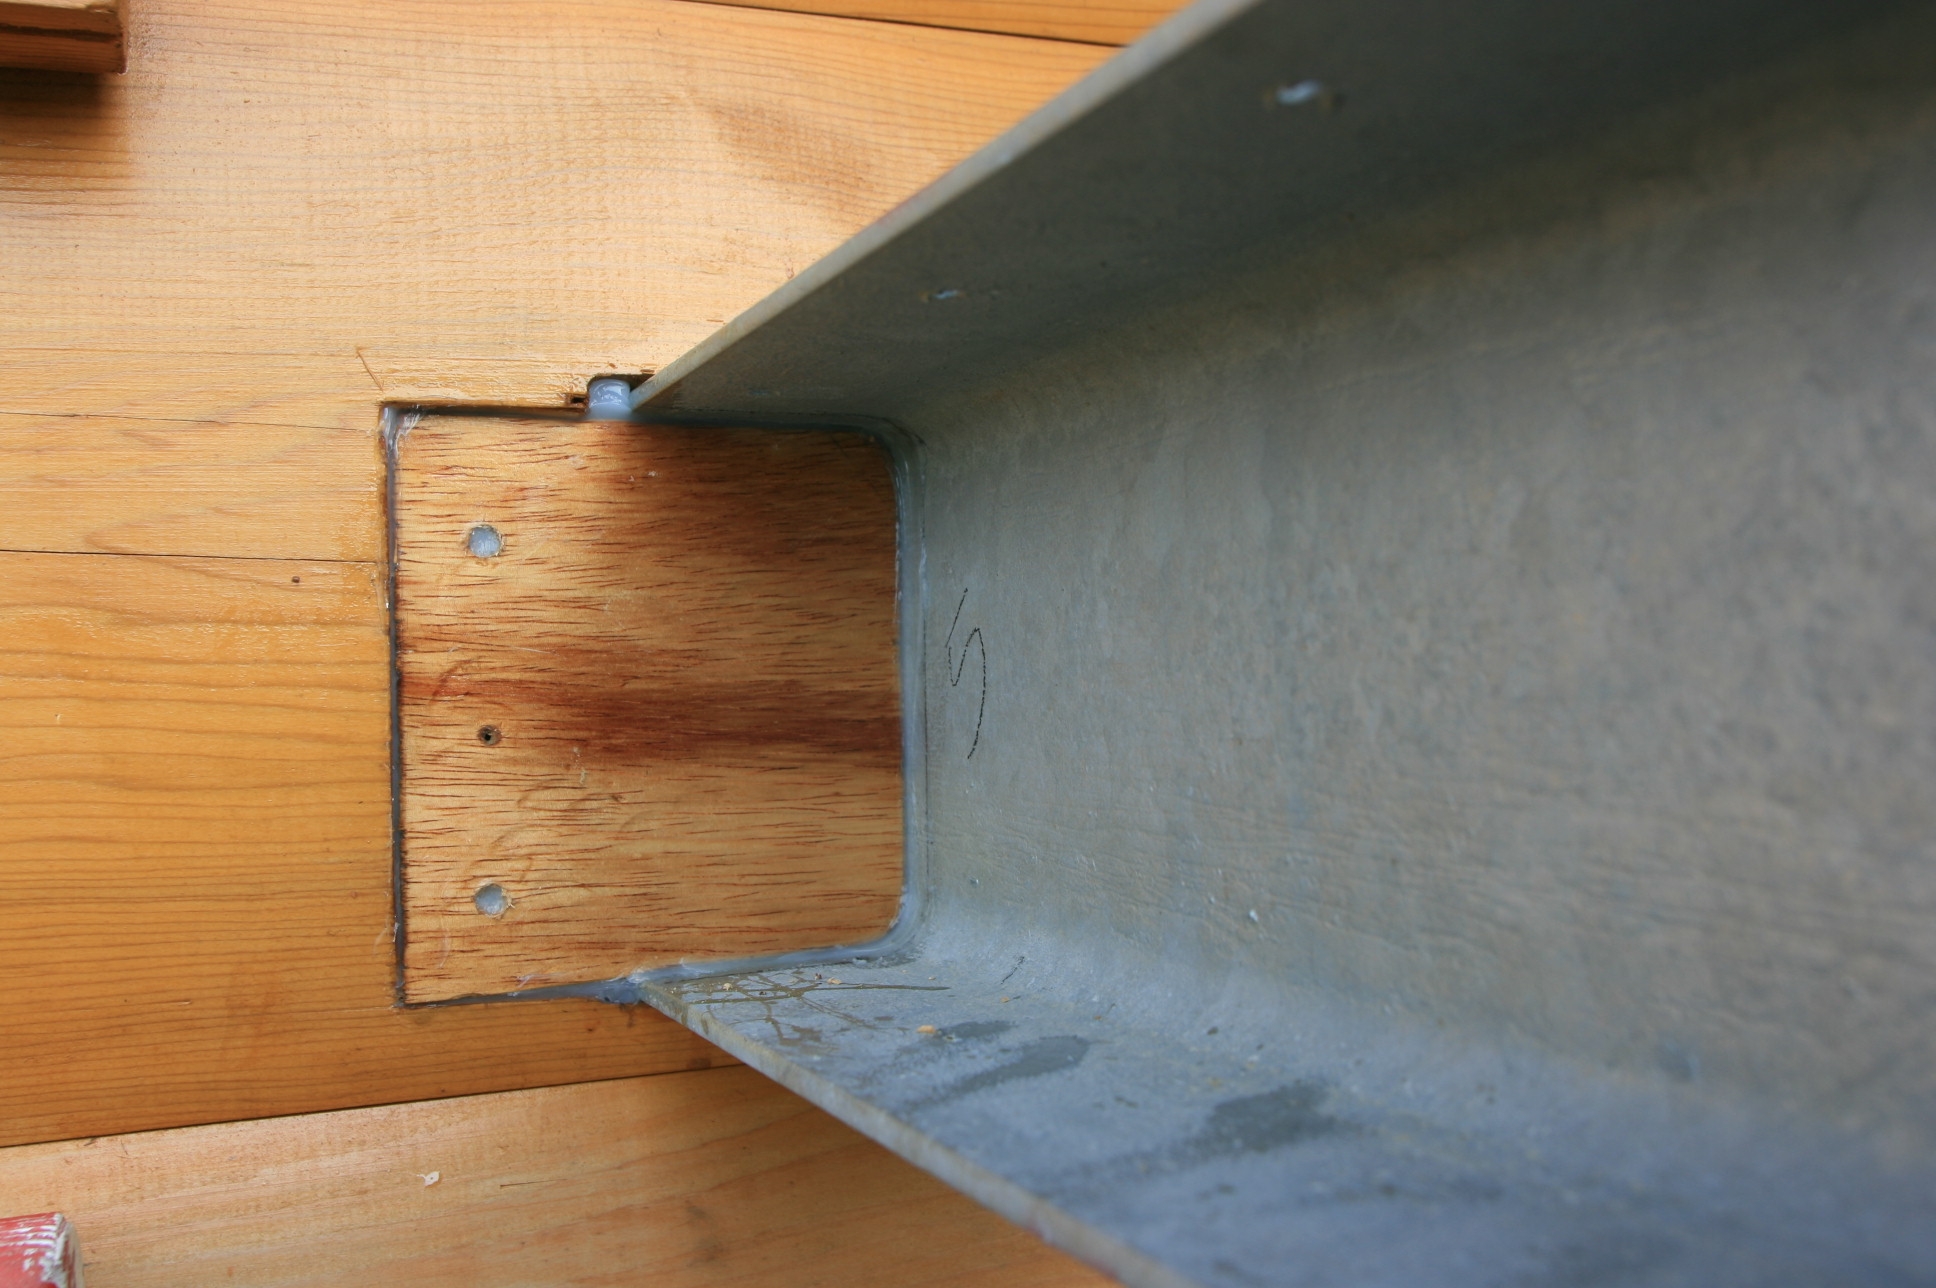
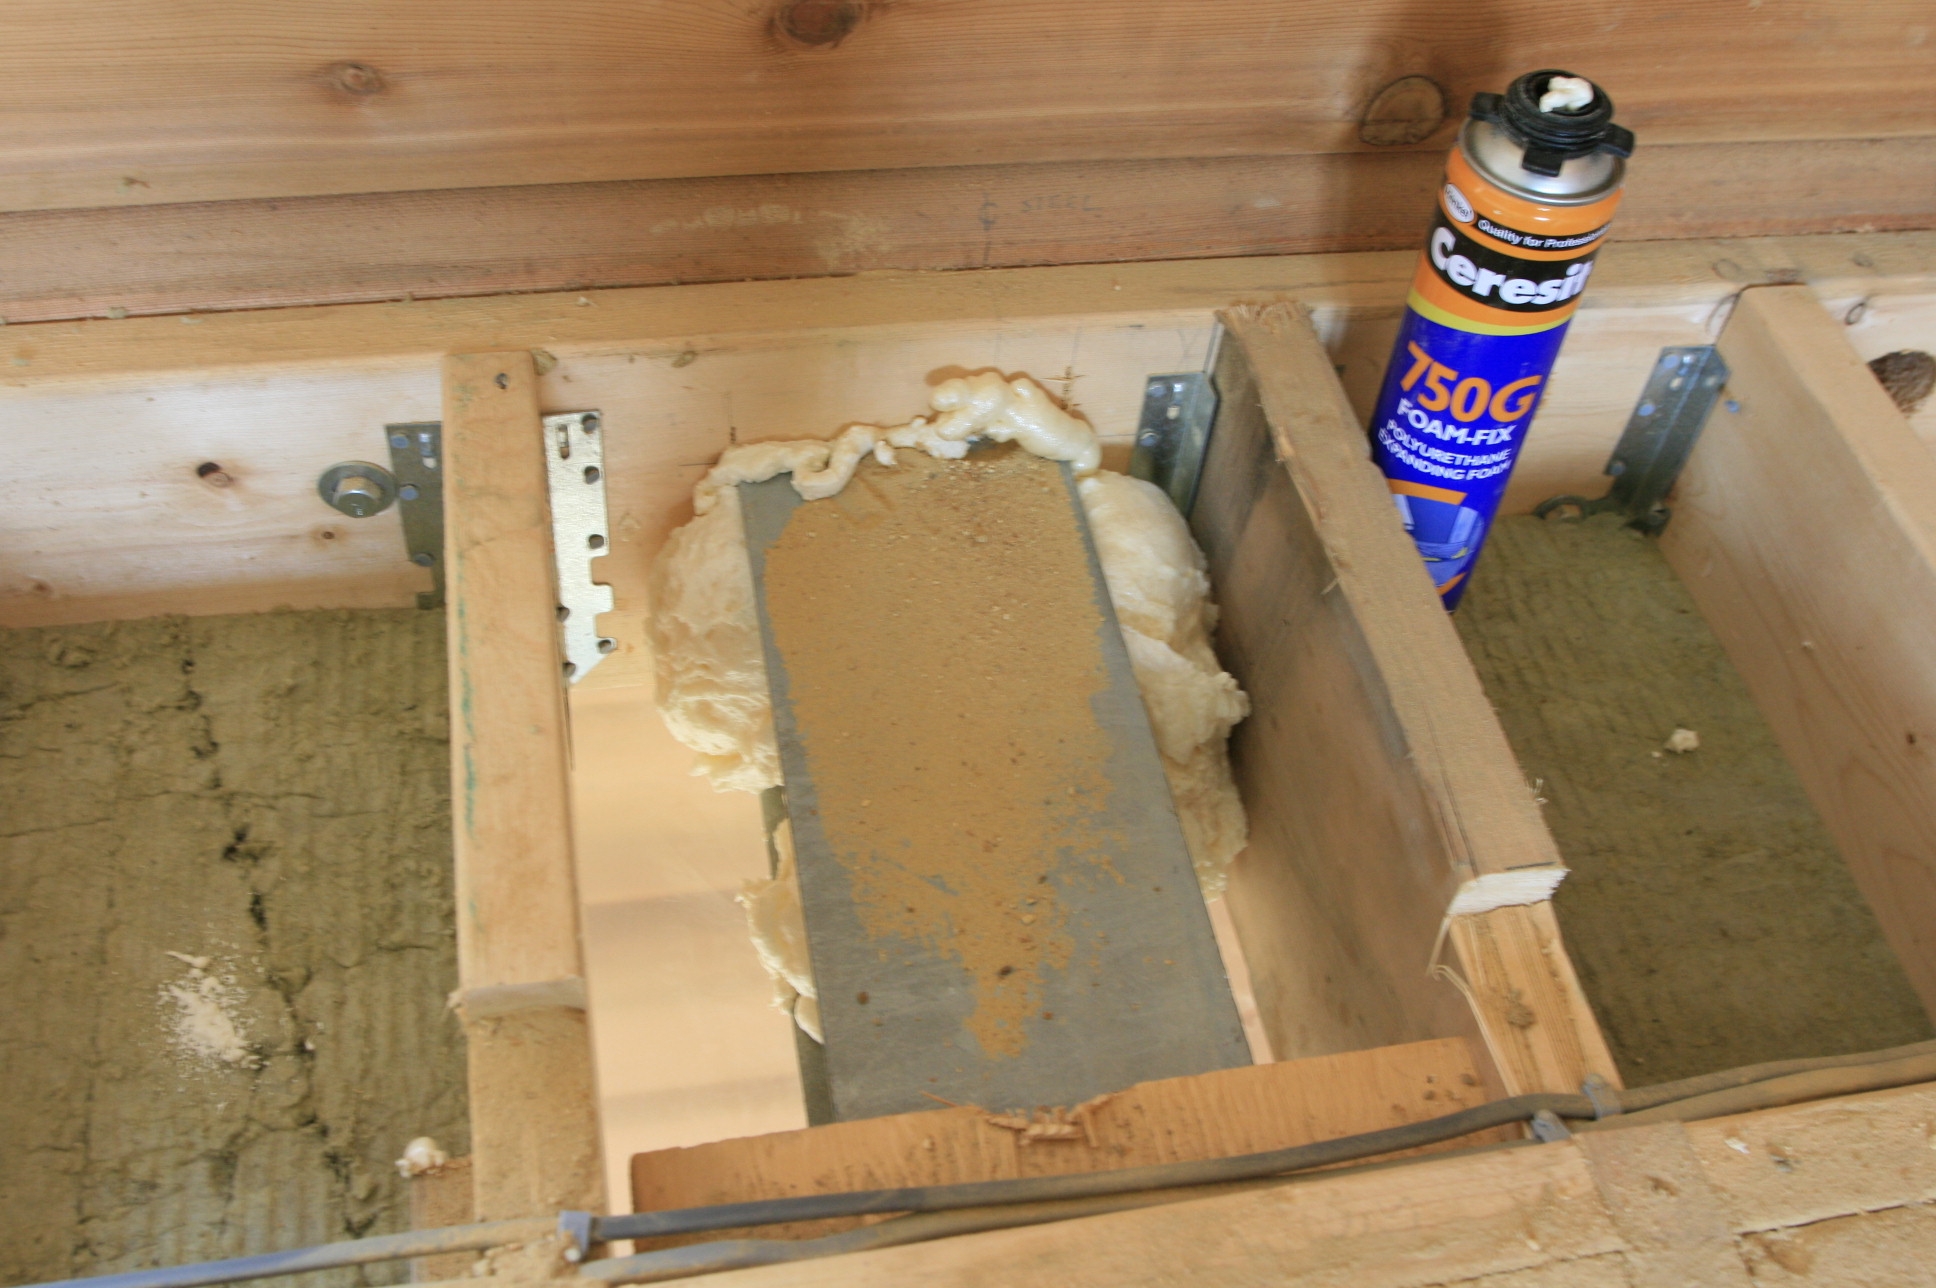
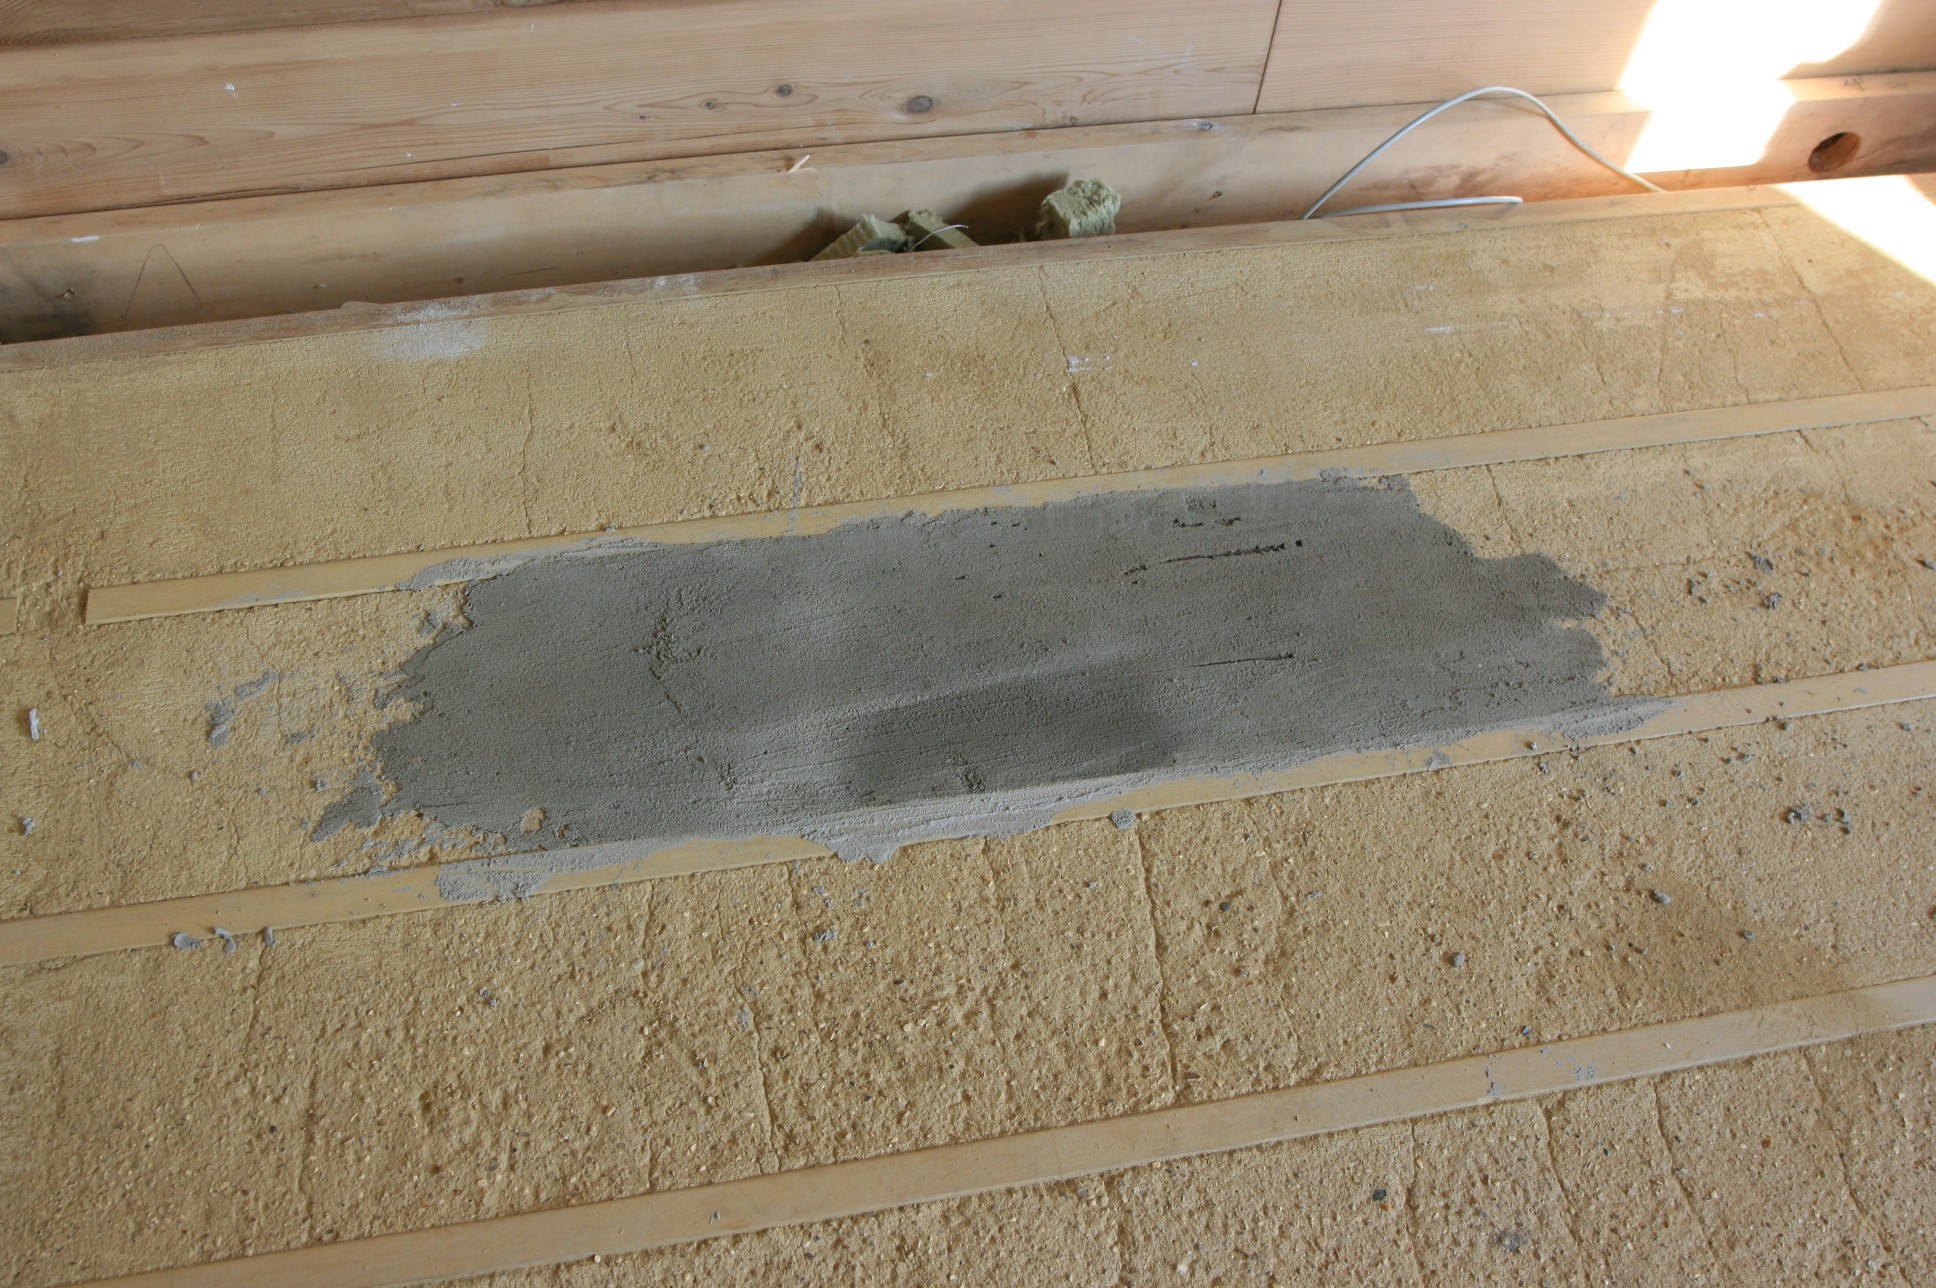
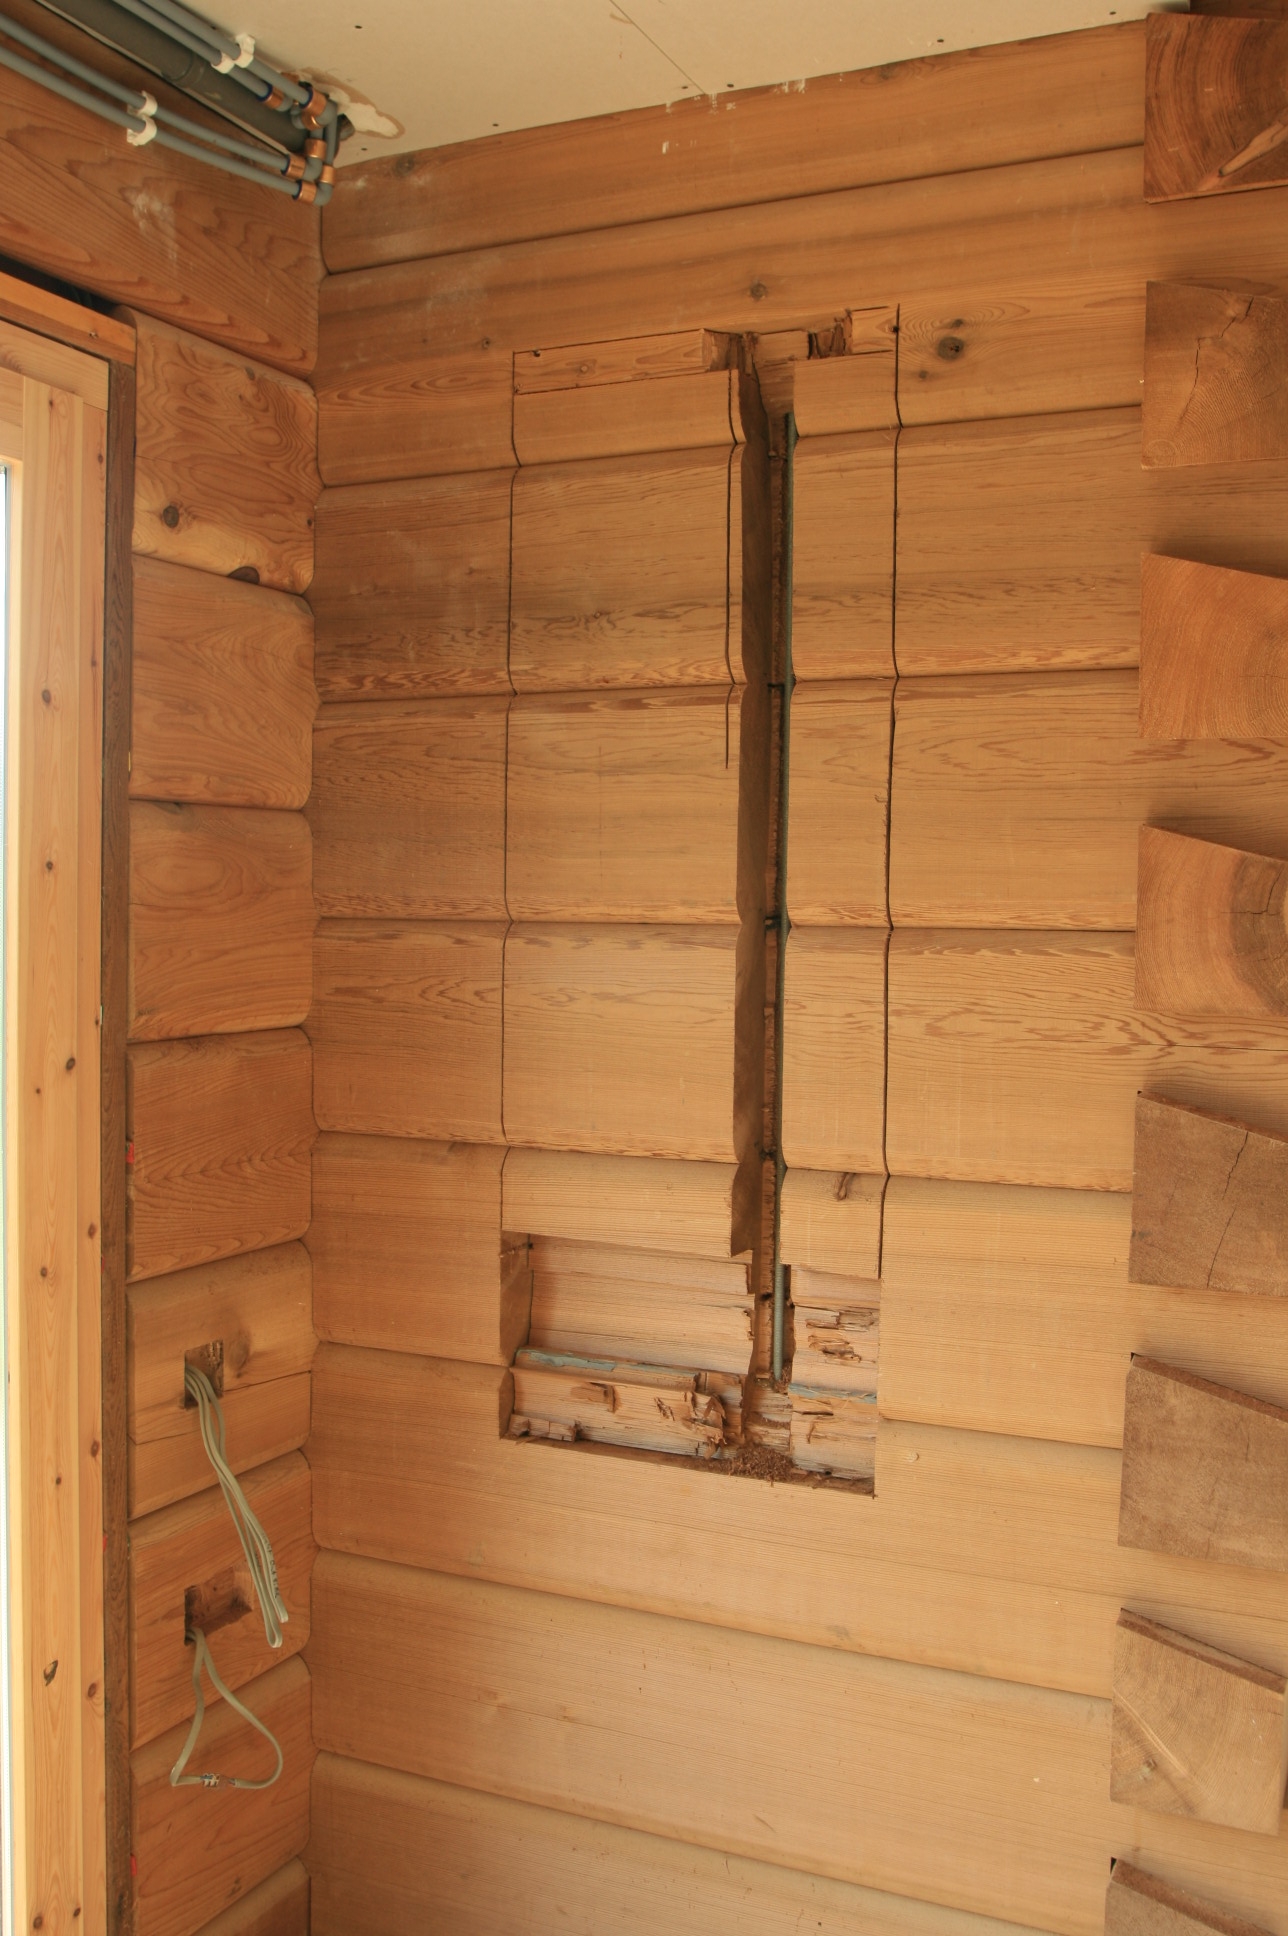
Having cut the outline on the outside and the inside, more material is cut away until the log in the opening can be removed. There was also a tensioning stud going through the opening that we had to cut through and then “re-install” as a top stud and a bottom stud.

window-cutting-out-complete.jpg 
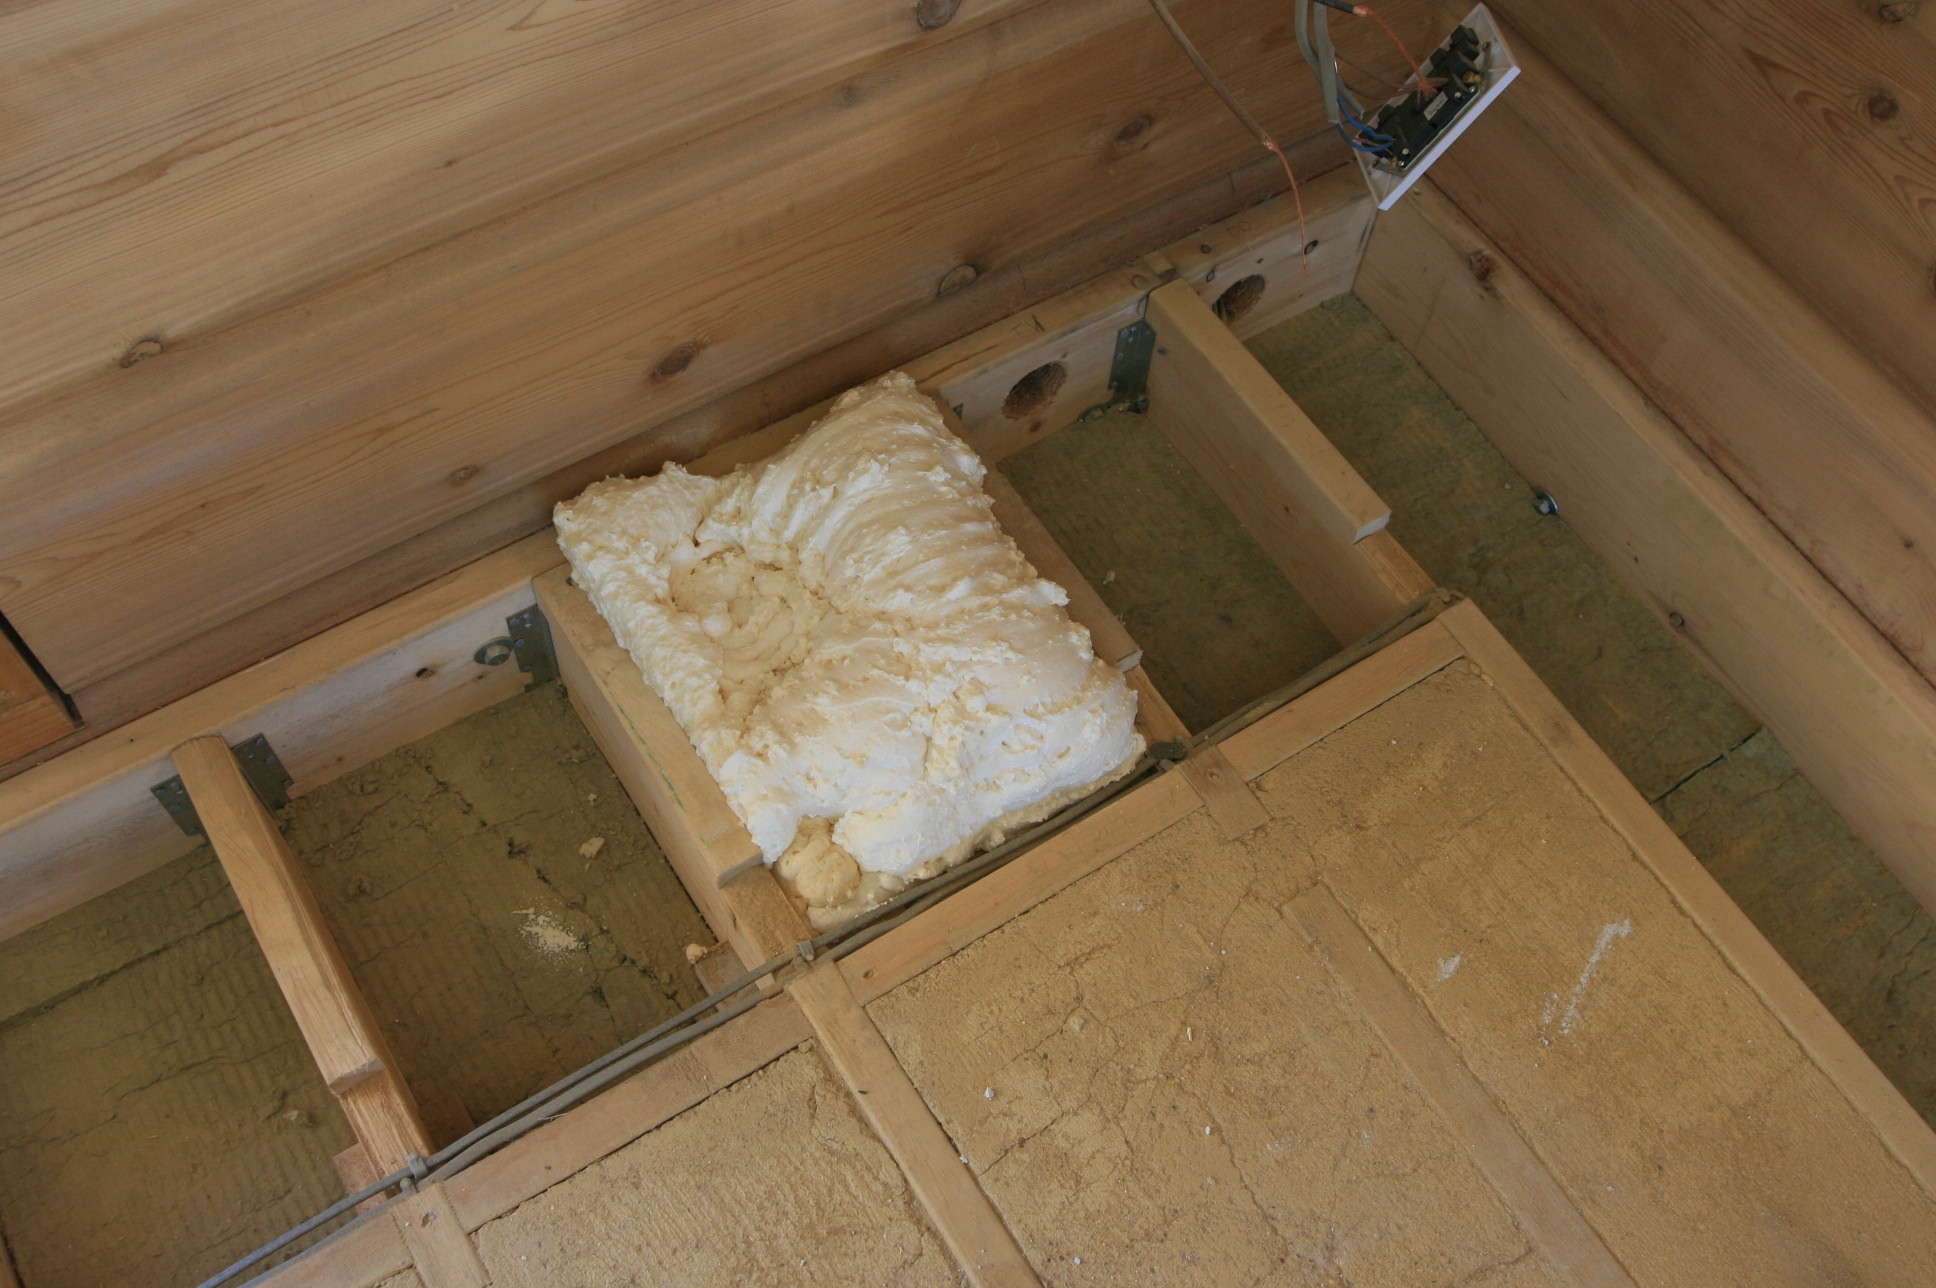
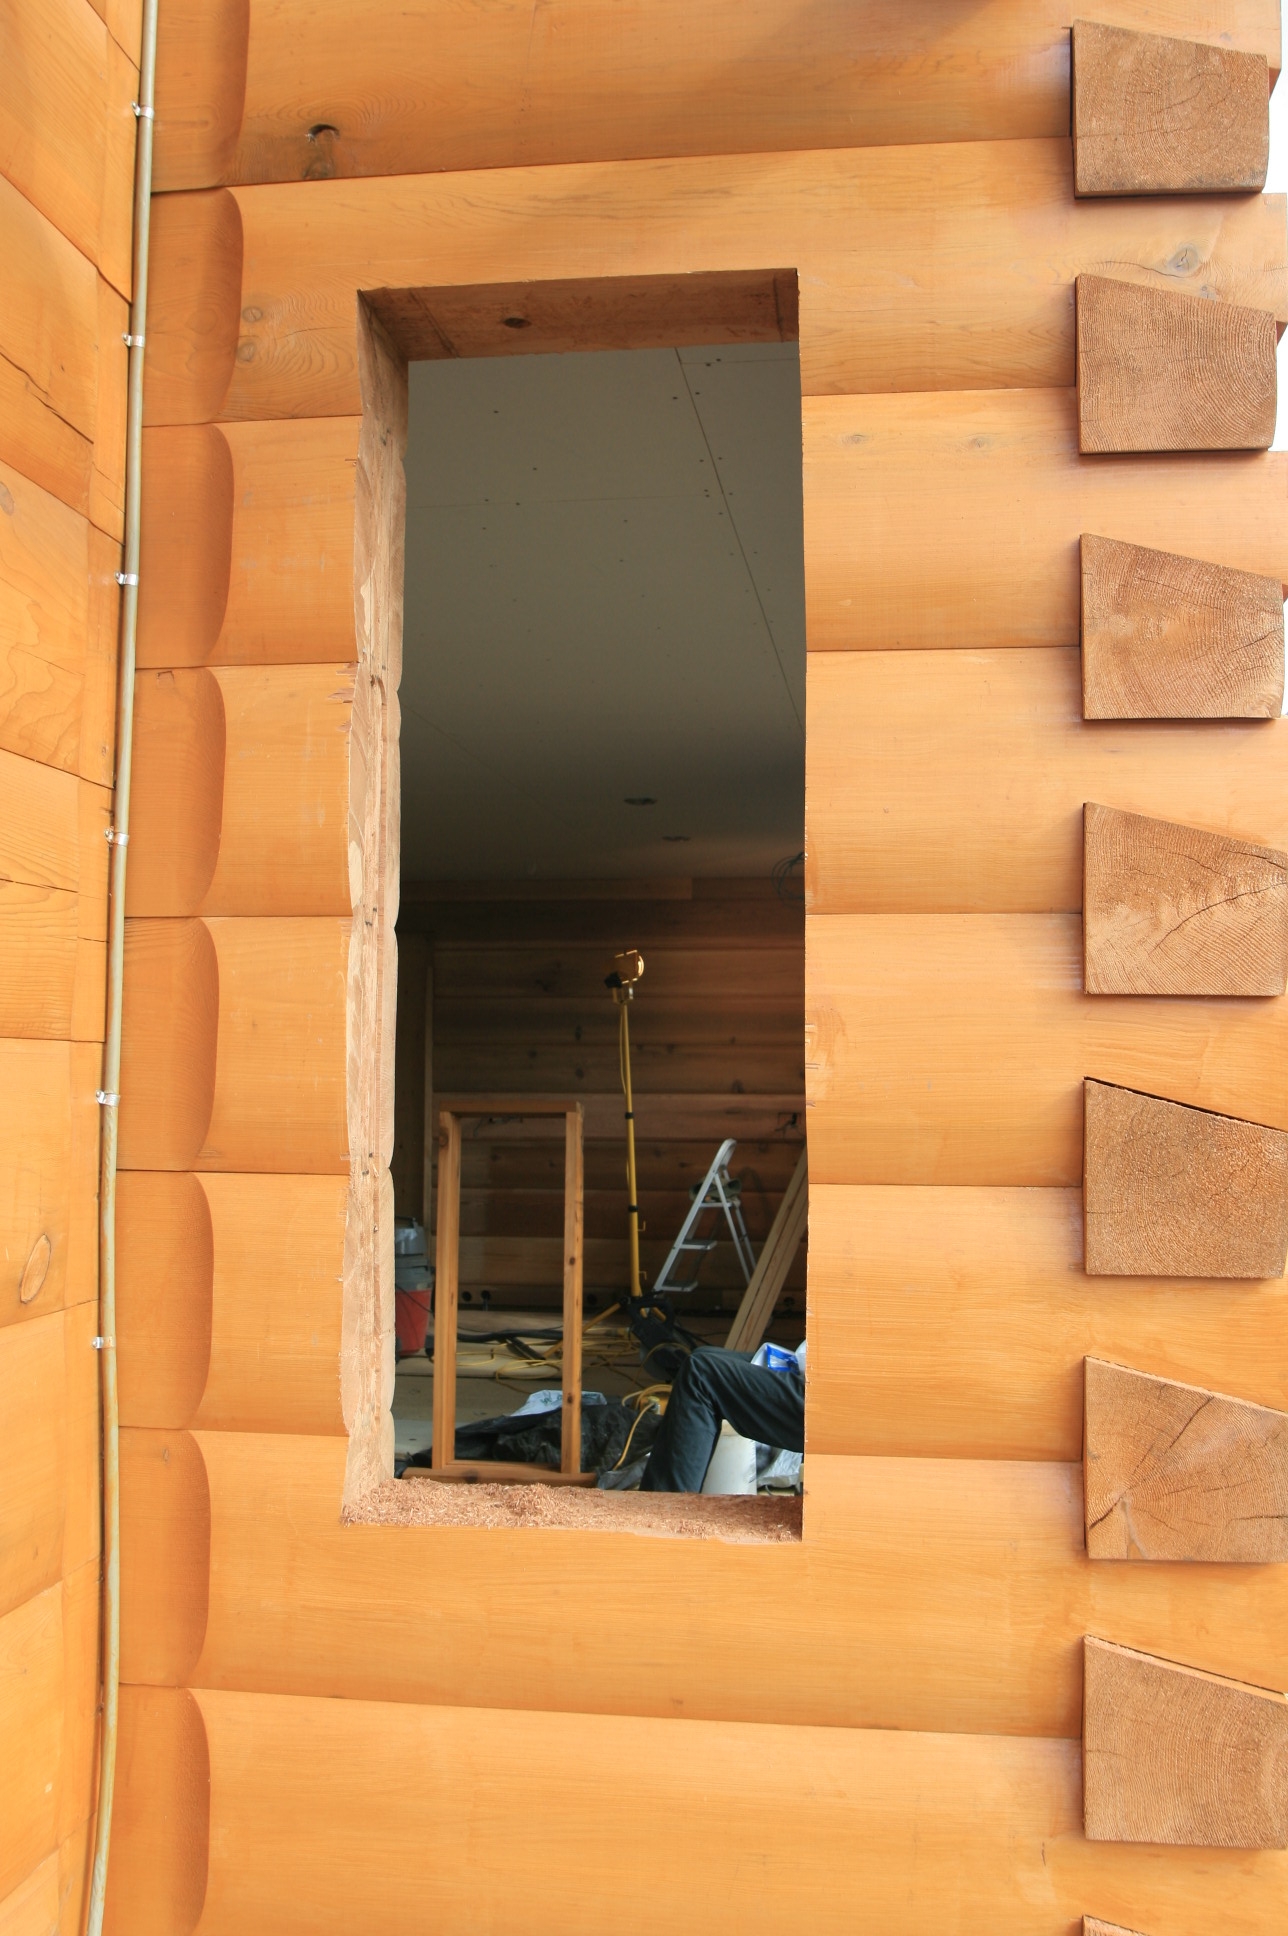
Now we are ready to modify our routering templates to work in such a small space to be able to route out the surrounds for the architrave and header. To add this window takes about 4 man days!

Oct 14 2008

Toilets and cisterns start to go in.

-

bathroom-toilet-cistern.jpg We are having wall hung toilets in the bathrooms, which means that the cisterns can be hidden in the studwork walls, saving space and keeping the lines of the bathrooms clean.

Here is the first cistern going in, with it’s blue steel framework. The frame is rated to be able to take 400lbs on the toilet, quite a heavy person! 

Oct 12 2008

Painting at last

-

ceiling-painting.jpg Virtually all the ceilings in the house are plasterboard. After the plasterboard ceilings have been dry lined we can paint them. To protect the log walls from spatter we have covered them in black plastic sheets held up with staples.

We apply a 50% water and paint first coat and then two full strength coats after that. All the ceilings will be white as we want to combat the darker colour of the wood walls. Some of the internal walls in the log house will use log siding and some will be plasterboarded and painted to help increase the internal lighting.

Oct 10 2008

Sedum roof inspection on the log house

-

roof-15th-september-2008-two.jpg Here’s a nice shot of the roof of the house taken from about 50 foot up, which we can zoom in on and see how the sedum is doing. It’s been up for about 6 months now and with the poor summer we have had with frequent rain we have rarely had to use the irrigation system to help it settle in.

Oct 7 2008

Balcony beam end plates and foaming

-

balcony-beam-end-plate.jpg To make sure no moisture can get past the steels where they stick out of the house, we have cut back into the logs and put plenty of silicon around, before fitting these ply end plates.

 balcony-beam-end-plate-in-position-8th-sept.jpg These were given two coats of yatch varnish before installation and then sealed again with silicon. Then from the back we put closed cell can foam to fill up the hole in the log.

balcony-beam-minus-two.jpg We had to make sure that it filled around the steel beam everywhere to avoid any pockets where moisture could build up.

balcony-beam-insulation-five.jpg Then a few days after that we filled from the top so that the first two feet of steel inside the house lives in a bed of foam. We hope this will do the trick.

Oct 5 2008

Balcony steelwork on the log house

1

Against the advice of the North American log house suppliers, we decided to make the balconies for the three bedrooms with steel, rather than wood supports.

balcony-steelwork.jpg We were strongly warned that this would result in condensation in the house which would seep into the ceilings etc. With the underfloor heating which goes over the steels we don’t think this will be a problem but we have done a lot of work to make sure no water can get in.

The steels coming through the log wall are 152 x 152mm “I” section or 6″ square in old money. They were pre drilled for the fixings that will be needed for the Western Red Cedar that will go on the top and for the underside, and then sent off for galvanising.

Once they came back, 6″ square holes were cut out through the logs and then the steels slid into position. Then everything was measured up so that the sub frames shown above could be made and fitted.

Oct 1 2008

Underfloor heating pug repairs

-

The underfloor heating pugging had to be put in some time ago, and in some places general foot traffic has cause errossion of the pugging where not enough cement was put in the pug mix. Like any building job, especially a self build, a number of people have been making up the mix, and some were not as accurate as others in estimating their shovel loads of sand and cement. Of course a proper builder will tell you the only correct way to get the amounts right is to use a gauge or batch box!

 underfloor-heating-pug-repairs.jpg So we have had some repair work to do, and we have used some Unibond to help the repair work adhere to the material below and to strenghten the bits where cement is a bit under spec.