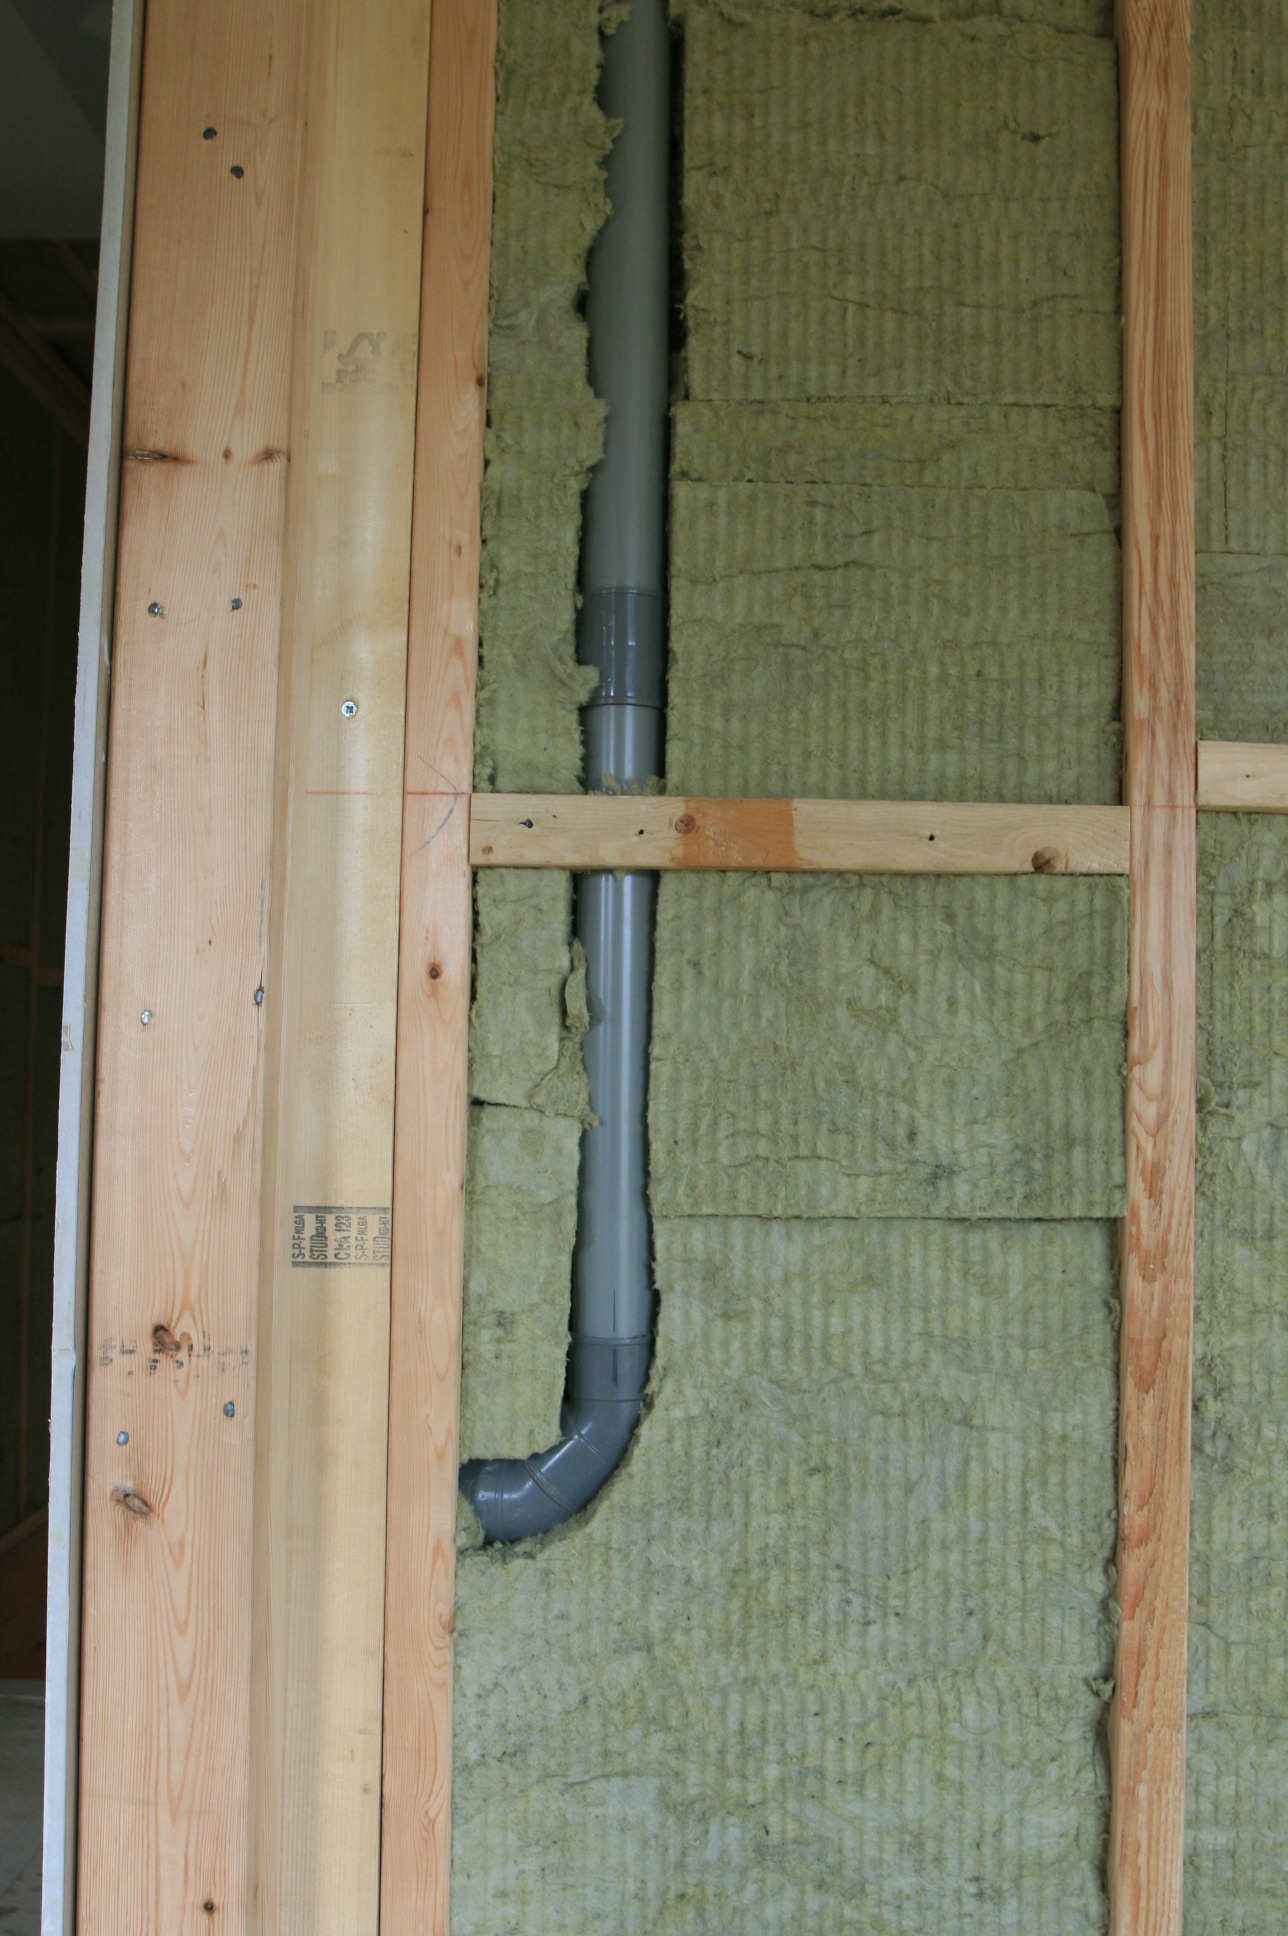
 As we work through “first fix” the central vacuum pipe work is installed, all the joints are glued with solvent glue and then the sound insulation in the walls is worked around the pipework.
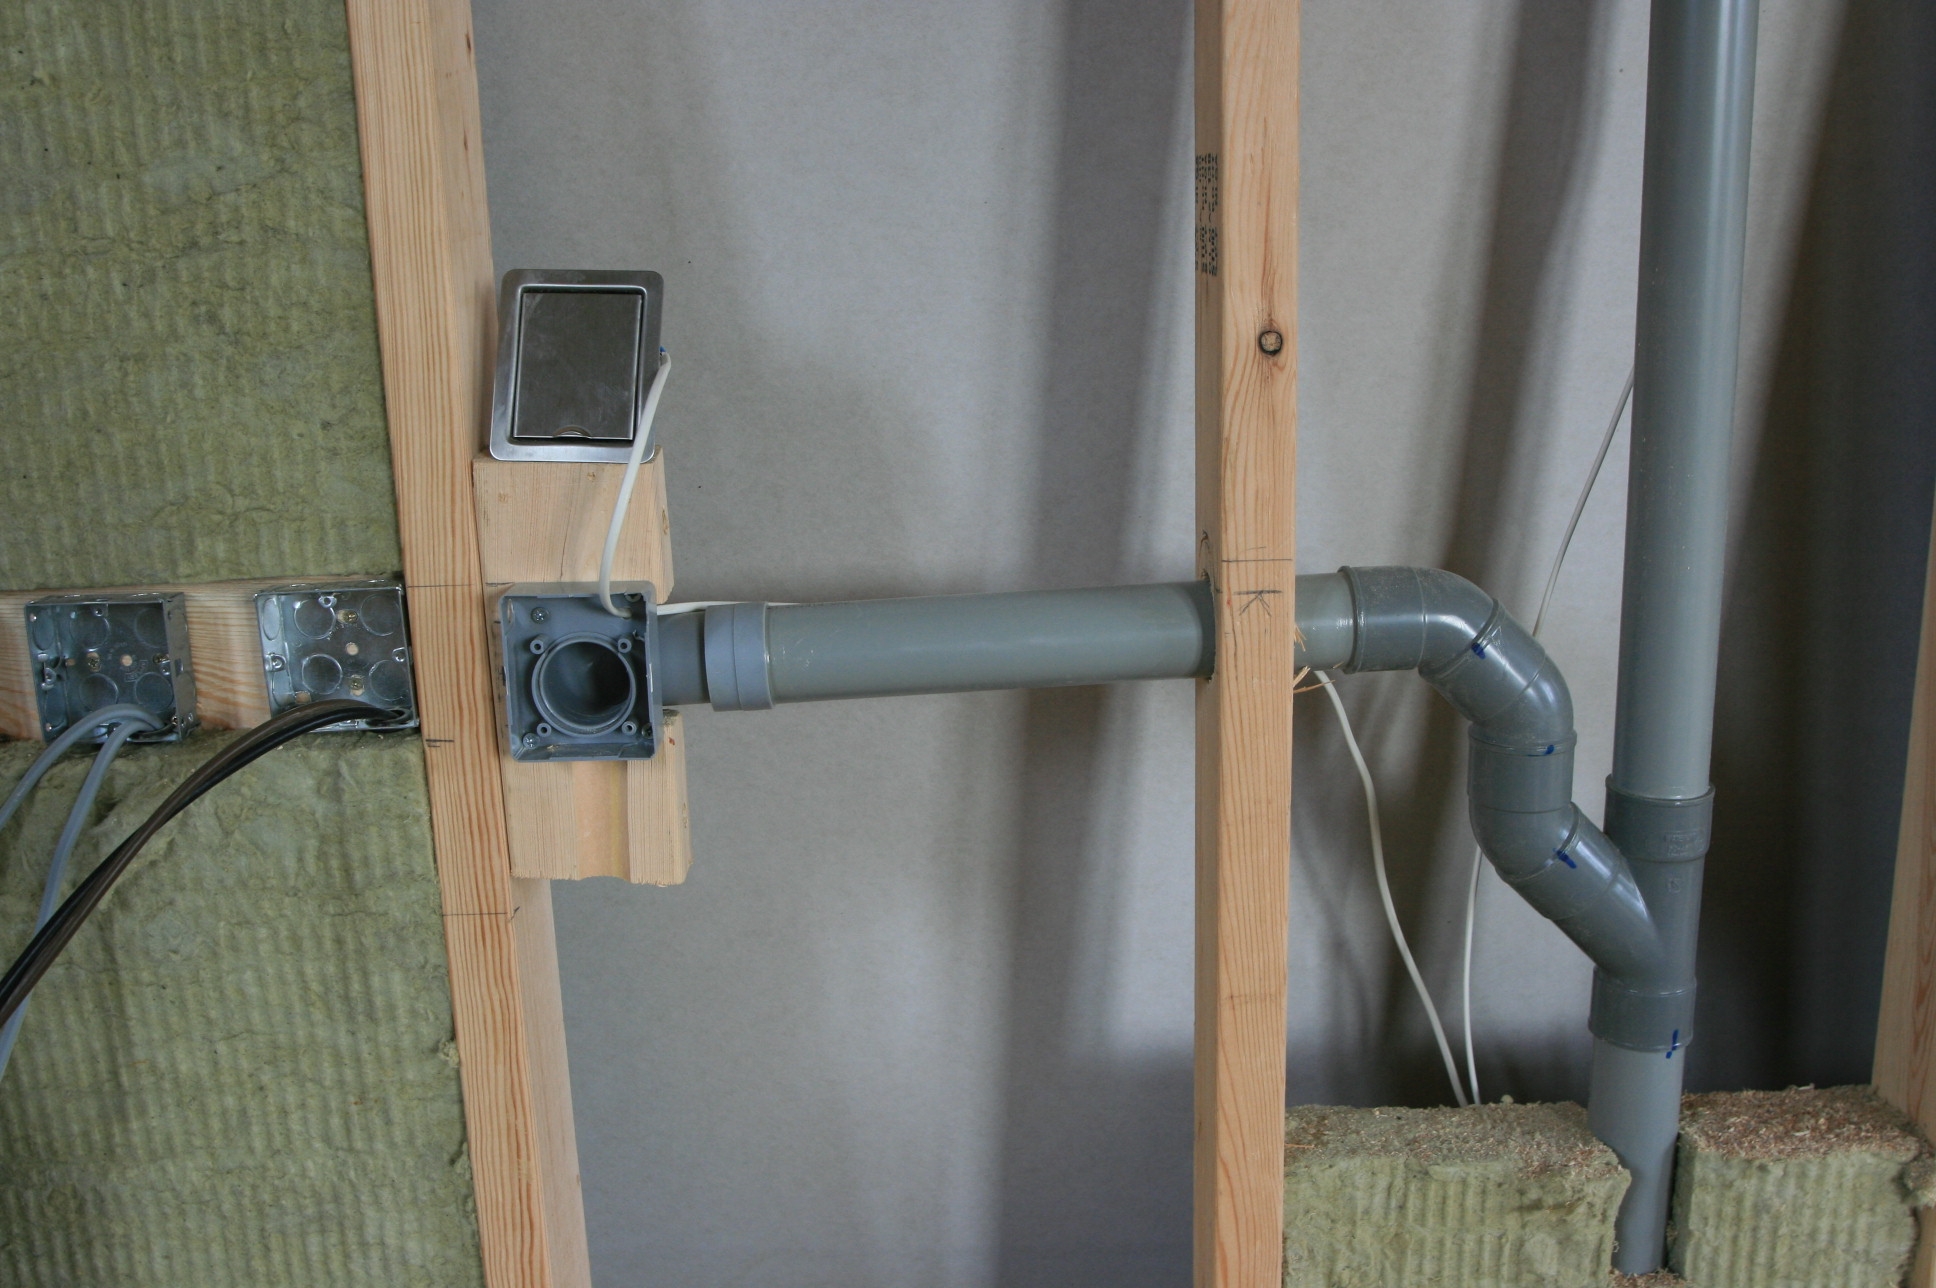 With the pipes in place and glued up, wiring for the vacuum system (12 volt) is put in place attached to the face plates and with these pushed into the grey socket the system can be tested for leaks. Pushing the purpose made vacuum hose into the opened face plate on the grey socket switches the vacuum unit on (by the 12 volt wire) and with all the other sockets closed, you can go round and check by hand for any leaks (joints you forgot to glue) etc.
The wiring to each socket should be checked individually by going round and putting the vacuum hose into each socket one at a time and all of this needs doing while mistakes can be rectified before walls are “closed up” with the second side of plasterboard or other wall covering.