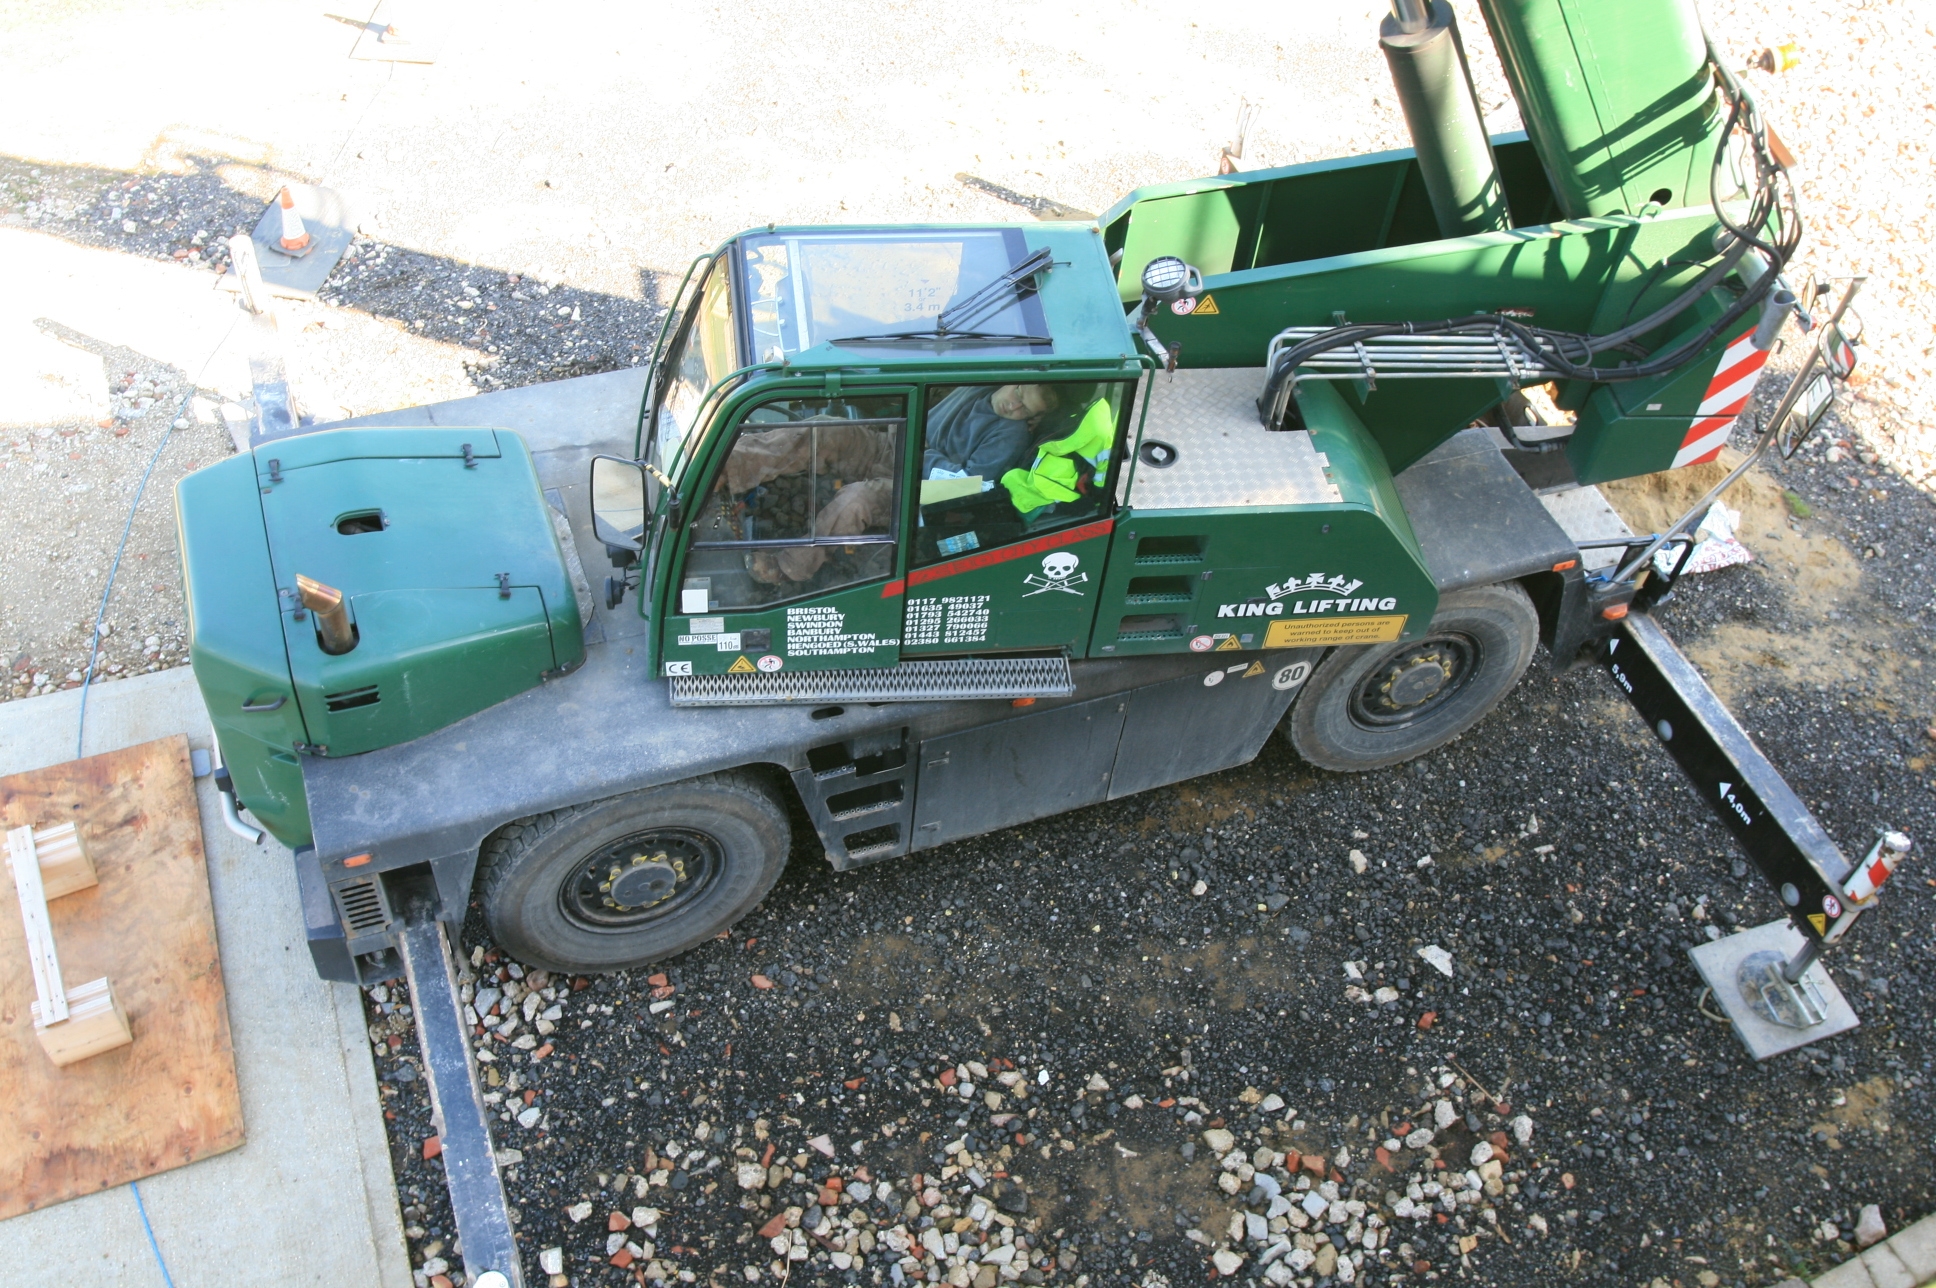
 With the articulated lorry bringing the sedum from Norfolk delayed on the M25 Dean the crane driver takes a nap.
Archive for April, 2008
Apr
15
2008
Waiting for the sedum to arrive
Published by in Sedum Roofing
Apr
15
2008
More Sedum Roof detail
Published by in Sedum Roofing
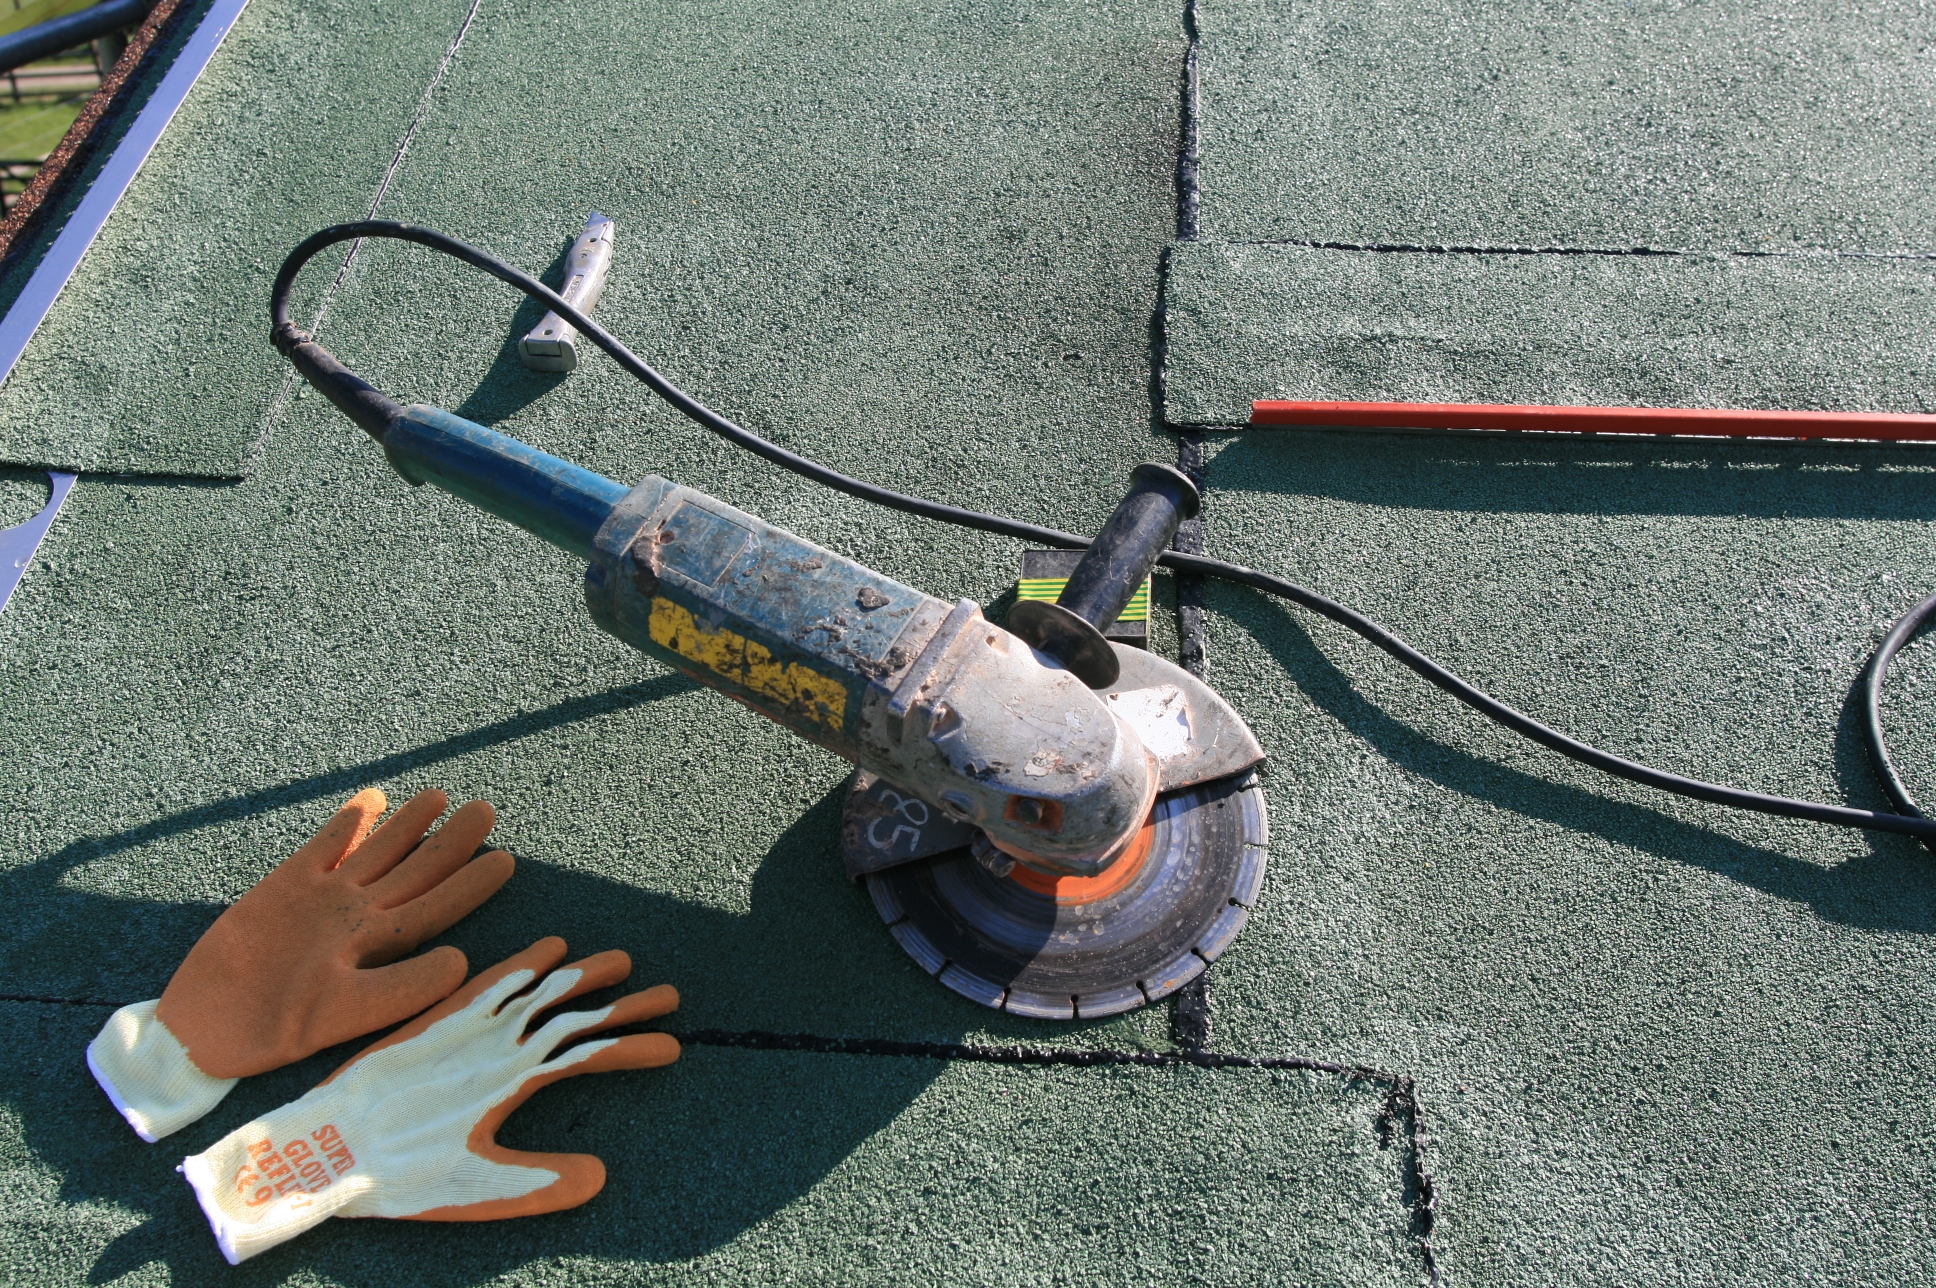 To cut the sedum which is supplied on a fleece a diamond disc is used in an angle grinder!
Apr
14
2008
Sedum roof irrigation system clips
Published by in Sedum Roofing
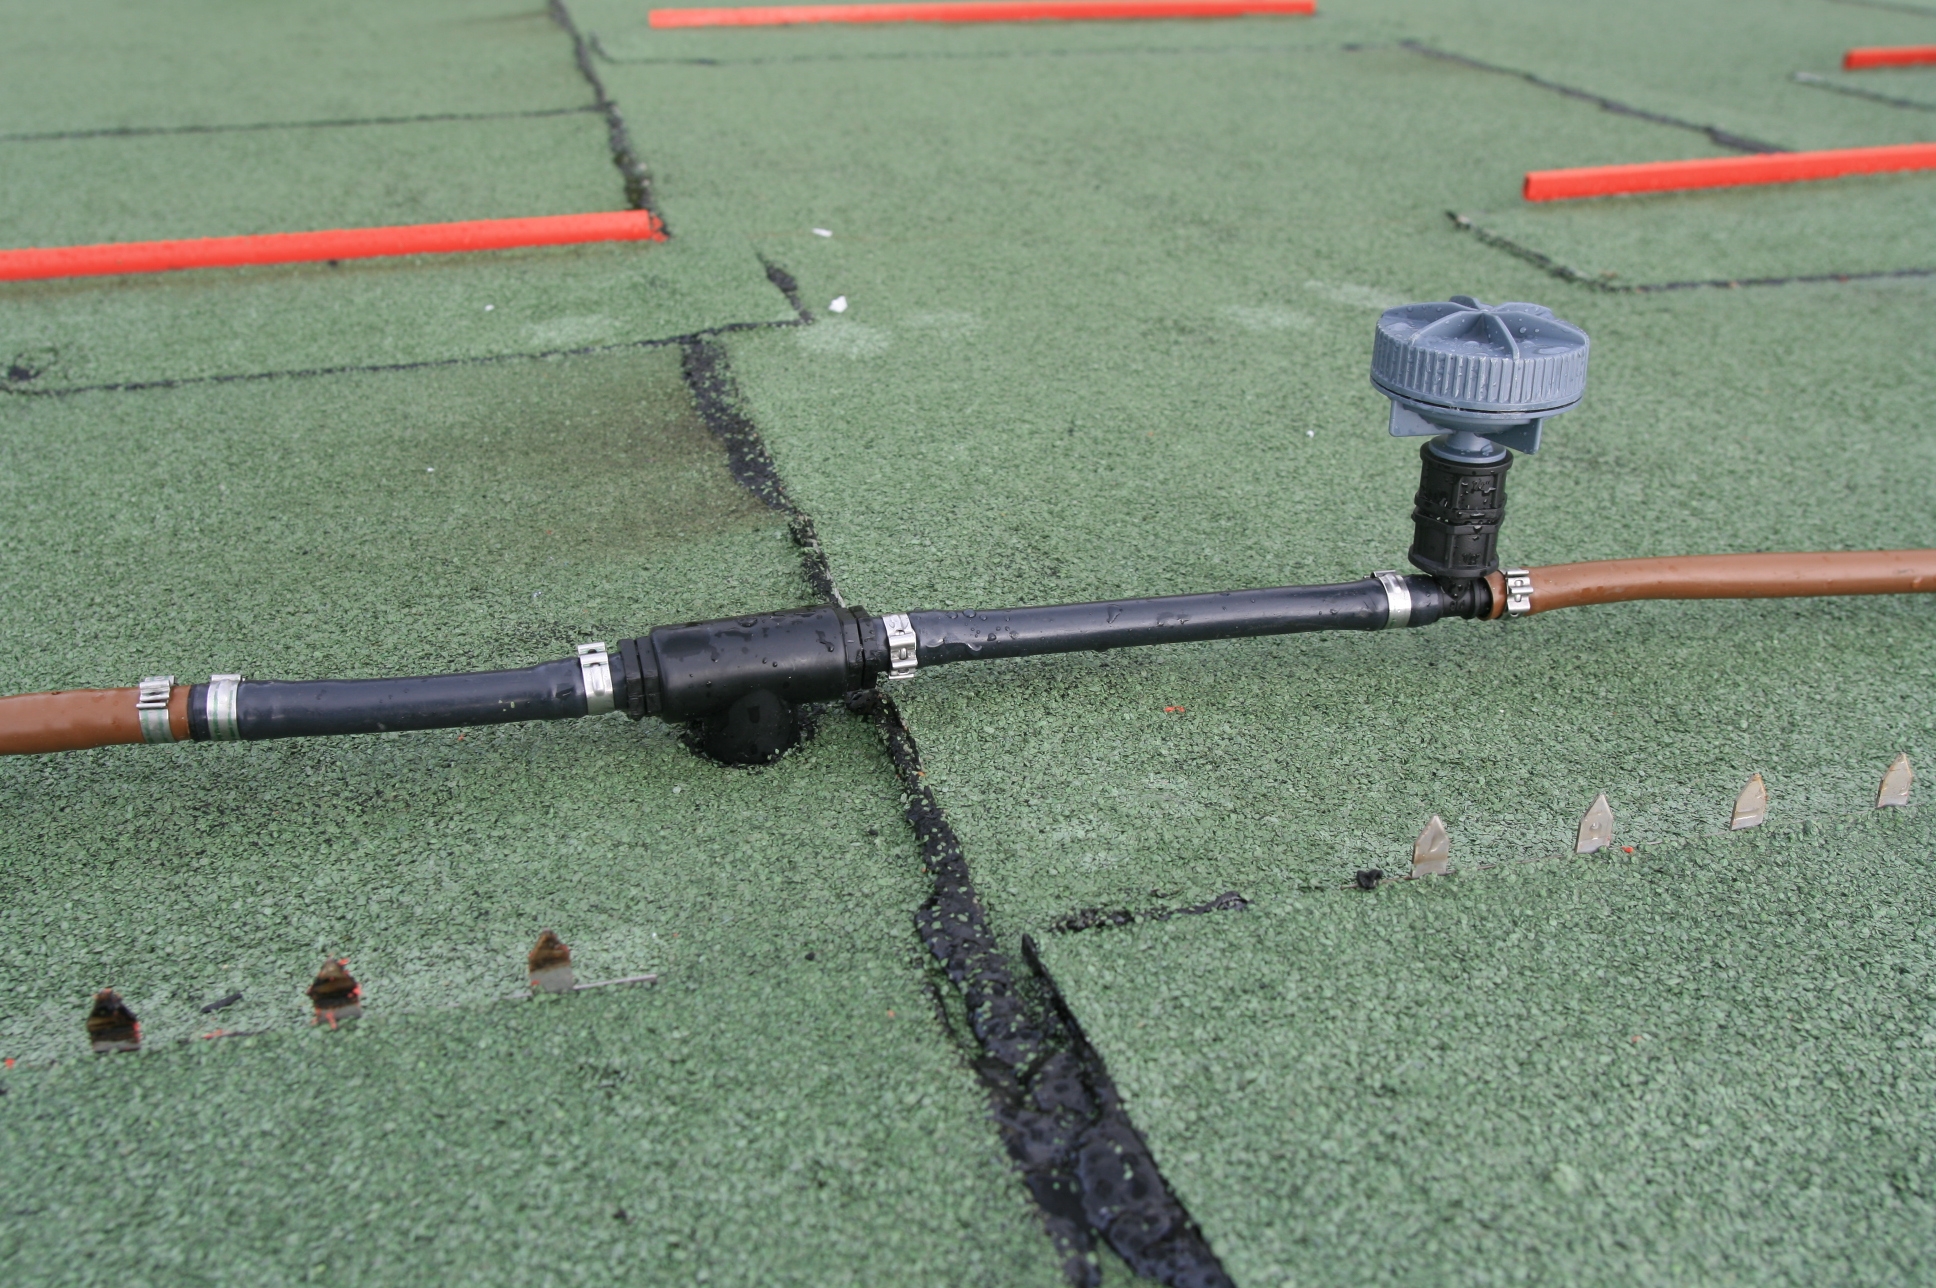 We finally source some stainless steel clips to secure the irrigation pipes where they T off to go across the roof. As the irrigation system is buried under the sedum if a pipe came off it would not be good news. In front of the pipe is the stainless steel anti slip strip with it’s plastic saftey cover (to avoid standing on it!) removed. This digs into the sedum under fleece to stop it sliding down the roof.
A very good tip. Make sure your sedum irrigation system is well tested because when the sedum is installed, if the sedum is dry it can take 2 or more hours before you see any water coming off the roof because the sedum will absorb shed loads. If you don’t know if the system works properly you could get very worried waiting for the water to show. If like us you then leave it on overnight once the sedum is in place, such a long watering period means that even when you turn the irrigation system off, you will end up with the roof dripping down the guttering for up to a day! See later blog entries!
Apr
11
2008
Log House building the walls
Published by in Log House Construction
 So now we start doing some of the detail work inside the log house. With the dovetail design of our log house there are no solid log internal walls fitting into the external log walls to give it rigidity. Without some stiffening there is a tendancy for the logs in a log house to “buckle” or bow. So a stiffener is made up of 4 x 2 and 8 x 2 with slide plates for 14 inch long bolts to screw into the wall logs of the house. The slide plates and slots in the 4 x 2 enable the logs to continue settling with time. It was quite suprising putting the stiffeners up against the log house wall and seeing how much the walls had already started to bow in places, despite the 1/2″ threaded studs going down through the logs every couple of feet from top to bottom of the house.
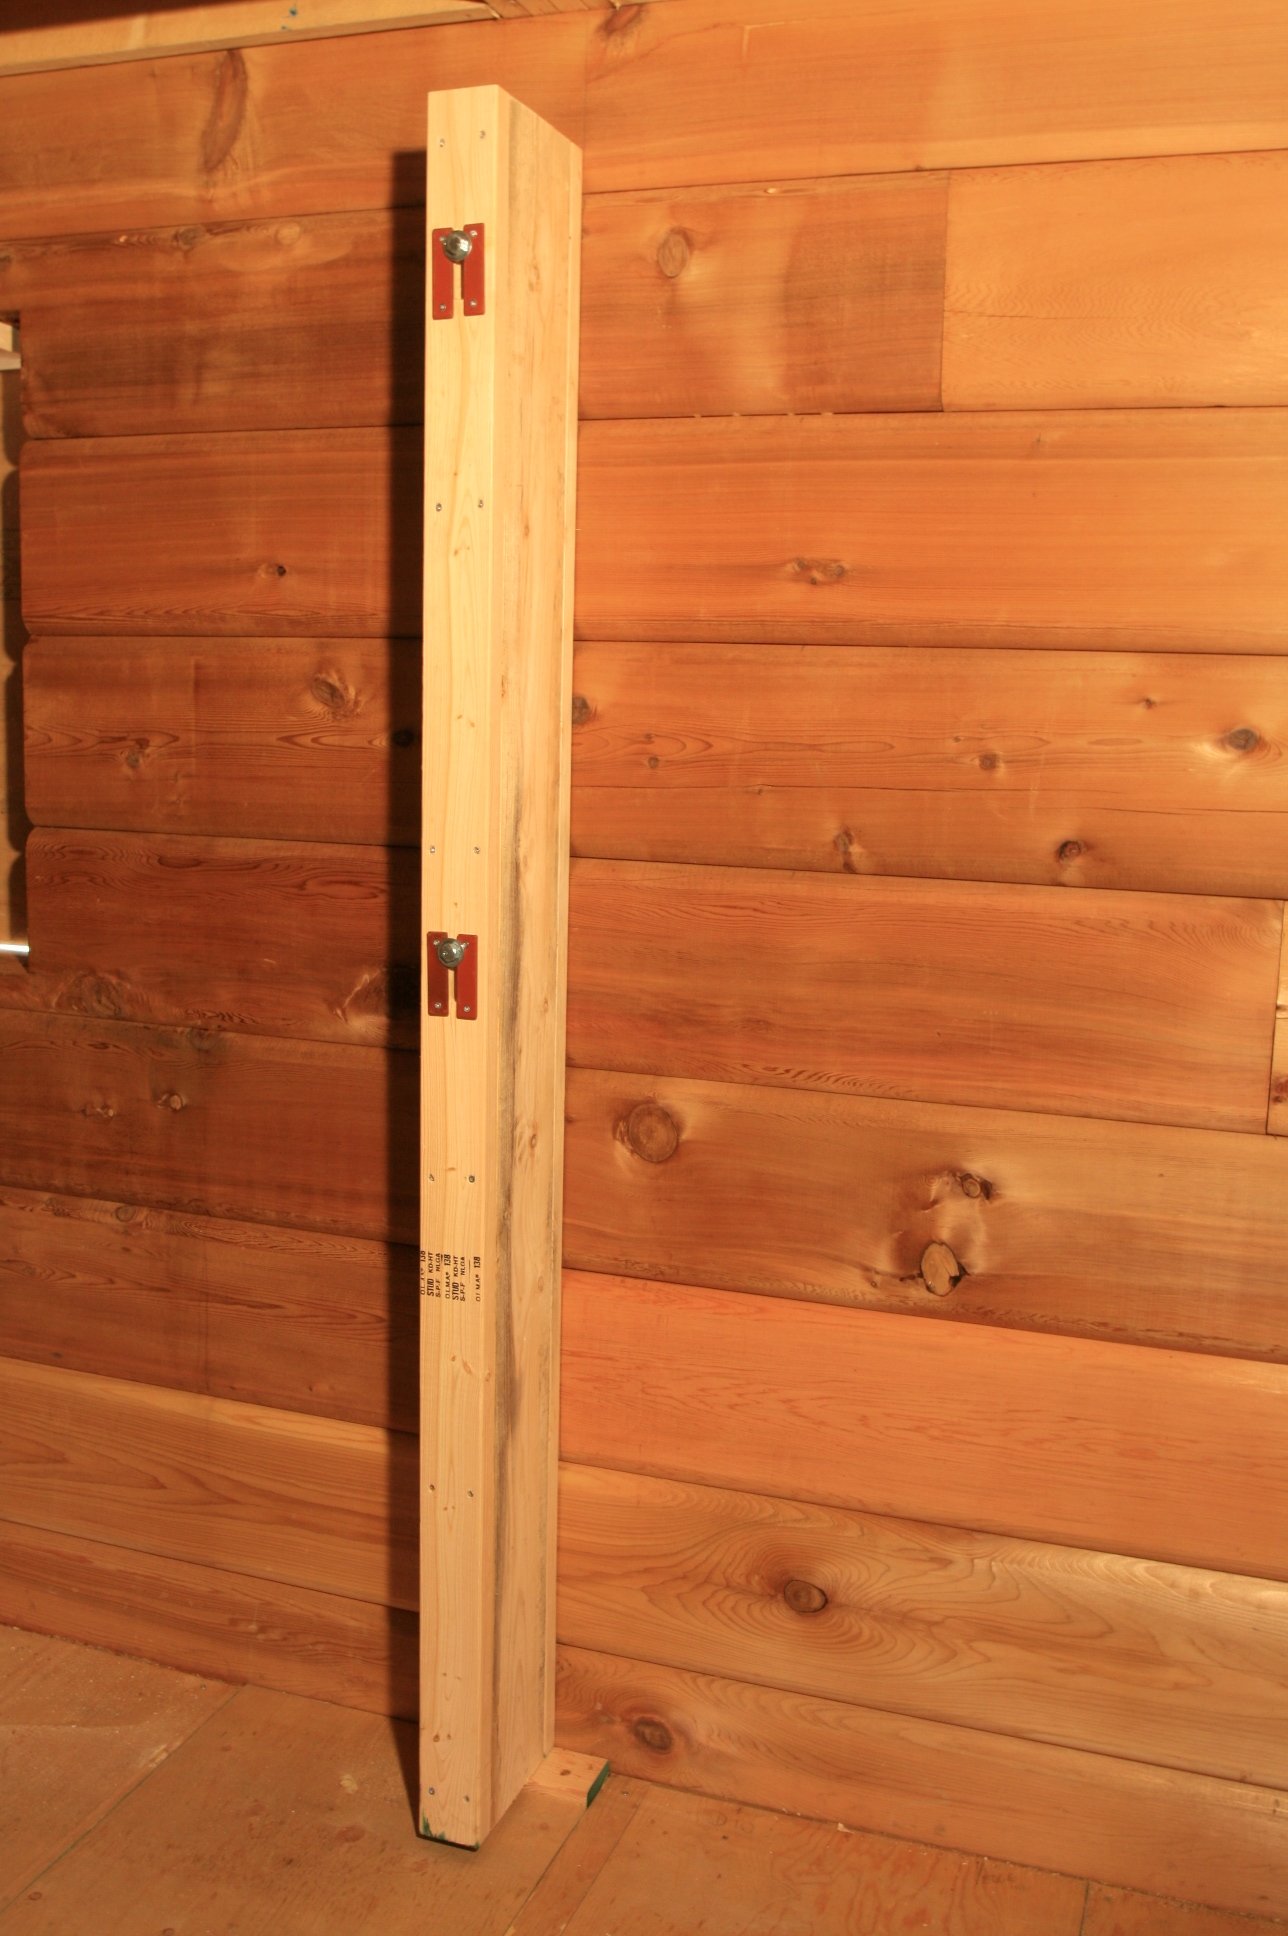 A plywood sheet will be put against the side face of the stiffener and become part of the stud walls to give the assembly even more rigidity but these cannot be added until the stud walls are in place.
Apr
9
2008
Sedum Roof Irrigation System
Published by in Sedum Roofing
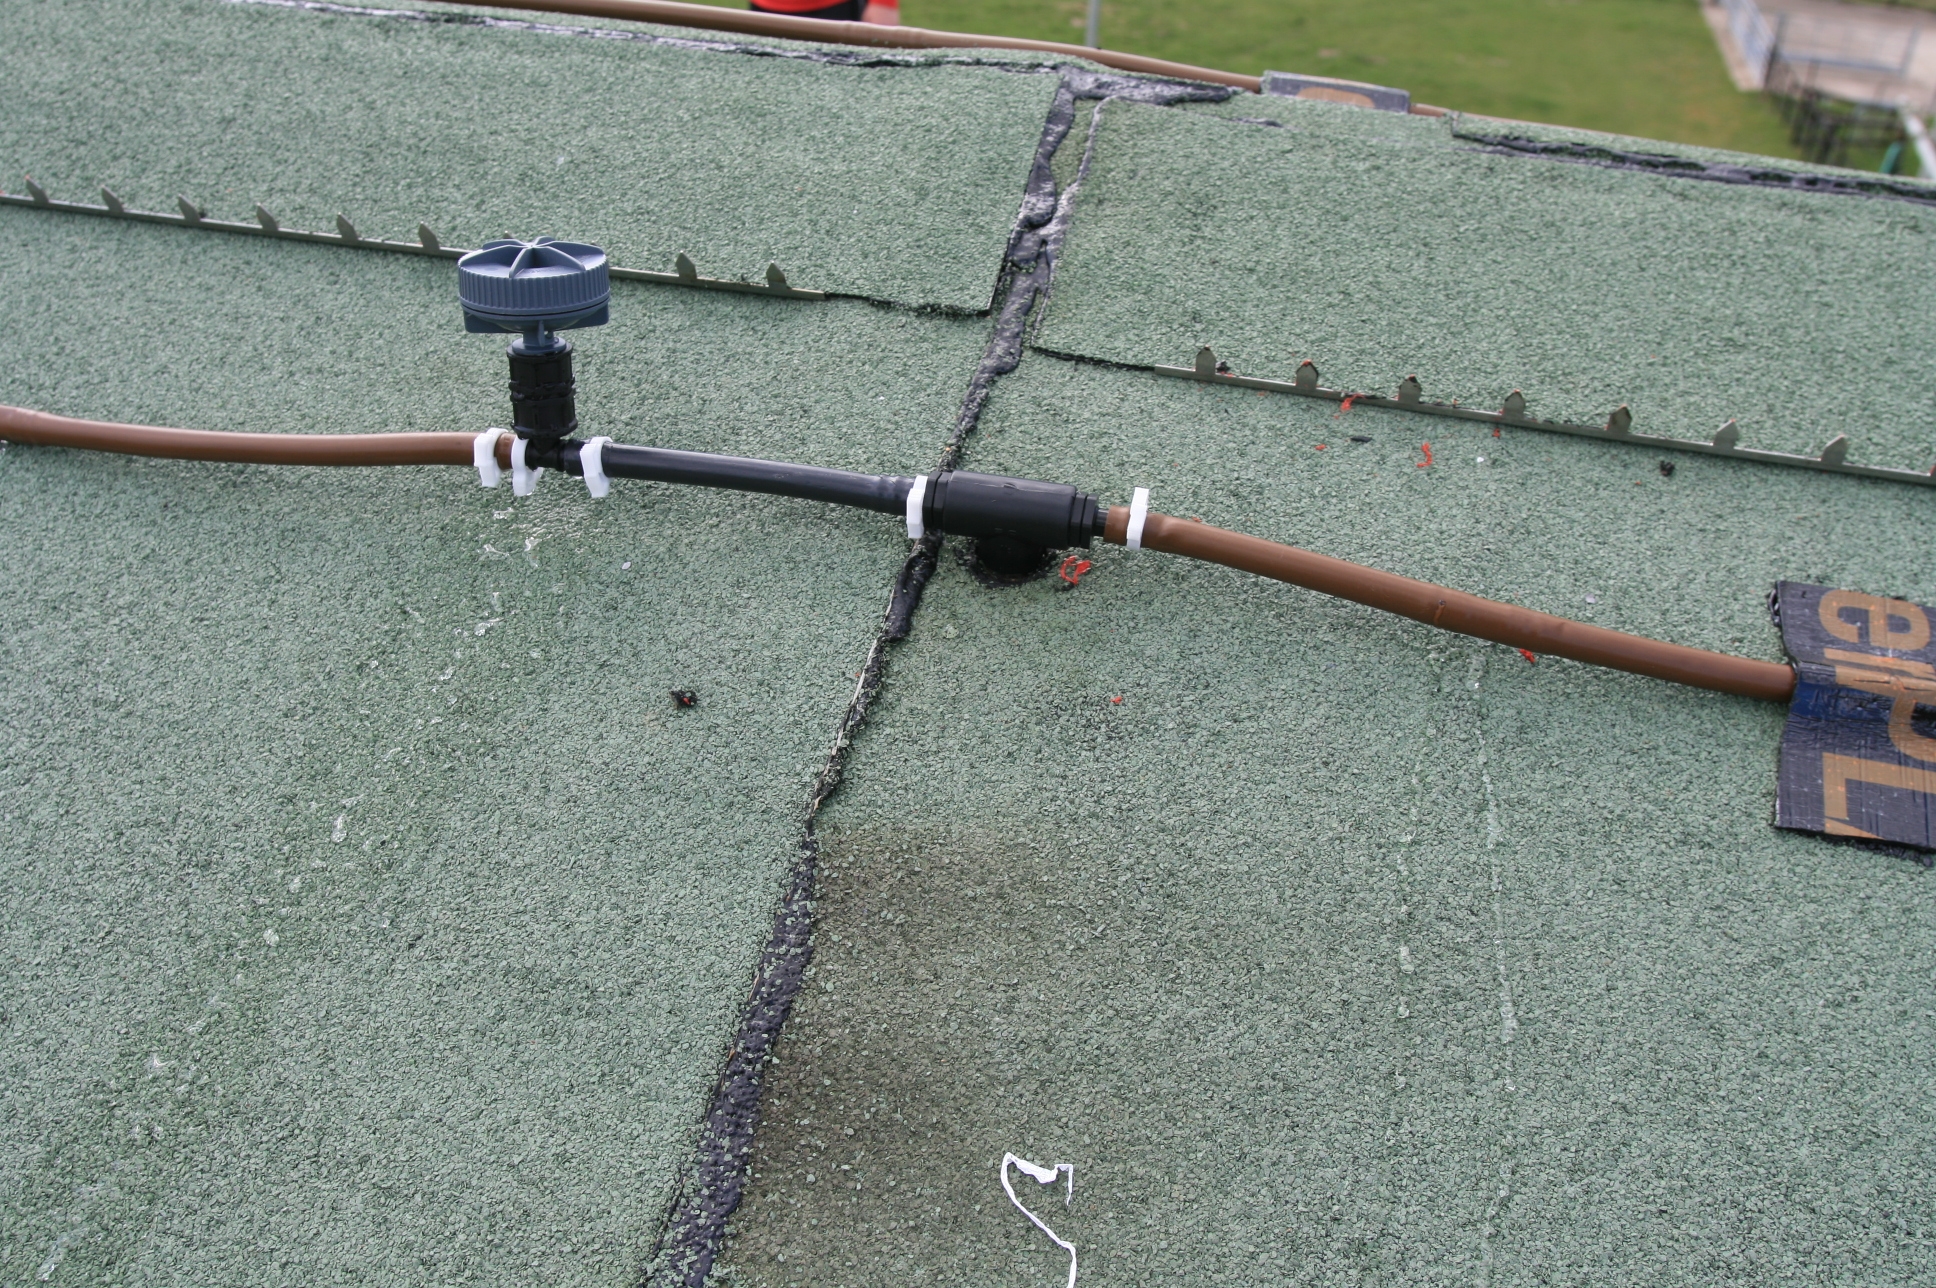
Because our roof slopes at 22 degrees we are now having to fit a “leaky pipe” irrigation system so that in particularly long dry spells we can give the sedum some water during it’s initial settling in period for a couple of hours at a time.
Here is where the water pipe comes out onto the roof and branches off to the two sides of the roof. The grey plastic thing is a valve to allow the water in the pipes to fully drain when the supply is turned off.
The white plastic clips have turned out to be useless so will be replaced with some stainless steel ones before the sedum goes on, hopefully next Tuesday.
Hopefully we will be able to recyle water from wet periods to water the sedum rather than use mains water which we did for this test.
Apr
5
2008
Sedum Roof Retention Strips
Published by in Sedum Roofing
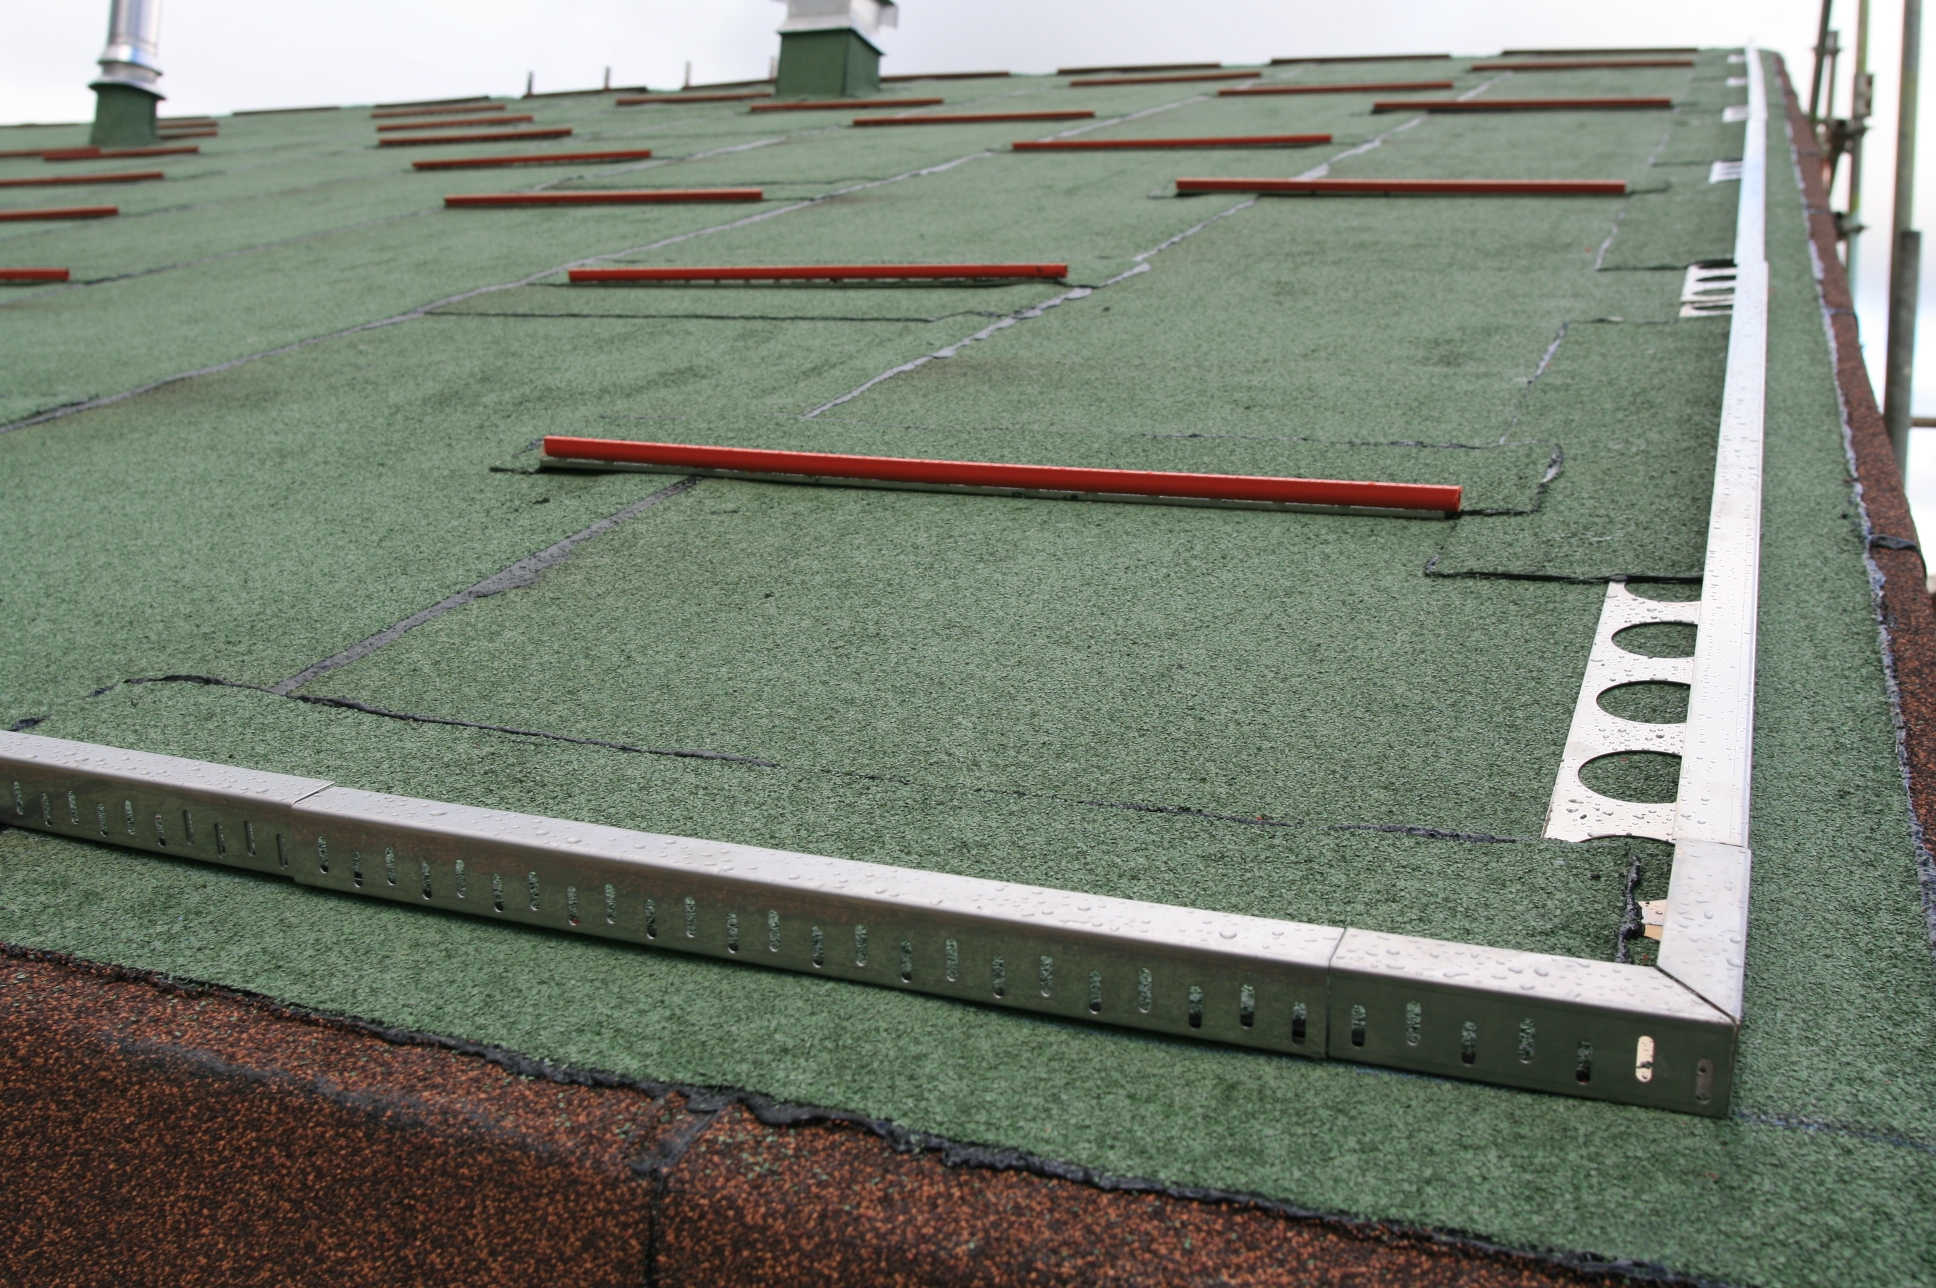
Again because we have a sloping roof, the sedum green roof construction will be more complicated. These edge strips and anti slip strips are required to make sure the sedum blanket stays in place. The anti slip strips are temporarily covered to avoid injury if you stand on them!
Apr
1
2008
Sedum Roof Irrigation
Published by in Sedum Roofing
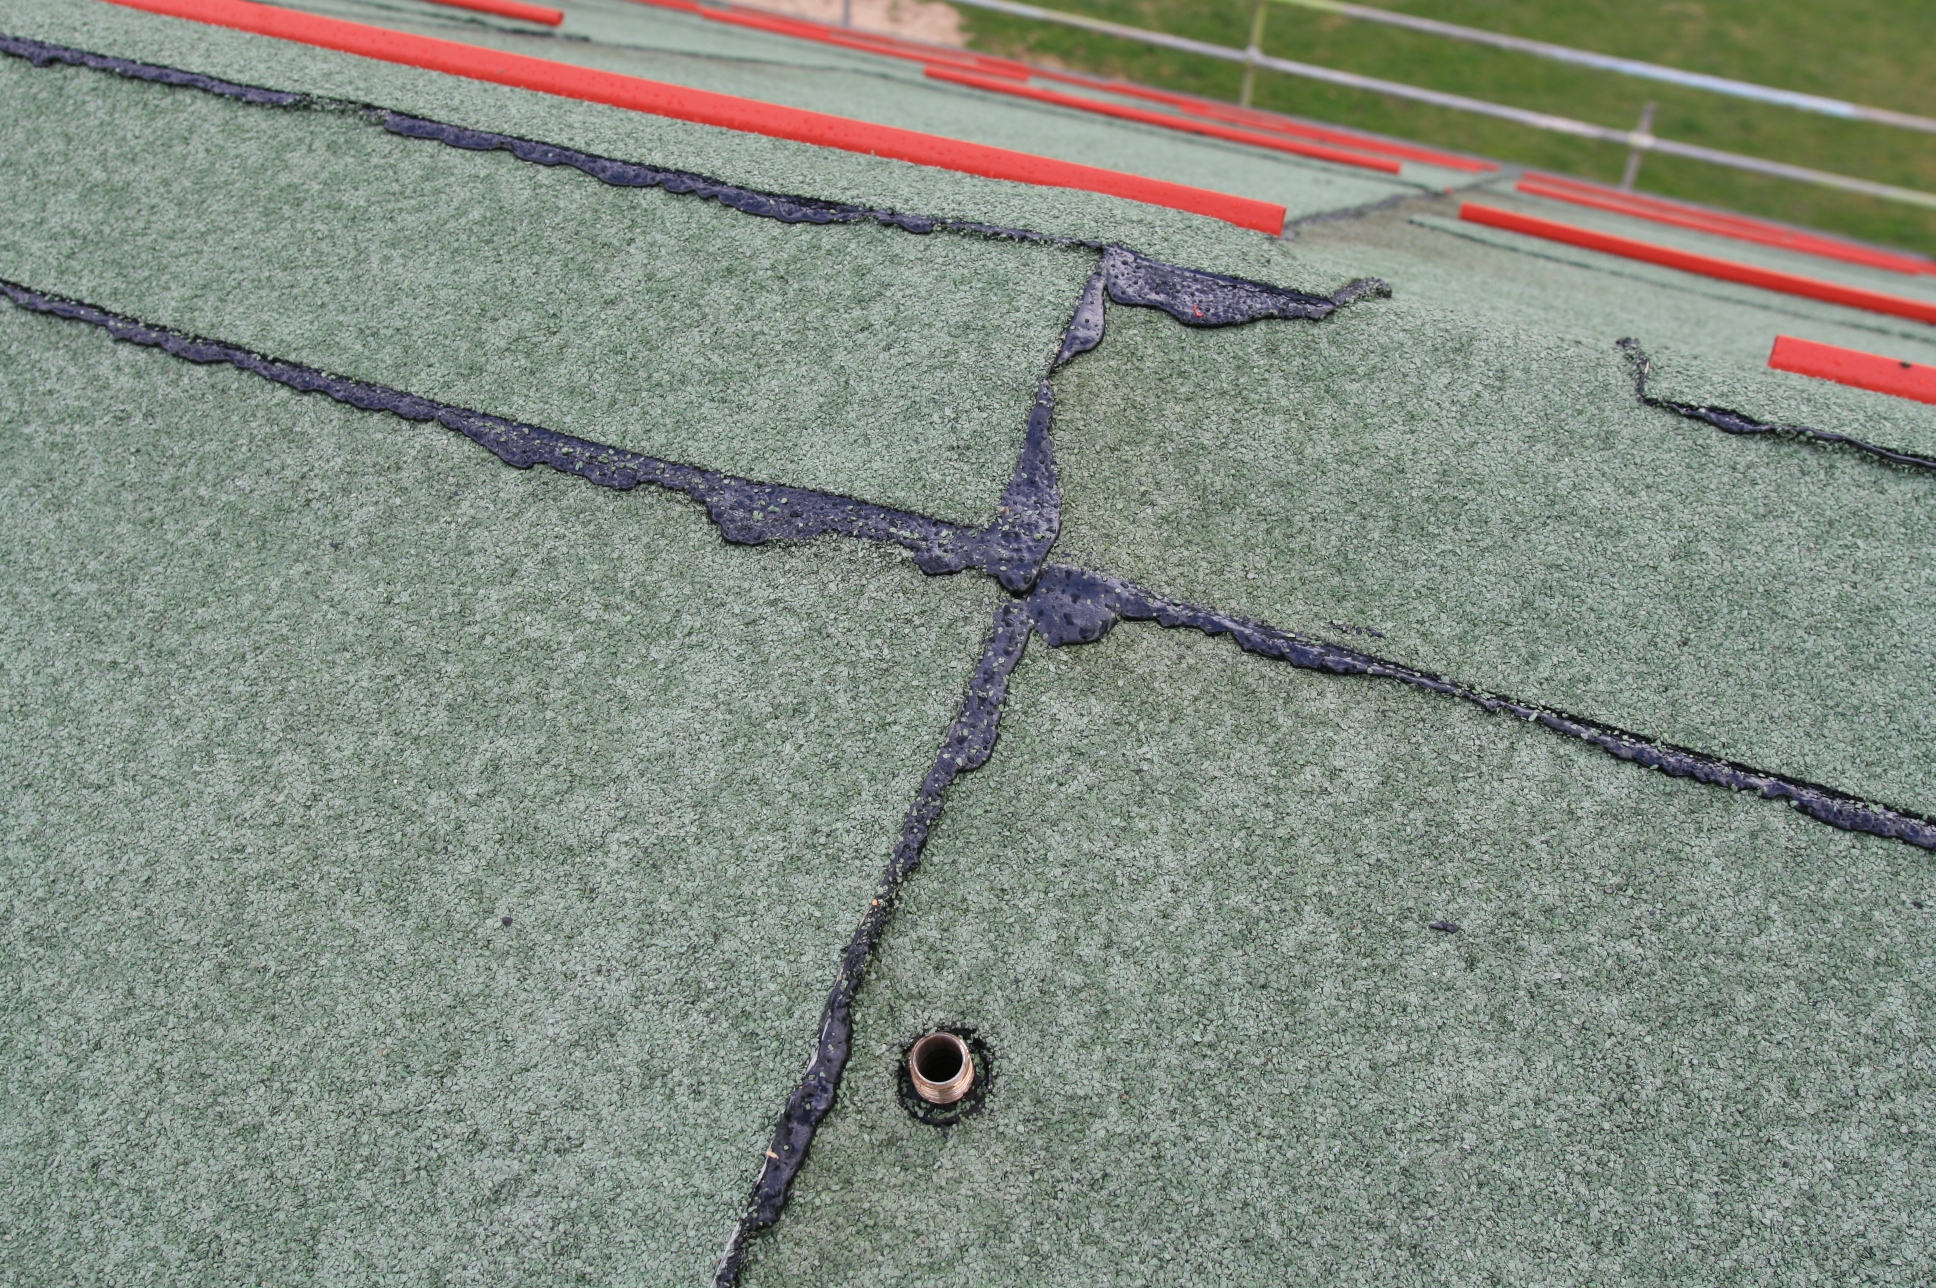
Only a few weeks before the sedum roof is about to be laid the suppliers suddenly change their minds. “Yes, you will need an irrigation system in case there are long dry spells”. We suspect that this is another factor that applies more to sloping roofs, hence the original uncertainty. Sadly we will have to make a separate fitting for this now as the stainless plate we made for the ridge is already in place and covered with the first layer of felt. So an offcut of stainless has a stainless water pipe fitted to it.
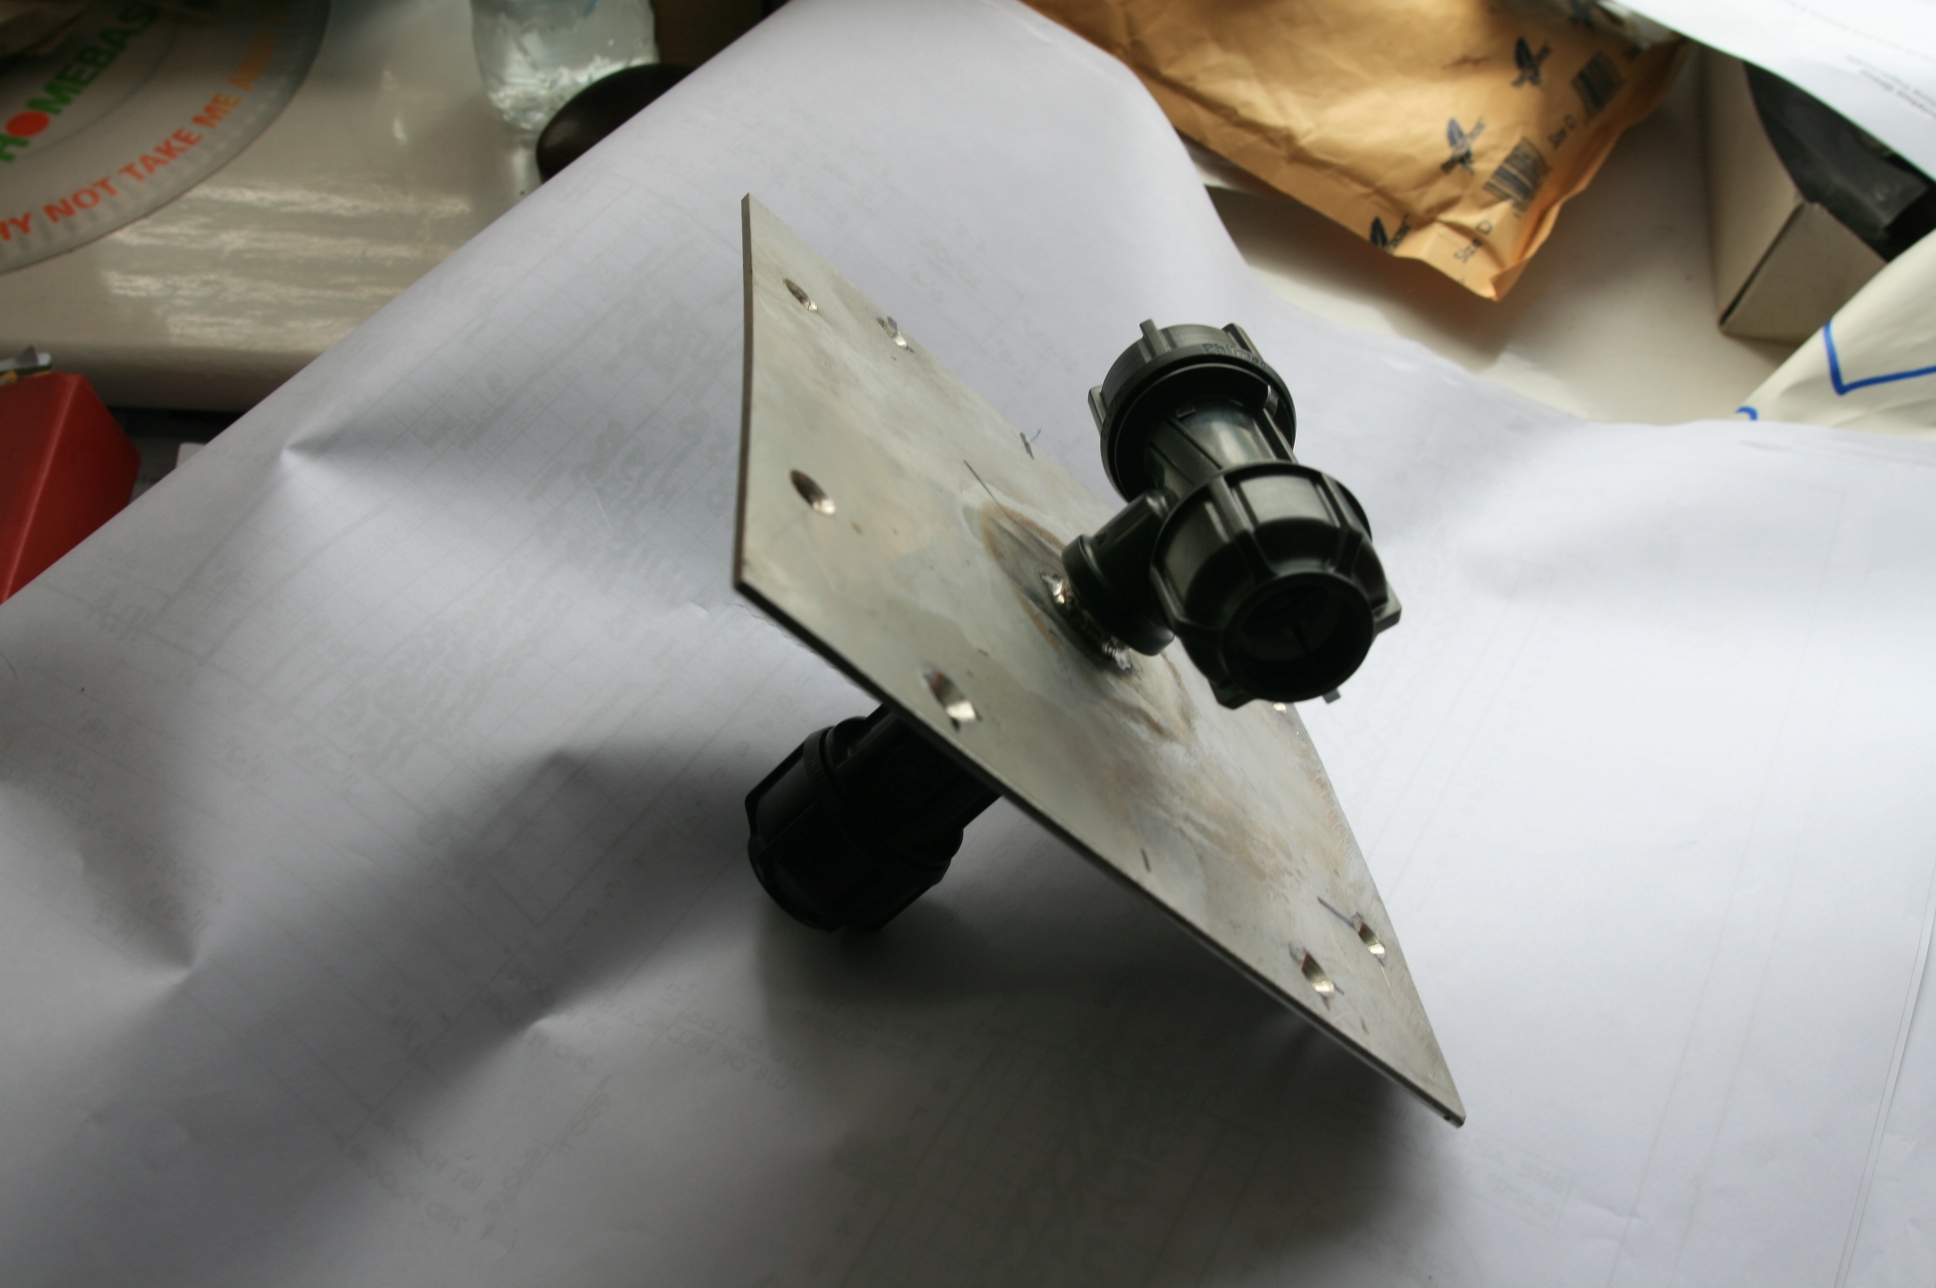
A hole gets drilled in the roof and hey presto, one fitting in place ready for a 1/2″ fitting to hook a “leaky pipe” system up to it.