Published by in Log House Construction
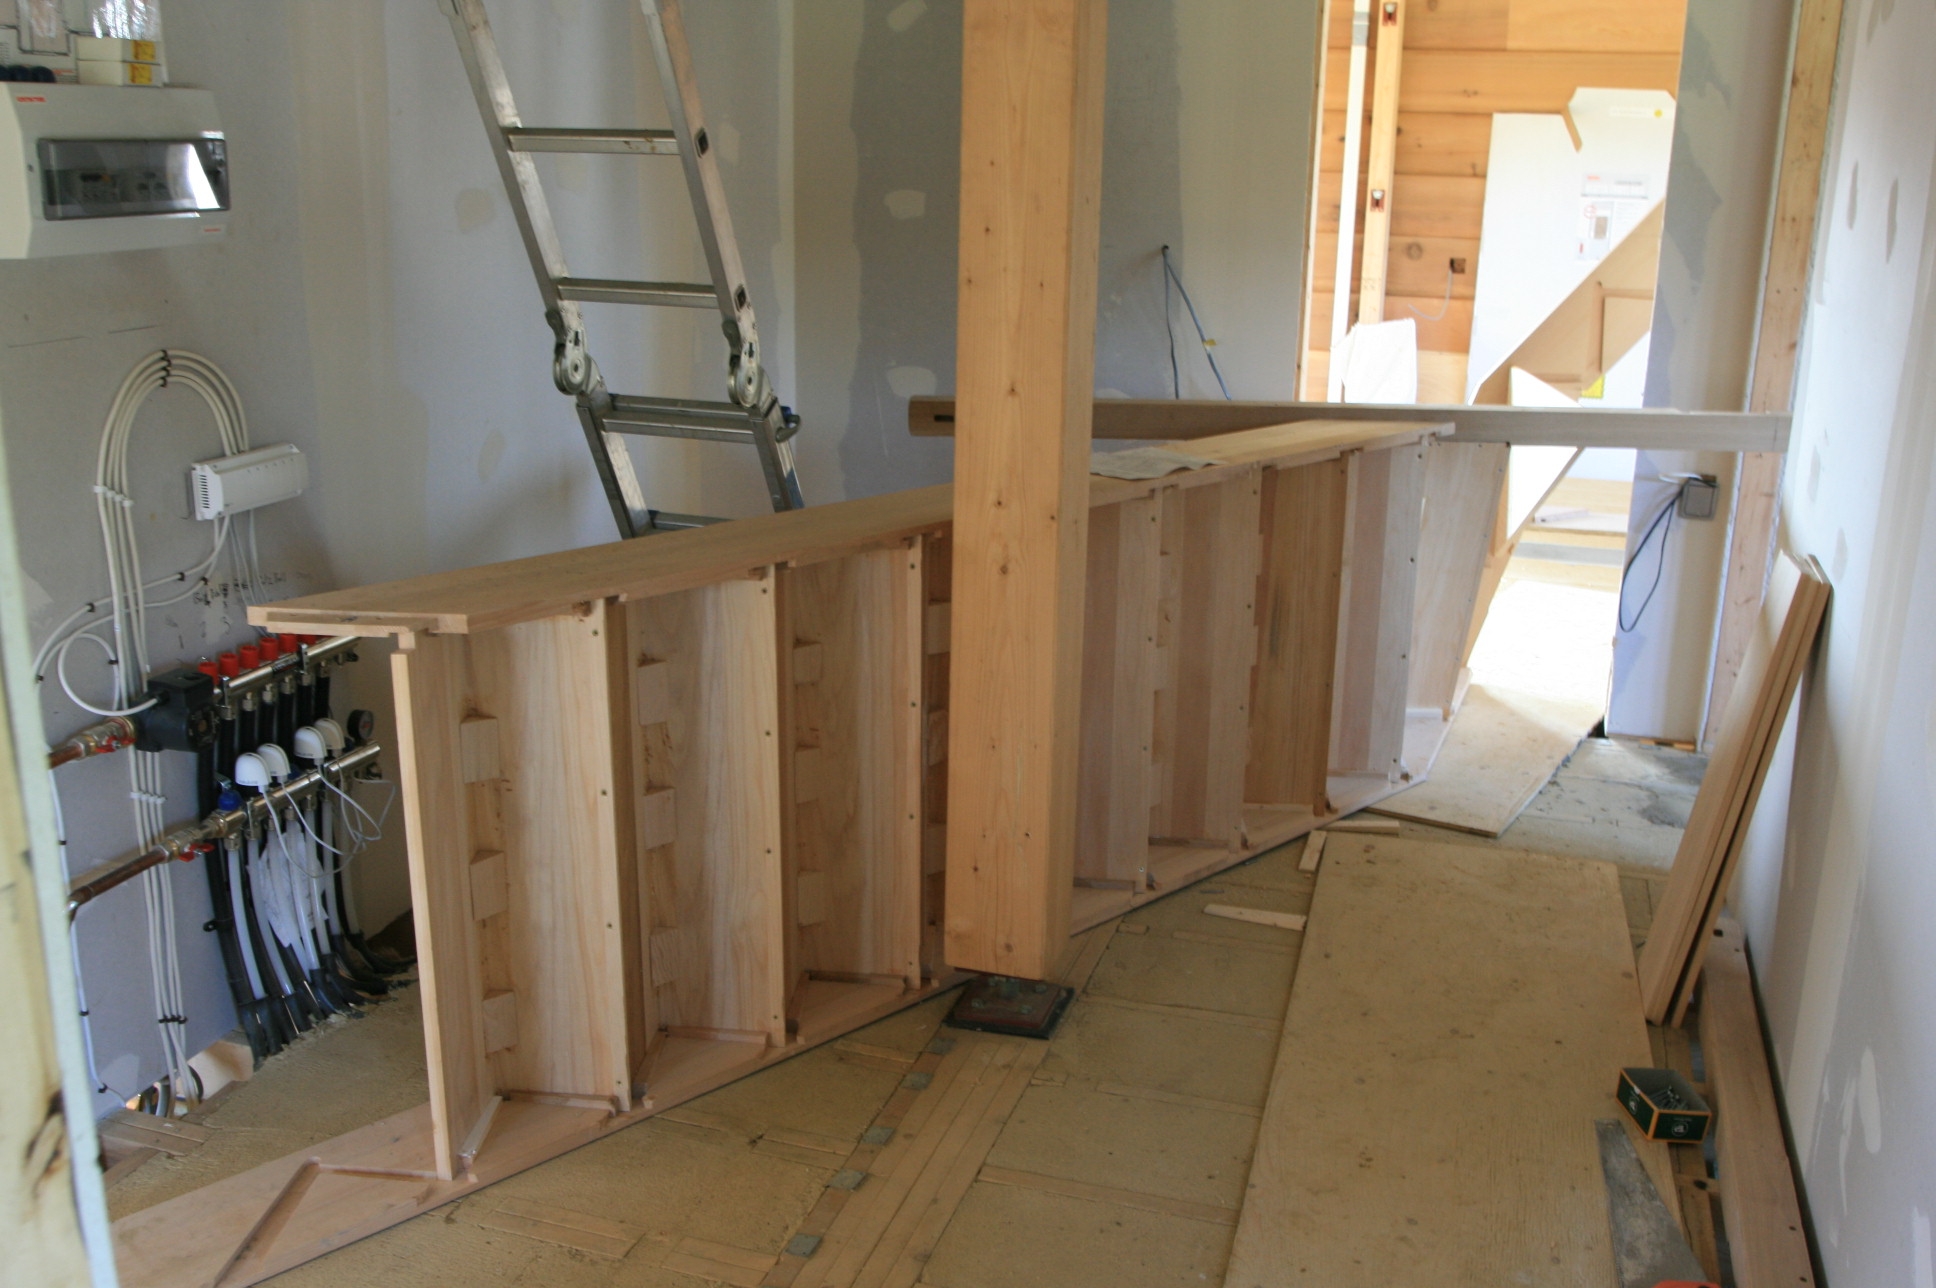
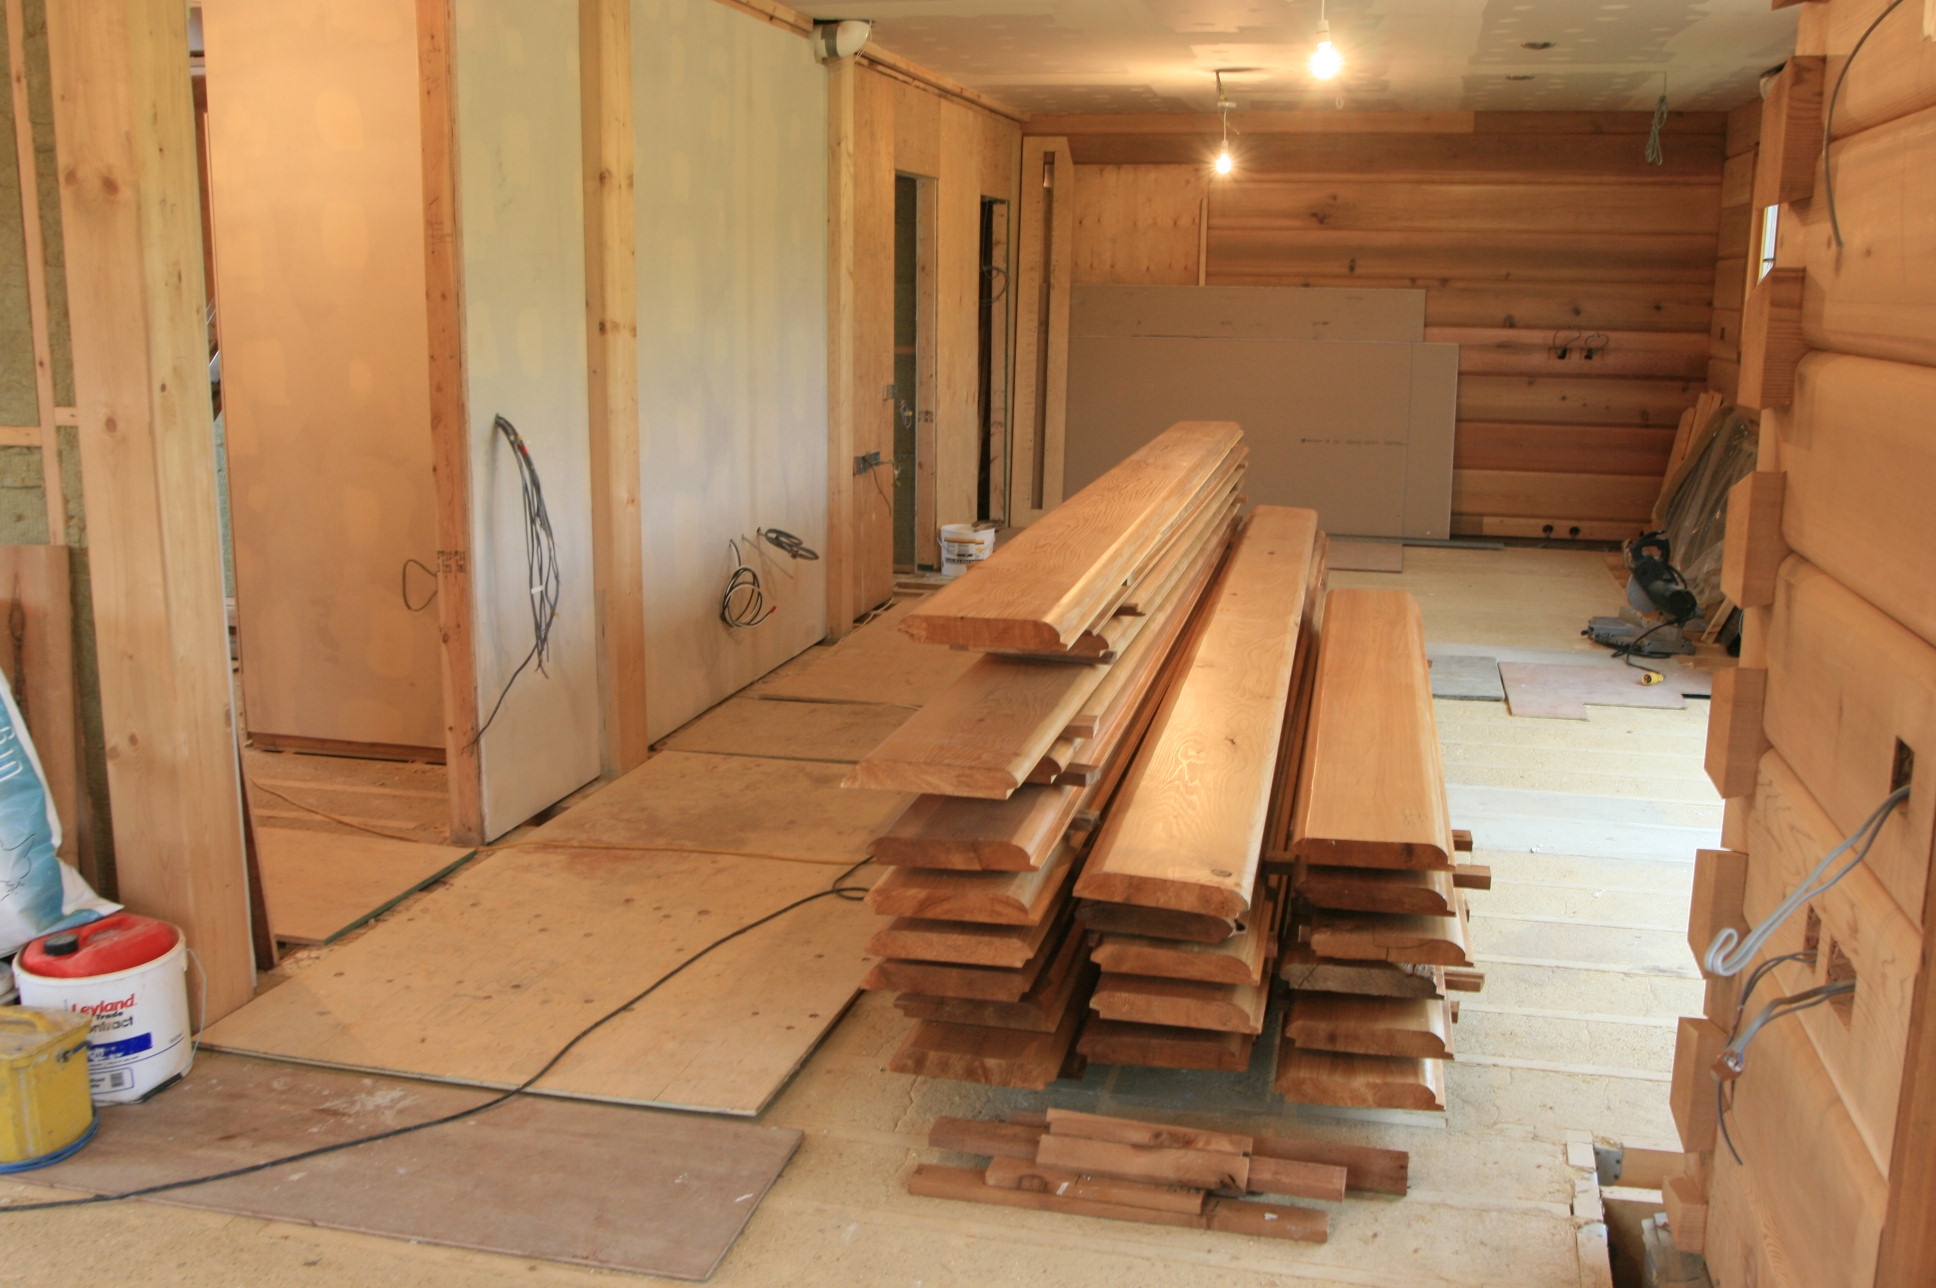
 Some of the internal walls in the house will be plasterboard, and some will be log siding, which is like a slice of wood that has been machined to look like the inside face of logs used for the house external wall. We have pre-painted lots of it with a wood treatment and now that the underfloor heating is on, we can bring it over prior to using it on the walls at the left back part of this view.
By bringing it into the house a week or so before, it has a chance to settle down and dry out a bit more before fixing, reduing the potential for settlement after fixing.
Published by in Log House Construction
 With most of the plasterboarding done we can now put the stairs in. These have been ready at the joinery suppliers for some weeks now. So soon, no more ladders up and down but stairs!
Published by in Log House Construction
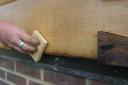 A few sunny days so time to finish the outside protection of the logs. The log suppliers from North America sent waterbase undercoat and top coat. Where the undercoat had been applied but the top coat had not been applied, strange “streaks” or “runs” at the bottom of logs appeared. Sanding out was not an option as it not only would leave lighter spots but also would not get the staining out of the grain without severe sanding.
However using a used household scourer and some water does the trick a treat and is very quick too!
Published by in Log House Construction
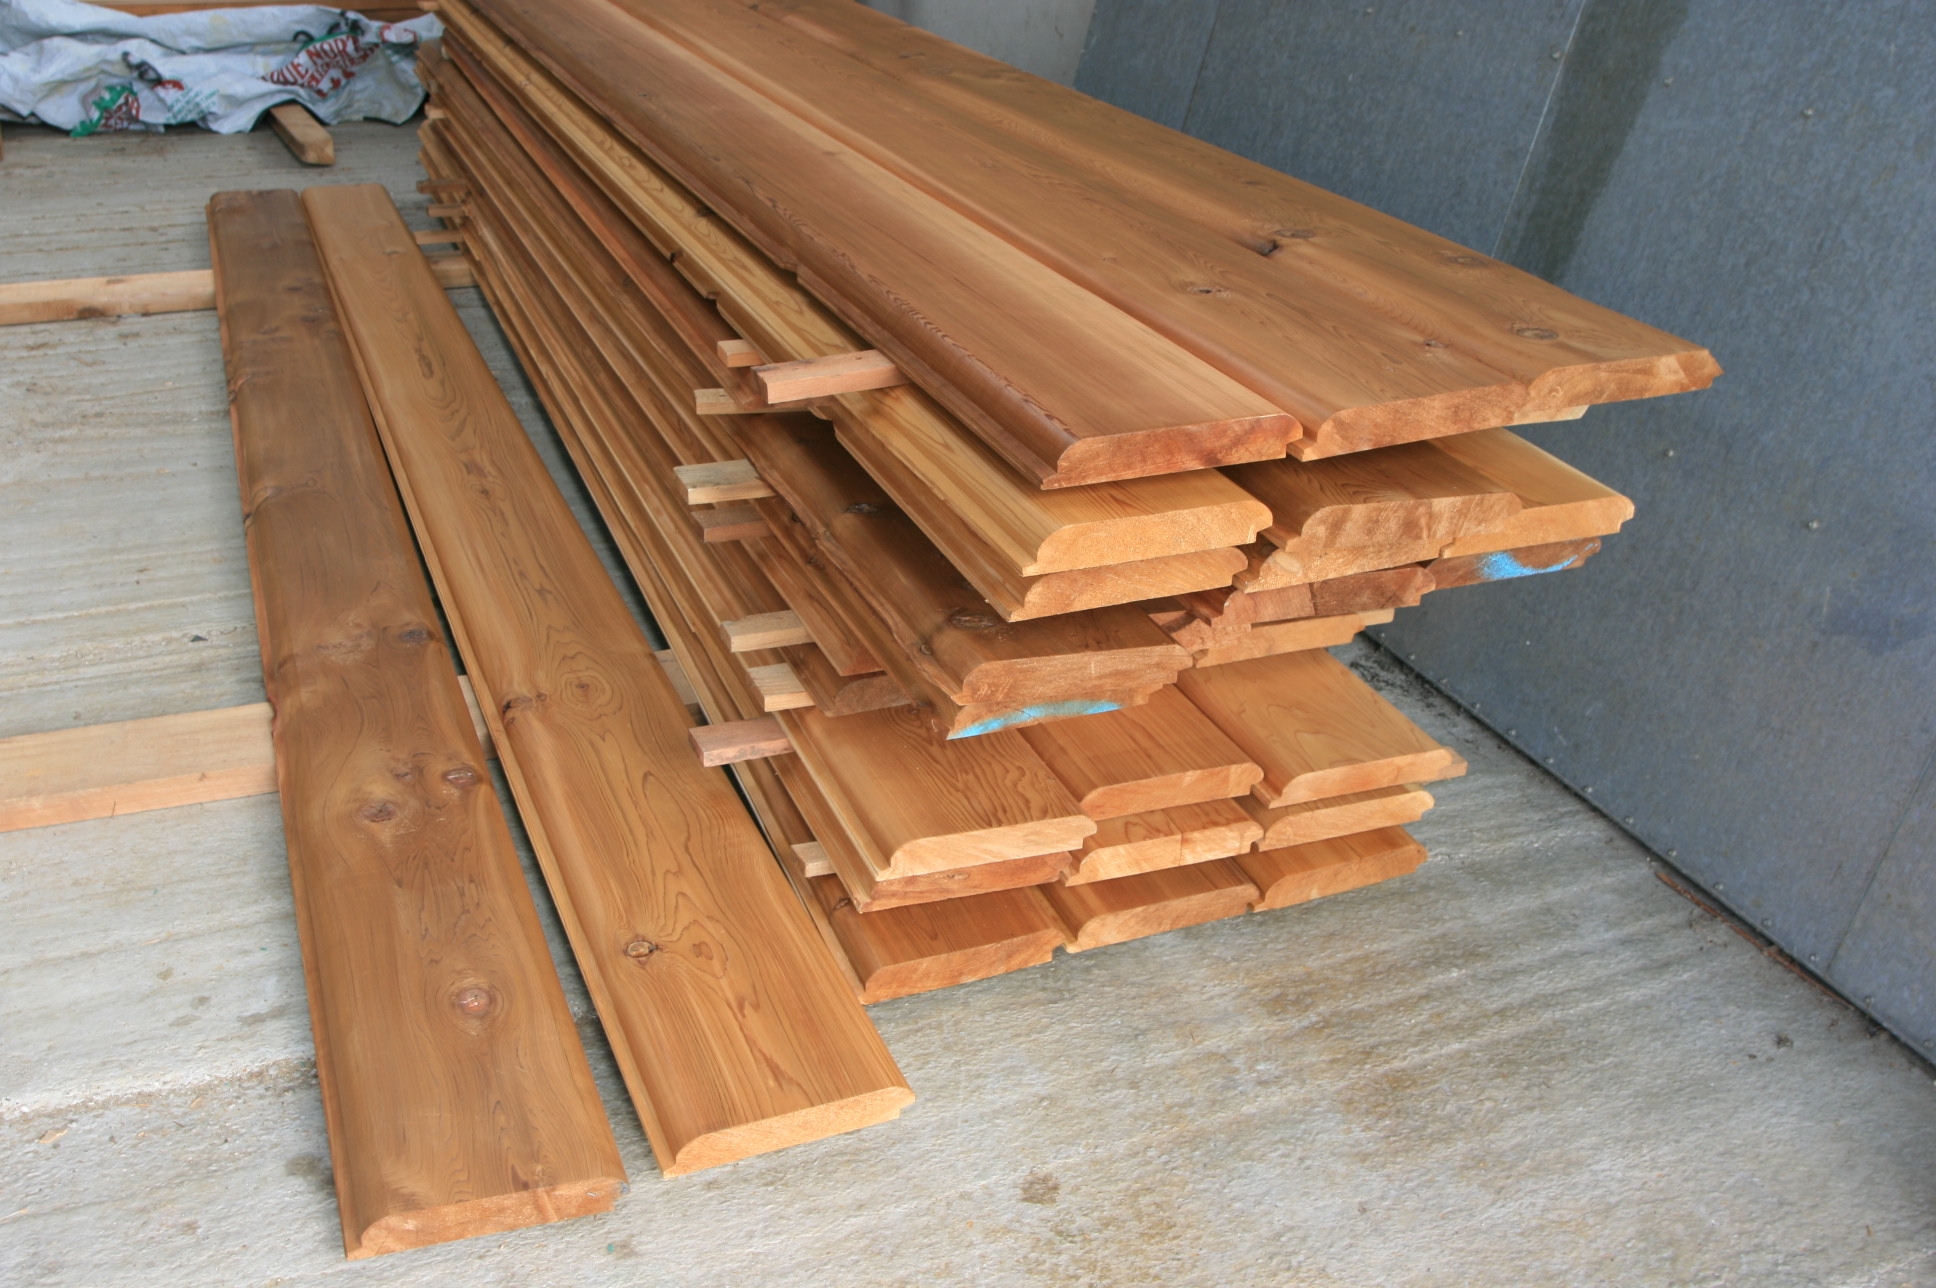
 Some of the stud walls in the house will be covered with conventional plasterboard, but some will be covered with log “siding”. This is 2″ thick Western Red Cedar that is profiled on one side to look like the inside face of the main outer wall logs. This is fixed to the stud work and then will look as if solid log extends into the house.
At just £10 per foot it is cheaper than using solid log!
We sand the planed factory finish with 80 – 120 grade paper with a hand sander and then apply the internal finish, sand again with 220 grade and then give a second coat to finish.
Published by in Log House Construction
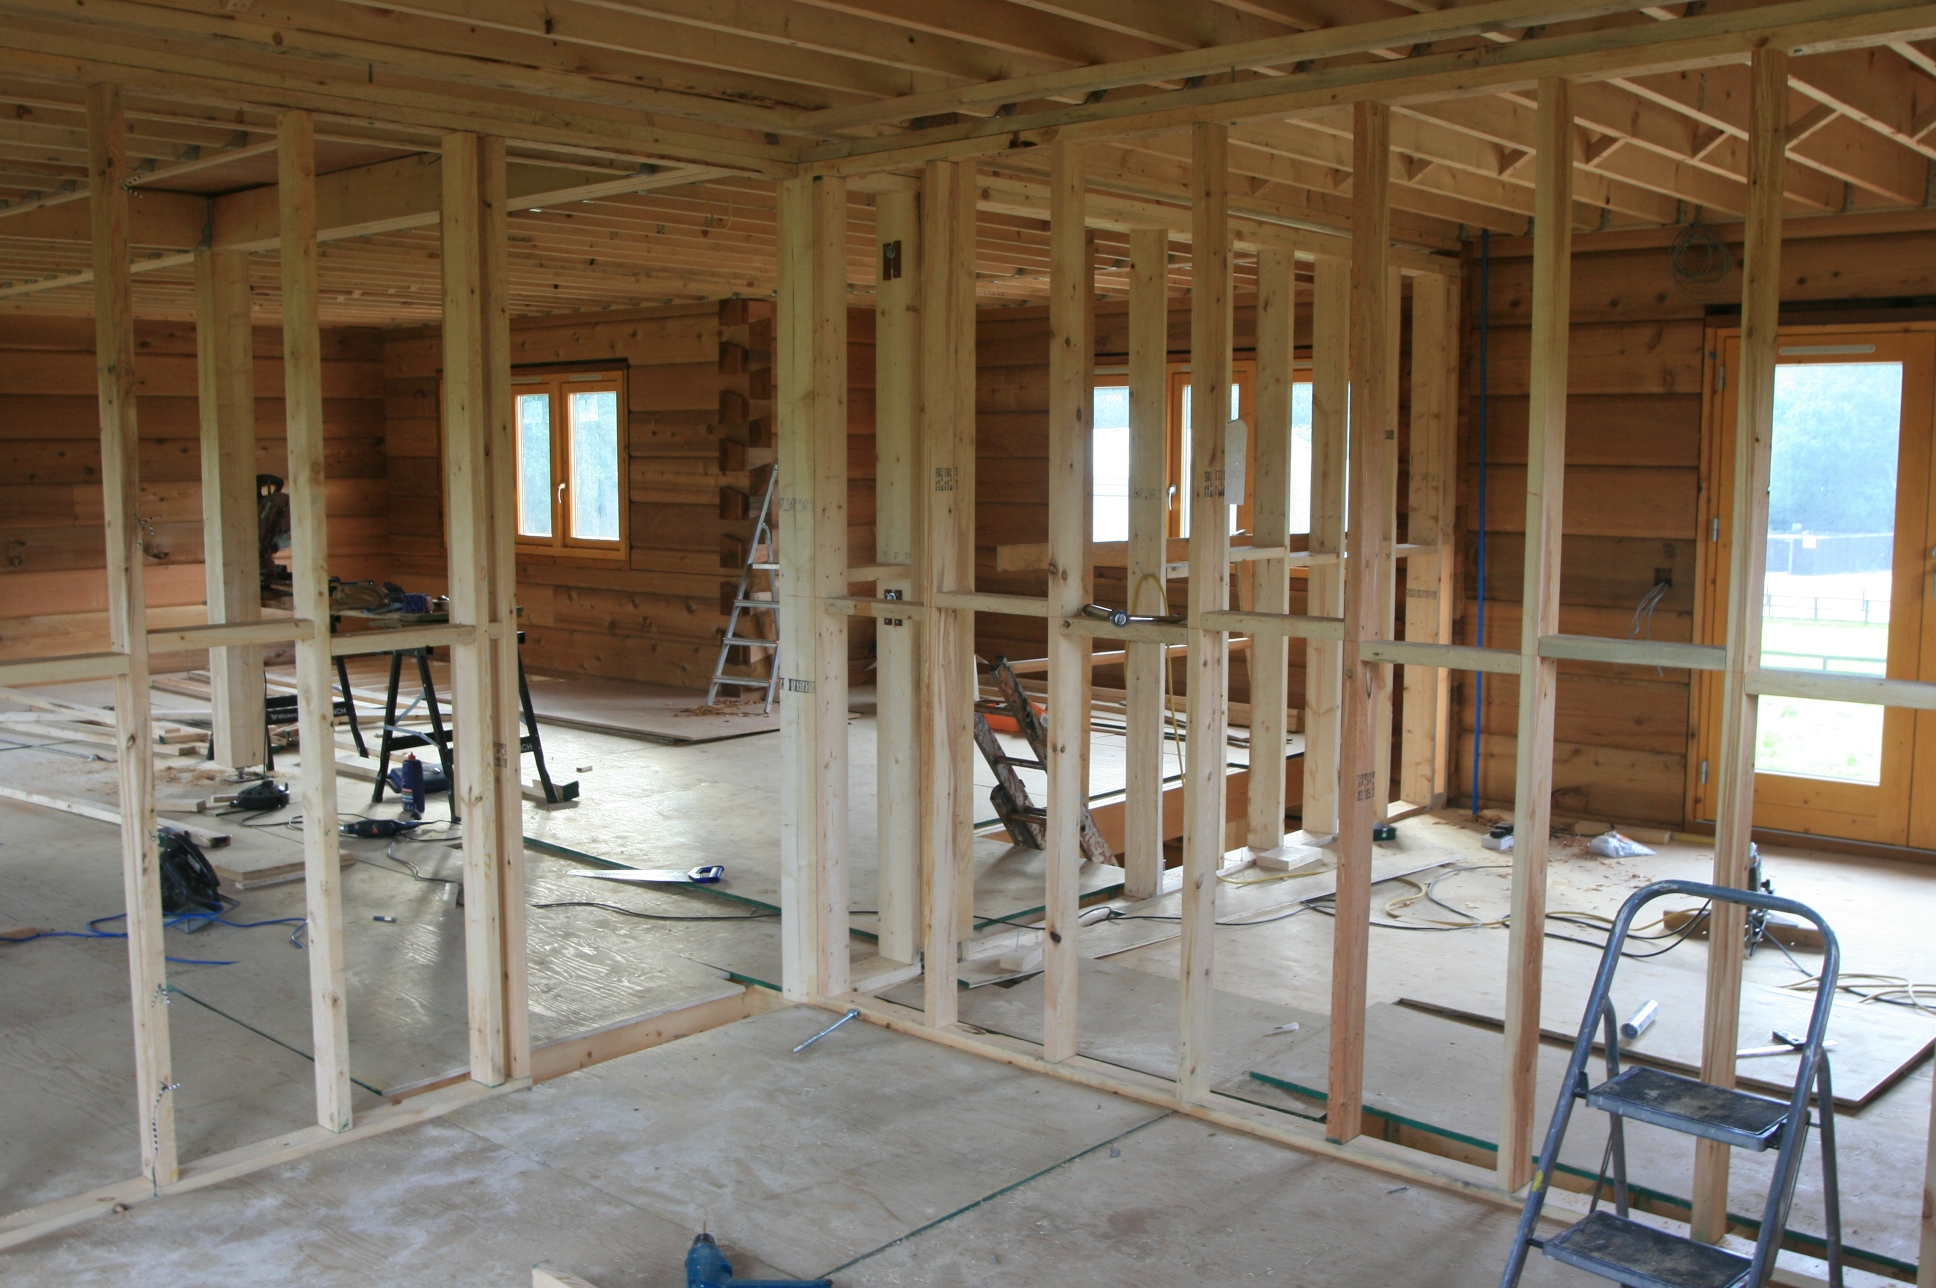
 There are several systems for fitting underfloor heating. With our wooden joist system we are going for a pug screed. “Trays” made by plywood (from the temporary floor we have used to date) will be supported on battens shown here. Then 50mm Cellotex is dropped in, the underfloor heating pipe clipped in place and then a cement sand screed applied. So ahead of doing the stud walls the battens are put in from the underside of each floor.
Published by in Log House Construction
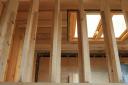
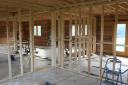 We’ve had a weeks holiday, hence all the pictures of the sedum while we were away! Meanwhile the carpenters have finished fitting all the windows and doors (except the three we are having carved in Spain which should come end of July).
The interior of the house is pretty conventional in the walling system, apart from some of the walls being covered with 2″ thick cedar “log siding” to make some of them look as if they are made of solid log but for a fraction of the cost and with the advantages of fitting the services (electrical wiring etc) to the stud wall. The other good thing about using siding rather the more conventional plasterboard that we will use elsewhere is that siding is very easy to fix picture hooks into!
Published by in Log House Construction
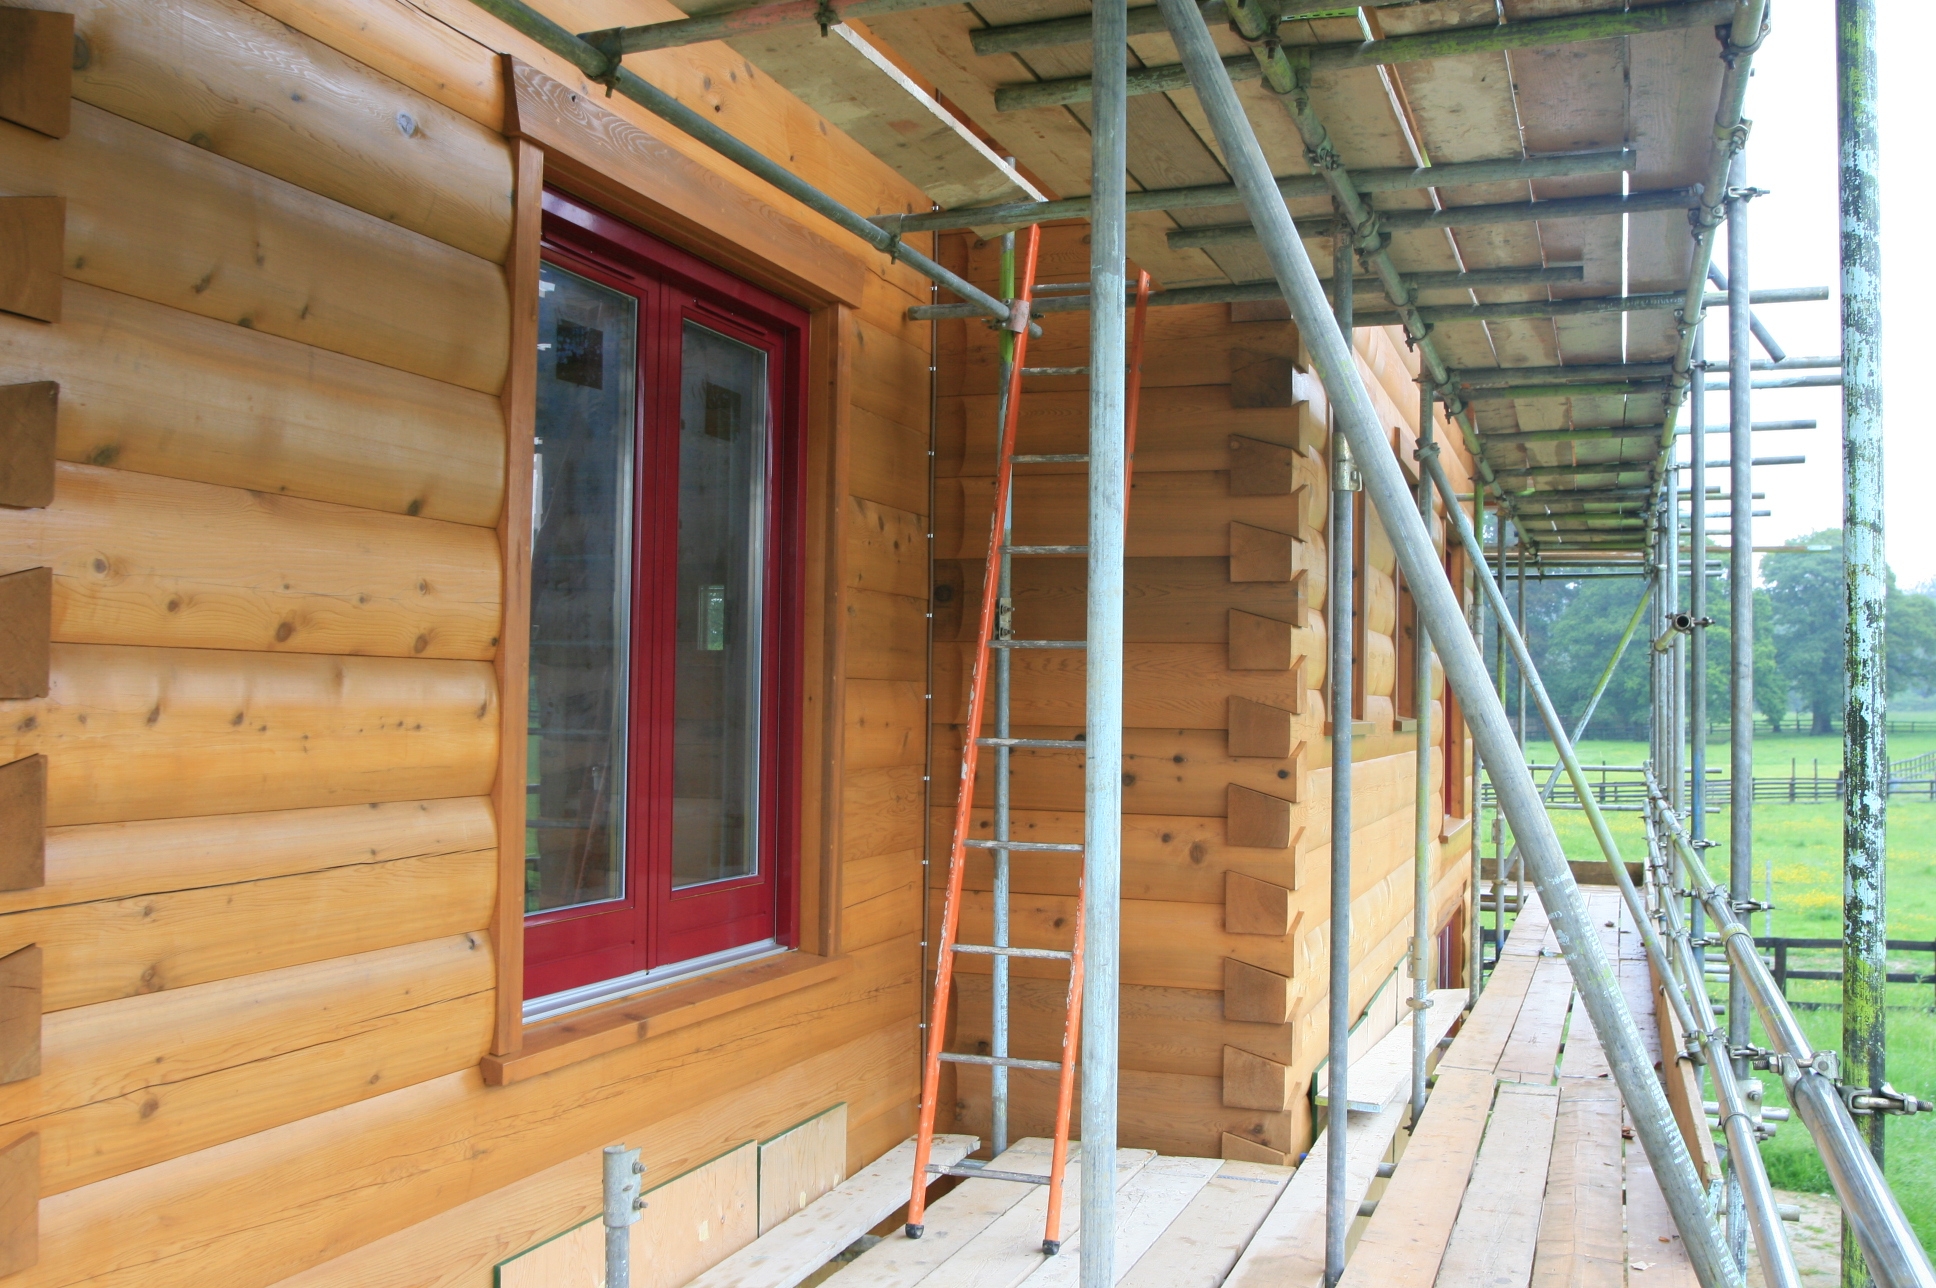
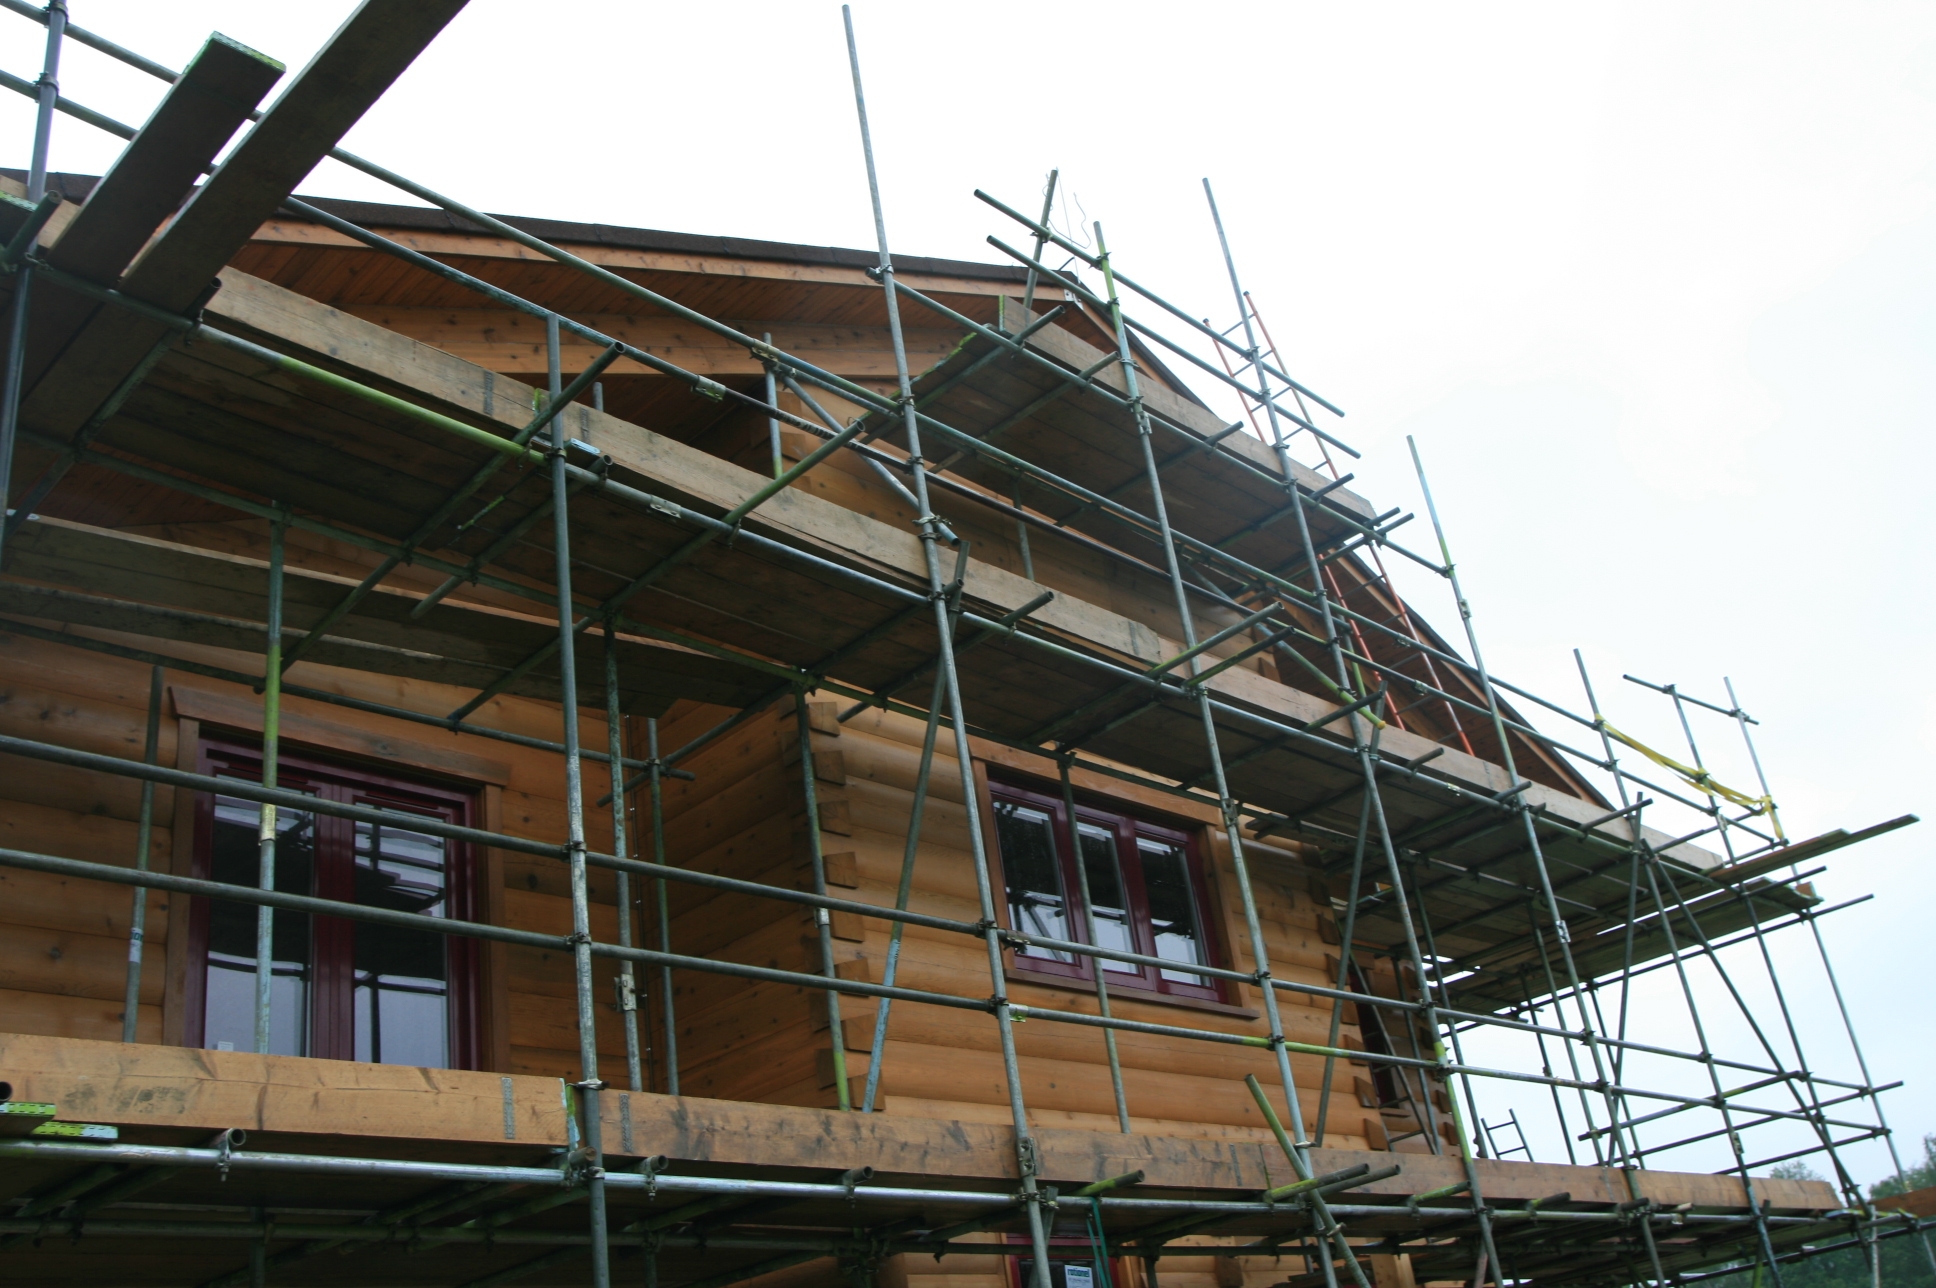
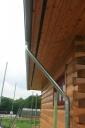 As the scaffold is taken down the down pipe for the gutter needs to be installed while we can stand on the lower level and the upper level scaffold has been removed. It takes about a full day for all the scaffold to be taken down. We bought this gutter system in Germany a few Christmases ago – like a lot of self builders we have been accumulating things that we saw that we liked before the building started, along with tearing out pages from magazines that had things we thought would suit the house.
Published by in Log House Construction

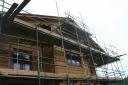
Tomorrow the scaffold finally comes down. A bit nervous, have we forgotten anything? We hope not. Then the house can be seen in all it’s glory for the first time, albeit that the ground floor external wood stain has yet to go on.
With the scaffold out of the way we can then put the 4 metre long sliding windows in place.
Published by in Log House Construction, Sedum Roofing
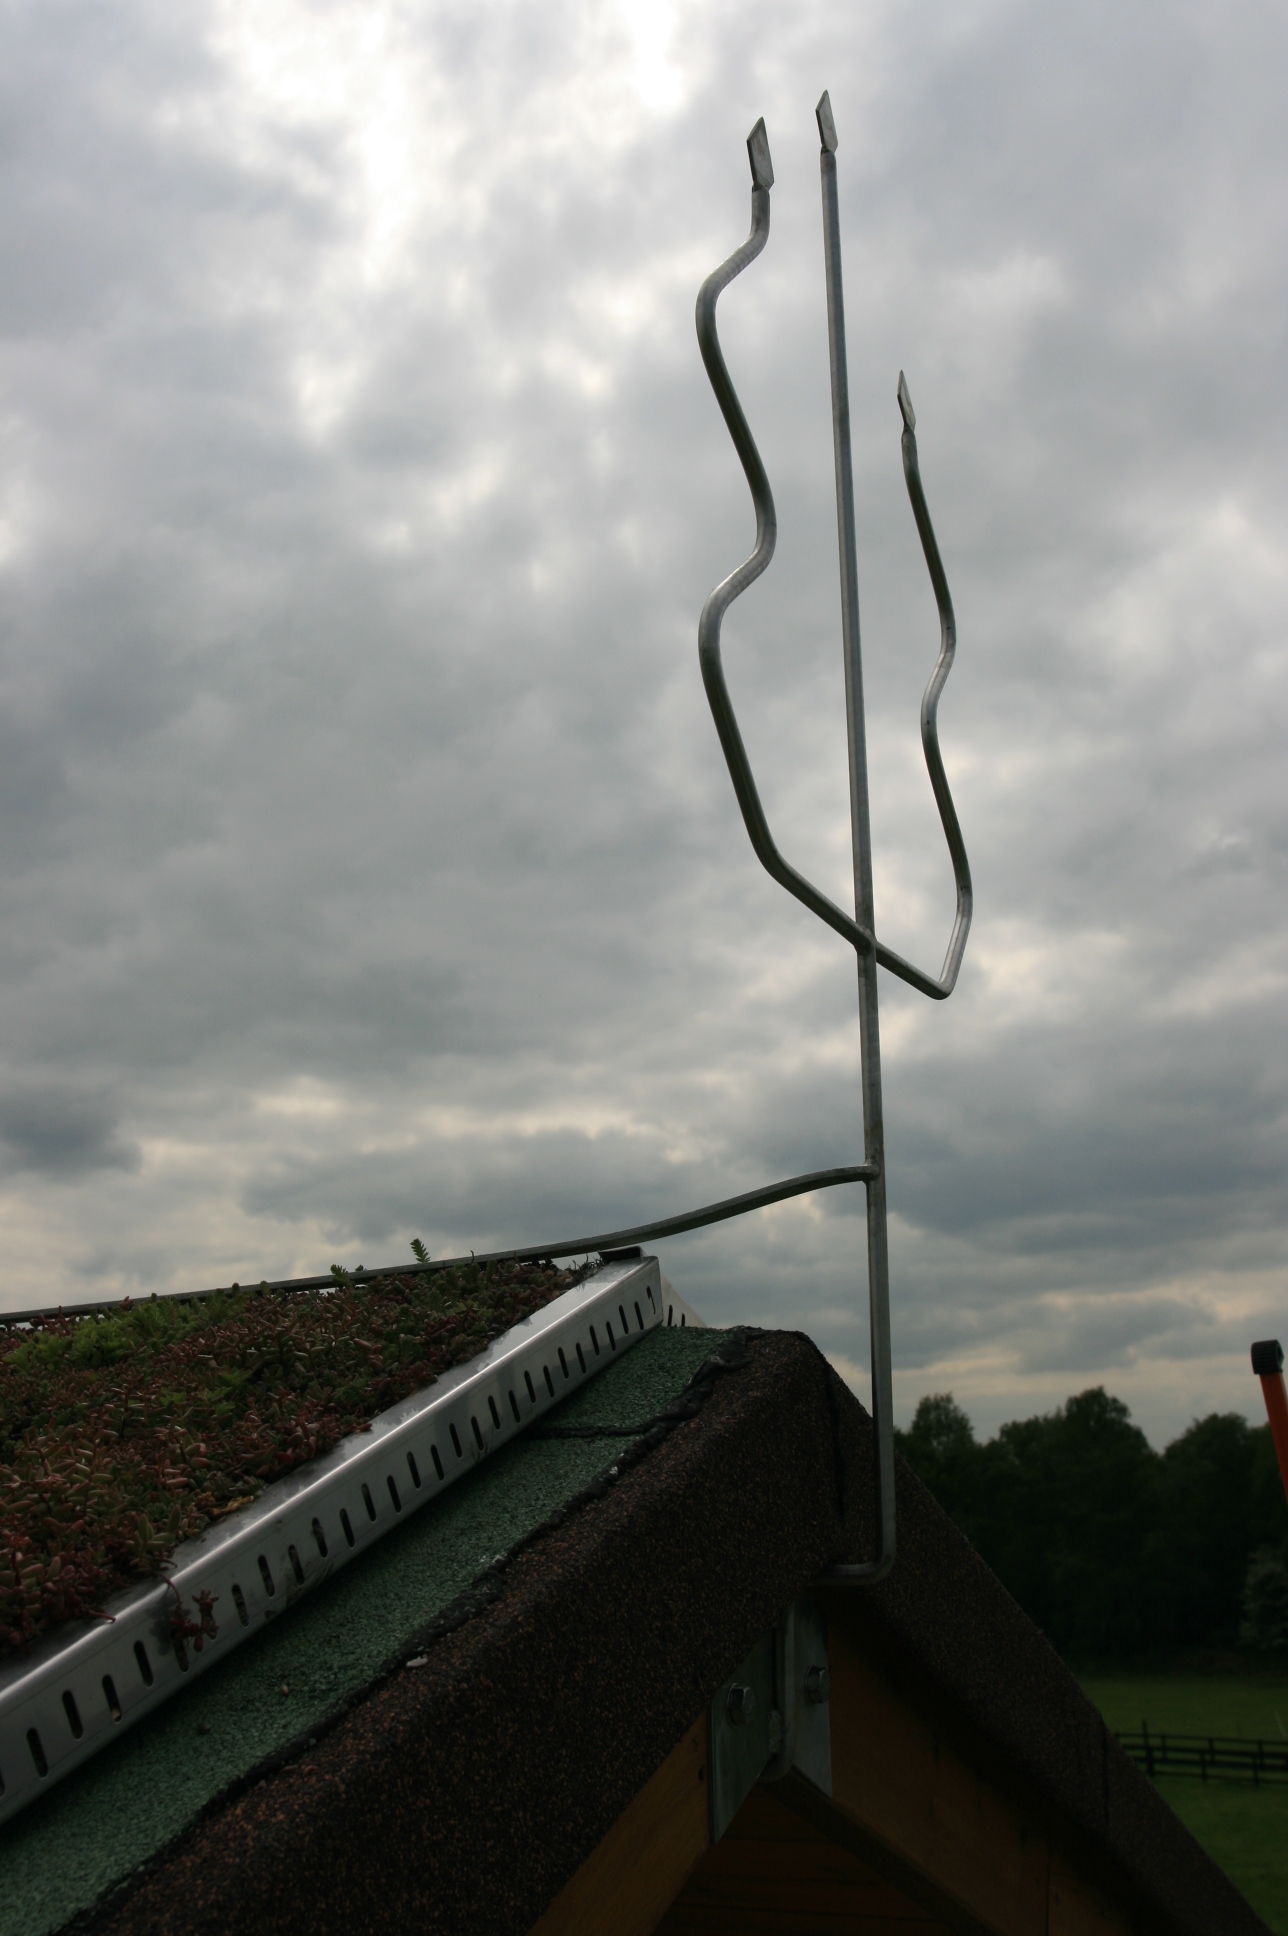
 Another thing to be fitted before the scaffold came down!
This was quite a complex one. The stainless steel safety rail we made and put on the ridge of the house stuck out above the sedum roof, and with the house being in the middle of a field could have acted as an attraction for lightening. So we discussed the issue with a very helpful lightening conductor designer who told us what to do and what to use. So we have put two conductors, one at each end of the ridge, with one connected to the existing stainless steel safety rail with a further stainless strip. We could not use copper where there was any chance of it contacting the sedum as it would kill off the sedum roof covering we were told. So two neptune like forks at each end of the roof is what we have ended up with, plus 75mm square copper down to the ground where we have put more stainless rods into the ground. How many rods you need depends on the resitivity of the ground, which depends on whether it is sandy, clay or whatever.
Published by in Log House Construction
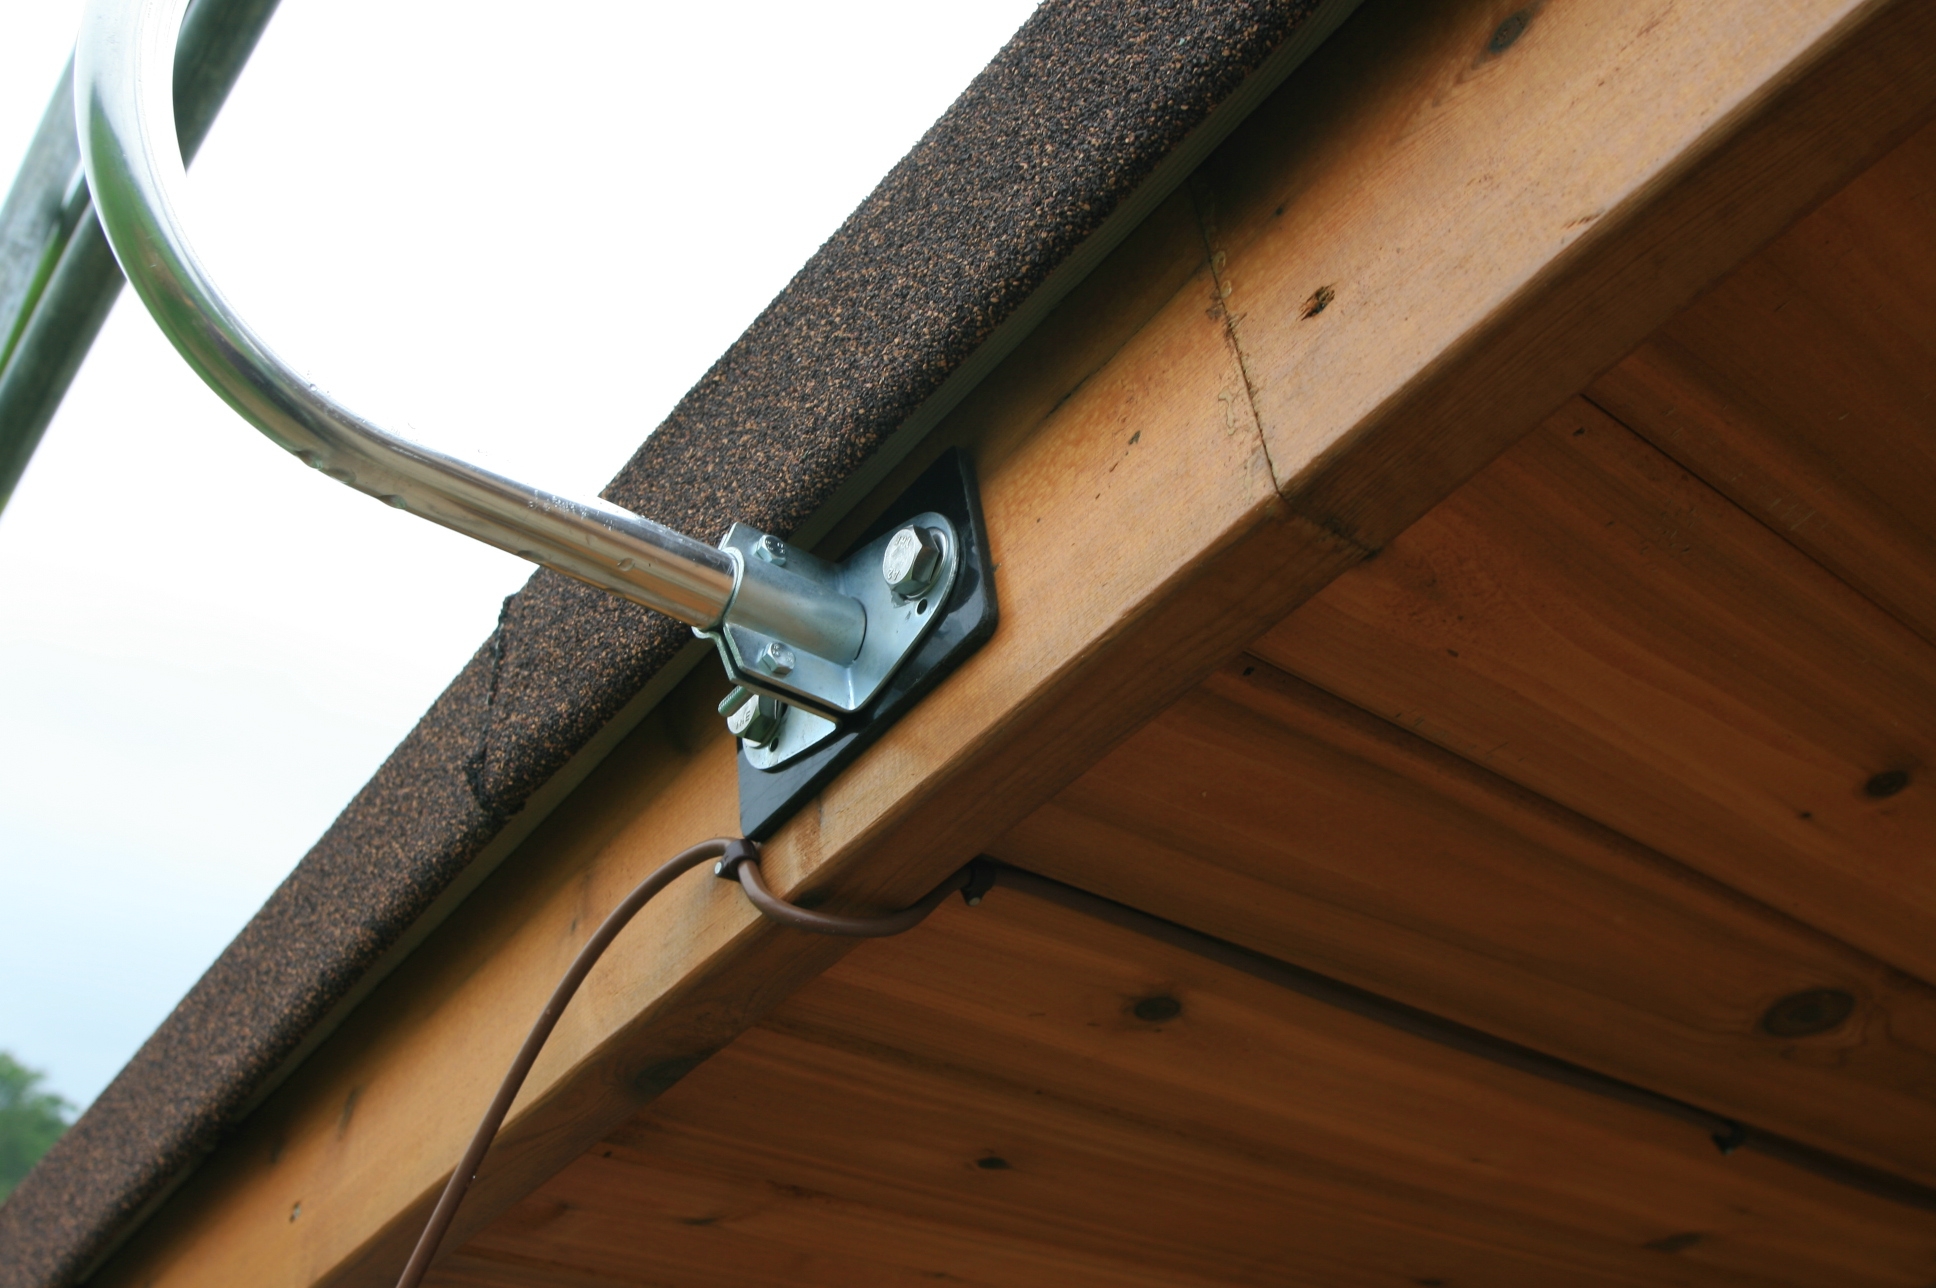
Theres only a few days to go before the scaffold comes down so we have to make sure we have done all those little things that will be very awkward without it.
Here are a few.
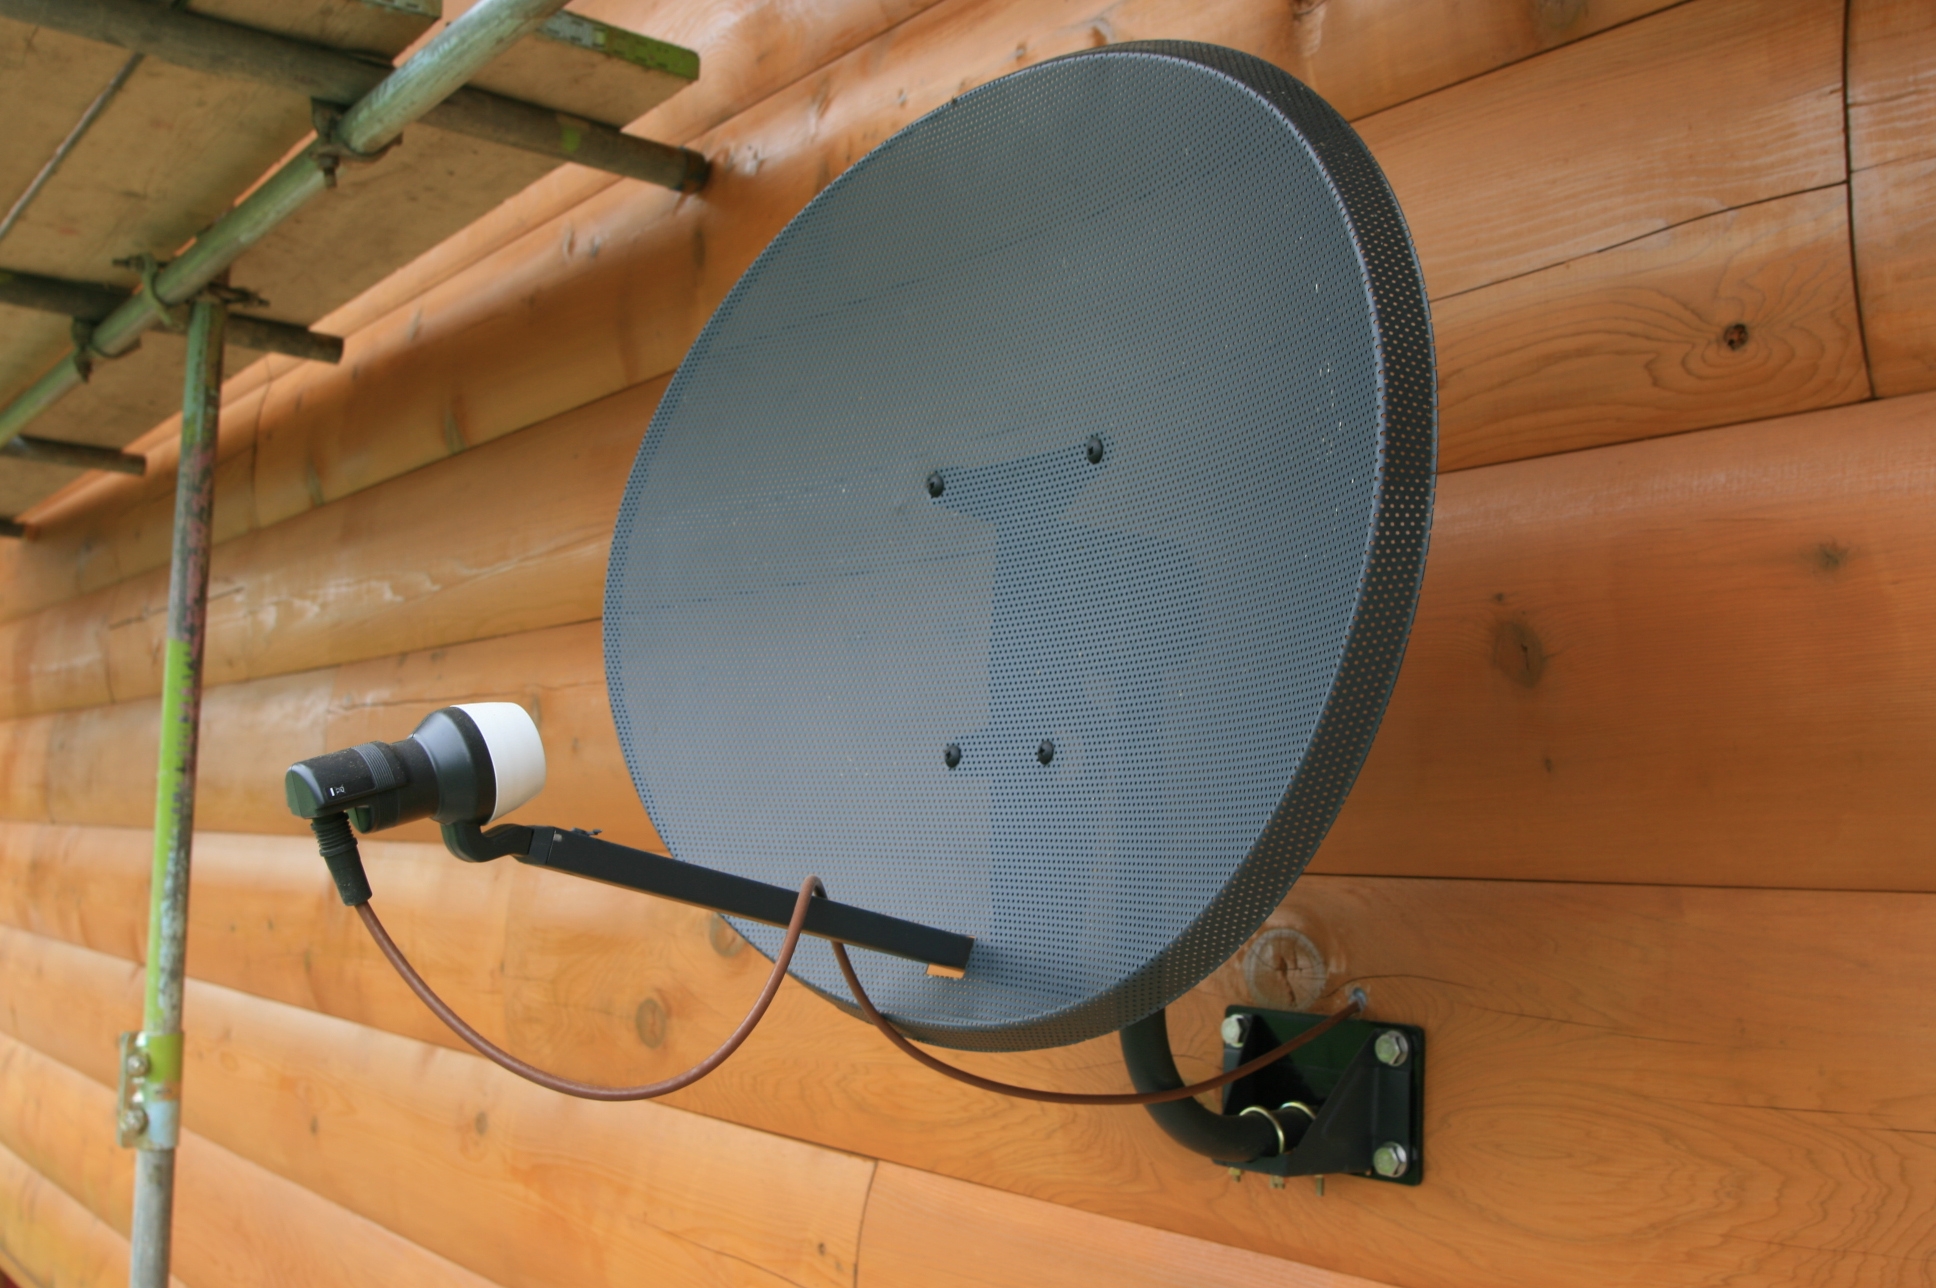
 We have fitted a bracket for a standard aerial and a dish. We have used stainless fittings wherever we are fixing to the Western Red Cedar to avoid steel rusting and staining the wood. So to avoid the steel brackets rusting with time and staining the wood we have put plastic packing behind the brackets. We have used brown co-axial cable and clips to reduce the colour clash with the beautiful wood.

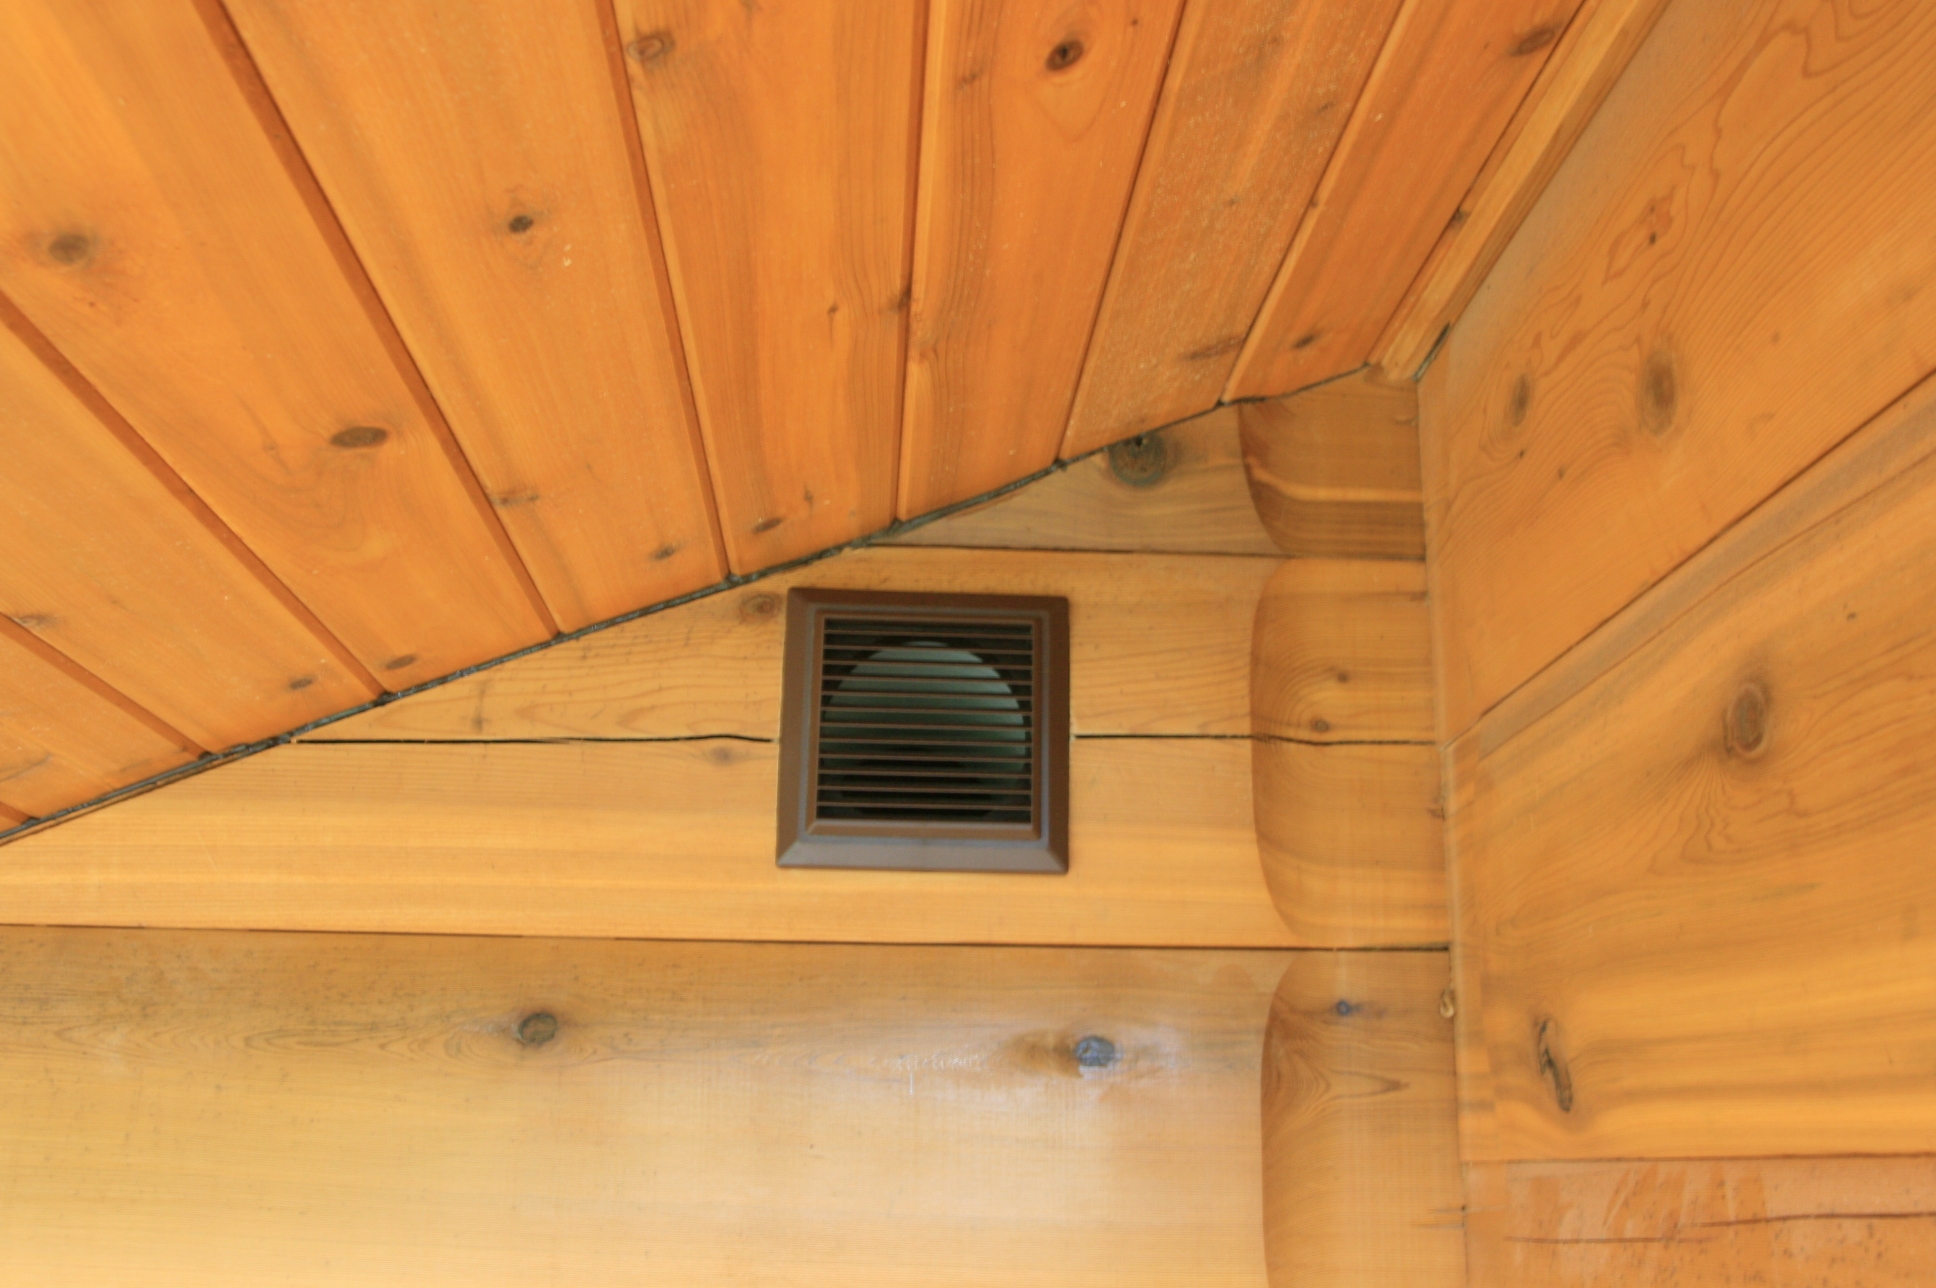
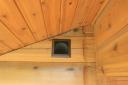
We have also made a 6″ hole for the air inlet for a heat recovery system for the house. Making this hole through an 8″ thick log took an hour or two!
 Some of the internal walls in the house will be plasterboard, and some will be log siding, which is like a slice of wood that has been machined to look like the inside face of logs used for the house external wall. We have pre-painted lots of it with a wood treatment and now that the underfloor heating is on, we can bring it over prior to using it on the walls at the left back part of this view.