In early July the roof of the log house turned one of it’s more spectacular colours. Here it is, a riot of nature.
 It is fun to live in a house that changes colour! And the colour of the roof complements the log colour of the house too. In a months time this will all have dissappeared and a more yellowy flower will be the more dominant colour.
 So far the roof has fared well. We had a first year inspection by the suppliers www.bauder.co.uk and apparently we have at least 95% coverage which is very good. Sometimes the take up of the sedum is patchier than this, particularly at the edges and between rolls. We have been able to supplement rainfall over the dry spring and early summer with the odd use of the irrigation system (see earlier blog entries) but overall it is in good health, with hardly any weed growth, which as we are in the middle of a field is good going.
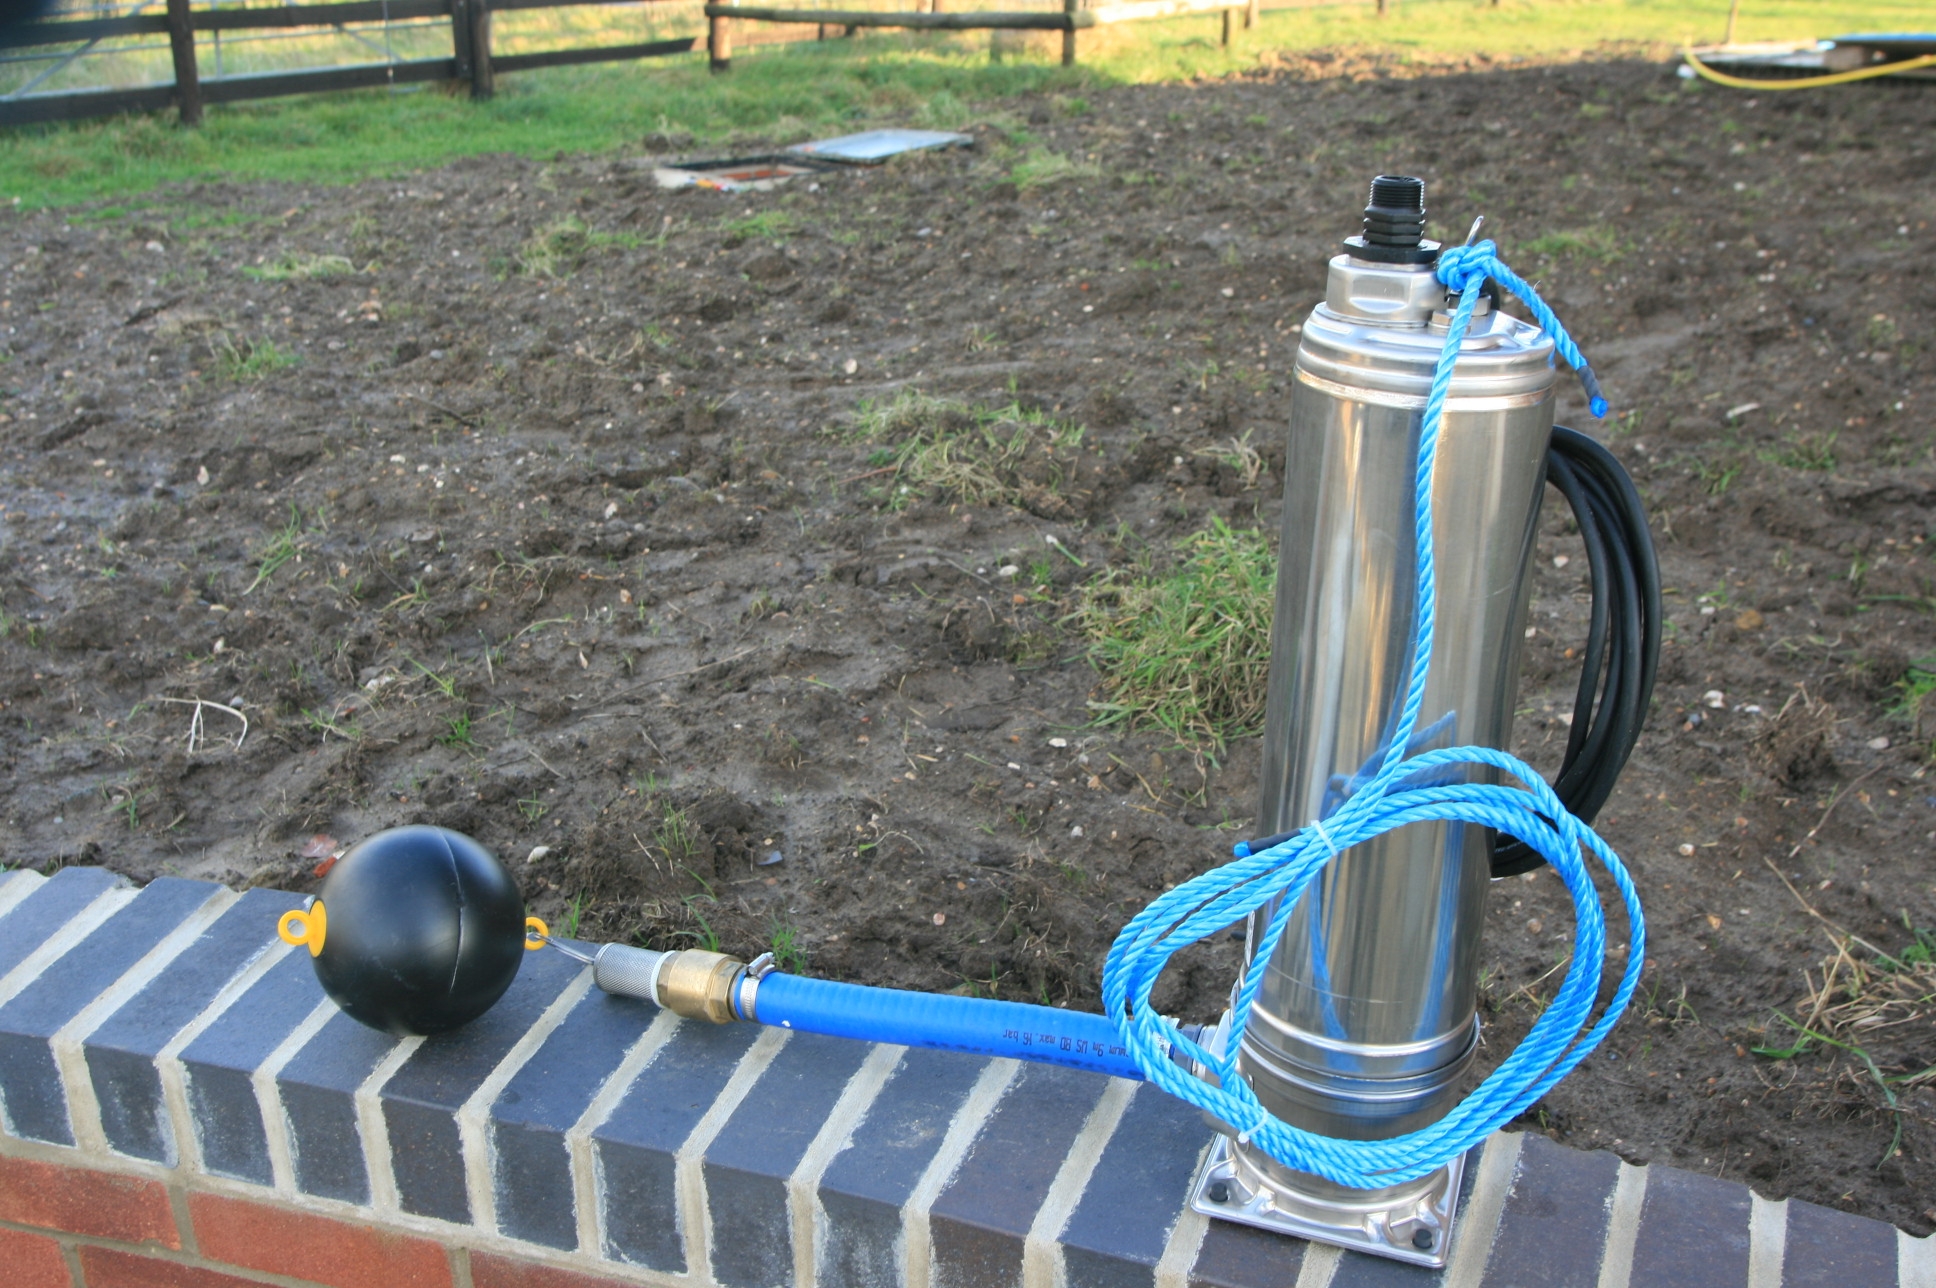
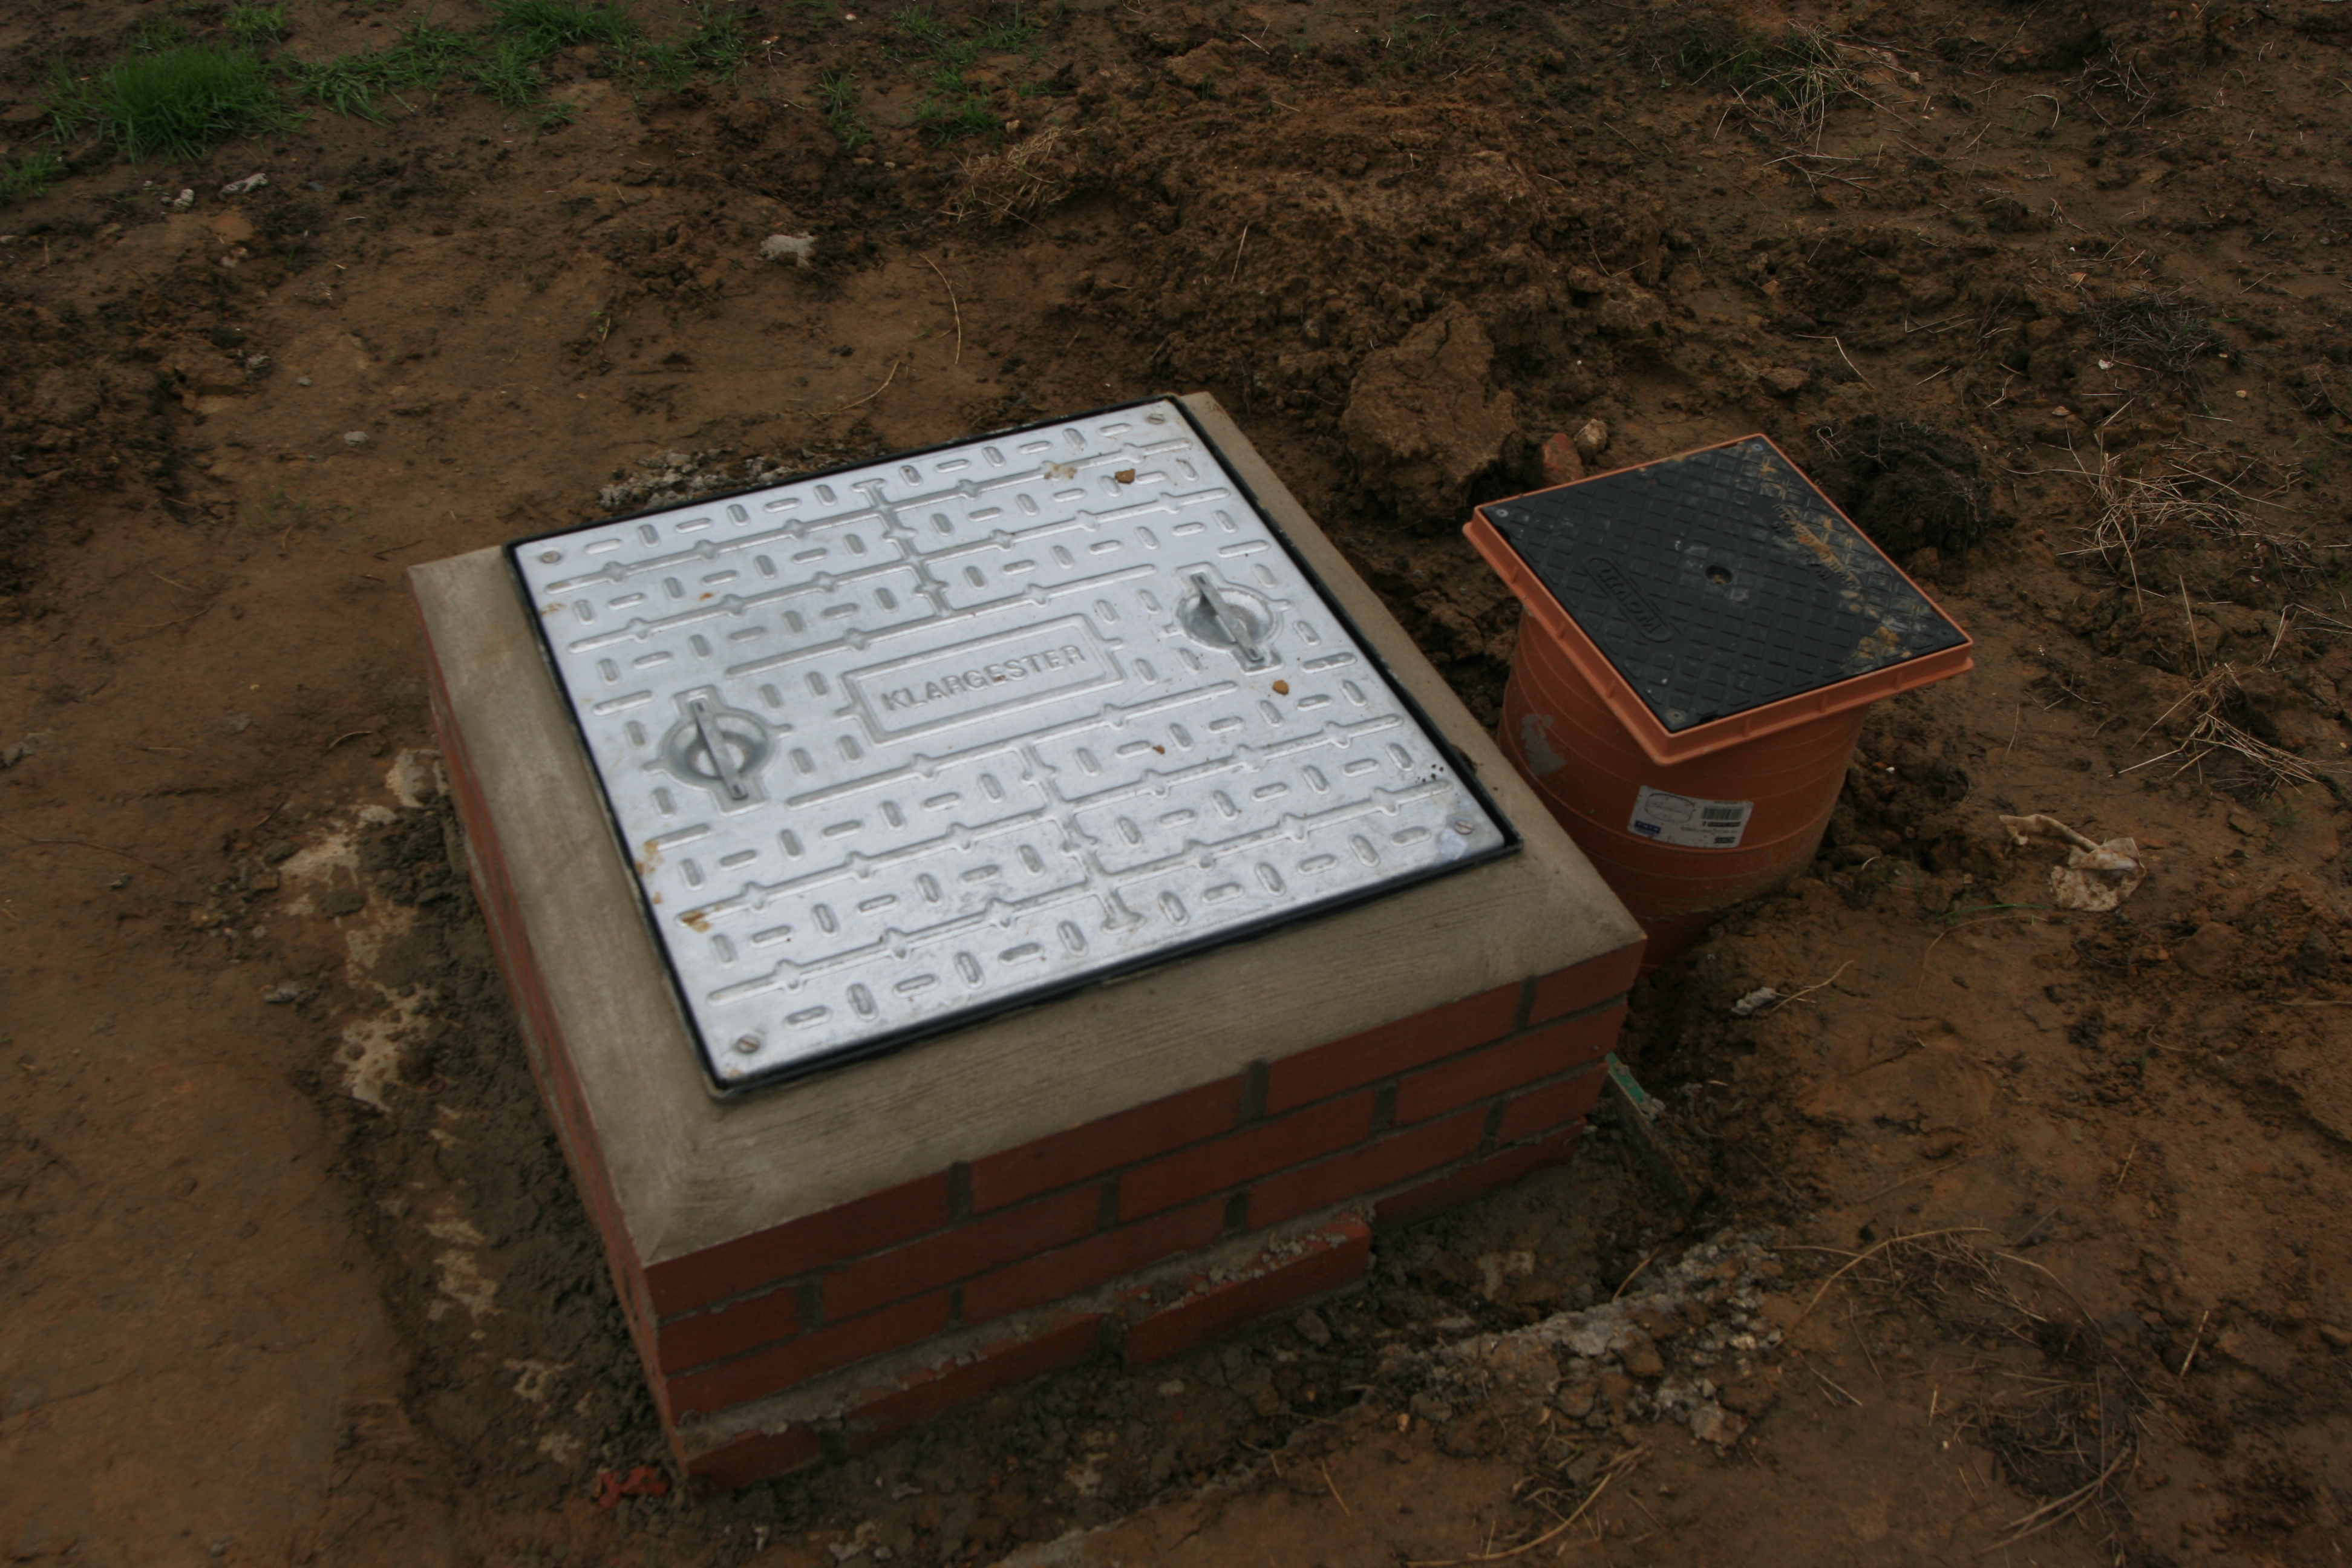
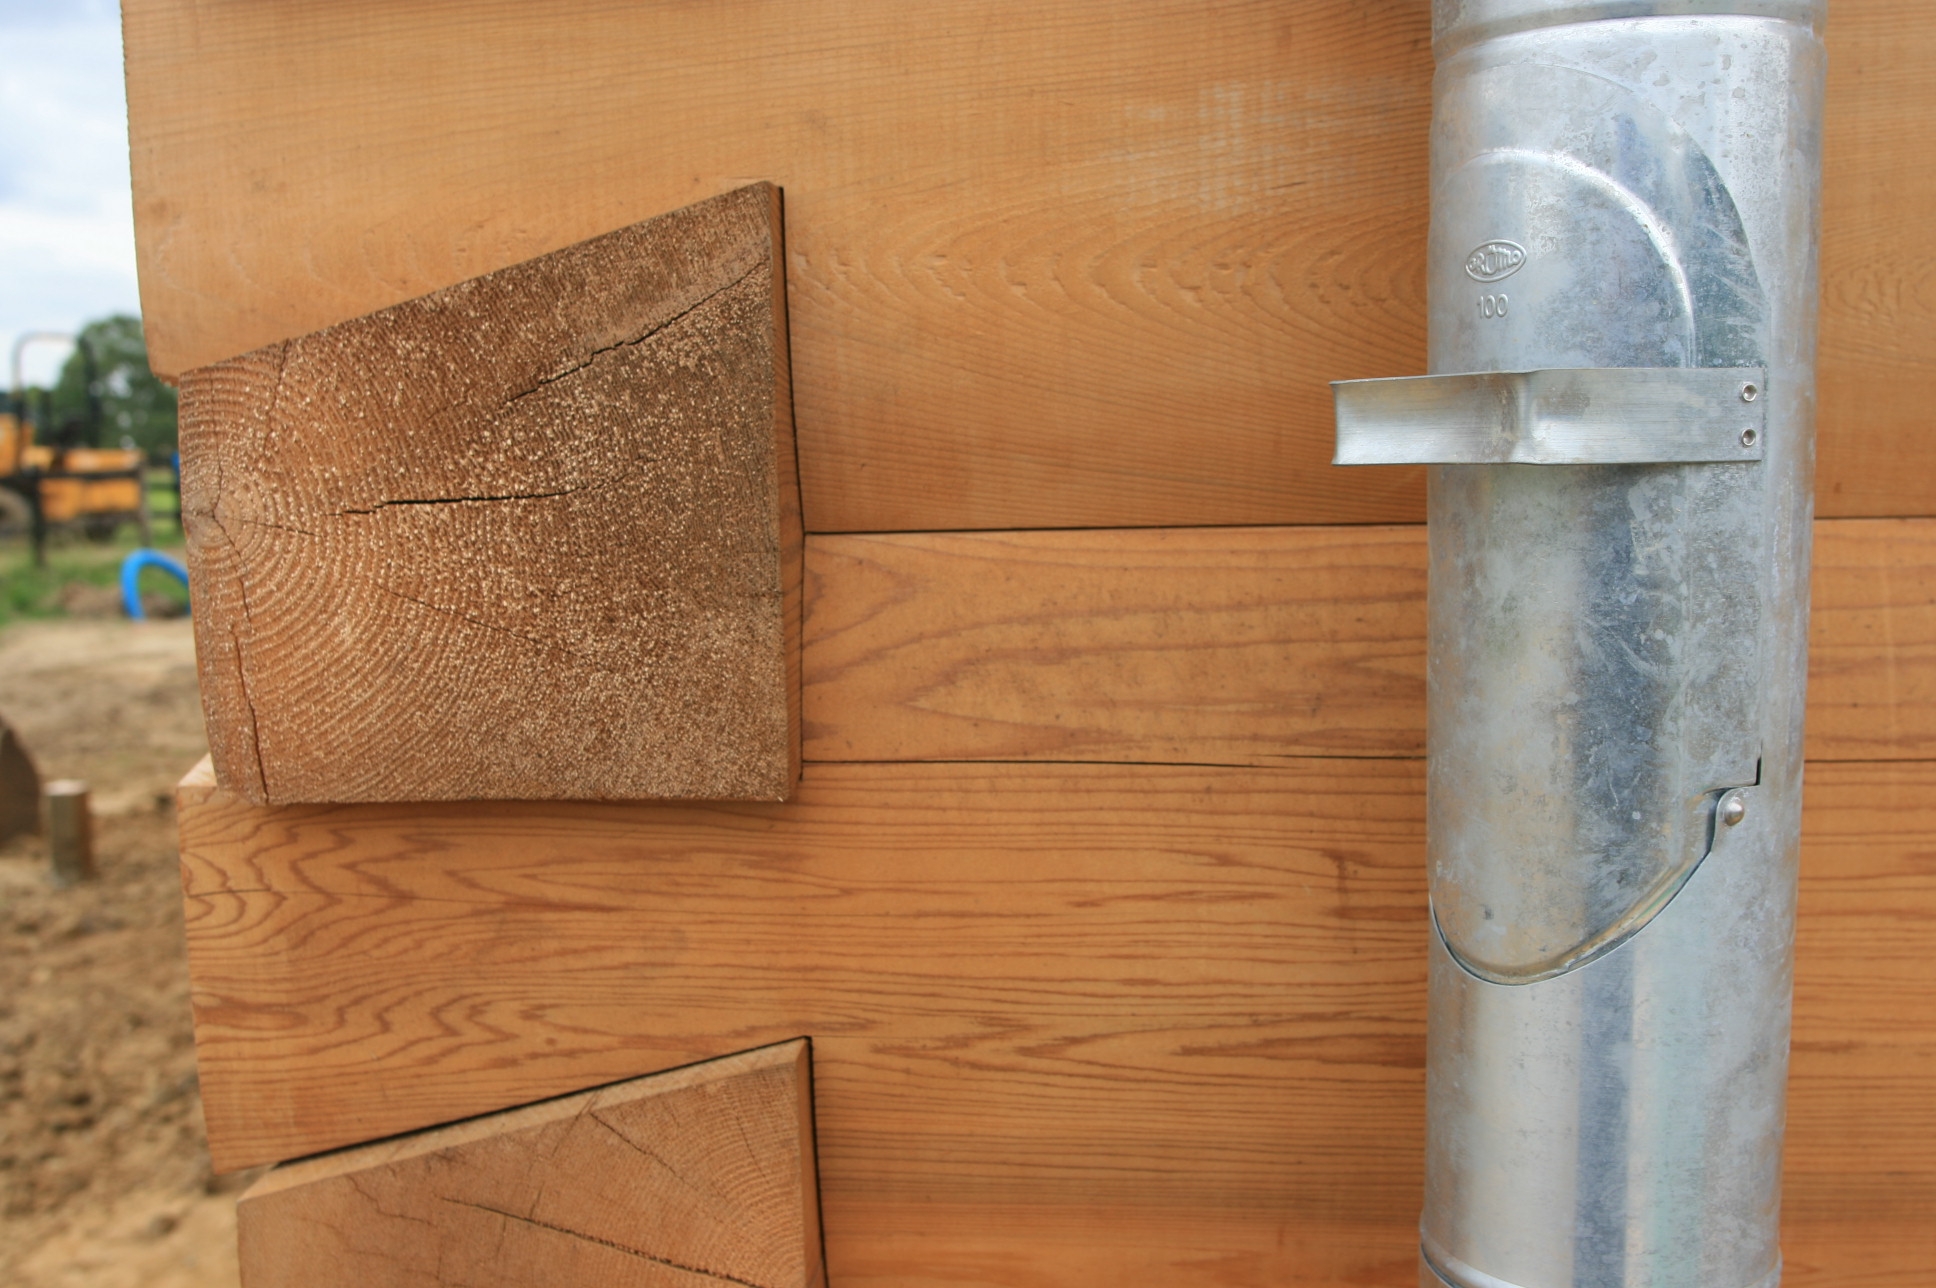
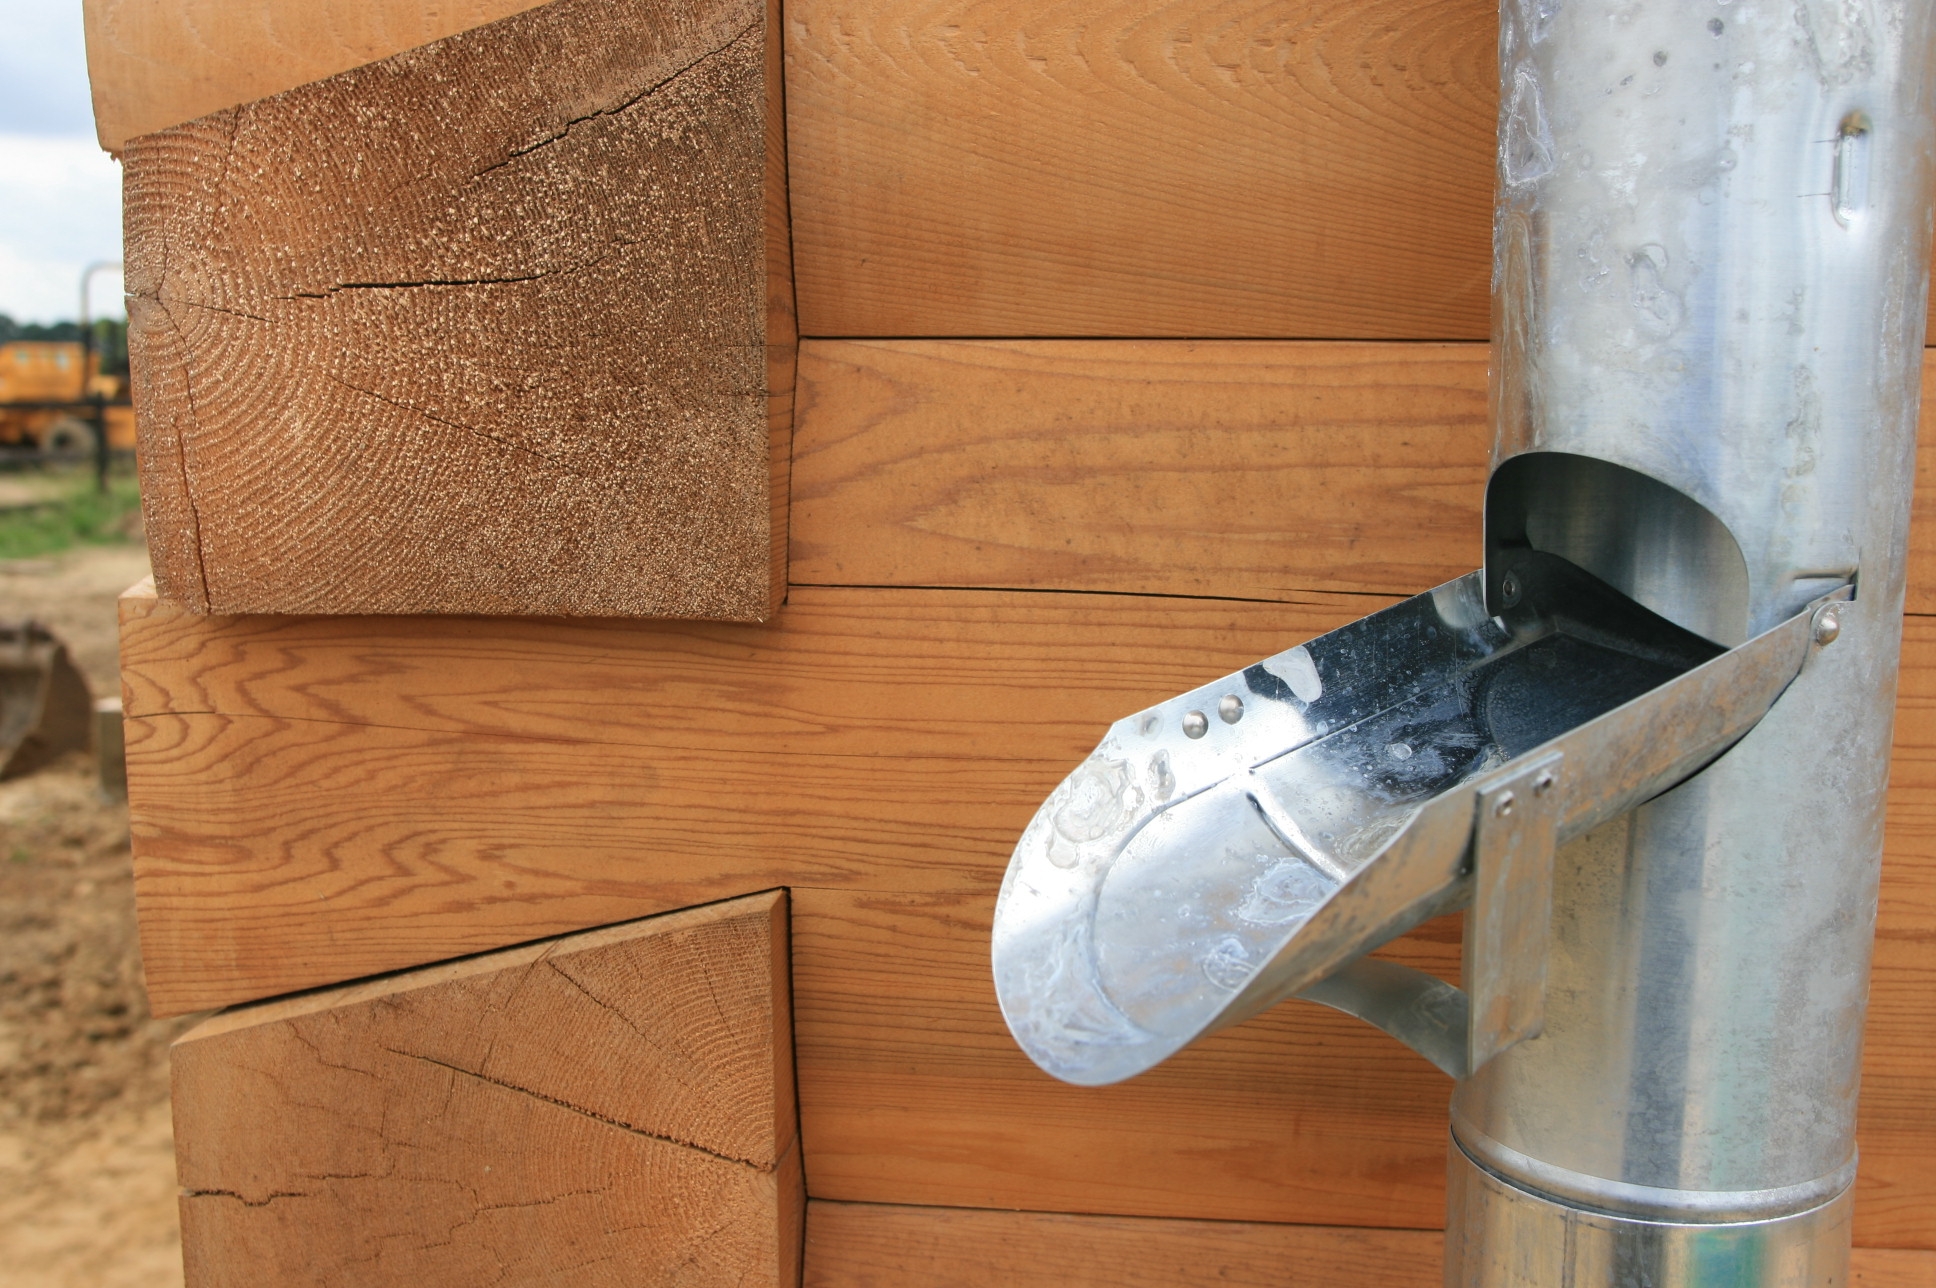
Although light rainfall is readily absorbed by the sedum plants, we are still getting regular top ups into the rain water recovery system. Despite two months of hardly any rain, the tank only went down to about 50% full, including using it for watering in some plants around the house as the landscaping was commenced. Then of course we had the early rain in July which filled the rain water harvesting tank up again in one session of rain.