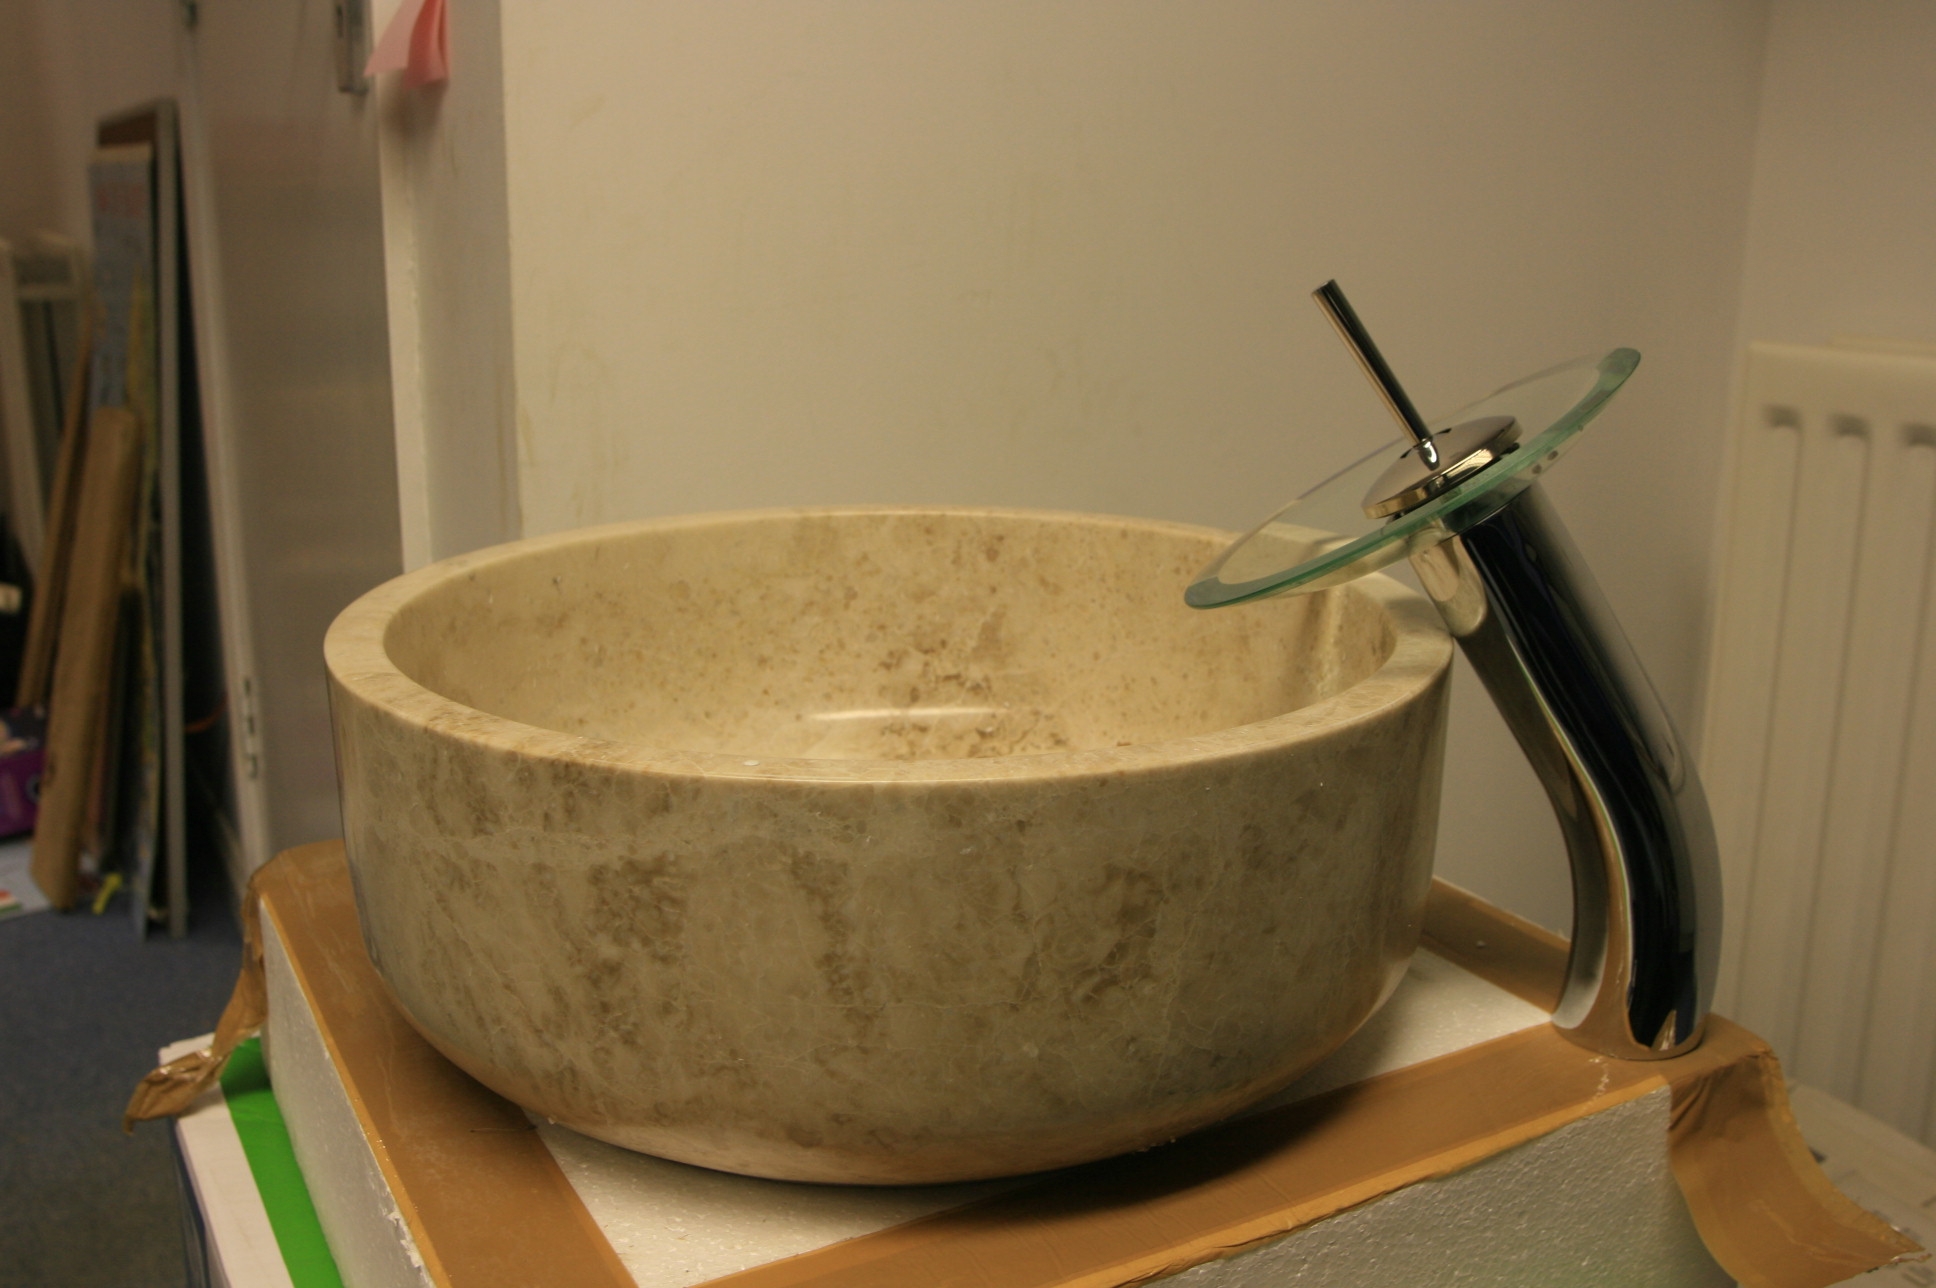
 This was another one of those things that we found on the way over the last few years whilst anticipating the construction of our house. Firstly, we saw a shorter version of this “waterfall” tap in a Hansa show room in Germany about 3 years ago. We found this on the web in the UK about a year ago, and bought one for about £350. If you find something you both like , you don’t hang about until one of you changes your mind!
Then we saw the sink, and managed to get the last one they had. We thought the tap and sink would go well together, until we tried them. Clearly the sink is designed to sit on a work top, but our shorter version of the waterfall tap is designed to fit on a more conventional sink with a single tap hole. What to do?
We considered putting the tap on a raised section of work top so that it was high enough to get water into the sink. But it would still have been dropping the water close to the edge. So we saw this taller tap for half the price a few months ago and thought this would solve the problem.
Prices of “designer items” always fall with time as the design is copied by the volume “non branded” manufacturers. However the quality usually falls with price, and certainly this was the case here. The cheaper tap is half the weight as it uses hollow tube instead of a solid brass body for example. The cheaper tap didn’t come with any waste or plug whereas the more expensive one had it’s own pop up waste. so we got a plug you push to close and push to open, a bit like the “touch” action of some waste bins.But the action of the single level tap is not as good. However, water comes out ok!
However, even this taller tap did not solve the problem of delivering the water to somewhere near the centre of the sink. Eventually we came up with the idea of dropping the sink to just above worktop level to make the tap issue work. But we still wanted to make the sink a feature, so we cut the sink into the worktop but made a flat front so that a slice of the sink will be exposed.
Having managed to work out a plan of how to marry the two up, we had to make a base unit from MDF (not very eco material I am afraid) and plumb up the tap to make sure the water goes where we want it.
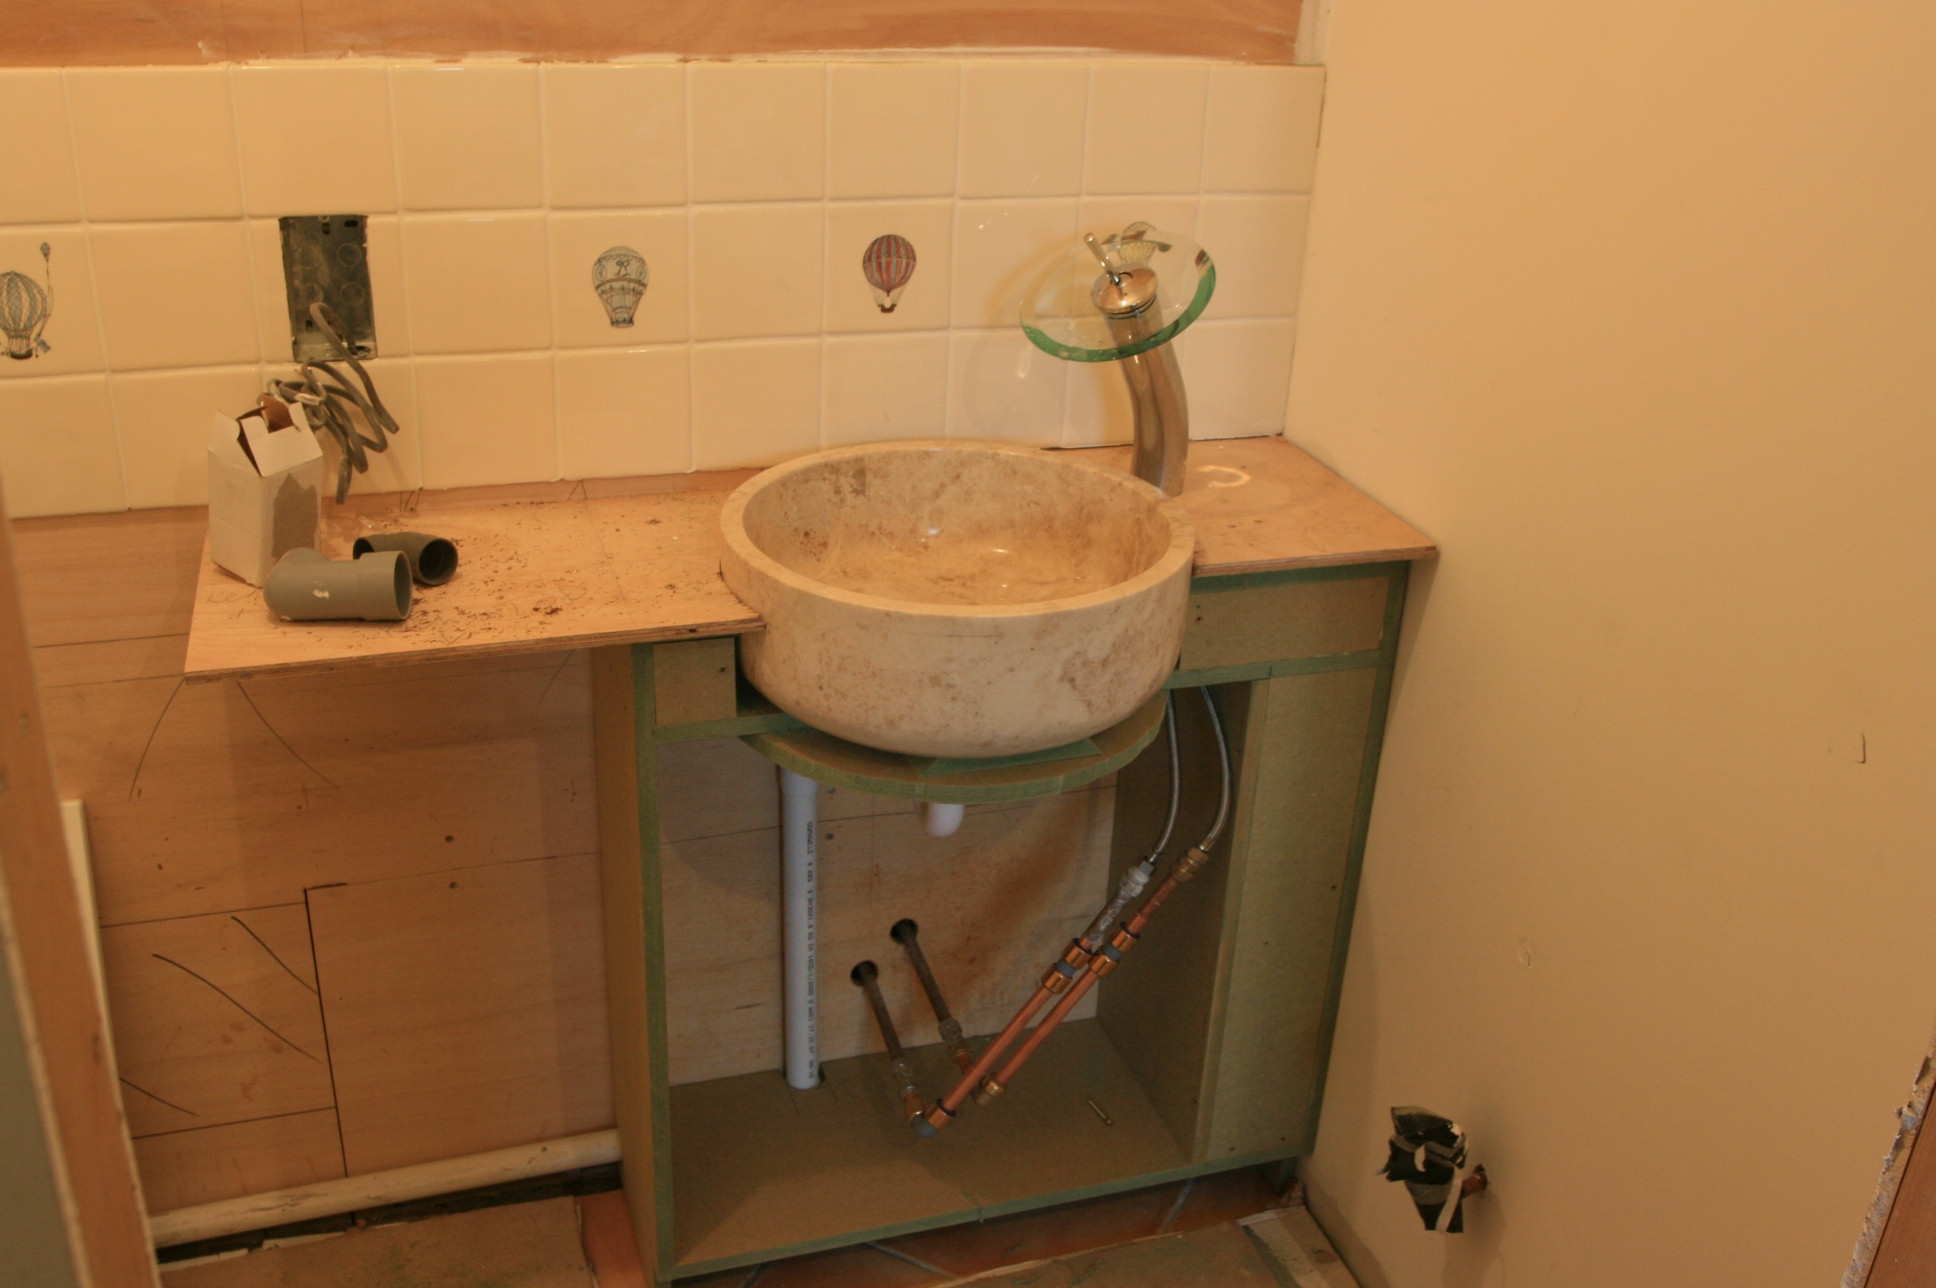 The “top” is a template for the people making the worktops to cut to.The front of the unit will be faced with hardwood and a pair of kitchen sort of doors fitted. More on this in a few weeks when the unit has been sprayed (along with all the others) and the doors and tops have come and we can start the final installation of these bits.
what a great site.
i live in sarajevo bosnia and herzegovina and run a small eco tourism and development agency. we have a bit of experience with several environmental projects, e.g. built a reed bed sewage system for a youth hostel, restoration of an old school. what i hope to do this year is to build a log house. There are several local companies producing log homes, but i am not sure if they are using the latest design and building techniques? i was therefore wondering if you could recommend any good practical books and websites that you have used for your project?
thank you and i look forward to hearing from you.
thierry
Hi Thierry,
There are lots of log house companies in Eastern Europe. They are unlikely to be to the same standard as the North American kit ours is based on, but will be a fraction of the cost and much quicker to build. Some friends have imported such a kit from your part of the world and built a single story log house about 5 metres by 12 metres and it cost around £25,000 for the kit and about £10,000 to put it together. You could probably beat those prices as you are nearer to the source. The construction design of these cheaper houses is fine, the main issues are achieving sensible insuation values and overcoming leaks with rain. Lots of European log houses use logs of around 120mm thickness and then use battens and insulation on the inside to meet local building regulations, covering the insulation with plasterboard or plywood.
When you go to two stories like our house, things get very much more expensive! Also our house has 200mm thick logs so that the insulation is achieved by the log on it’s own. Our house has dovetail corners which are great at overcoming water penetration but very expensive to produce. Simpler designs use a post at the corners or saddlenotch where each log interlocks with it’s neighbour at the corner of the building.
Cheers
Kim