Apr 14 2009

Choosing electrical sockets for the log house

-

electric-socket-sample-board-hamilton Here was a useful sample board that electrical suppliers will tend to have of their preferred suppliers various styles. A useful thing to borrow for a weekend when you are deciding on this sort of thing.

As we were going for a stainless or wood theme this choice was pretty simple.

Apr 12 2009

Finishing off the bathrooms

-

bathroom-plaster-around-mirror-cupboards Since we were last looking at the bathroom, the recessed cupboards have been edged with stainless steel trim and plastered and painted.

bathroom-sink-top-template The lovely sparkly blue reconstituted stone worktop has been set in place. Here in front is the plywood template we made which was sent to the worktop suppliers for them to copy. It’s quite a bit of work to get templates for all these surfaces right, then a wait for a week or so while the worktops are cut. More pics of the sinks in, the doors and drawers on the vanity unit etc soon!

Apr 6 2009

Fitting the central vacuum wall sockets

-

central vacuum wall socket fitting Well along with fitting electrical sockets and the like, it is now time to put in the nice stainless steel wall sockets. Putting a bit of lubricant spray on the rubber o ring helps make sure the o ring does not get caught up, as a good seal here on all the sockets is important for the overall perfomance of the system.

central-vacuum-socket-fitting-two1

Apr 1 2009

Putting exterior lights over entrance doors on the log house

-

electrical-wiring-for-wall-light-two.jpg We have done most of the wiring in the log house by drilling vertical conduit holes in the logs as they were stacked. However over door ways you cannot avoid the “recommended” short cut of taking the power cable up the back of the steel that stiffens the log assembly, across the door head and then out to the external

 electric-wiring-for-door-light.jpg  face of the log with a diagonally drilled hole to wait for the light fitting to arrive. Have a  look in the Log House Design category for more details of door and window openings if this is of interest.

Mar 31 2009

Shortening Ikea roller shutter kitchen cupboards

-

kitchen-cupboard-full-size.jpg Our kitchen is made up of a mix of Magnet base units and Ikea wall units as the Ikea ones were available in the sizes and depths we wanted. I don’t know why, but Ikea make a great roller shutter wall cupboard, but it seems to be designed to sit on the worktop and is not the same height as their wall cupboards.

kitchen-cupboard-cut-down.jpg So off to the workshop to cut it down to the same height. Because of the way the cupboard is made, this meant we could only do the reduction from the top, so it was out with the roller assembly, chop off what we did not want, re-instal the roller and then back together again.

Mar 30 2009

Adding Hot Rods to the log house kitchen tops

-

Solid beech worktops with an oiled finish were specified by the kitchen boss! We oiled them with teak oil, several coats, initially with a brush. Later, when the wood will absorb less oil a cloth is a better way of applying the oil to maintain the wooden work top.

kitchen-hot-rods.jpg To protect the worktop from hot pots and pans, we put some “hot rods” made of stainless steel from www.screwfix.co.uk which sit in slots routered into the wooden worktop.

Mar 17 2009

Drama in the kitchen in the log house – All Sinks are not equal.

-

kitchen-sink.jpg 
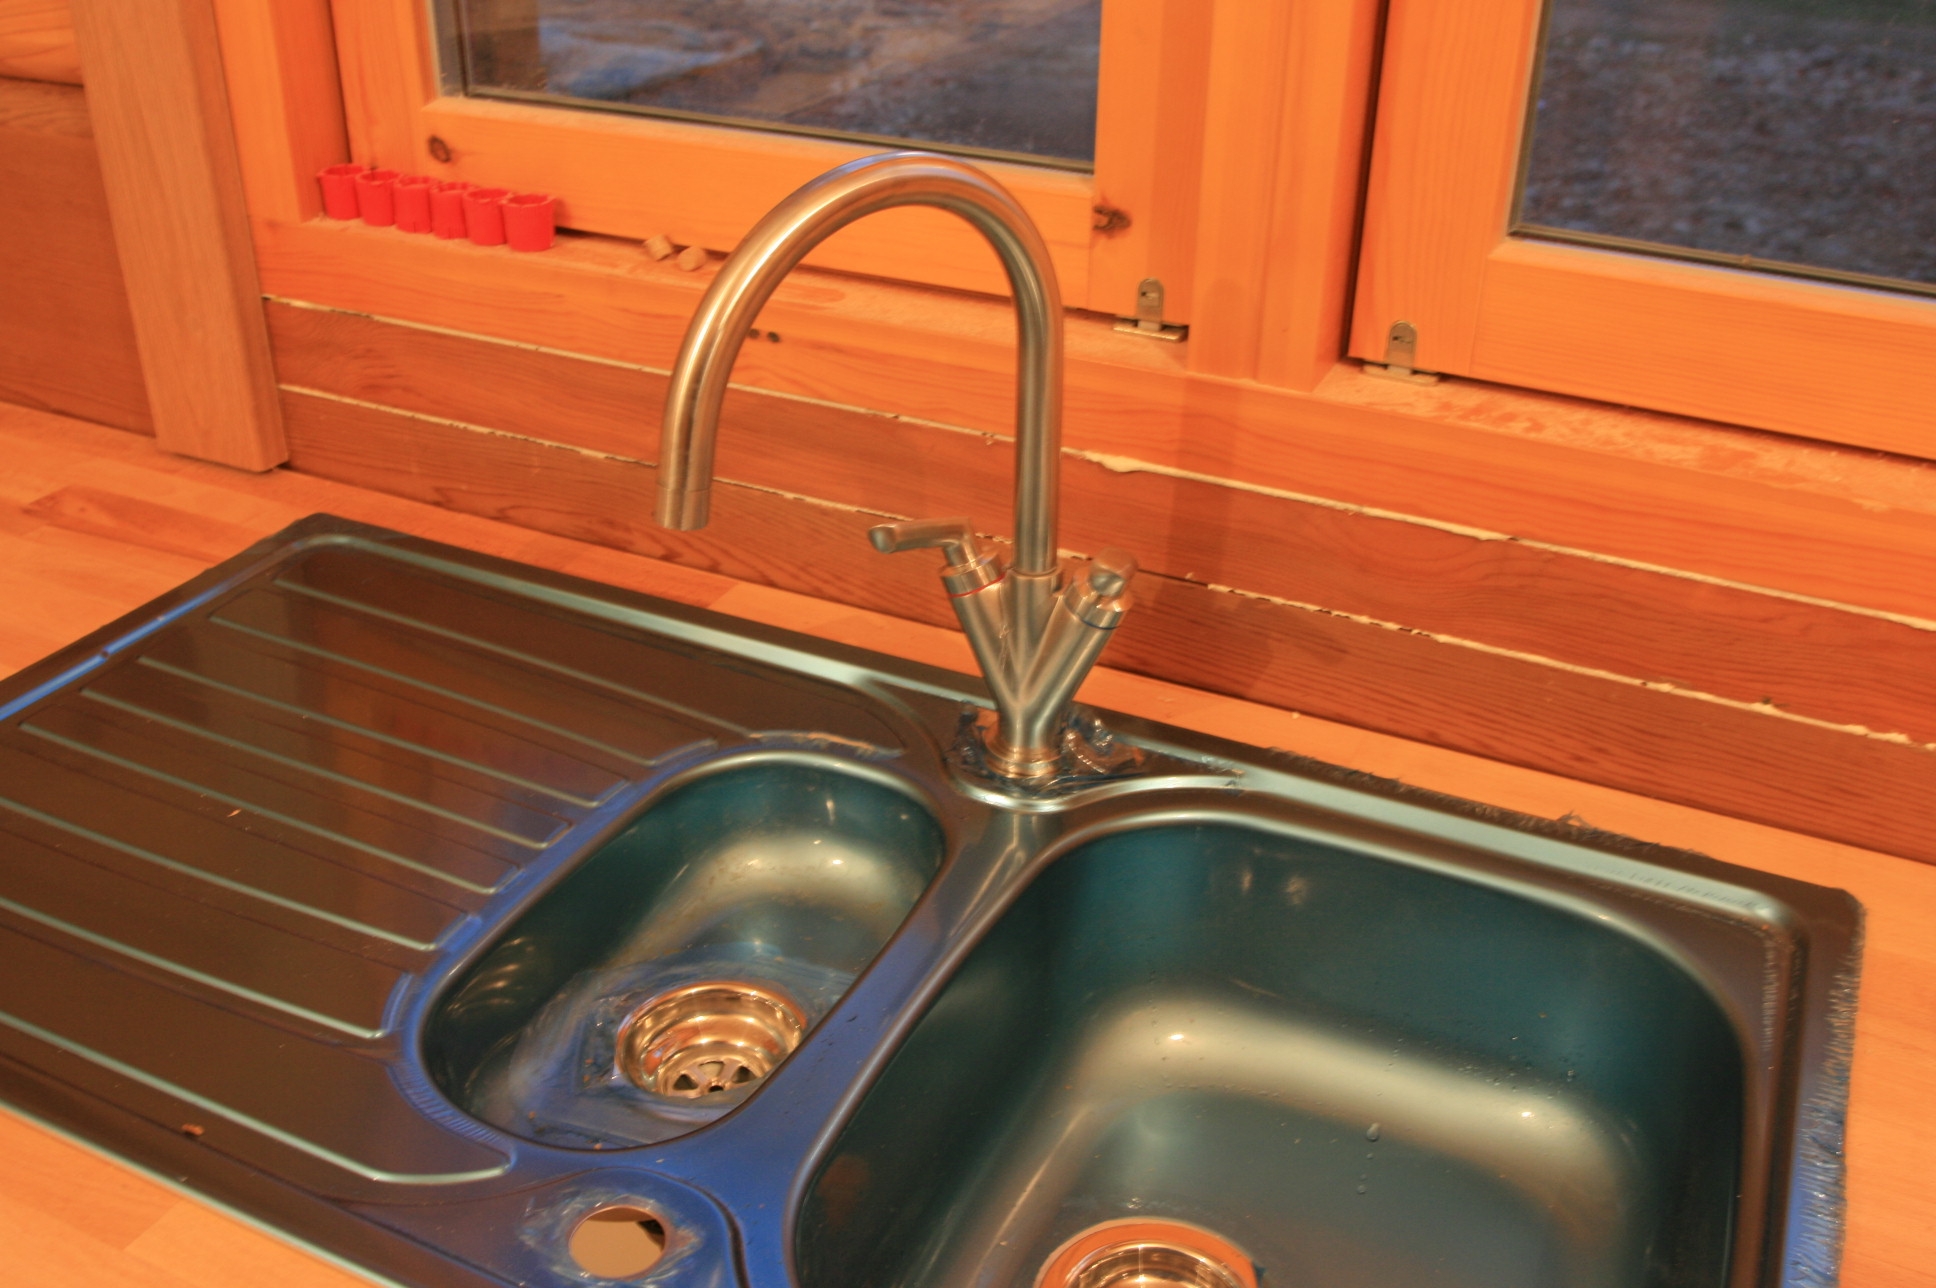
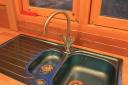
Well you wouldn’t think you could get buying a sink so wrong. Or a tap for that matter. We saw some one and a half sinks with drainer on the web, looked at them in B&Q, Homebase and Wickes, all of them looked very similar so we bought one from B&Q. Only when we put in on the worktop did we notice that both wastes were basket strainer wastes (we wanted a simple plug on the main bowl), there was no overflow (essential with children) and the half sink was only about 90mm deep. Our 15 year old sink had a 130mm deep half sink, so washing a packet of salad was easy, and it had a plug and an overflow.

Also the B&Q tap which we really liked the look of and was a child friendly twin tap design dribbled for ages when it was turned off – sometimes! Quite annoying.

kitchen-sink-two.jpg 
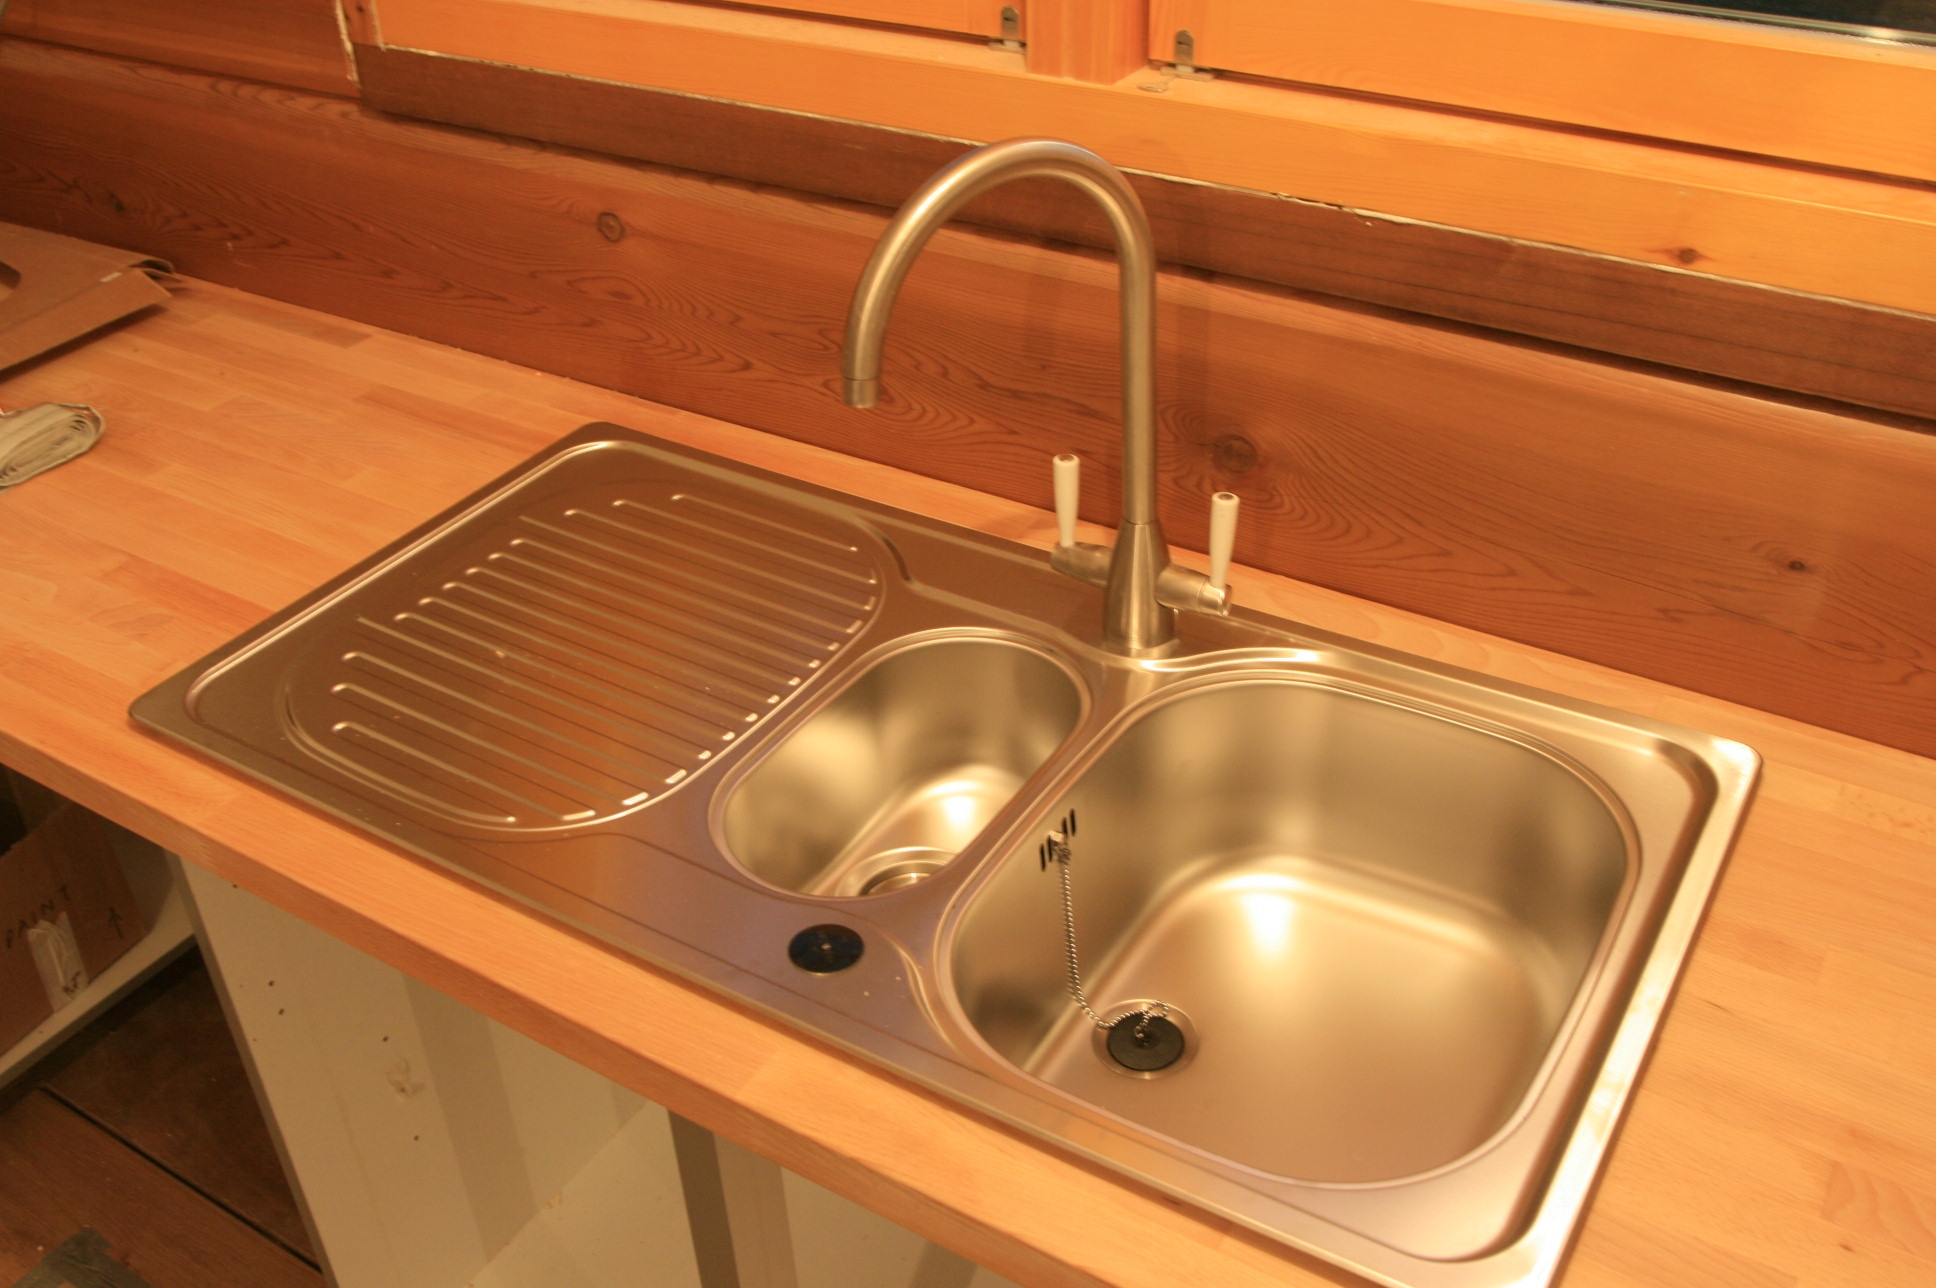
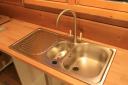
After considerable research we found a Franke sink that was exacgly what we wanted. So with a bit of resistance at first B&Q accepted the sink back (we still had all the original packaging and had unwrapped it carefully so it was all intact) and the new Franke sink was ordered and installed. The new sink was only £30 more than the B&Q. And we got a refund on the tap and bought a matching Franke tap which again was about £20 more but shuts off every time without dribbling.
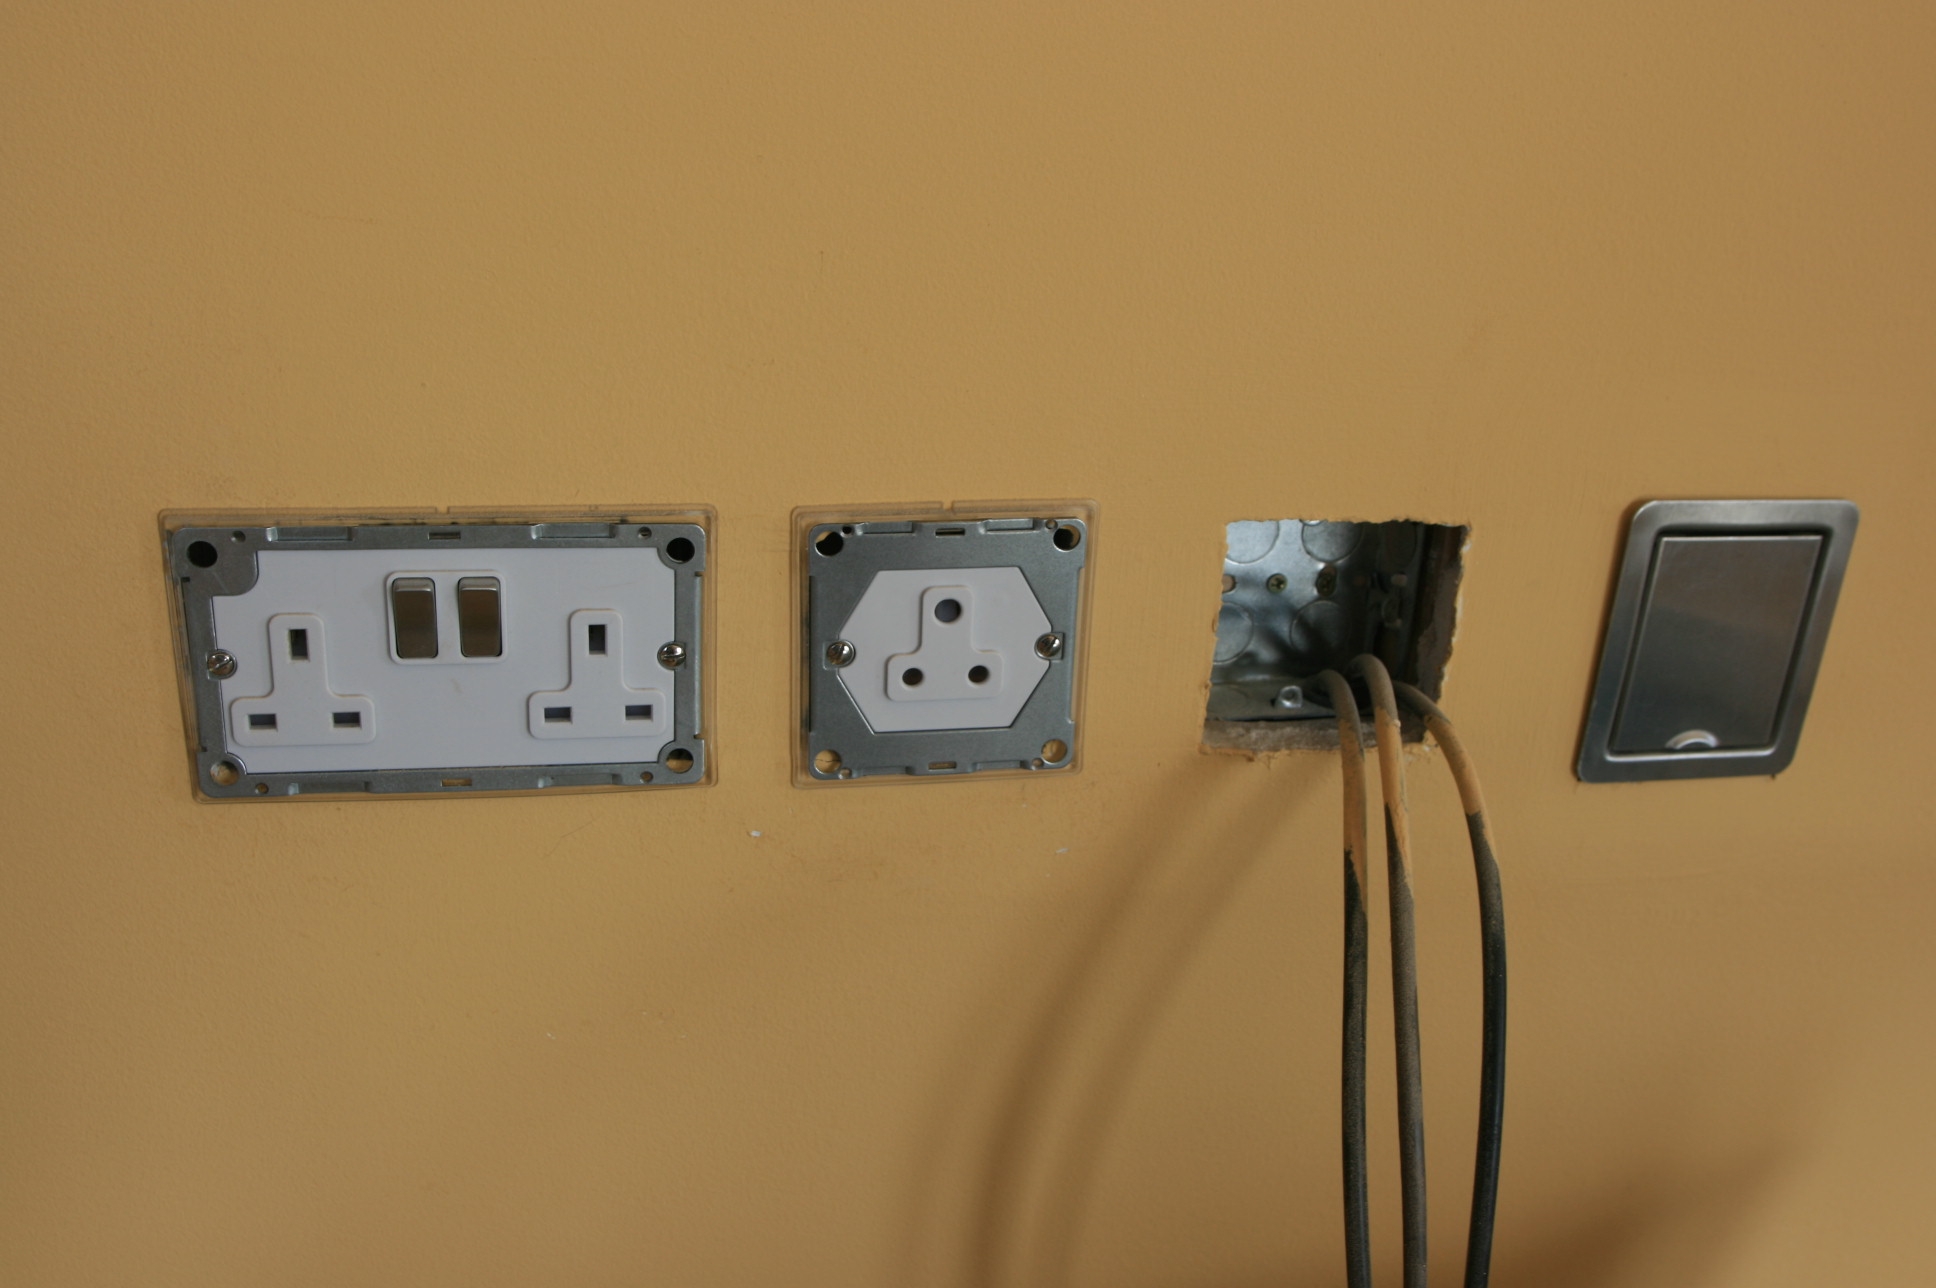
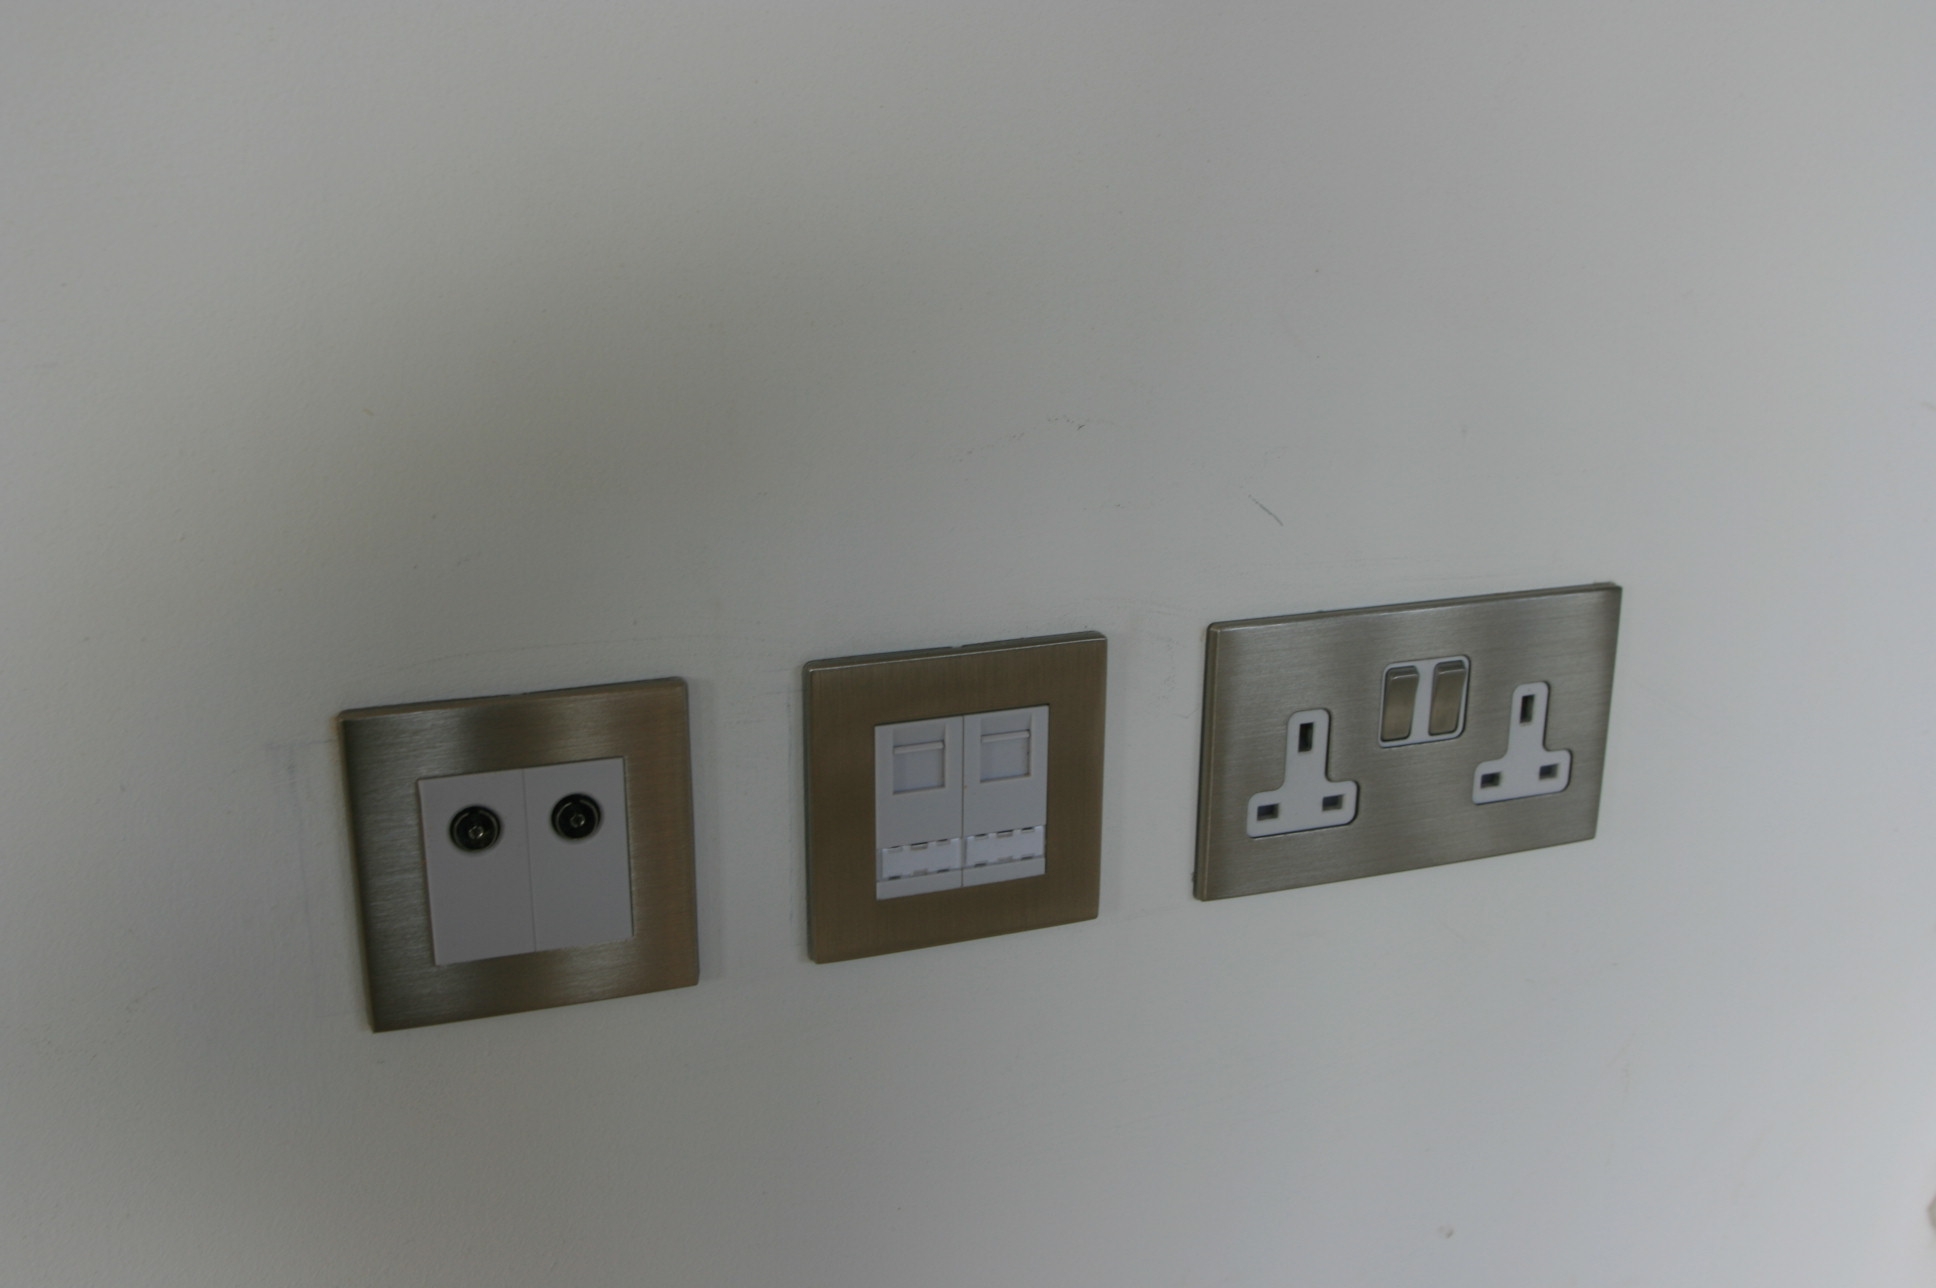
Mar 15 2009

More water problems with the log house

-

kitchen-waste-pipe-crack.jpg Instead of problems with water getting in when it rains, now we have a problem with water leaking from the waste now one of the sinks is plumbed in. Of course the pipes were behind kitchen units that had already been installed so we had to pull lots out to sort it and find the crack. Looks like someone leaned on a pipe hard at some point during the pipes going in. A hacksaw and some new bits and it’s sorted.

Mar 12 2009

Path laying on the cedar log house

-

We went a bit overboard with our path laying. We dug a trench, put some “Teram” down, put a layer of crushed concrete, then topped this with fine crushed concrete, created a concrete bed, then layed mortar and the paving slabs on that.

 path-around-house-three.jpg We also put some drainage channel at the ends of some of the paths.

 path-around-house-two.jpg However the finished path (still got to grout it and make up the soil to the same level) looked pretty good. A labour intensive job, with not much material cost but worth the time.

Mar 10 2009

Electrical Fittings in the Log House

-

We are on the home run now, but there seems an ever increasing amount of detail to be done. Fortunately we got all our electrical fittings sorted and ordered some months back so they can all now be put in place.

electrical-sockes-and-central-vacuum-socket.jpg Here are some of our lovely Hamilton switches being set in place. We have a brushed chrome or stainless theme throughout the house and here are 13 amp sockets, TV and Cat 5.

electrical-sockets-complete-with-front-plates.jpg And here they are with their face plates on. We like the clean crisp styling.

electrical-fitting-light-switch-showing-hamilton-logo.jpg And in case you want to see, here is the back of a light switch as it goes in. This one is cut into the log face inside the house.