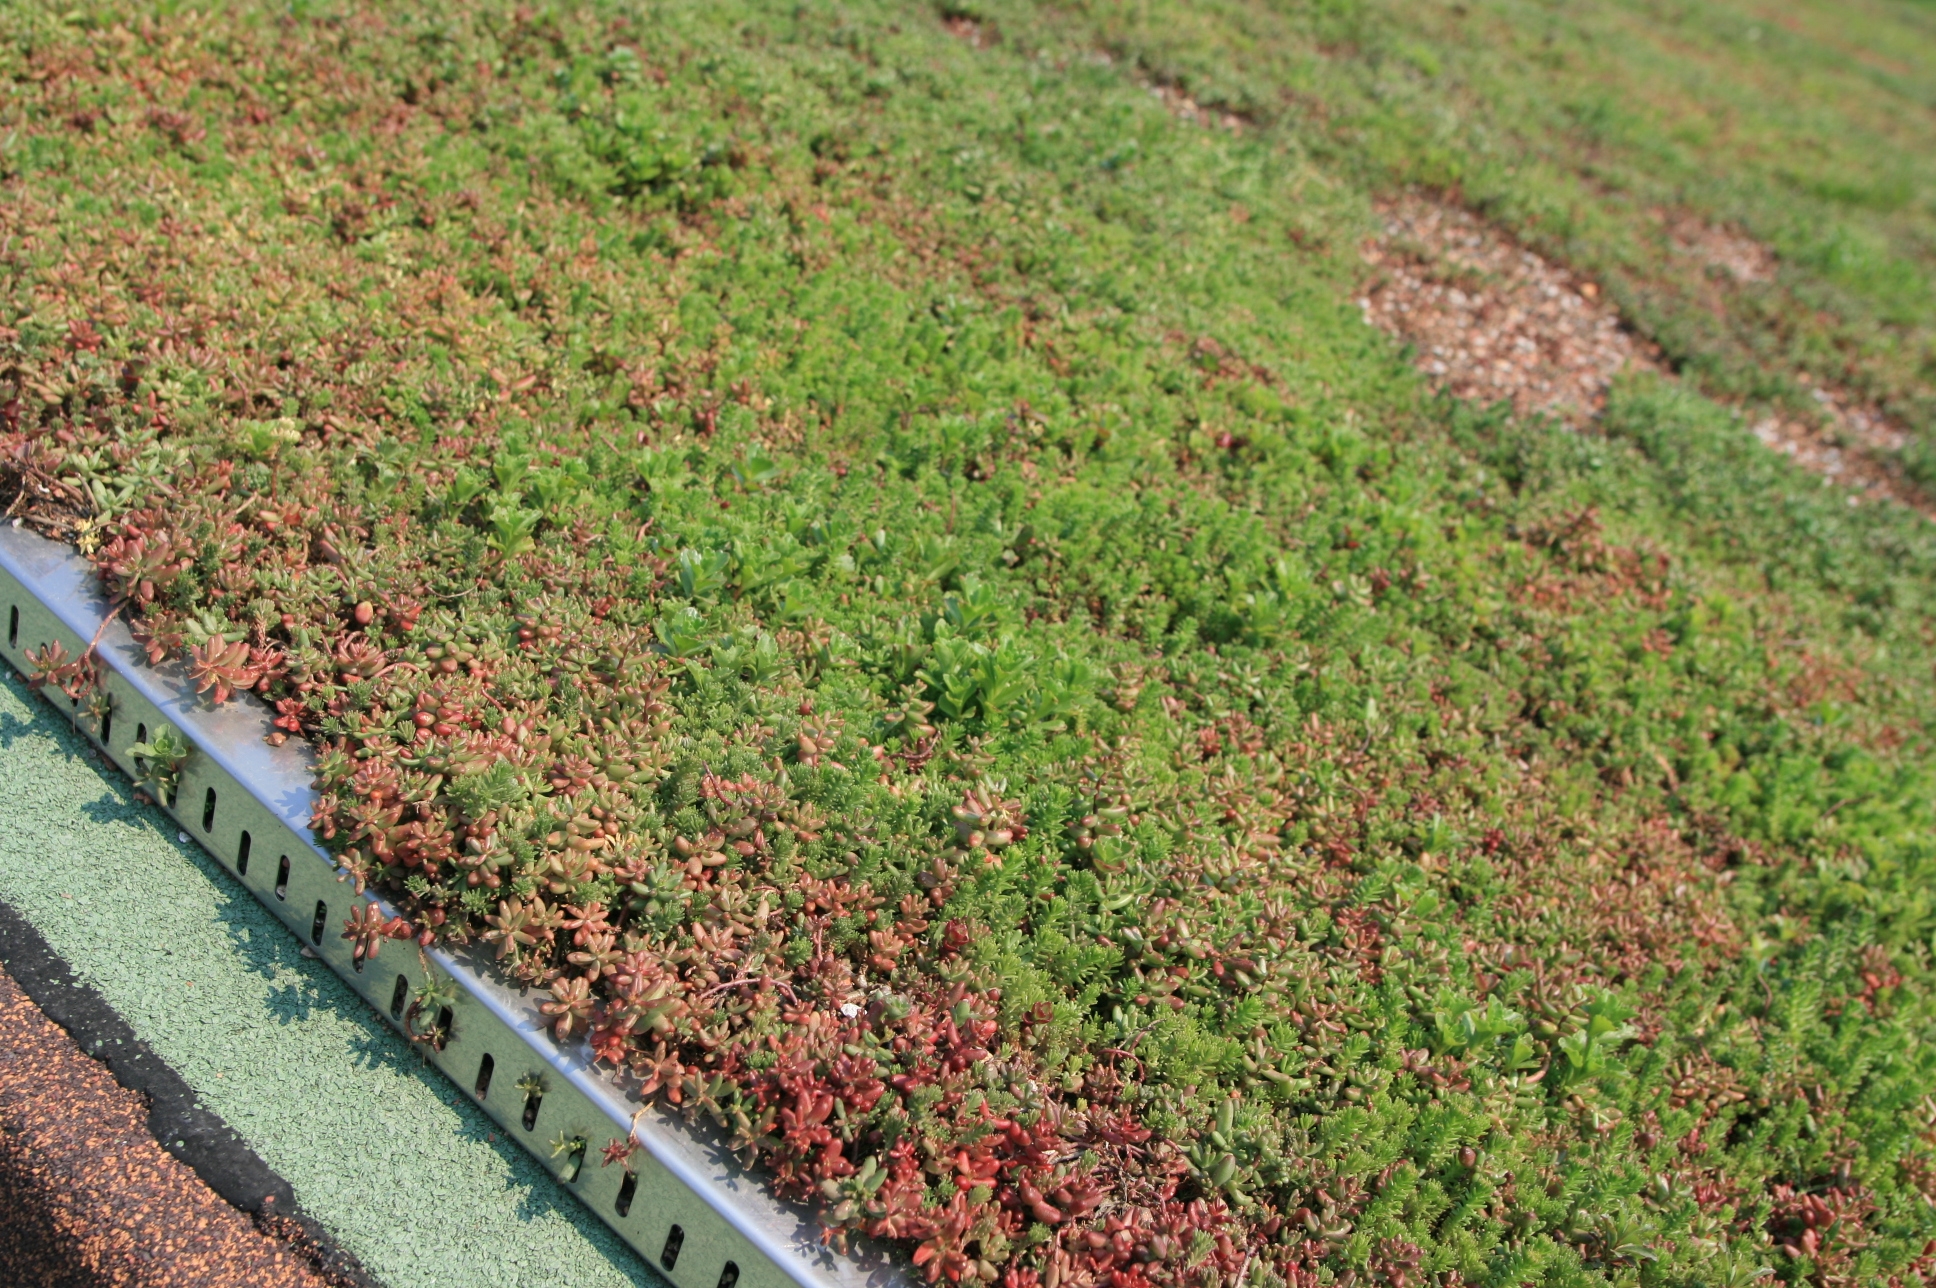
 The recent showery weather has been great for the sedum which is settling in and growing well. The sedum roof is already changing colour as we were told it would. It seems to adsorb lots of water, it has to rain quite hard or for an hour or more before anything comes out of the temporary down pipes. It then comes out in a steady trickle over 3-4 hours. Because of this delaying and reduced flow effect this is great for reducing the problems of flash flooding, if only all big buildings had sedum roofs. We are on low lying ground so this will all help.
Archive for May, 2008
May
14
2008
May showers are great for sedum roof growing
Published by in Sedum Roofing
May
12
2008
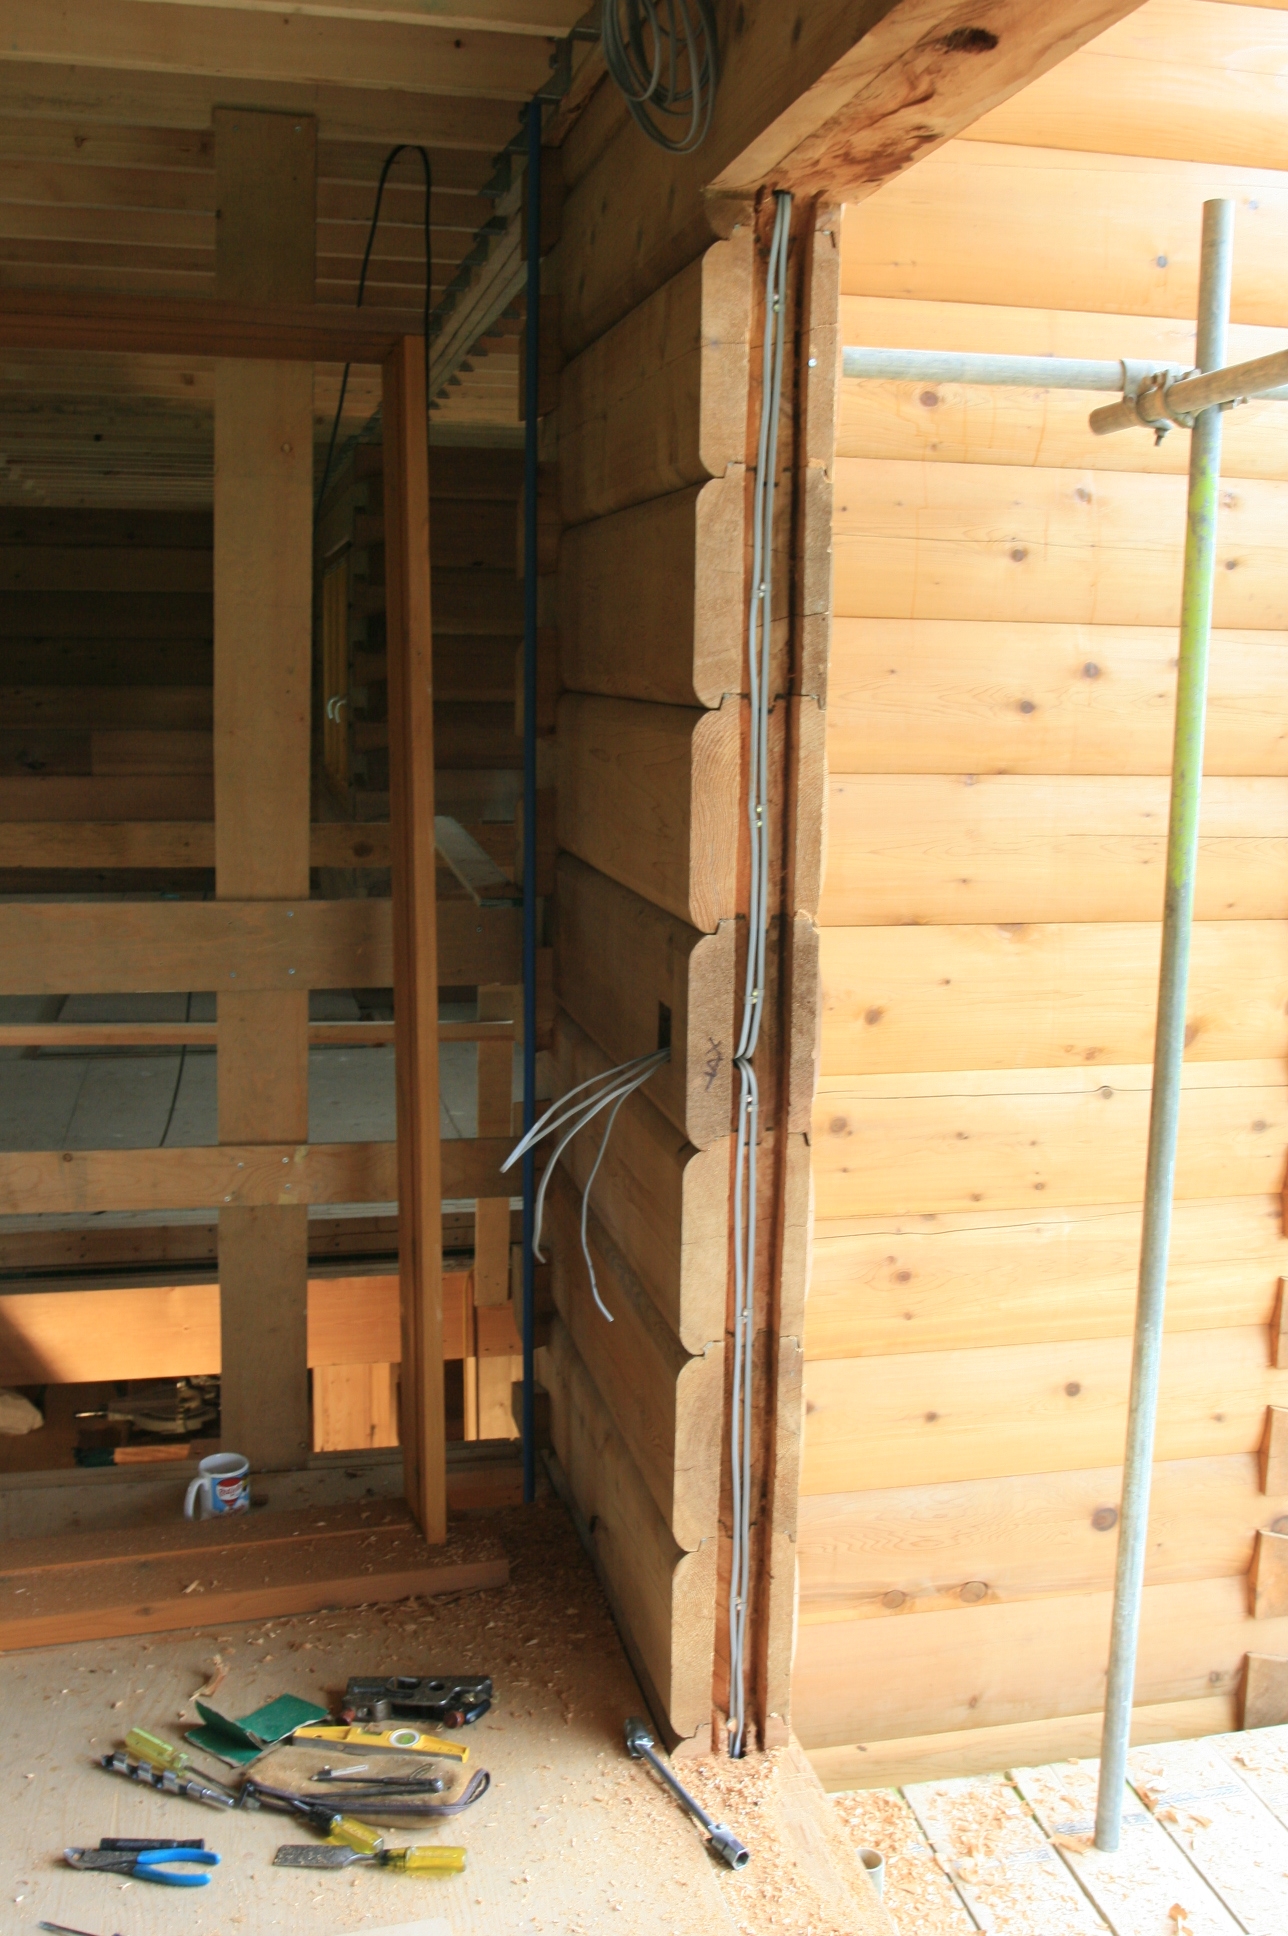
Log end details in door ways
Published by in Log House Design
Although we have put in most of the electrical conduit into the logs as they were being stacked like lego, in some places we could not get the 1″ plastic conduit in close to a door for a light switch or similar because of steel tensioning rods etc. So the house manufacturers suggest you run cables behind the steel channels that are set in to the ends of the logs using a chain saw, and drill horizontally across to where the switch is to go. You then chop out the log to set the switch box into the log. Here’s how it looks.
 Here’s the end of the wall with the steel channel removed.
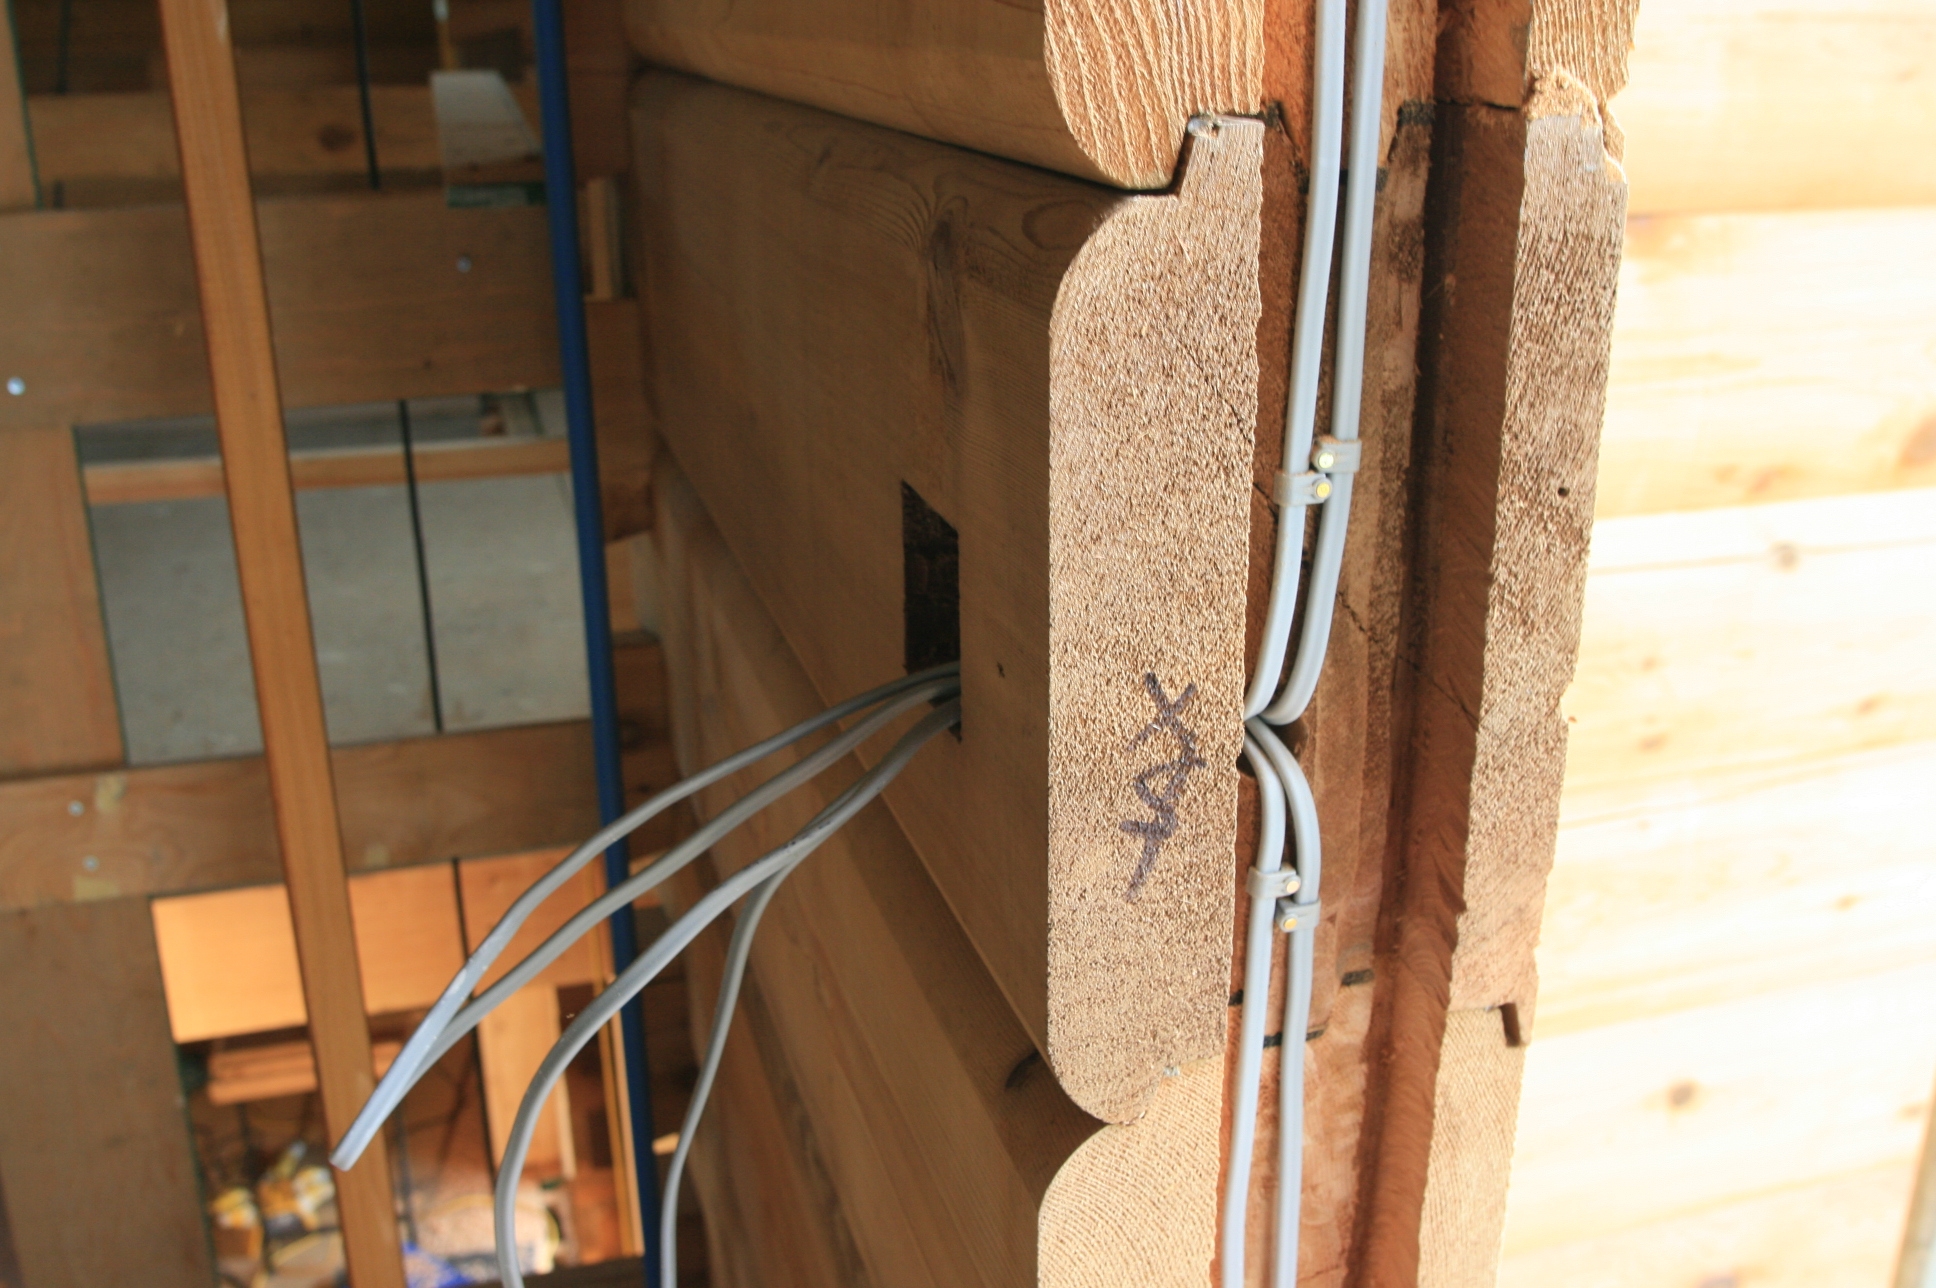 Here’s a close up of the wiring going up into the wall socket and then upwards
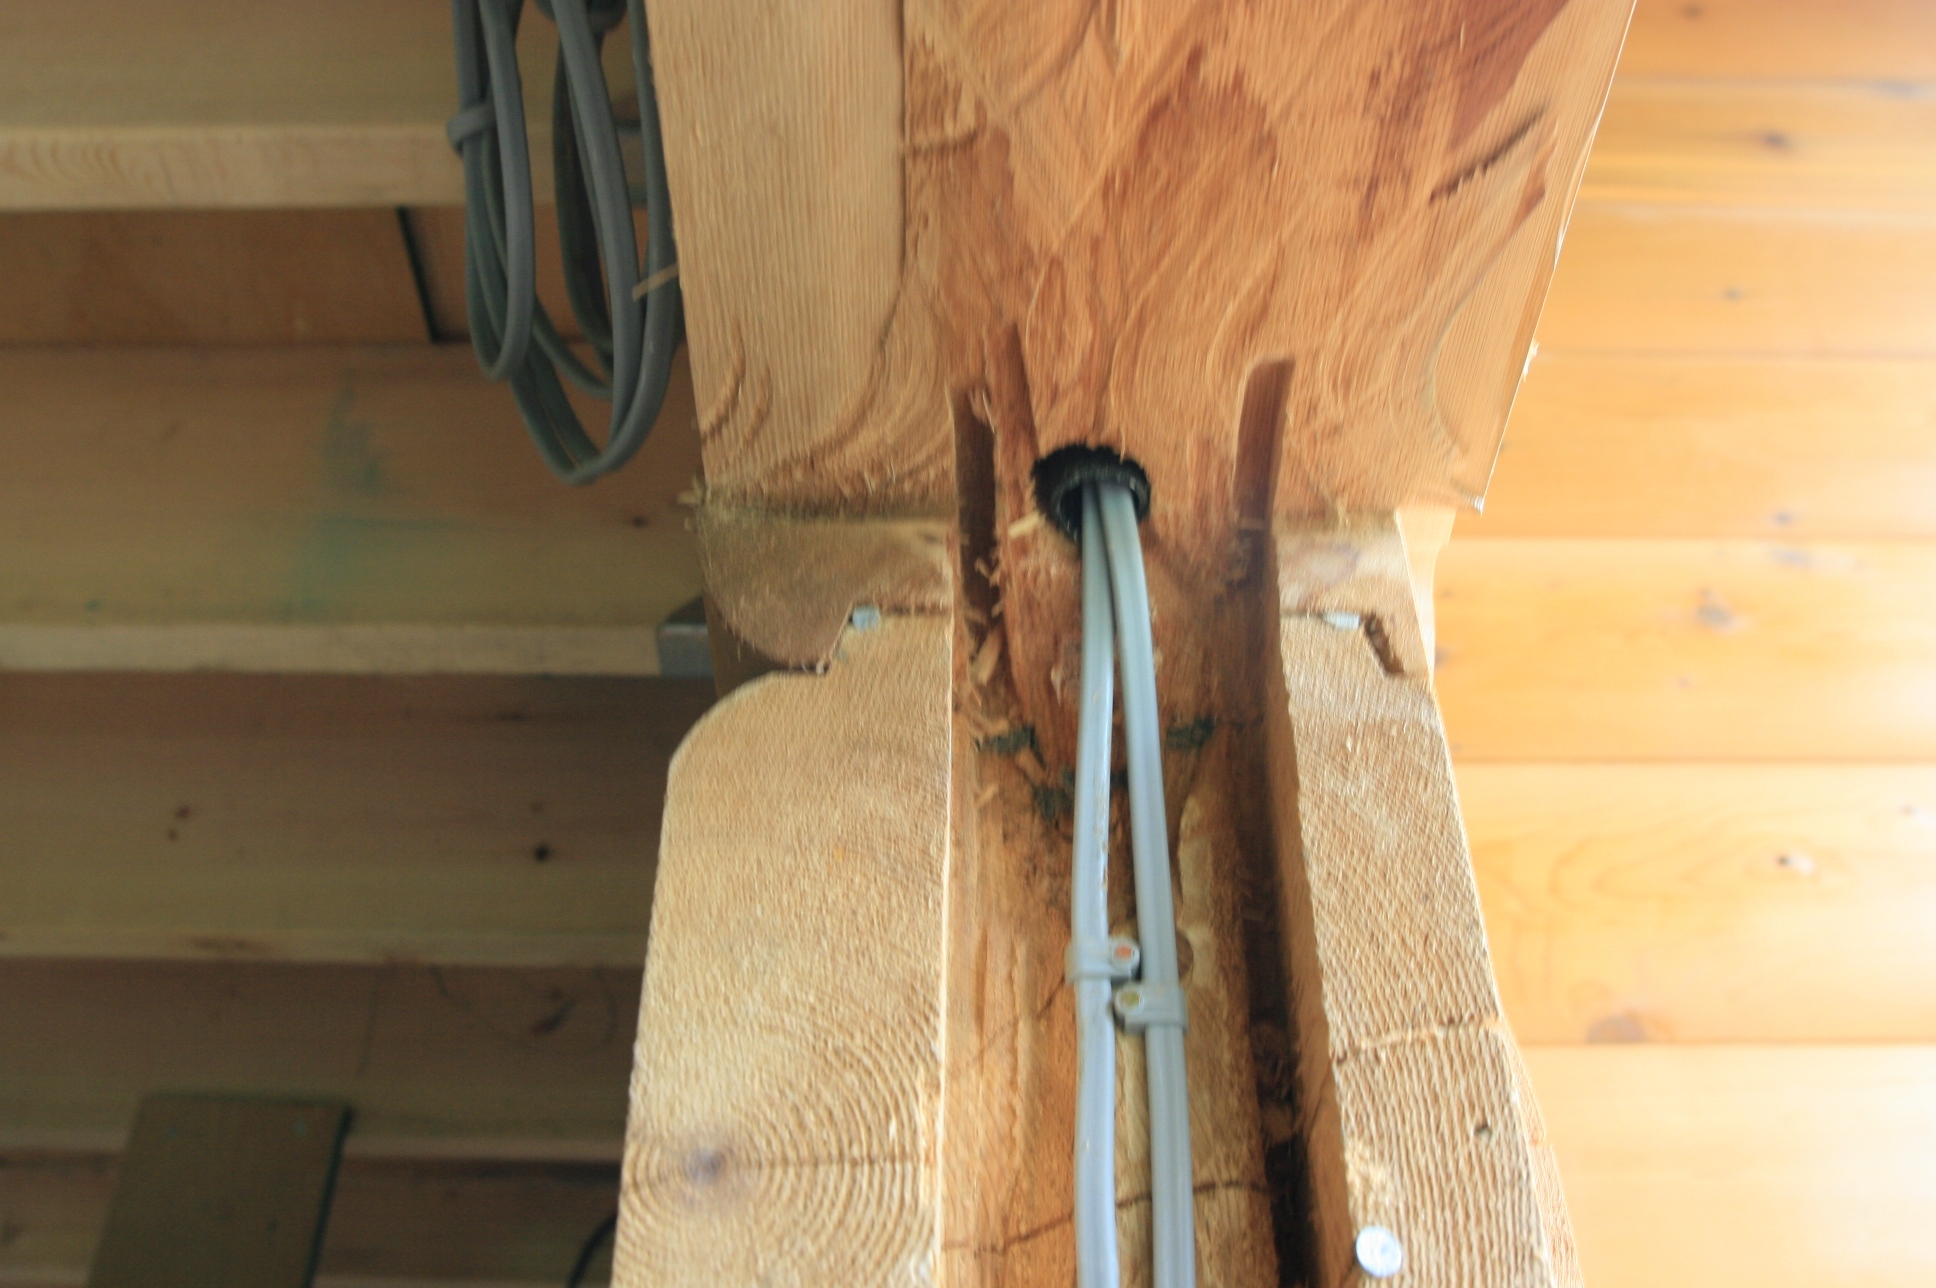 into the conduit we have already placed during the log stack upwards to the next floor.
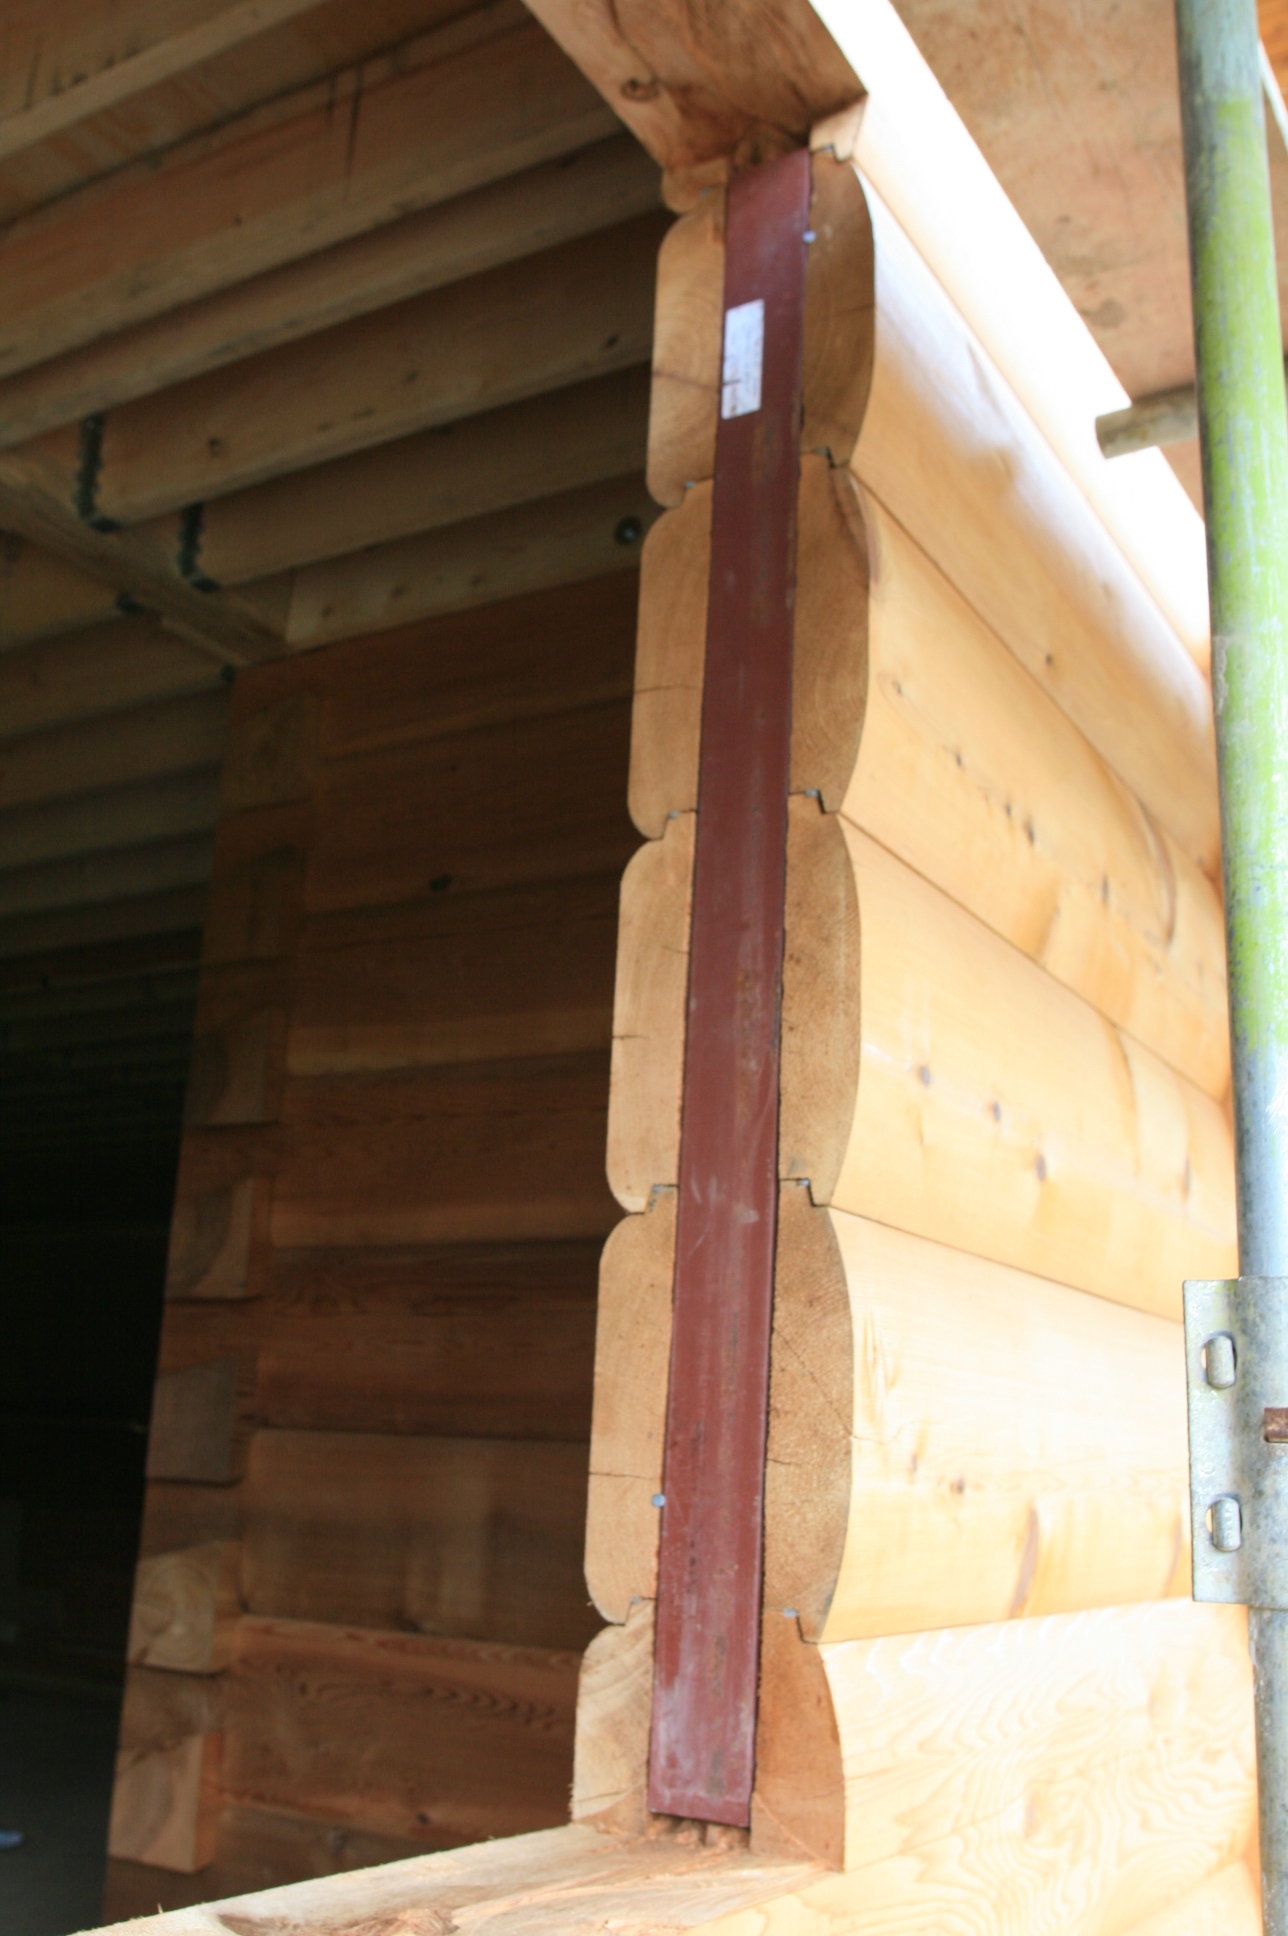 And here is the steel channel back in place ready for the door lining and the door to be put in.
In this case we are wiring for an external light on balconies but the principle can be used for a variety of reasons.
May
9
2008
Window update
Published by in Log House Design
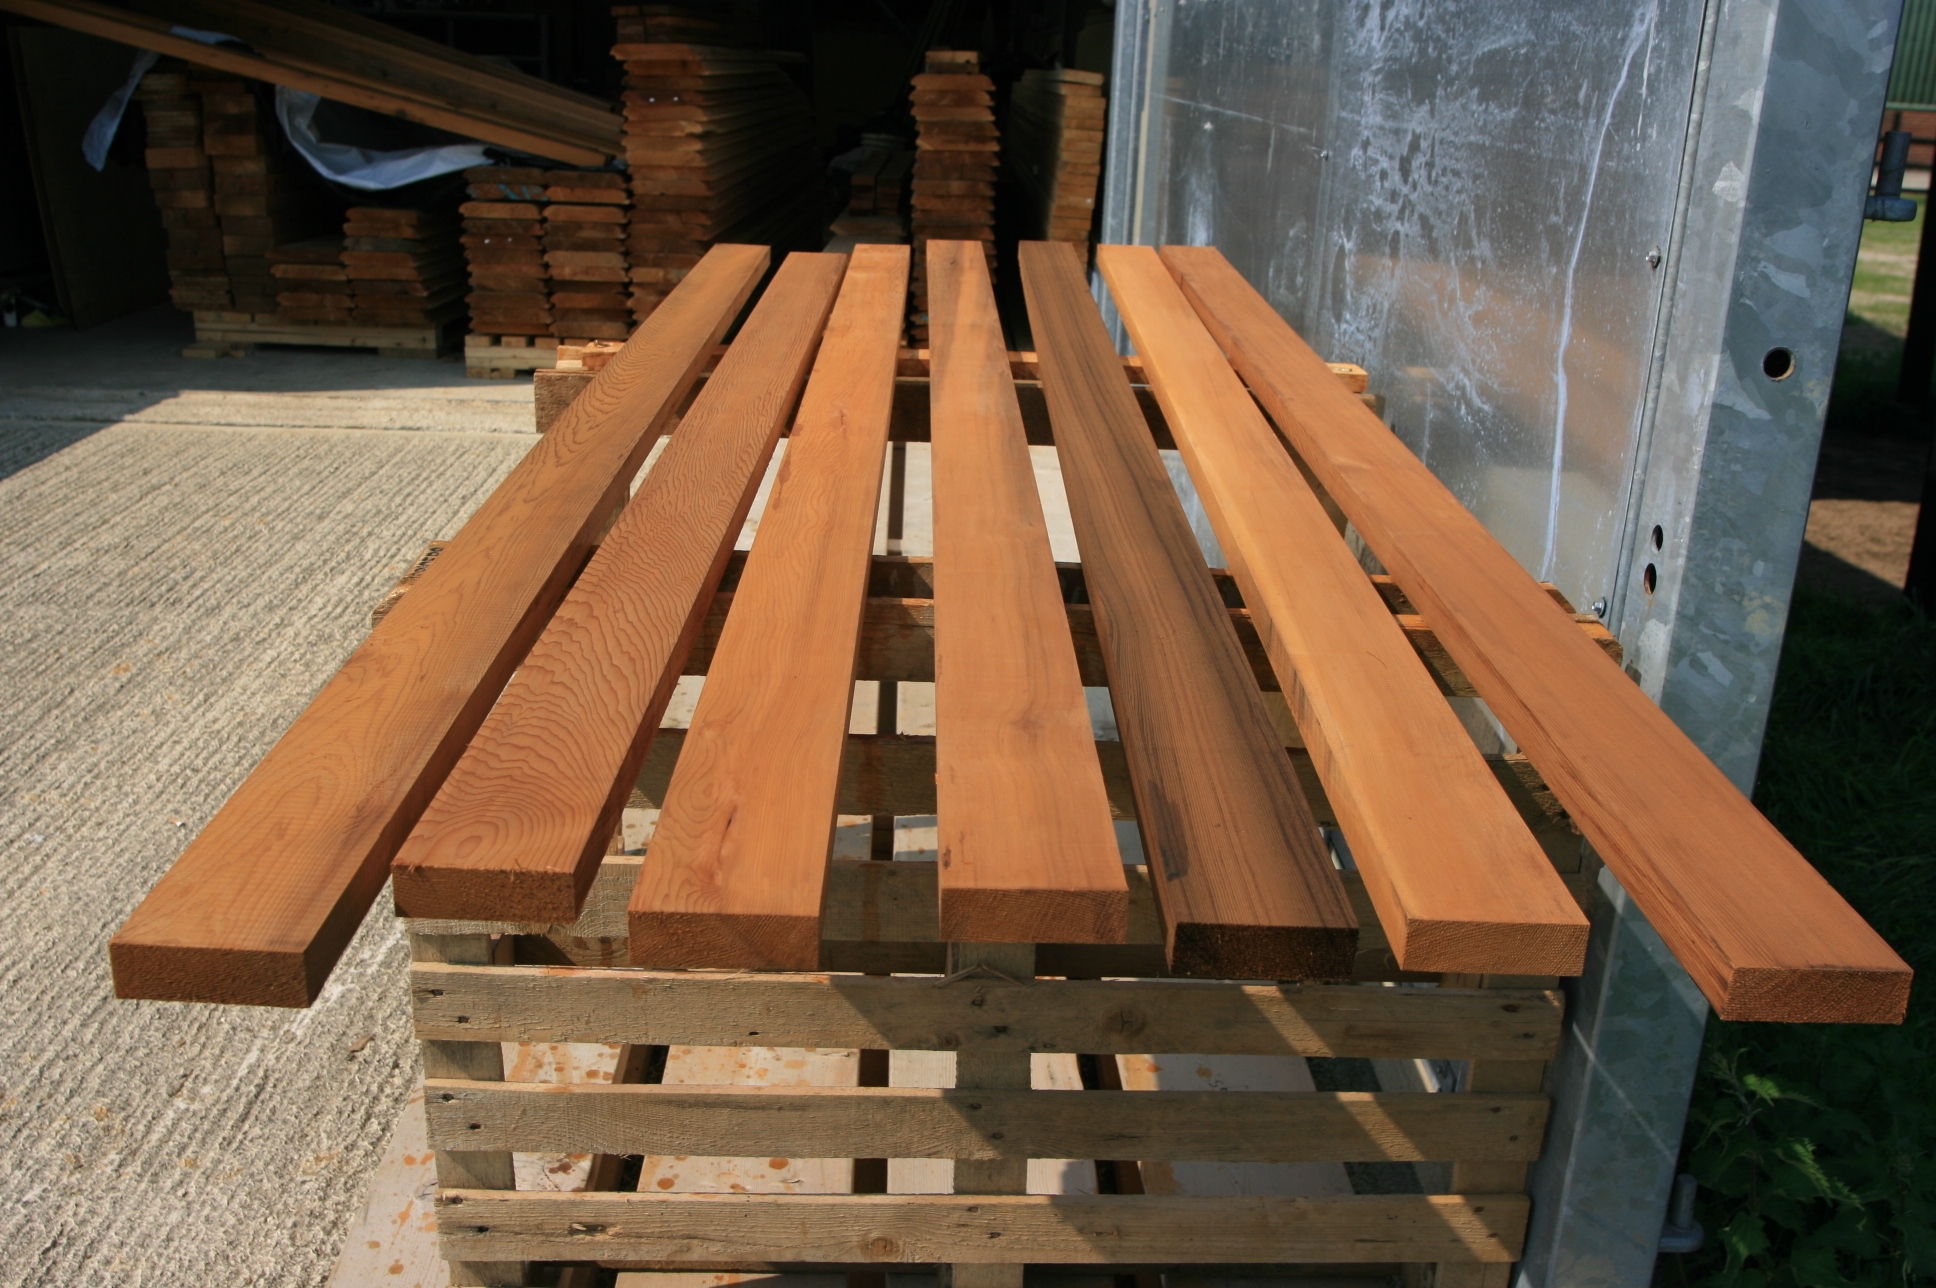 Since our trial window in mid March we have procurred all the Western Red Cedar we needed to make the window and door linings, finalized the design and had it all machined at the local joinery shop, and the linings made up with mortice and tenon joints ready to install. We beefed up the width of the external architrave and have made the header the same depth as the log dovetail ends and with the same angle so it looks “designed”.
All the joinery has to have two coats of undercoat before installation and the log apertures routered ready for the architrave and header.
May
5
2008
Planning the log house interior
Published by in Log House Construction
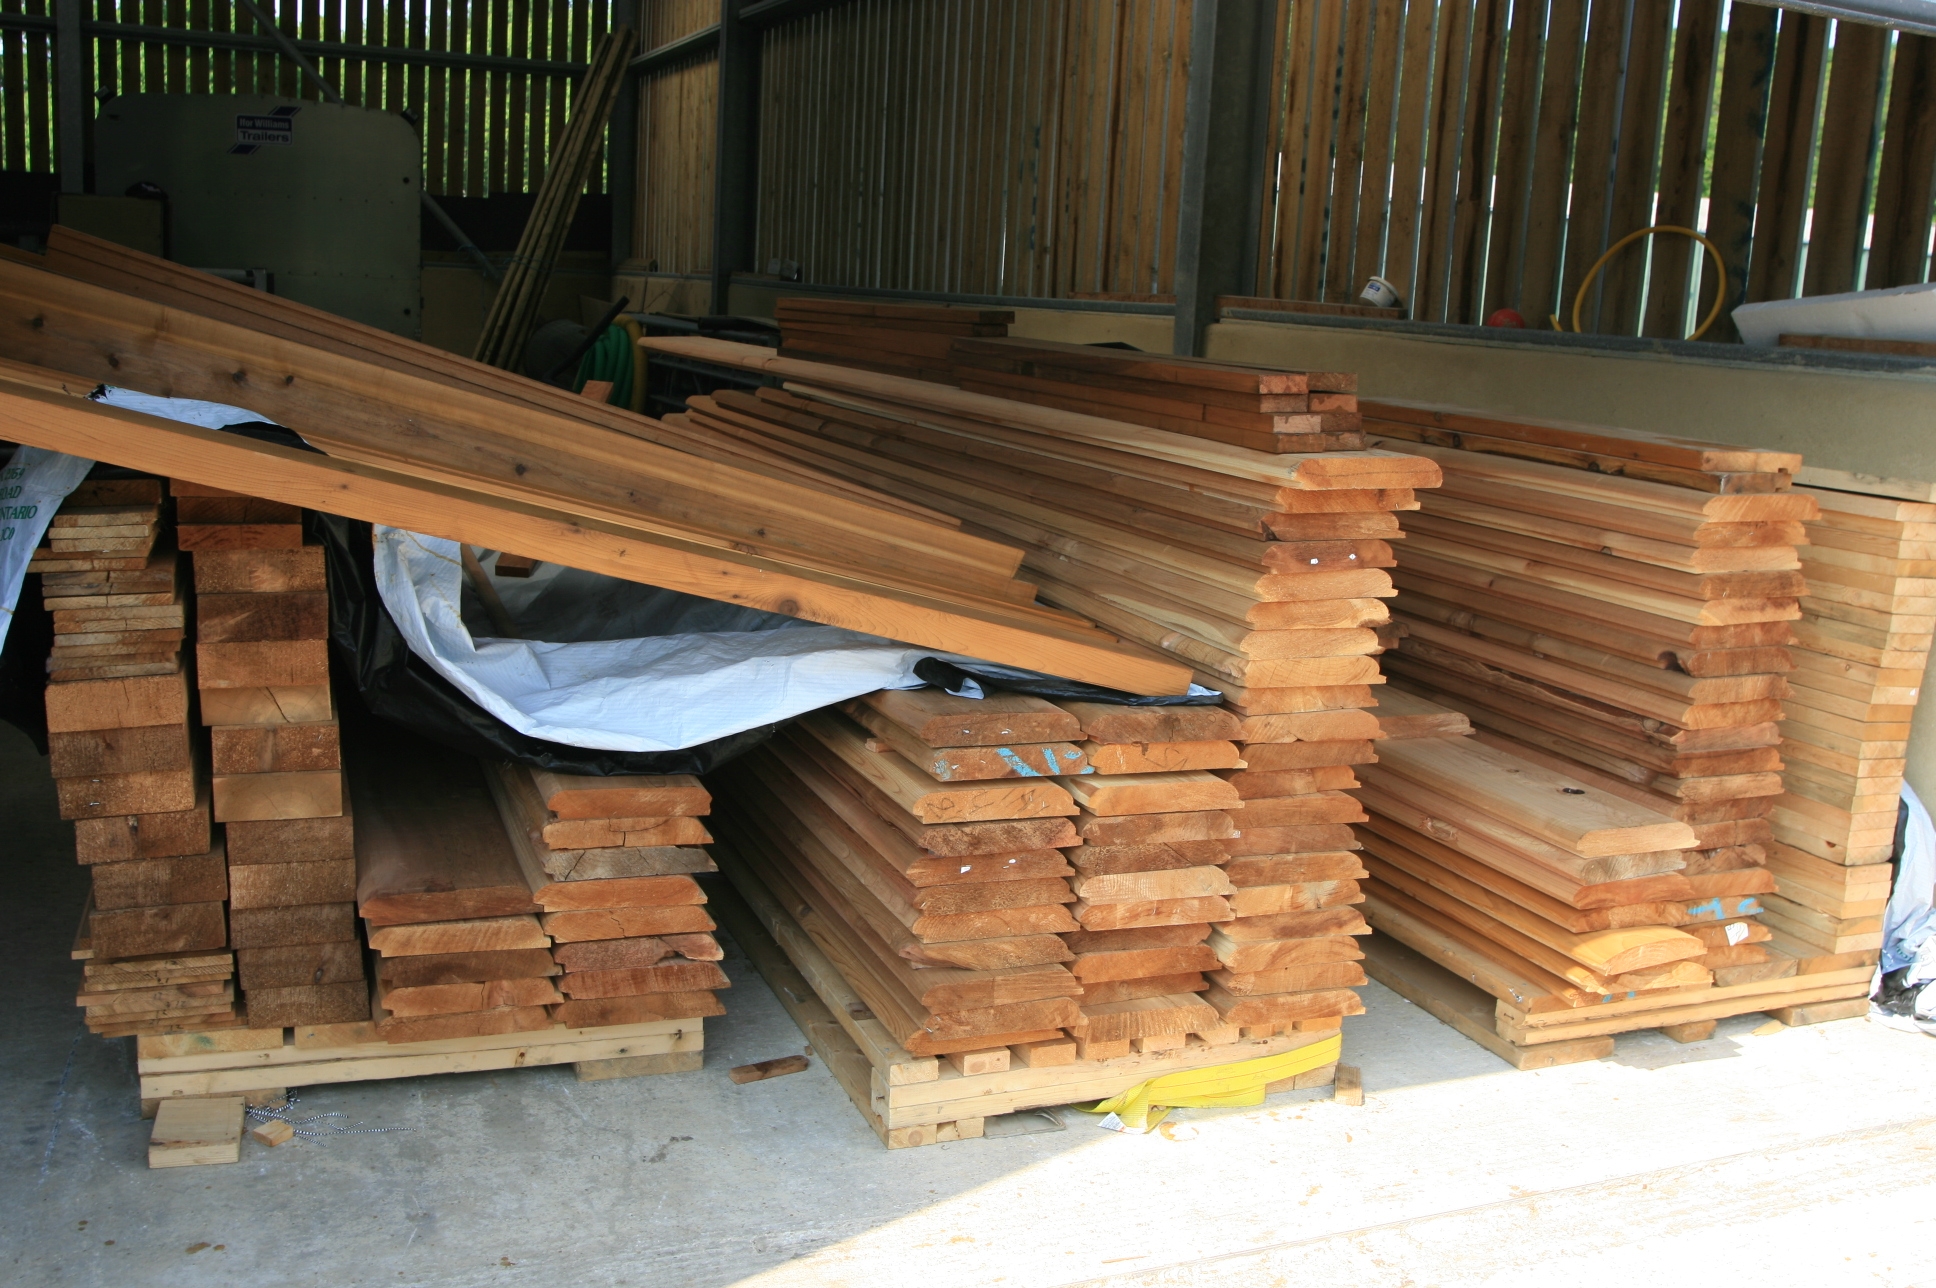 As the outside envelope of the house nears completion we have started to plan the interior in greater detail. The last pallet of materials from North America was full of log “siding” which is strips of Western Red cedar machined to look like the inside log profile so that we can use it as a wall finish on stud walls where we wish to increase the log effect rather than use plasterboard. So we have inspected all the siding and put the perfect siding in one pile, the average in another and the bits with ugly features that will require these lengths to be cut up in another. Then we can use any left overs for window headers.