Jan 25 2009

Fitting out the bathrooms

-

bathroom-lights.jpg 
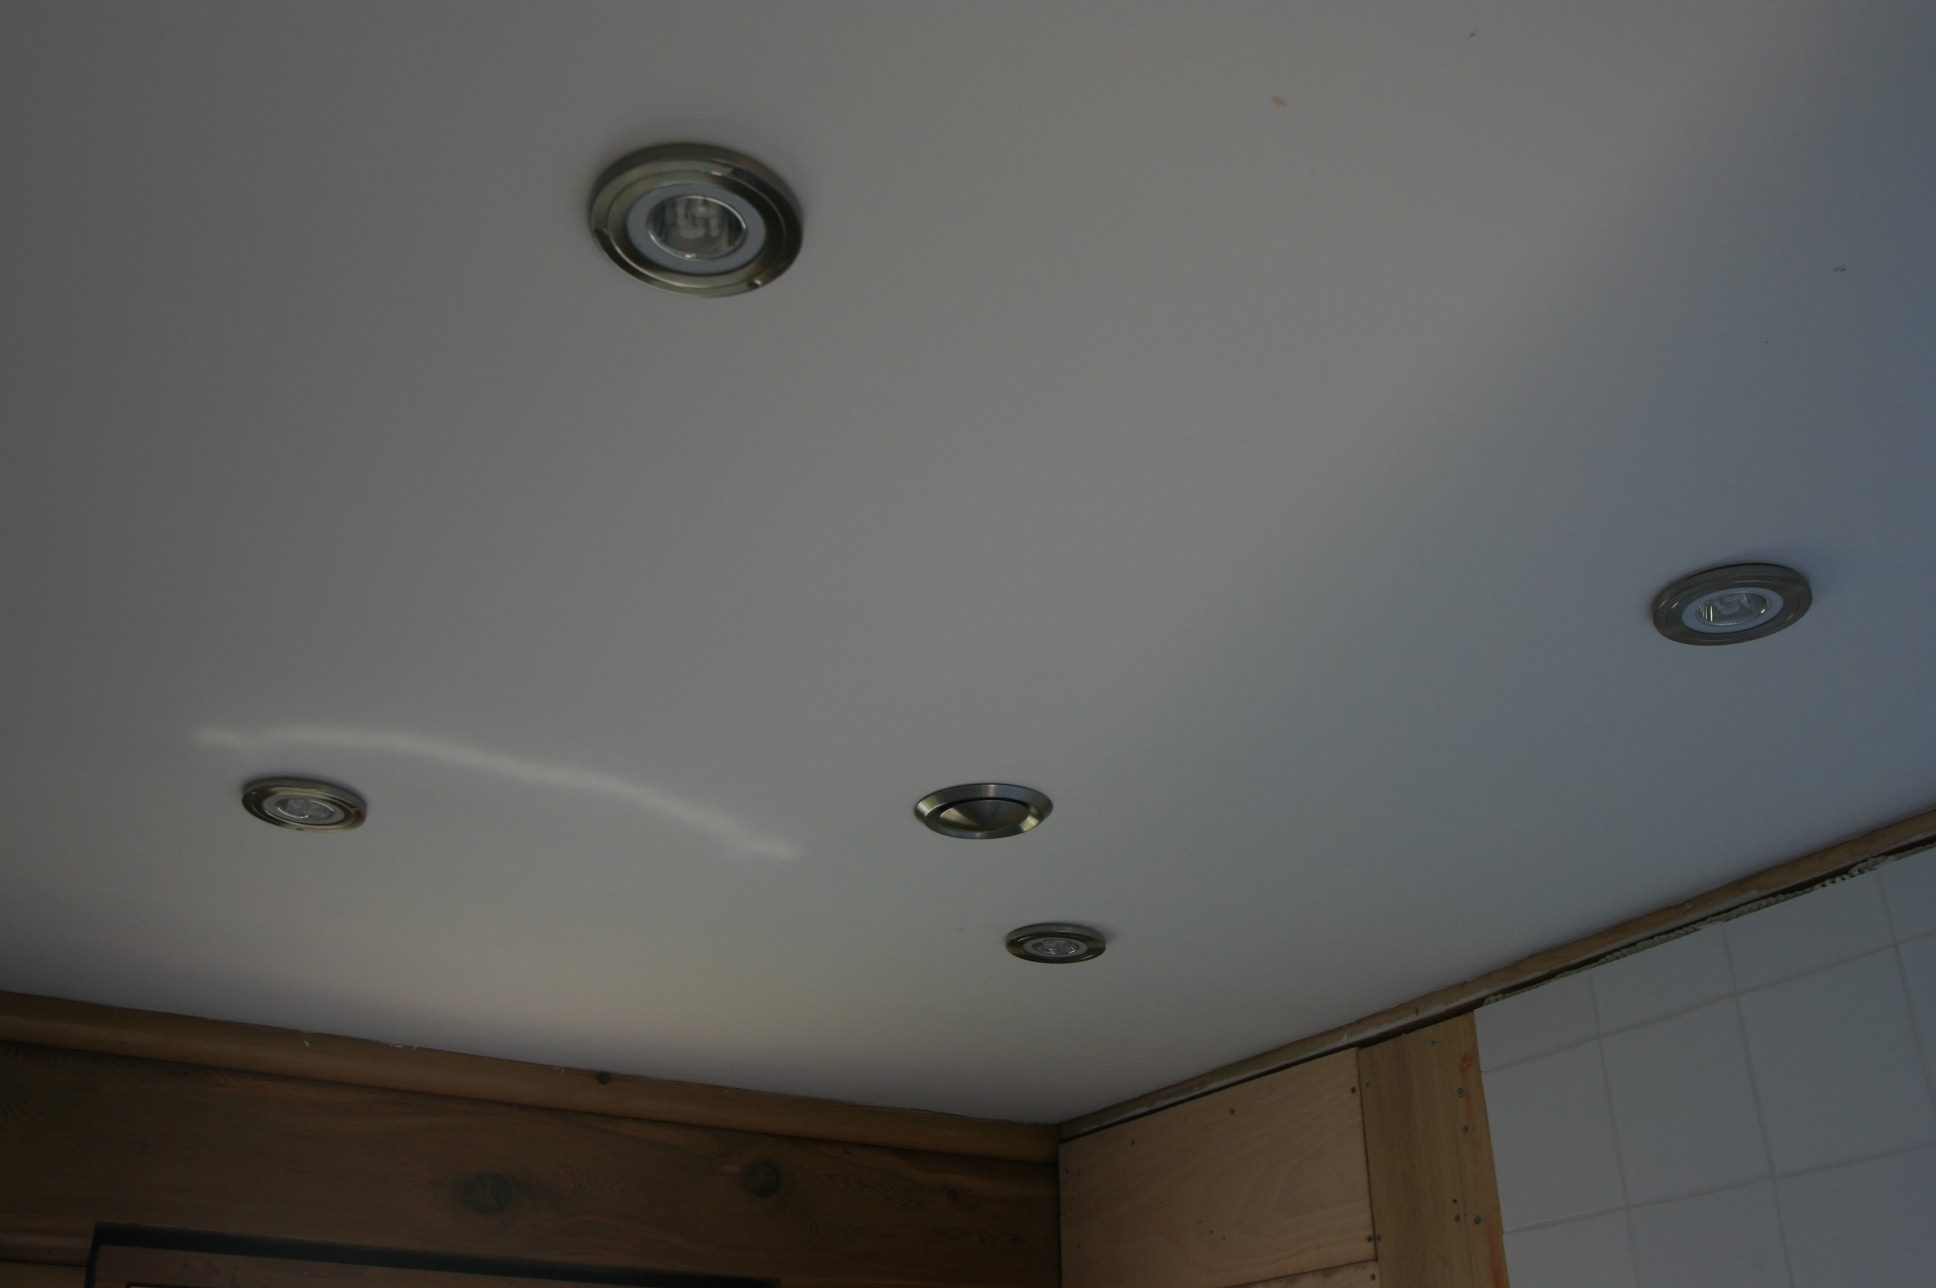
Well the lights are now up in the bathroooms, and we have got the tiling done and the bath in. Not so many entries at the moment as the detail work takes much longer than the earlier “first fix” type activities. Lots of head scratching and deciding exactly how we want things.

bathroom-tile-layout.jpg It takes a lot of planning to get tiling looking as if it has been planned rather than put on after the event. In a perfect world you make sure the length of your tile runs match the size of the tiles you are using. Laying your tiles out before hand can help decide which patterned tile goes where and makes sure you don’t get any nasty surprises when the tiling is finished.

bathroom-sink-wall-tiling.jpg 
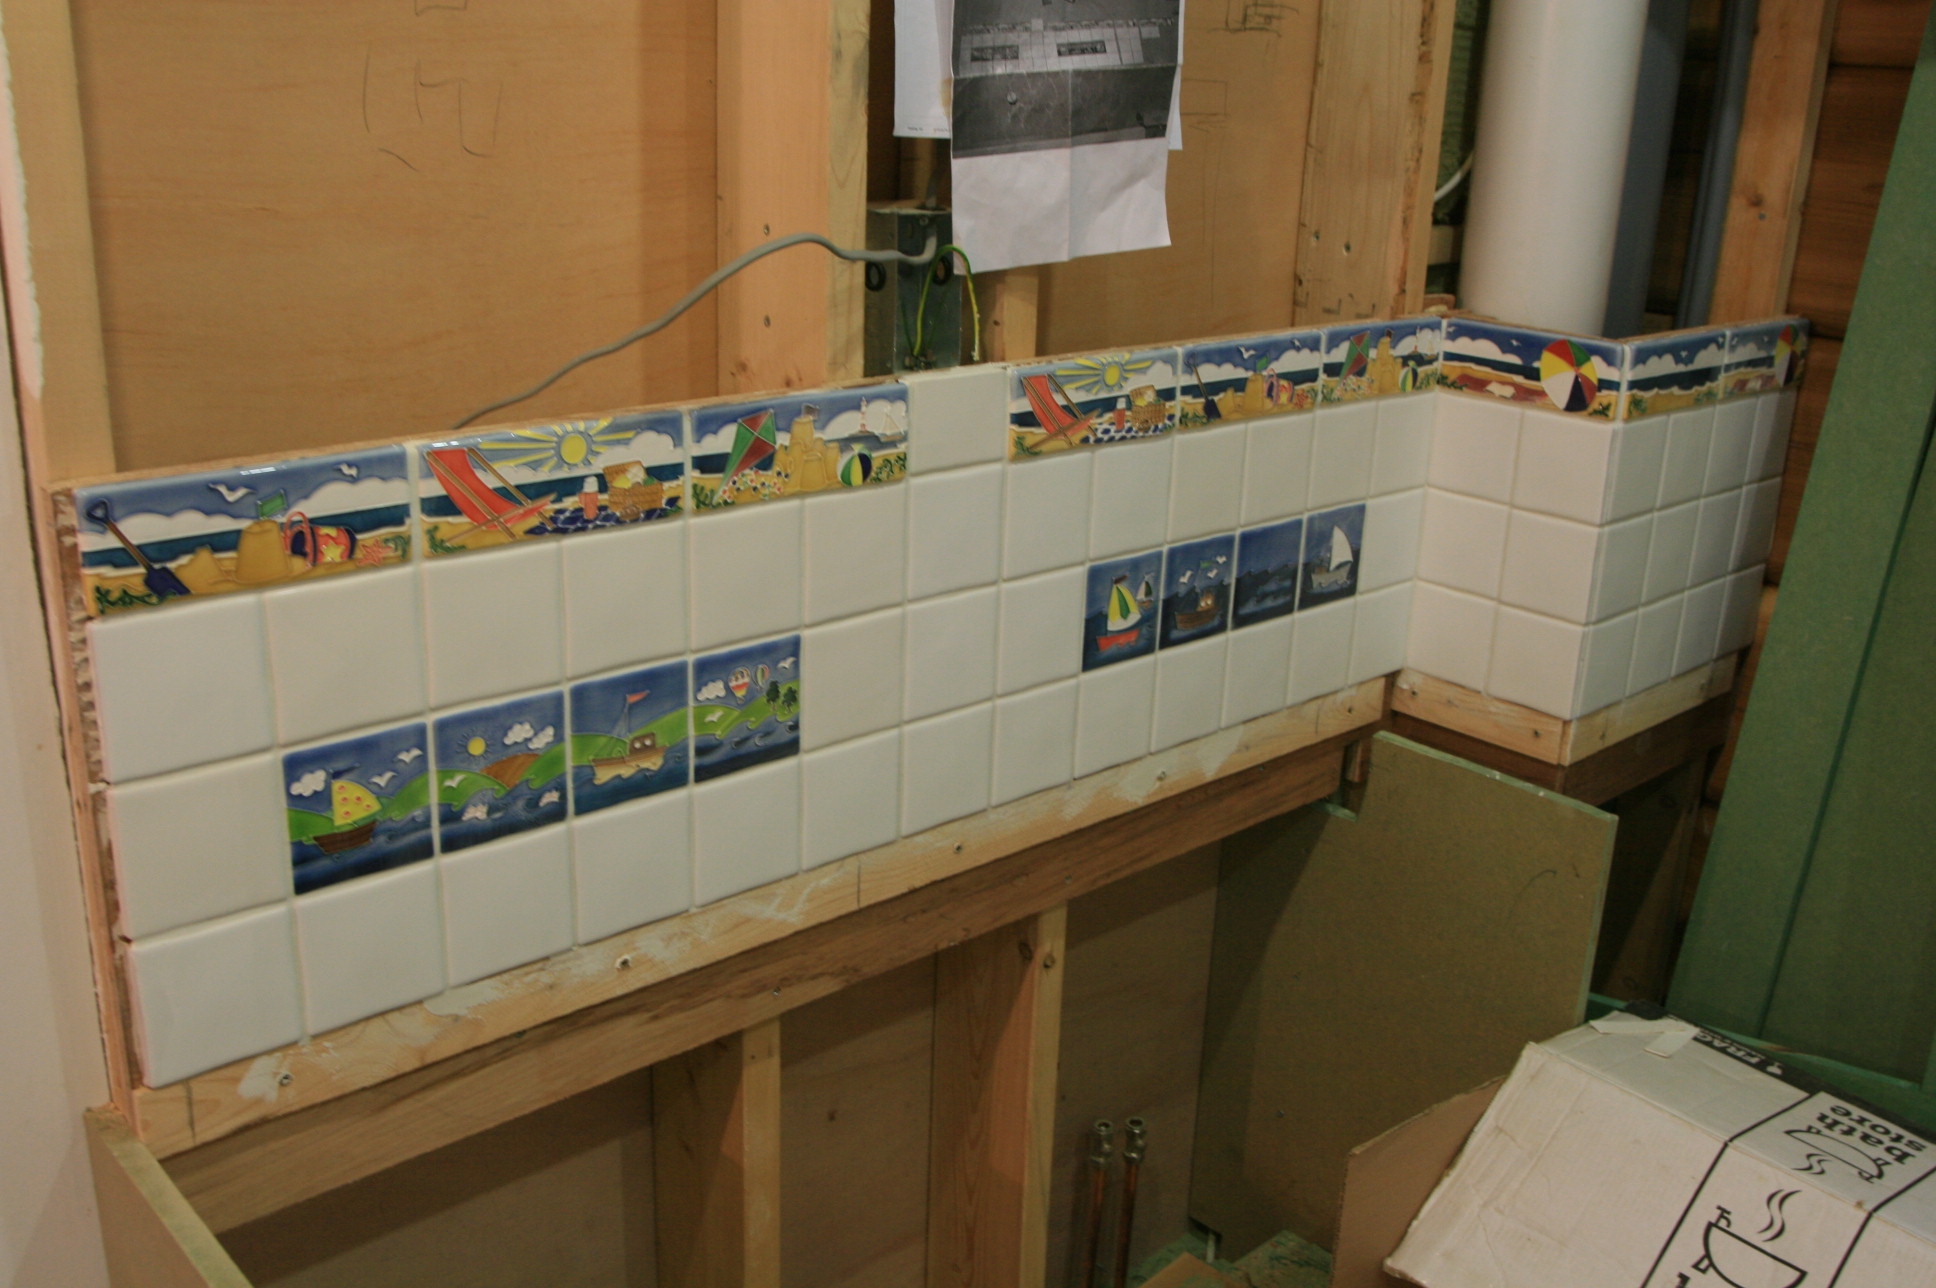
With this tiling behind a vanity unit which is supporting two sinks we were able to adjust the studs in the wall to take two cupboards that will be set into the wall, and site over the two sinks. The vanity unit is made on site and therefore can be made to suit the tiles. The cupboards are also being made to suit so we should end up with a nice symmetrical layout when it is all finished.

 bathroom-tile-layout-on-bath.jpg 
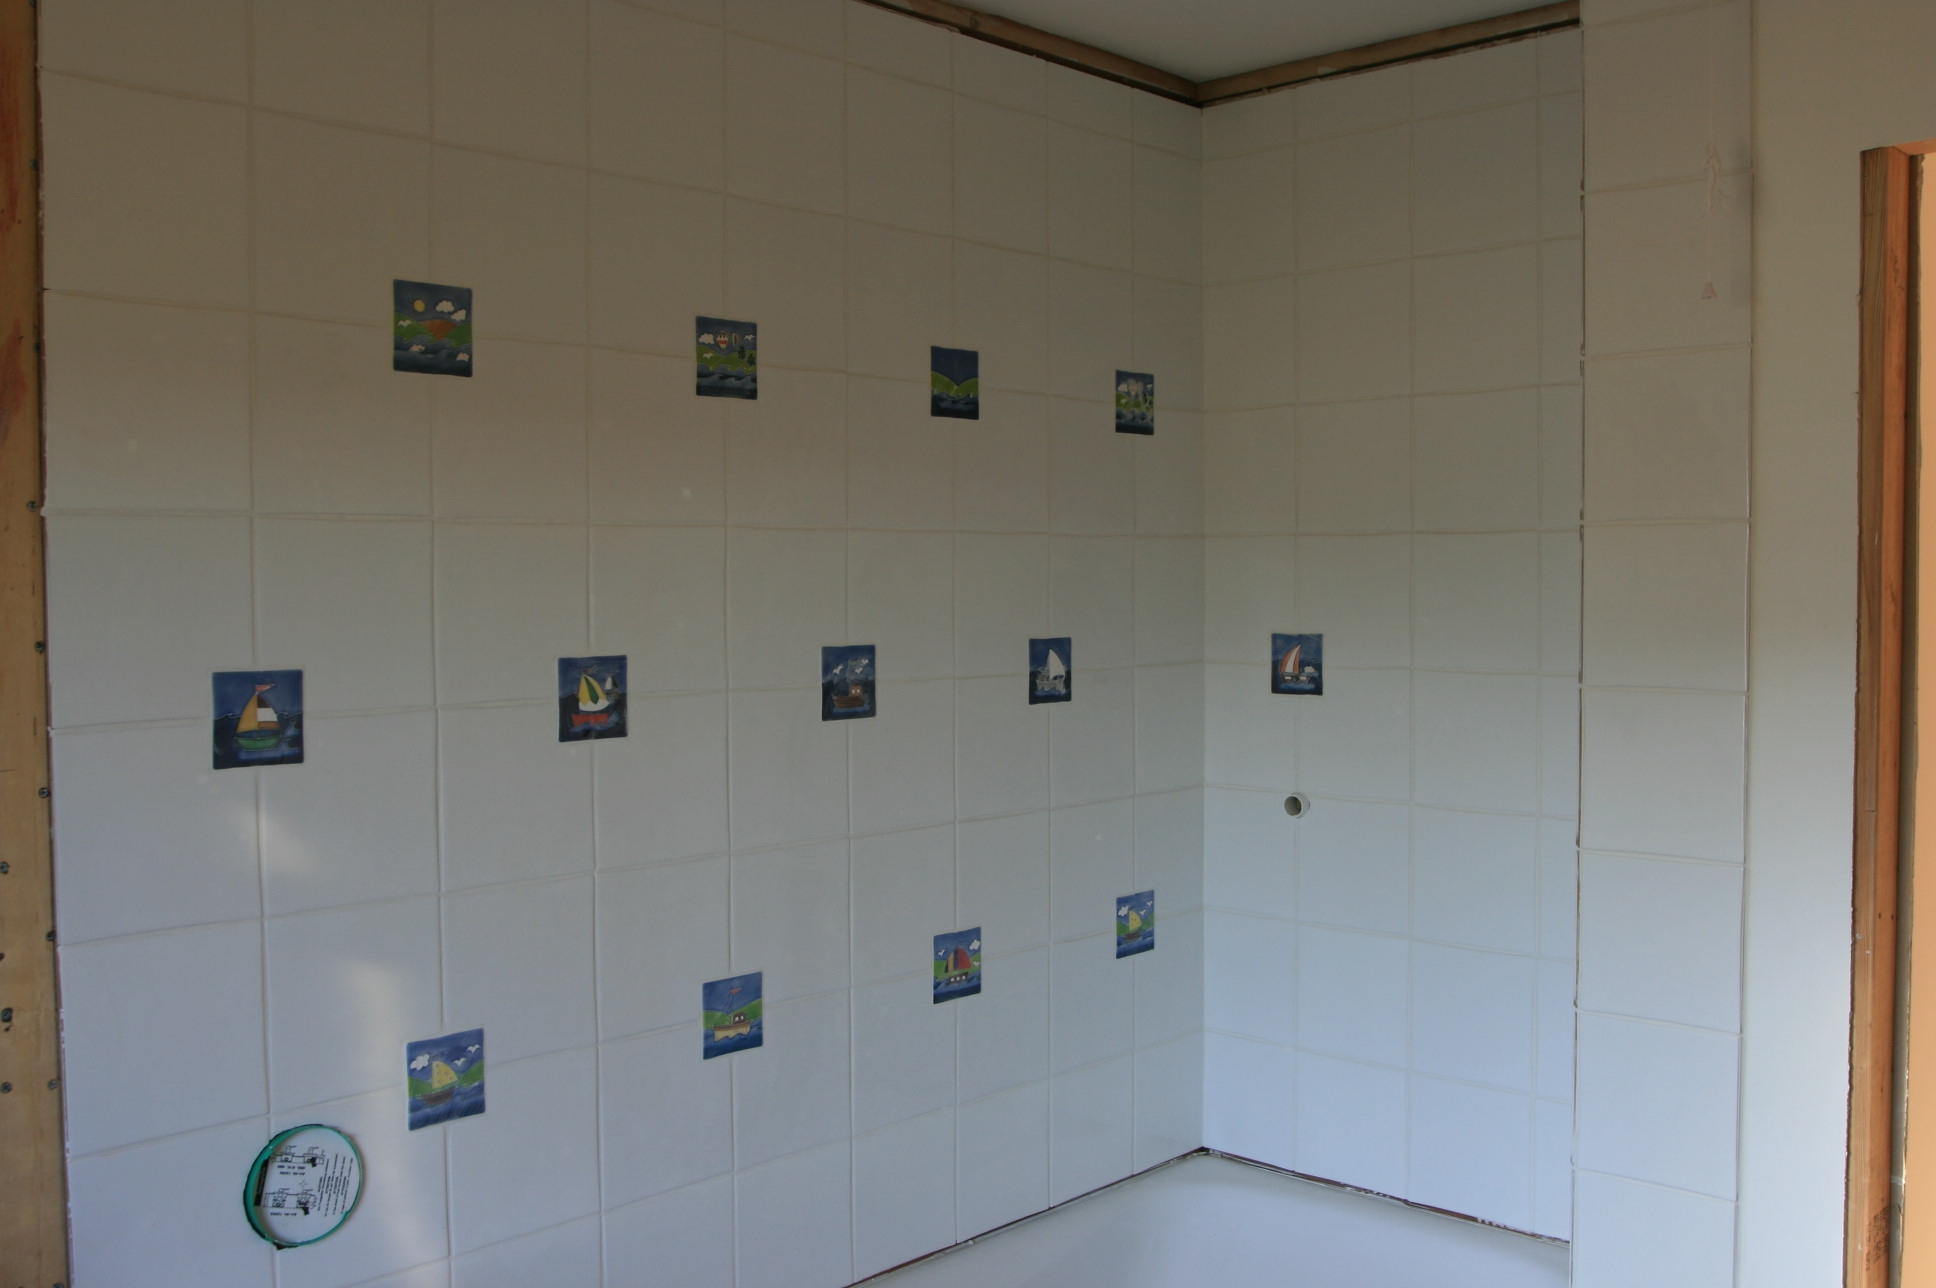
We tried to make the layout of the picture tiles on the bathroom wall irregular, but couldn’t get it to look right so went for three lines. It’s a bit boring, but sometimes you can’t get everything how you imagine it can be.

Jan 18 2009

Fixing a hole where the rain gets in!

-

We continue to struggle with leaks on the most exposed south side of the house. We are blessed with a number of windy and wet days, punctuated by dry days, so we can continue our detective work with the mastic gun or gaffer tape.

 log-knot-leaks-five.jpg This knot on a header above the double doors looked suspect, so it gets the usual plugging treatment.

log-knot-leaks-six.jpg In goes the glue which is plugged with a Western Red Cedar dowel shaped by hand with the chisel.

 log-knot-leaks-seven.jpg This electrical cable for an outside light above the doors looked relatively well gunked up, but it lets masses of water in, we think! So to remove this from the equation of water sitting on the top of the door frame inside the house we make up a plywood plate with a very small hole for the cable.

log-knot-leaks-eight.jpg This is sealed and screwed in place. We will wait for more rain to see what these mods do. Of course the plate will be removed when the external light is fitted, and this will cover up the cable exit in the log, but we need to isolate the causes of the leaks before internal architrave can be fitted.

Jan 14 2009

Door Detail inside the log house

-

The painfully slow bit continues, with all the detail work taking forever. However, when some of these bits get finished, you do feel you have got to a definite point, rather like a milestone!

door-bedroom.jpg Here is our first oak door in place with handle and catch, architrave and skirting. Yes one room pretty much complete, only 5 more on this floor to go!

Jan 2 2009

More leaks on the log house and a not so happy new year.

-

Well, we had hoped to be in the new house for Christmas, but the devil as they say is in the detail and it is taking a long time to get all the little bits and pieces sorted. Mid December we had some strong Southerly winds and 24 hours of rain that gave the south facing logs a good testing and sadly found them lacking.

window-testing-and-taping.jpg We found the leaky knots in the last post, but also some strange drips from some of the studs that run vertically through the house, just above the top of the frame of the glass double sliding doors. We think it could be water running along some of the “shakes” in the logs and some how getting round the 6 seals that run along the log. So as well as filling short shakes with glue as per the last post, we have also covered some of the larger shakes higher up the house with duct tape, to give us a quick idea as to whether they are the culprit.

Of course now we need mother nature to repeat her strong Southerly wind and persistent heavy rain. With high pressue weather, light winds and no rain over us for the last 10 days, we may have to resort to simulating the rain.

window-testing.jpg Like this! Here we were trying to find a very small leak during that day of rain, and in the end had to resort to the hose pipe. We found it, but it was so small, we’re not sure how to seal it. It’s a real strange one between the bottom of the external architrave and the window sill and other than taking the architrave off again, we may have to “can foam” it from behind.

Dec 24 2008

Sealing shakes on the log house

-

log-shake-sealing-one.jpg As well as some leaking knots, we also have some large cracks in some logs called “shakes” that go deep enough into the logs to cause leaks with strong wind and rain. Here the shake is allowing water to get in behind the window architrave, so we have drilled it and used a syringe with expanding glue like we did for the knots to attempt to seal up the shake close to the window.

 log-shake-sealing-two.jpg Once the glue is set the wooden pegs we drive into the drill holes are shaved off.

log-shake-sealing-three.jpg For any poor log home enthusiast who needs to know, this is the glue we are using.

Dec 22 2008

Electrical Wall Sockets and Switches

-

 electrical-wall-switch-6-way.jpgWith walls finished with either varnish on the wood or paint on the stud walls, we are ready to start putting in the electrical sockets. We have used Hamilton sockts on the house as they were able to make some specials for us like this 6 way light switch including dimmer.

Dec 18 2008

Lots of sanding in the log house

-

wall-sanding.jpg The inside of the house has to be sanded. We found this hand sander ideal. But there are acres and acres of wood to do, the dust is fine, and not popular. Wearing a mask is essential, and Western Red Cedar dust is a particularly aggressive irritant. A light sand with a hand block is also required between coats.

Dec 16 2008

A bit of a push

-

site-7th-december-2008.jpg As Christmas approaches, extra input is drafted in to get the house nearer to completion. On a crips winters day we have a bricklayer preparing the paving outside the house, two carpenters (well there is a lot of wood in a house like this) a dry liner to do the walls, the floor installers, and later on the electrician come in too.

Dec 14 2008

Bathroom shower tips

-

Here is a little tip from our consultant builder that can be used on any house with a tiled in shower.

IF the shower outlet behind the tiles ever leaked the water would fill the stud wall first before there was any sign of the leak on the outside.

bathroom-shower-outlet.jpg So to act as an early warning device, simply set a piece of plastic tube around the shower outlet in the wall, using silicone to secure it against the base of the shower outlet.

bathroom-shower-outlet-two.jpg  Carefully tile around the pipe, then trim it back close to the tiles, connect the shower pipework to the outlet (a threaded joint that can spring a leak, hence the cunning trick) and if there ever is a leak, you will see it as a small drip from the end of this tube, which is trimmed back after tiling so that it is behind the finishing plate for the shower outlet.

Dec 12 2008

Building a stud wall off an internal dovetail corner in the log house

-

When we first looked at the detail drawings for the house from the log supply company we were concerned with how we would build some of the internal walls off the corner of dovetails where they appear in the house.

 wall-dovetail-stud-block.jpg First of all, using some left over Western Read Cedar, we need to make sufficient infill blocks to creat one consistent surface to commence the log wall

 wall-dovetail-stud-detail.jpg Then these are screwed in place and this creates the consistent surface for the stud wall to be fixed too.

wall-dovetail-stud-with-stiffner.jpg Then a piece of 4 x 2 is slotted and two 6″ “lag bolts” are used to secure this to the end of the dovetail and the start of the wall is in place. The lag bolts and slide plates must be set so that the bolts go into side grain and not end grain so you need to take this into account when marking out and making the two slots. 

The advantage of putting the blocks in place to create a flat surface for the stud wall to start is that if you should ever wish to take the wall down you will be able to do so, remove the infill pieces and you have just a few screw holes to plug and hey presto, no one knows the wall was ever there.