Published by in Heat Recovery System
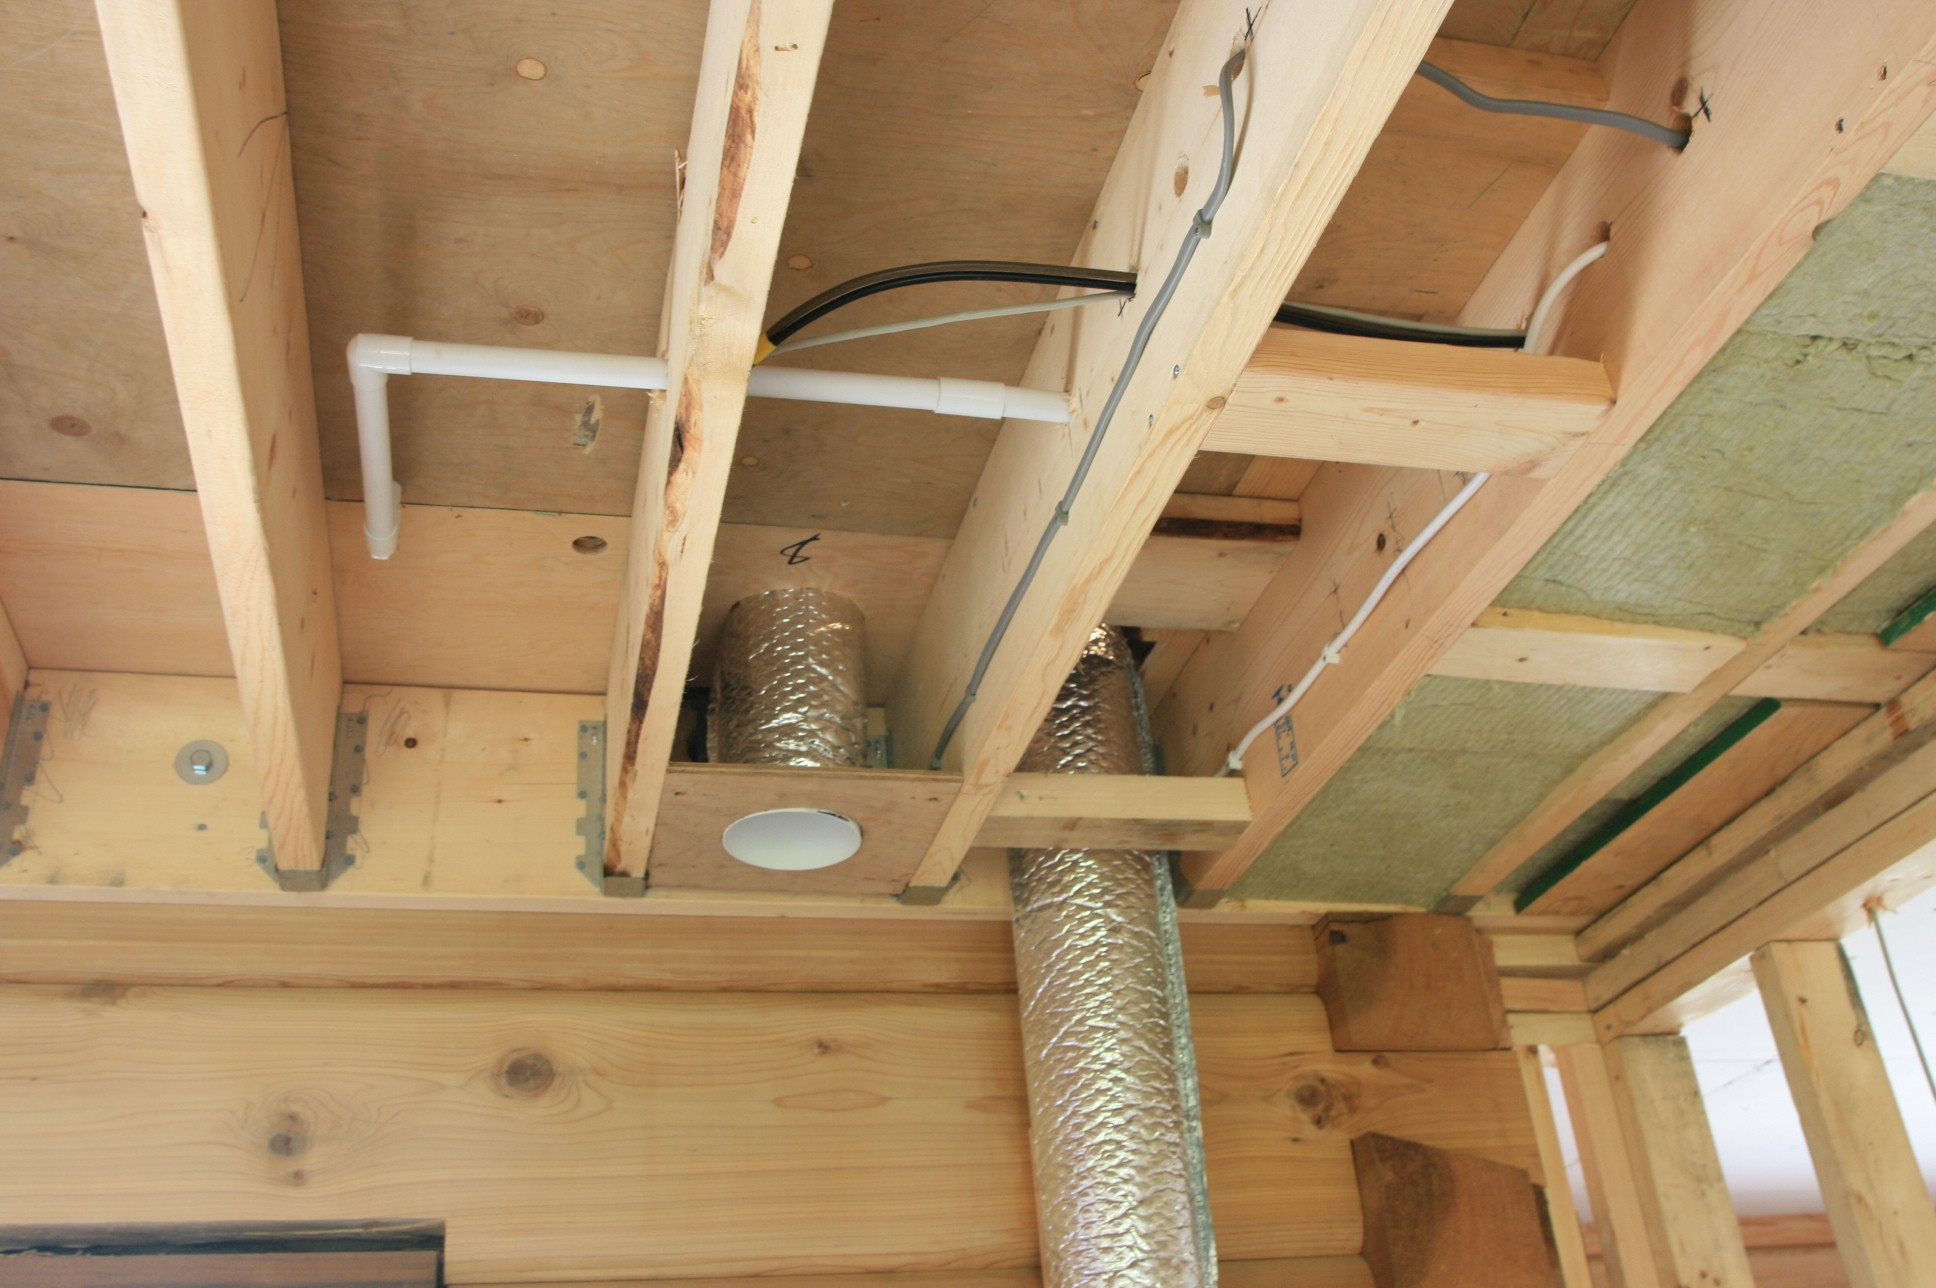
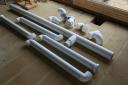 Now tht the ceiling plasterboard is going up, we are gluing up our duct work for the heat recovery and comfort cooling sytems. here is a collection of “sub – assemblies” that have been glued up. This just leaves us the remaining joints to glue or tape with duct tape once the assemblies are slid into place.
The system has taken a lot more time to think through the routing than expected. Working in 3 dimensions with such large pipework is a challenge, even in a new house. It is certainly worth getting the basic pipe runs in place before the plumbers and electricians get too far into the job because firstly you may have to have boxing in in places that might be helpful for them, and it stakes your claim on bits of space!
Published by in Eco House Insulation
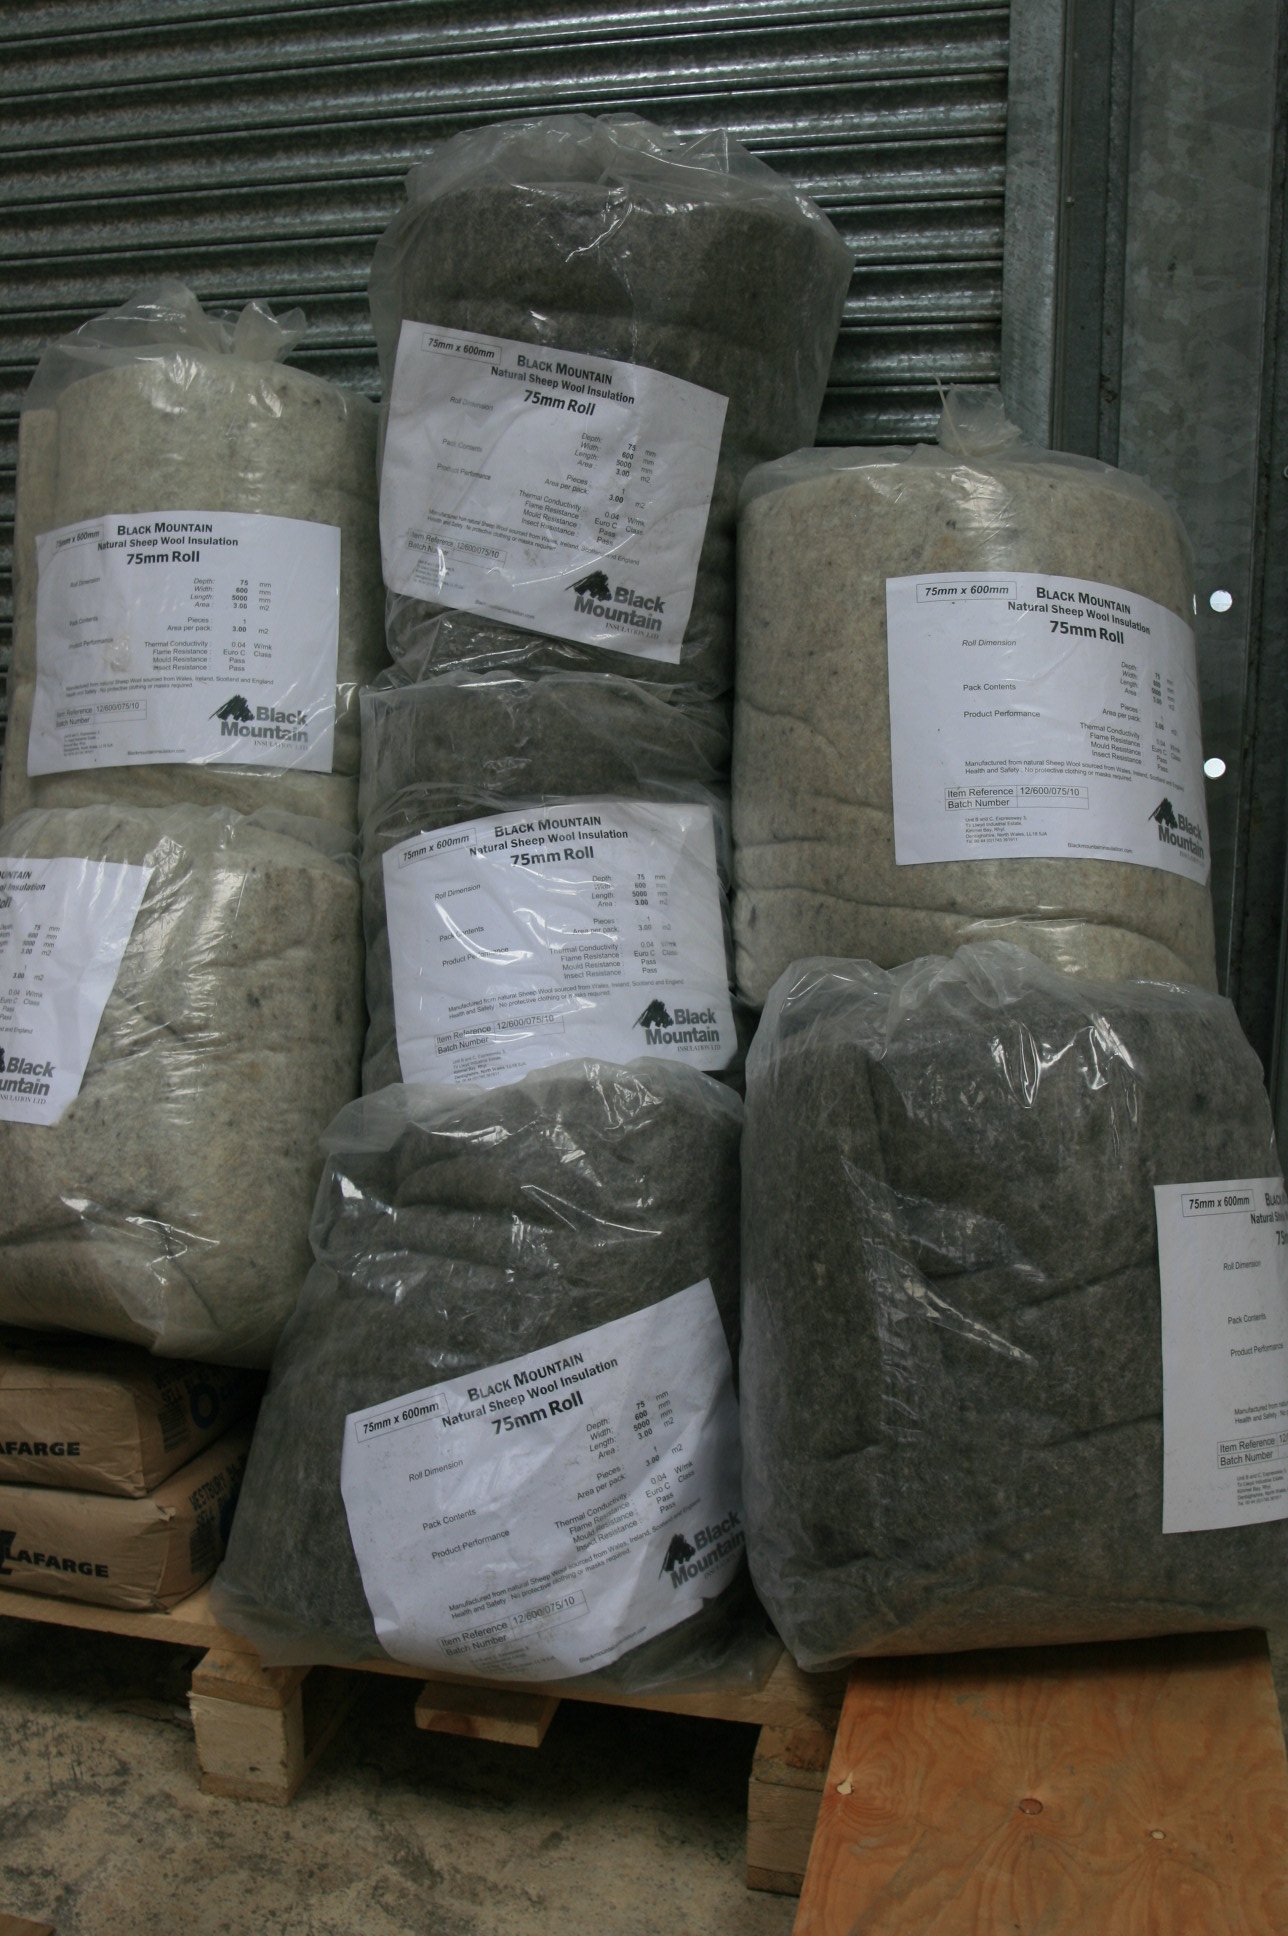
 So here it is, some from black sheep, some from white, and of course there will be no problem getting to sleep at night with all those sheep to count!
Published by in Eco House Insulation
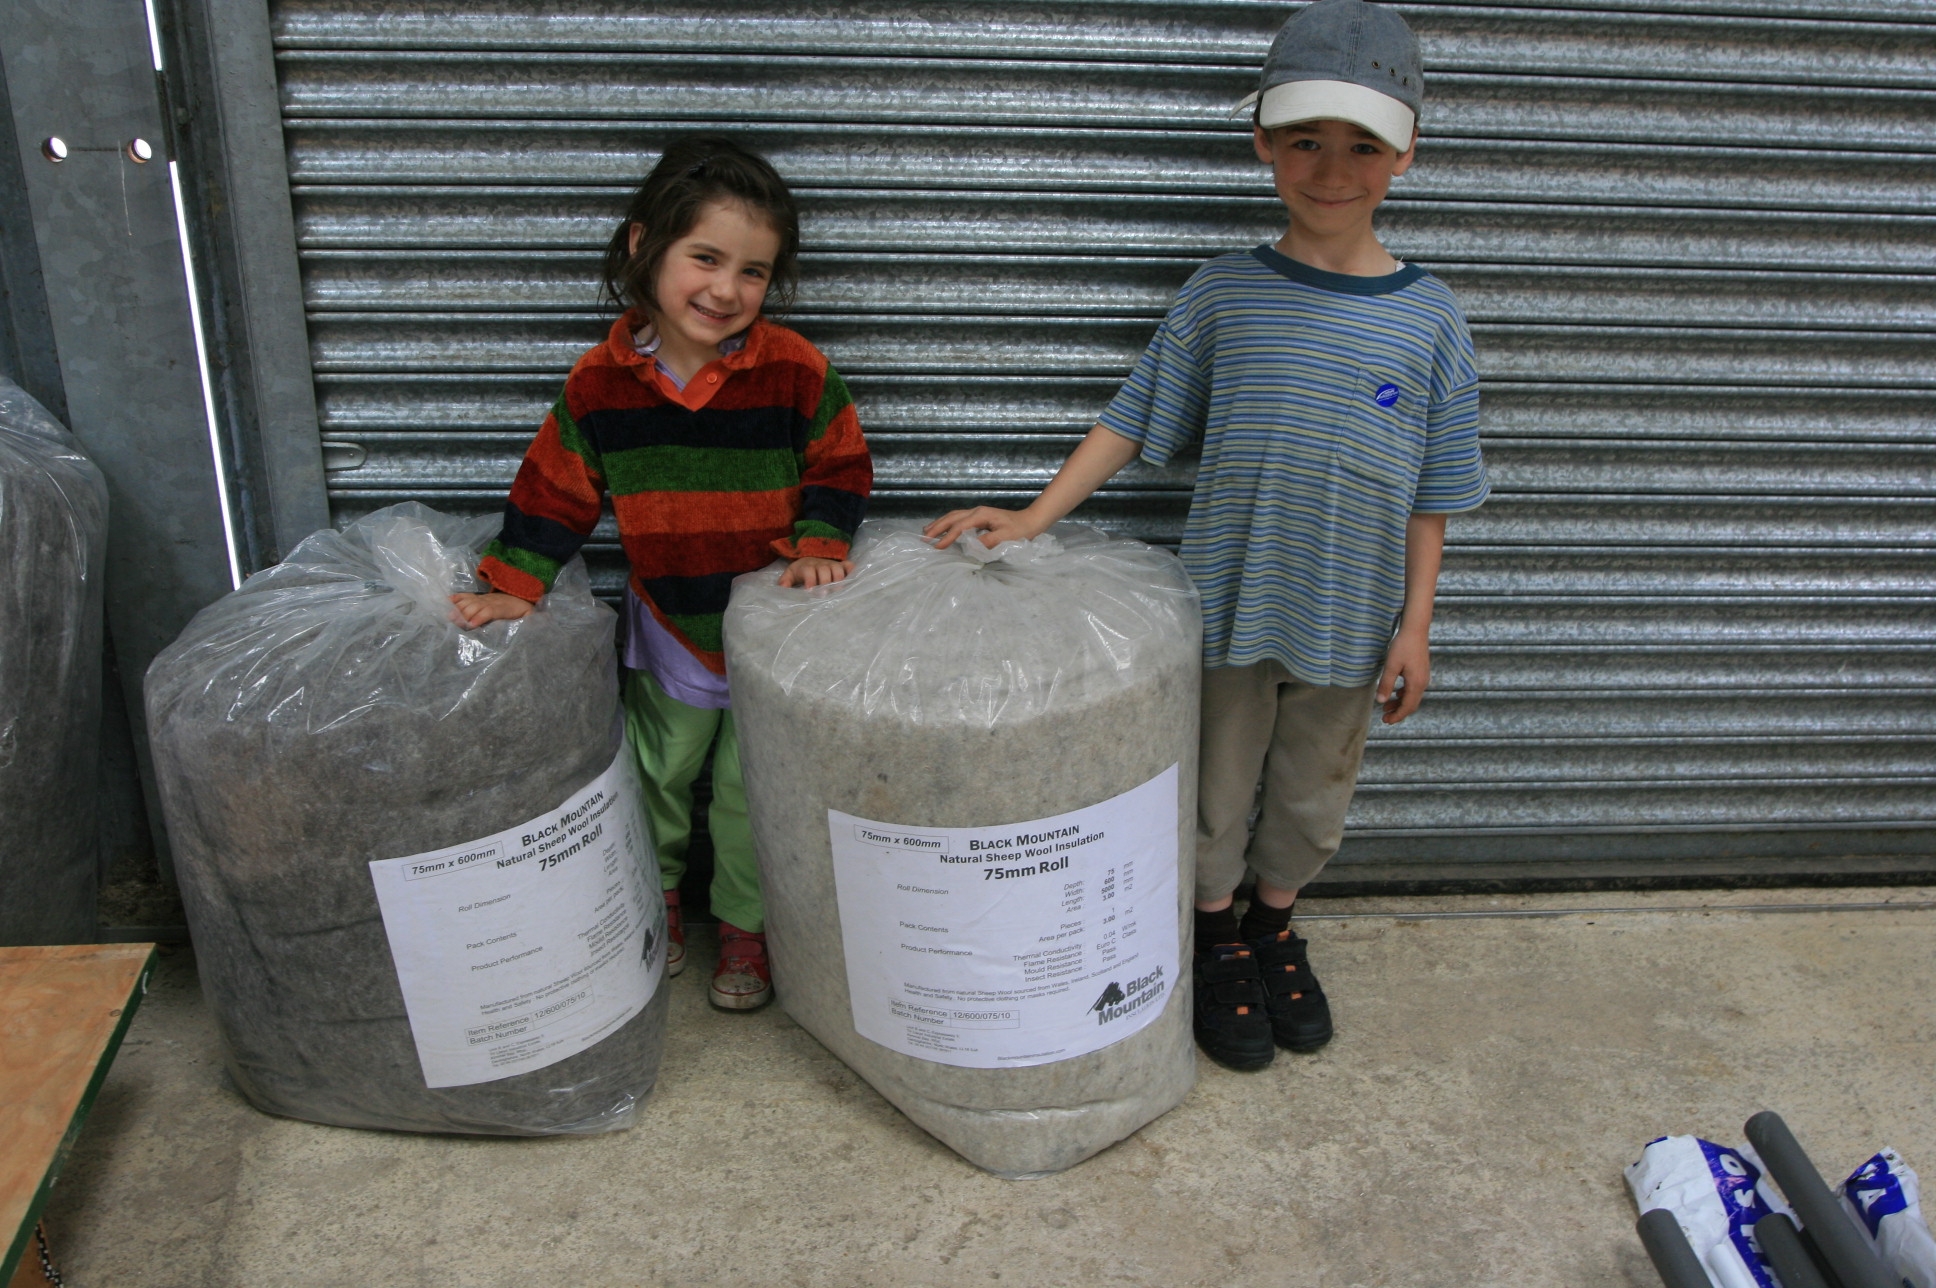
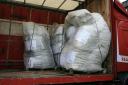
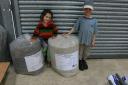 The 60 bags of sheeps wool insulation arrived and way so little it is childs play to move them around. We bought bags with 75mm thick, 60cm wide rolls 5 metres long. This suited our rafters which are mostly on 2 foot centres, the small difference is not an issue and the two layers of sheeps wool are just tacked in place using a small staple gun.
As the product is made by the http://www.blackmountaininsulation.com/ you expect to get some black sheepswool, and you do! (see bag on left!).
It is very easy to work with. You cut it with household scissors, and holes for ducts and pipes are a doddle. There is no need for face masks and all the problems with irritation that can arise with man made insulation, particularly the fibre glass stuff.
Published by in Eco House Insulation
 We thought long and hard about what to use for this, and eventually decided to go for sheeps wool insulation. It needs to be about half as thick again as conventional insulation such as Cellotex, costs about 15-20% more, so about £200 plus VAT in our case.
The web site of the people we bought it from, www.blackmountaininsulation.com/ pretty much convinced us that it had so many advantages over conventional materials the small extra cost was irrelevant. It is treated with Borax to protect it against moths and insects and this also gives it greater fire retardance, but has no other chemicals in it, and “breathes” as well as insulating, so avoids the risk of moisture becoming trapped and creating mould.
 Here is the sheeps wool arriving in the lorry! It’s very light and easy to handle, in fact quite fun to through around!
Published by in Comfort Cooling, Ground Source Heat Pump
 The cold return pipework on the comfort cooling system needs to be insulated. So conventional plastic 125mm diameter pipework gets a sleeve made of thin bubblewrap with metal outer skin slipped over it. Joints are taped with the self adhesive metal tape used for a variety of ducting work on houses.
Here you can see one pipe coming into the ceiling of a bedroom, and another pipe on it’s way down to the lounge. This pipe will be hidden in a “fitted cupboard” as will the warm air pick up from the lounge which is at the other end of the cupboard.
You can also see the white overflow pipe which goes up to the chiller to allow any condensation in the chiller to be removed. This has a small trap (u bend) under the chiller.
Published by in Central Vacuum System
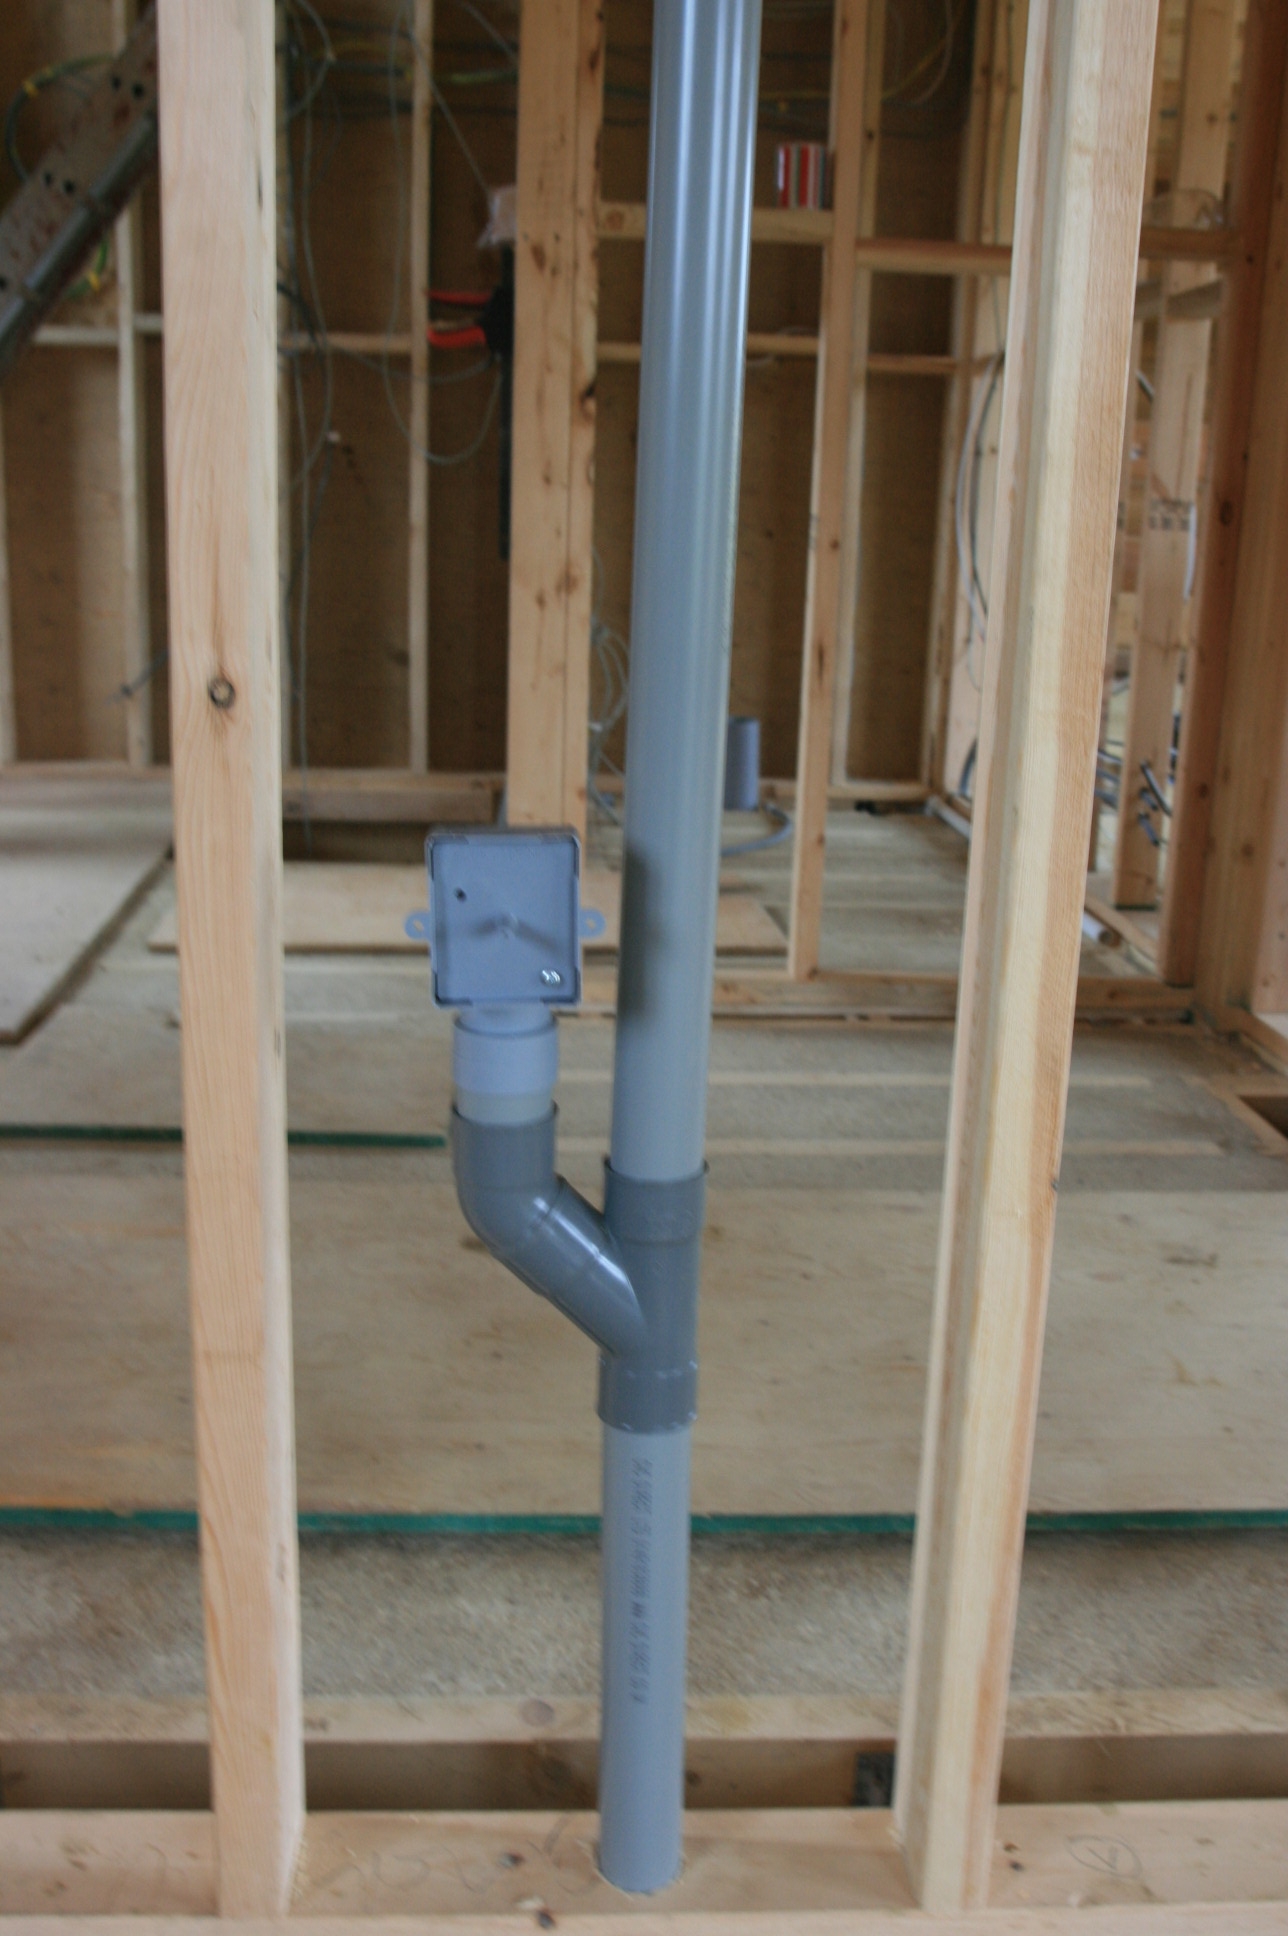
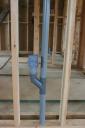 Sitting between the 400mm stuc centres is the 2″ vacuum pipe, here fitted with a branch and a wall socket back box. It’s similar to putting in an electrical wall socket and indeed the vacuum socket is set at the same height for ease of use and asthetics.
Published by in Central Vacuum System
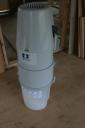 We’ve been intending to fit this since the early house designs were drawn up. We saw it in a friends self build in Cornwall and could see the advantages. A 5 metre length of hose is all you need to carry around when cleaning the house. 5 or 6 “sockets” enable you to plug the hose into the sockets, which are linked via piping through the house to this unit which will live in the utility room. Pushing the hose in the socket automatically switches the unit on and it vents it’s exhaust to the outside of the house. We will be having engineered floors throughout most of the house with the exception of the tiled “wet” areas and a duct that fits into the plinth of the kitchen units will be ideal to just brush the floor, touch the duct and the dust is sucked away, without even getting the flexible hose out.
Published by in Rainwater Harvesting
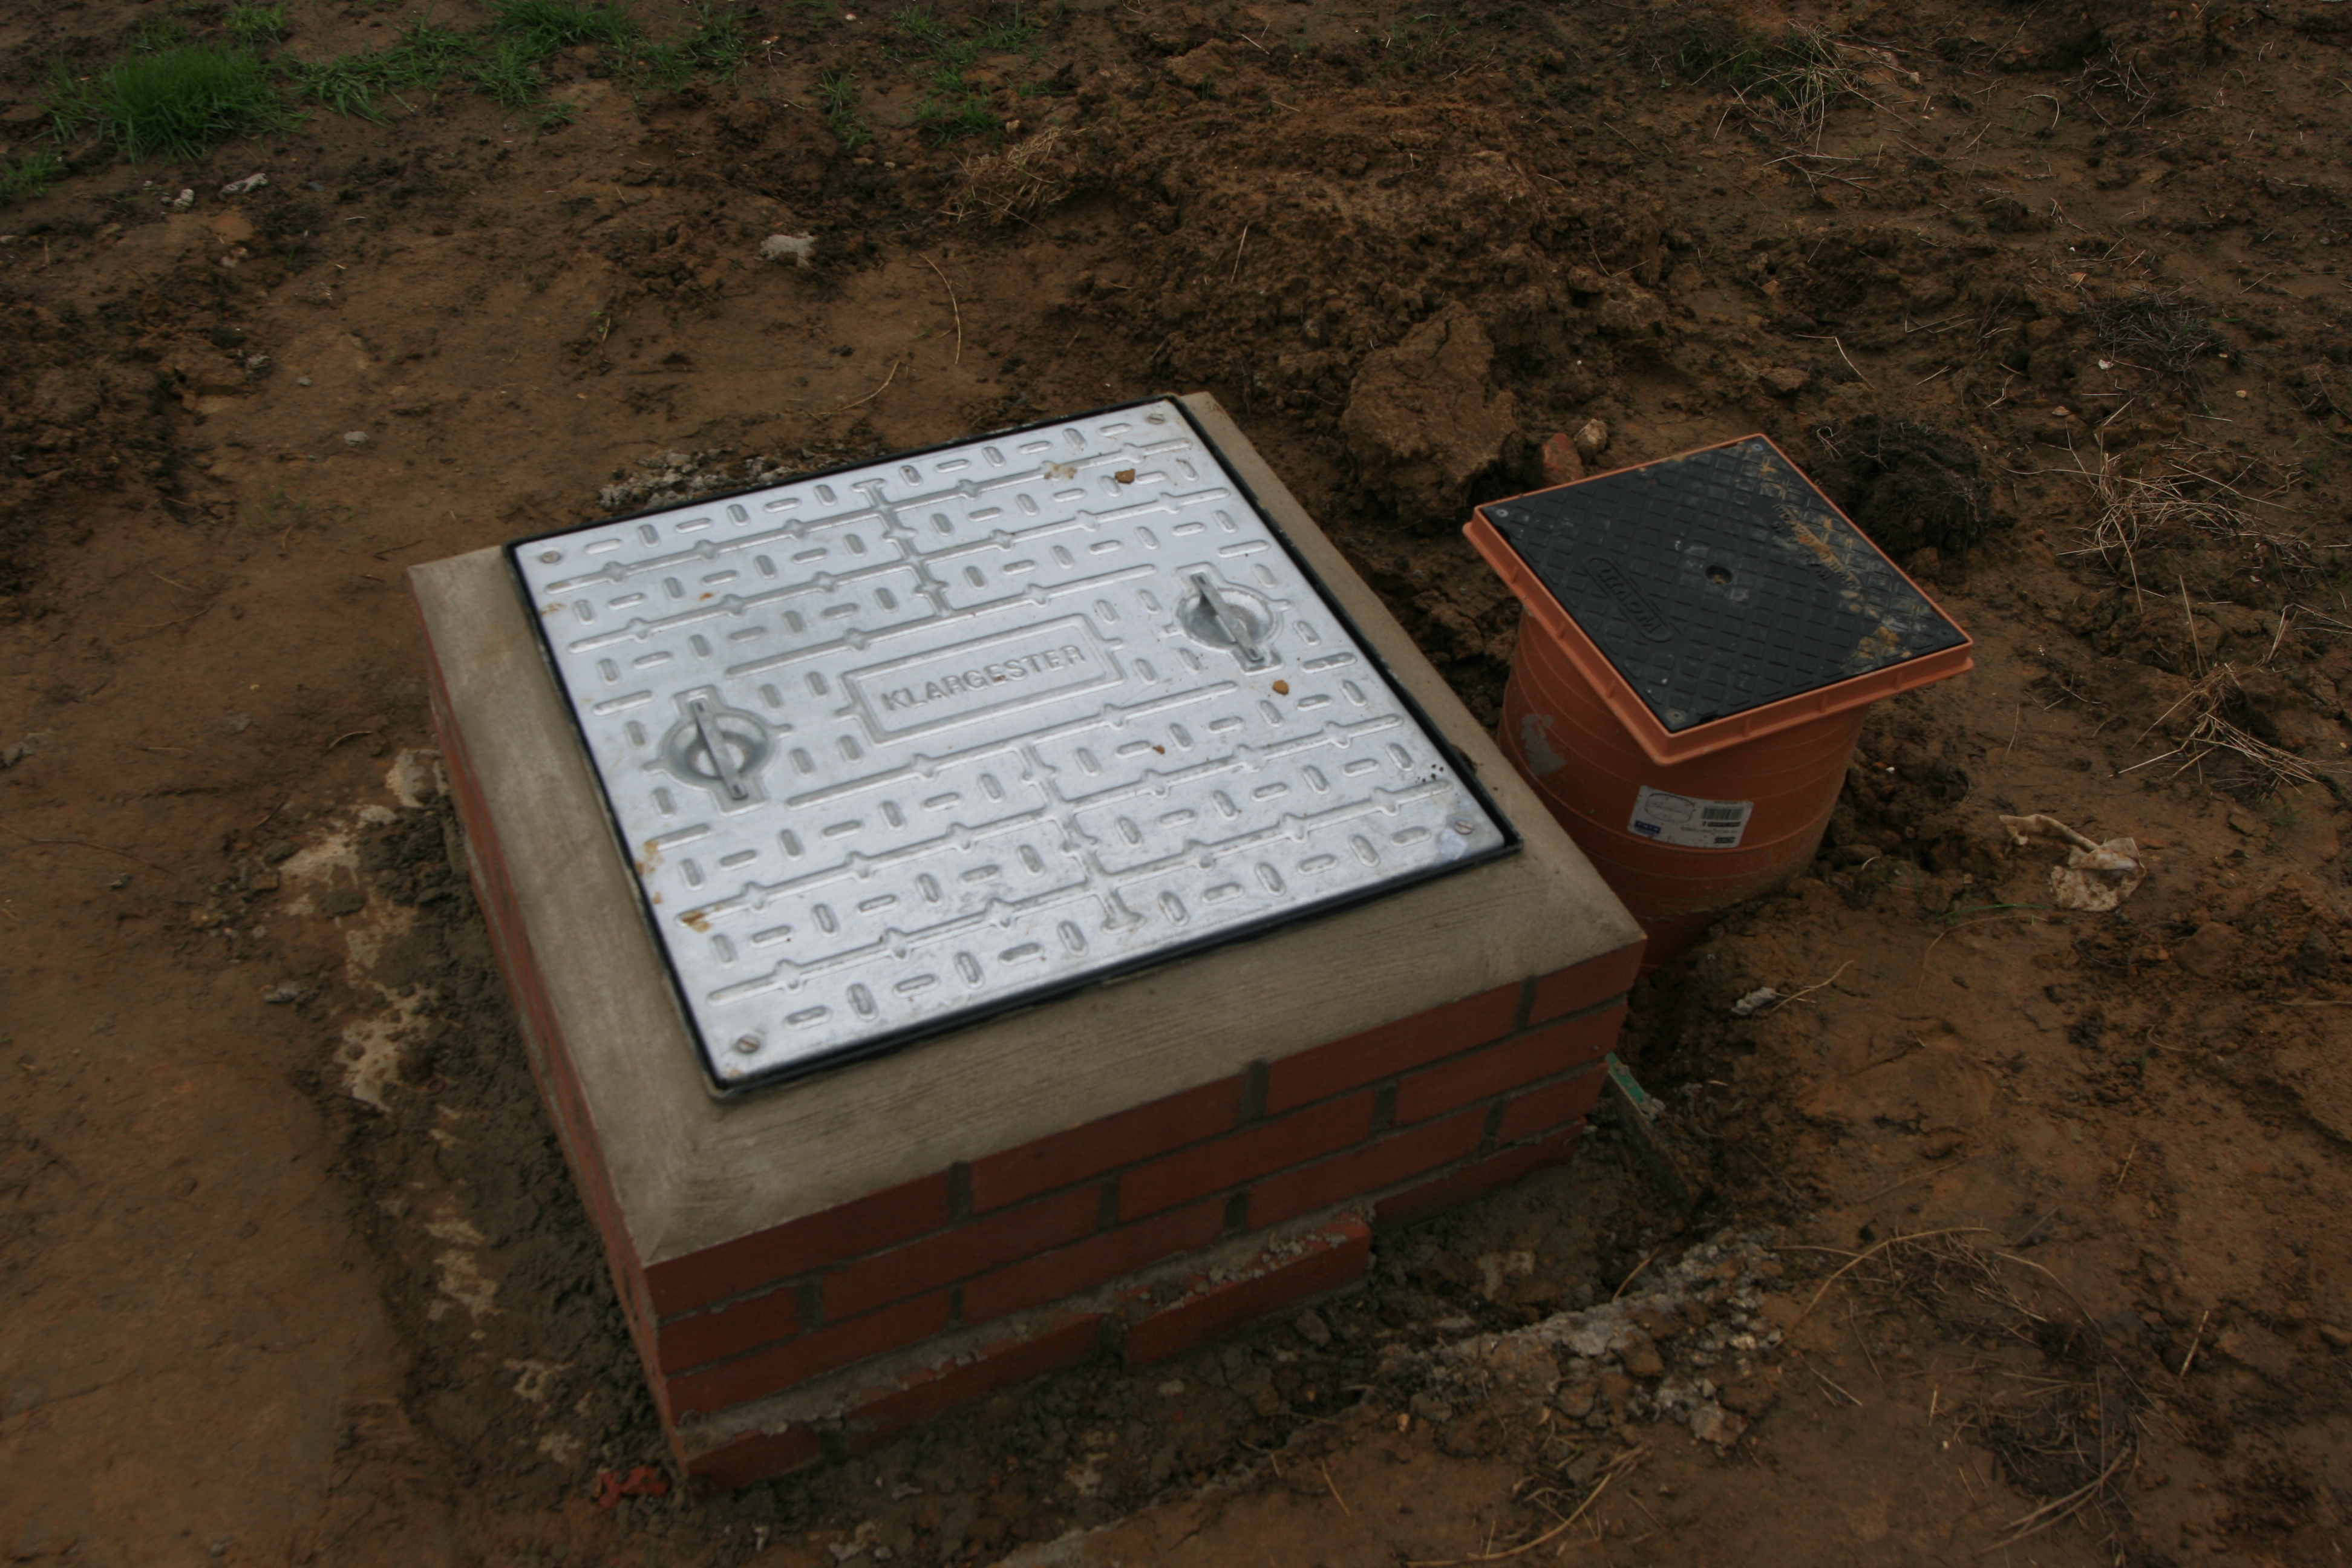 We’ve used some engineering bricks to build up around the “conning tower” of the rainwater harvesting tank to fix the cover supplied with the tank in place and at the correct finished level. We can now backfill with dig and then top soil to landscape it off. With the potential for people to fall into the tank (the water in it can be about 3 feet deep or more) a secure cover is essential.
Published by in Eco House Insulation
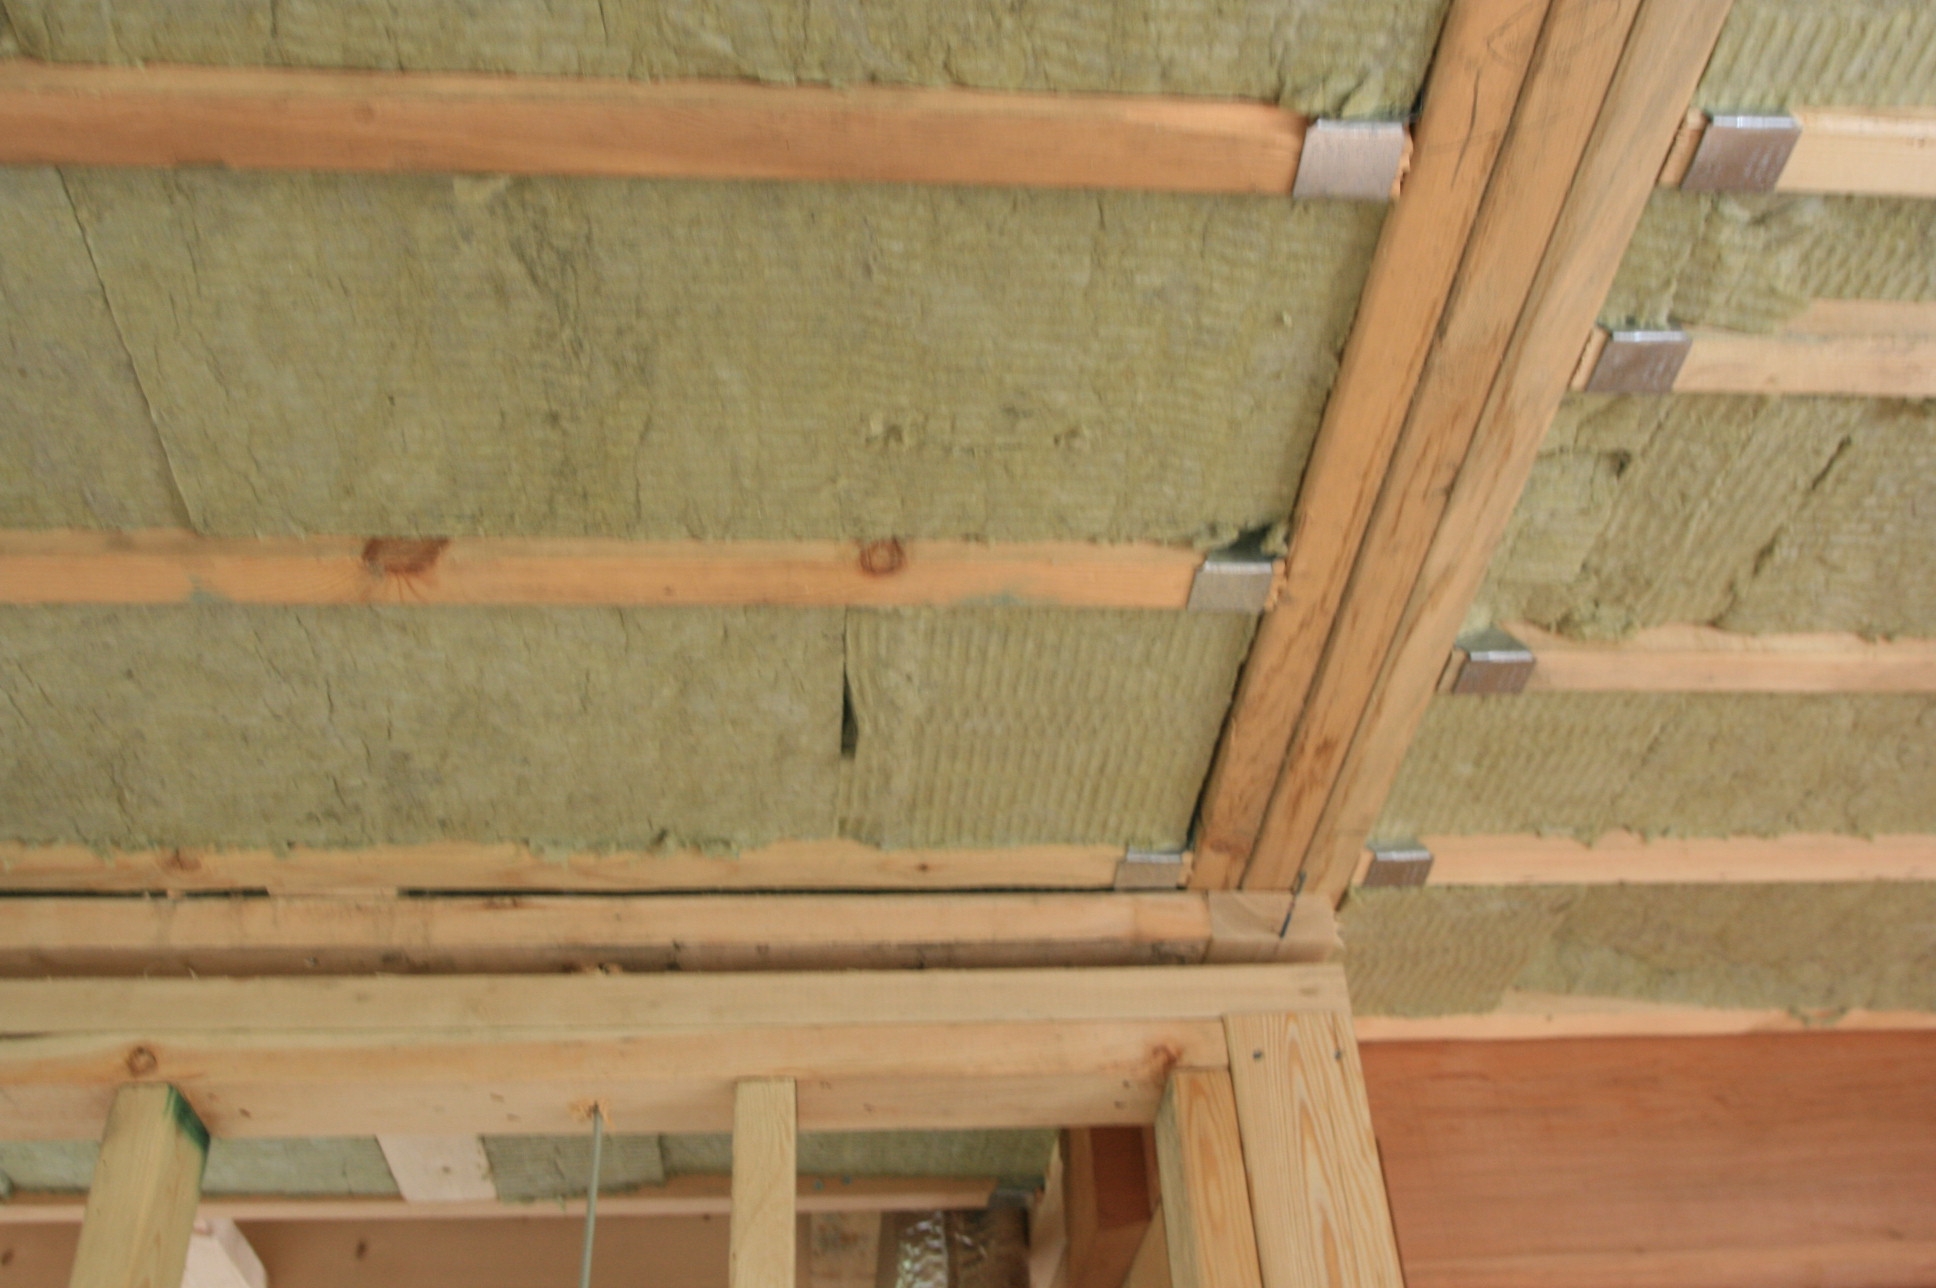
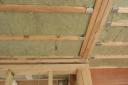 To improve heat and sound insulation we are using Rockwool R40 between the joist spaces. Not as nice to work with as the sheepswool insulation we are using for the roof insulation which is also being done and we will cover next week.
Published by in Log House Design
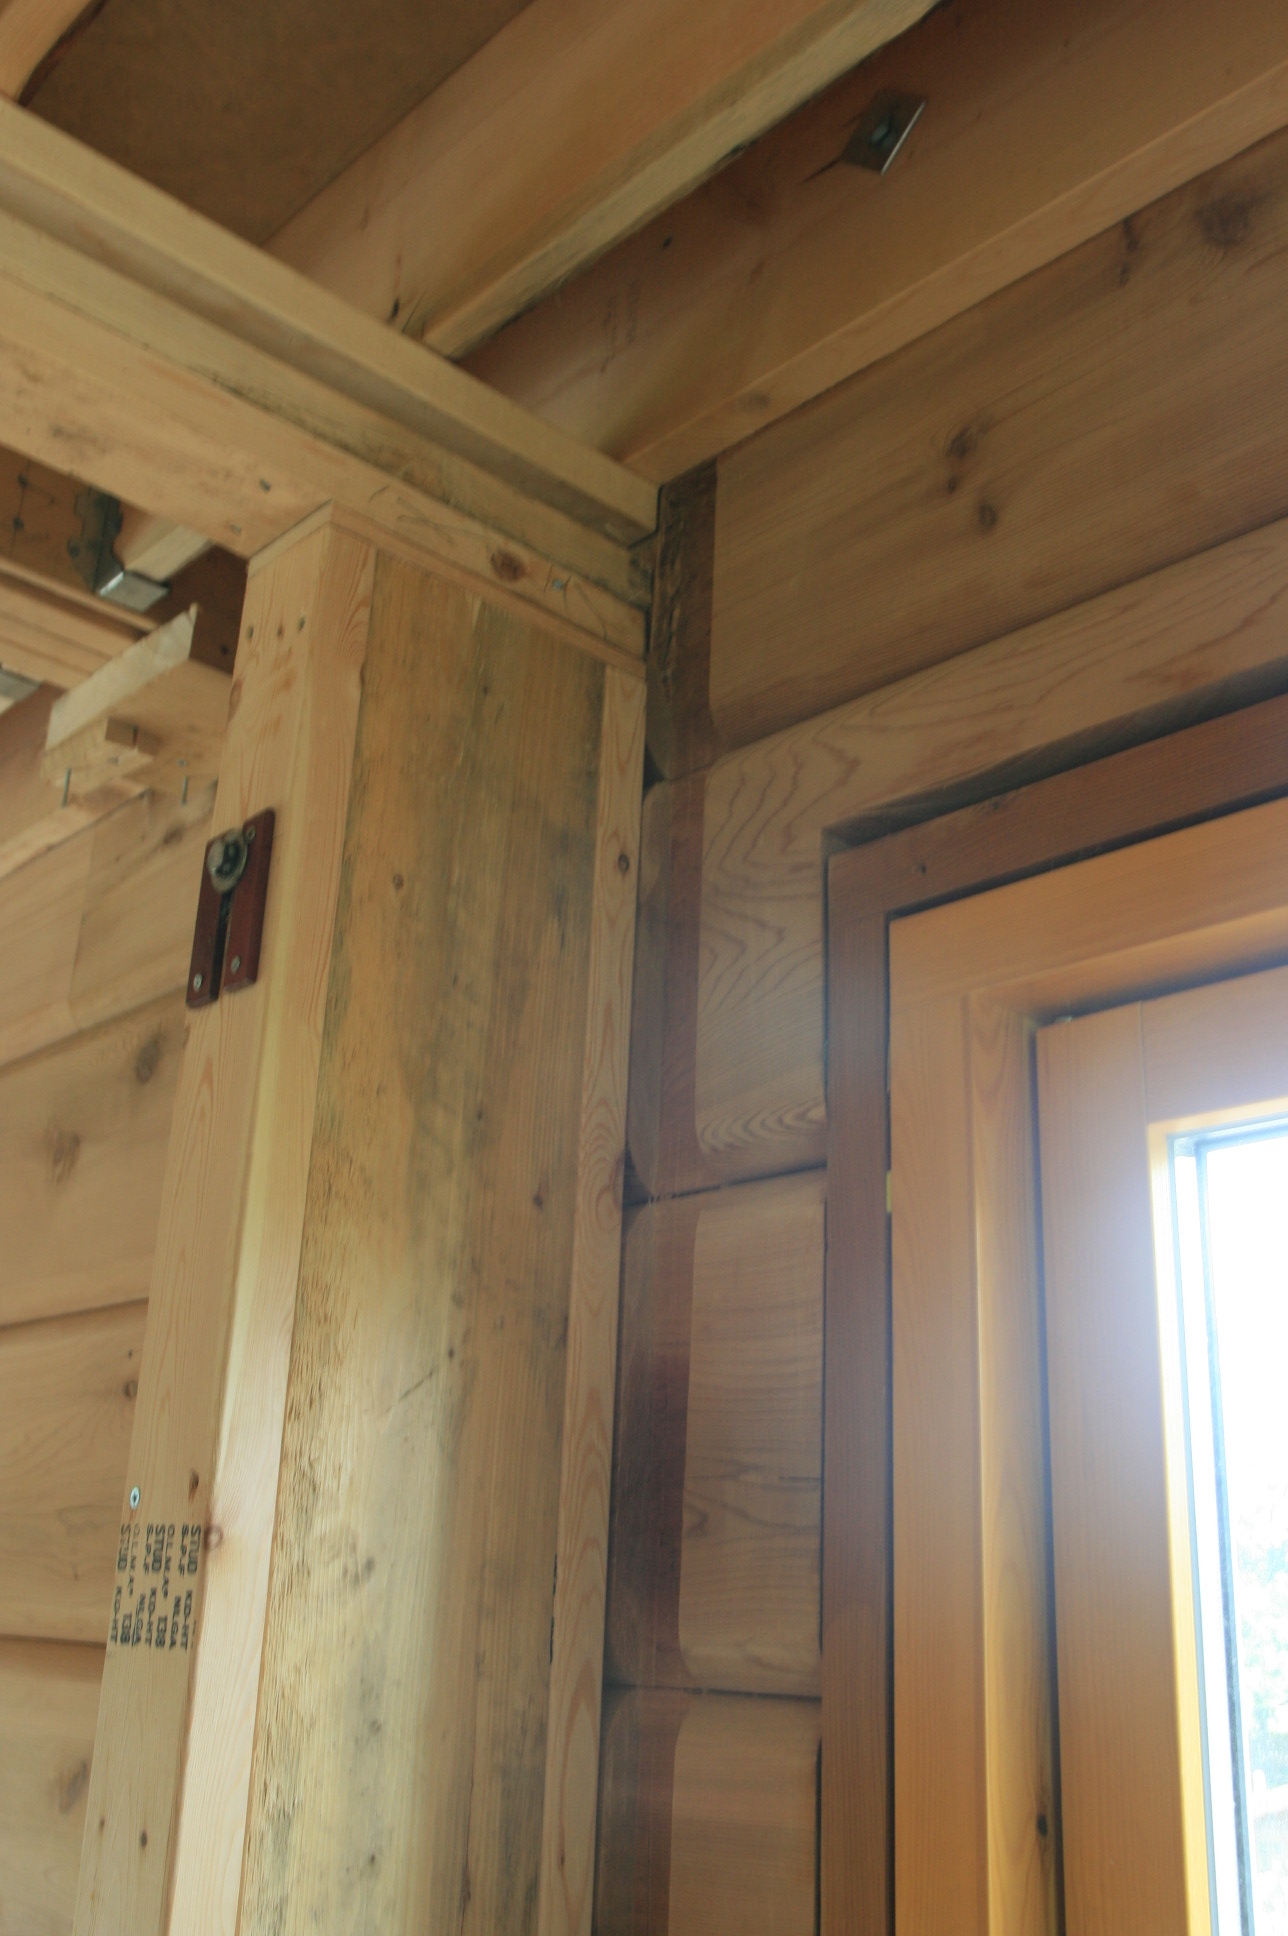
 Whilst the errection of the external log walls is pretty straight forward, the internal marriage of the stud work walls to the log walls is poorly detailed by the log house suppliers. Where we have decided to use log “siding” (2″ thick slices of log which look like a full 8″ log but are fixed like monster sized “tongue and groove” to the stud framework) in order to get a good seal between adjoining rooms we are cutting a 2″ slot so that the siding does not leave a cheek shaped hole between each log. The devil as they say is in the detail.
 Now tht the ceiling plasterboard is going up, we are gluing up our duct work for the heat recovery and comfort cooling sytems. here is a collection of “sub – assemblies” that have been glued up. This just leaves us the remaining joints to glue or tape with duct tape once the assemblies are slid into place.