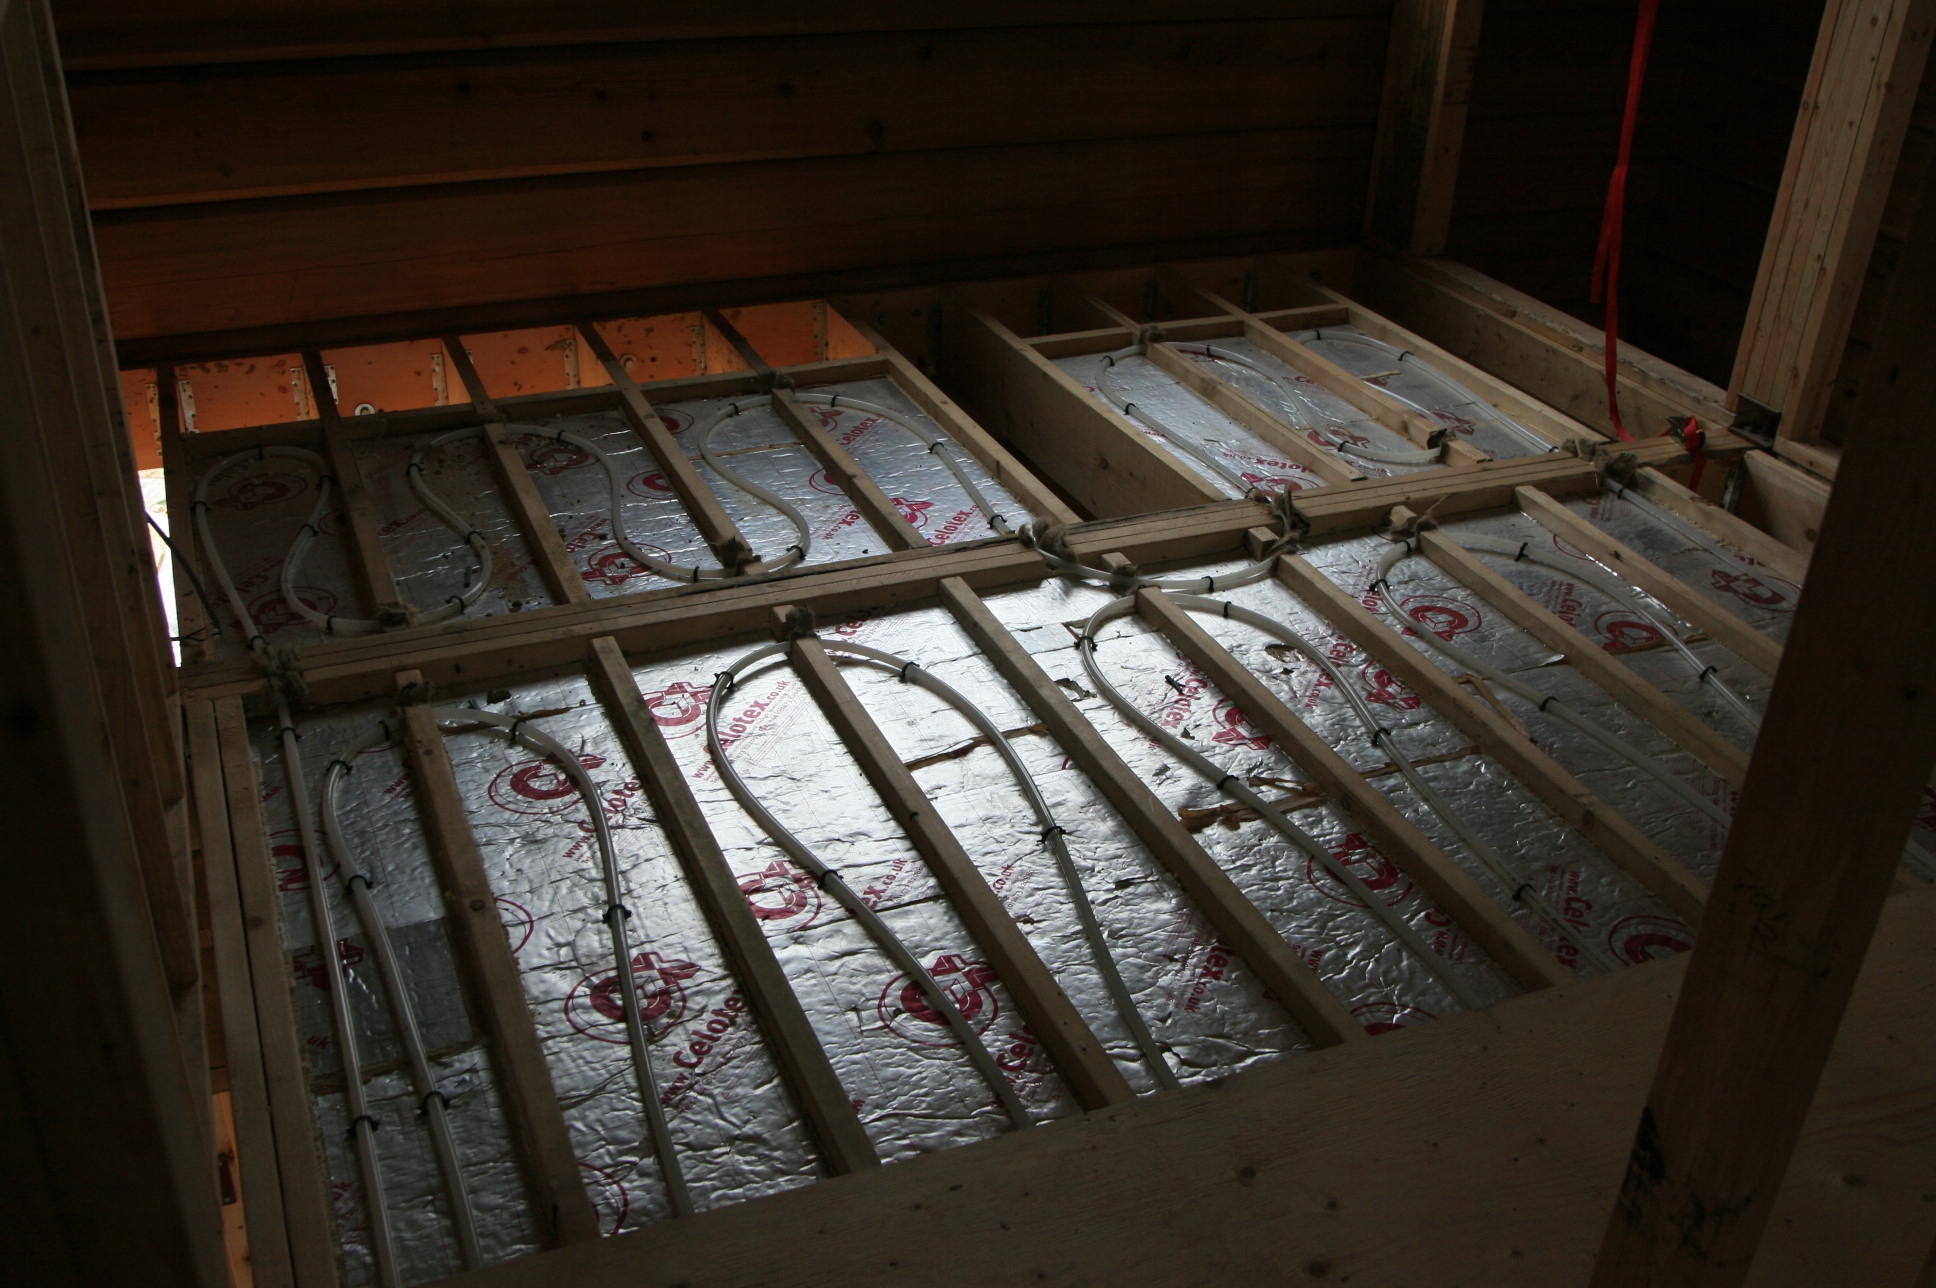
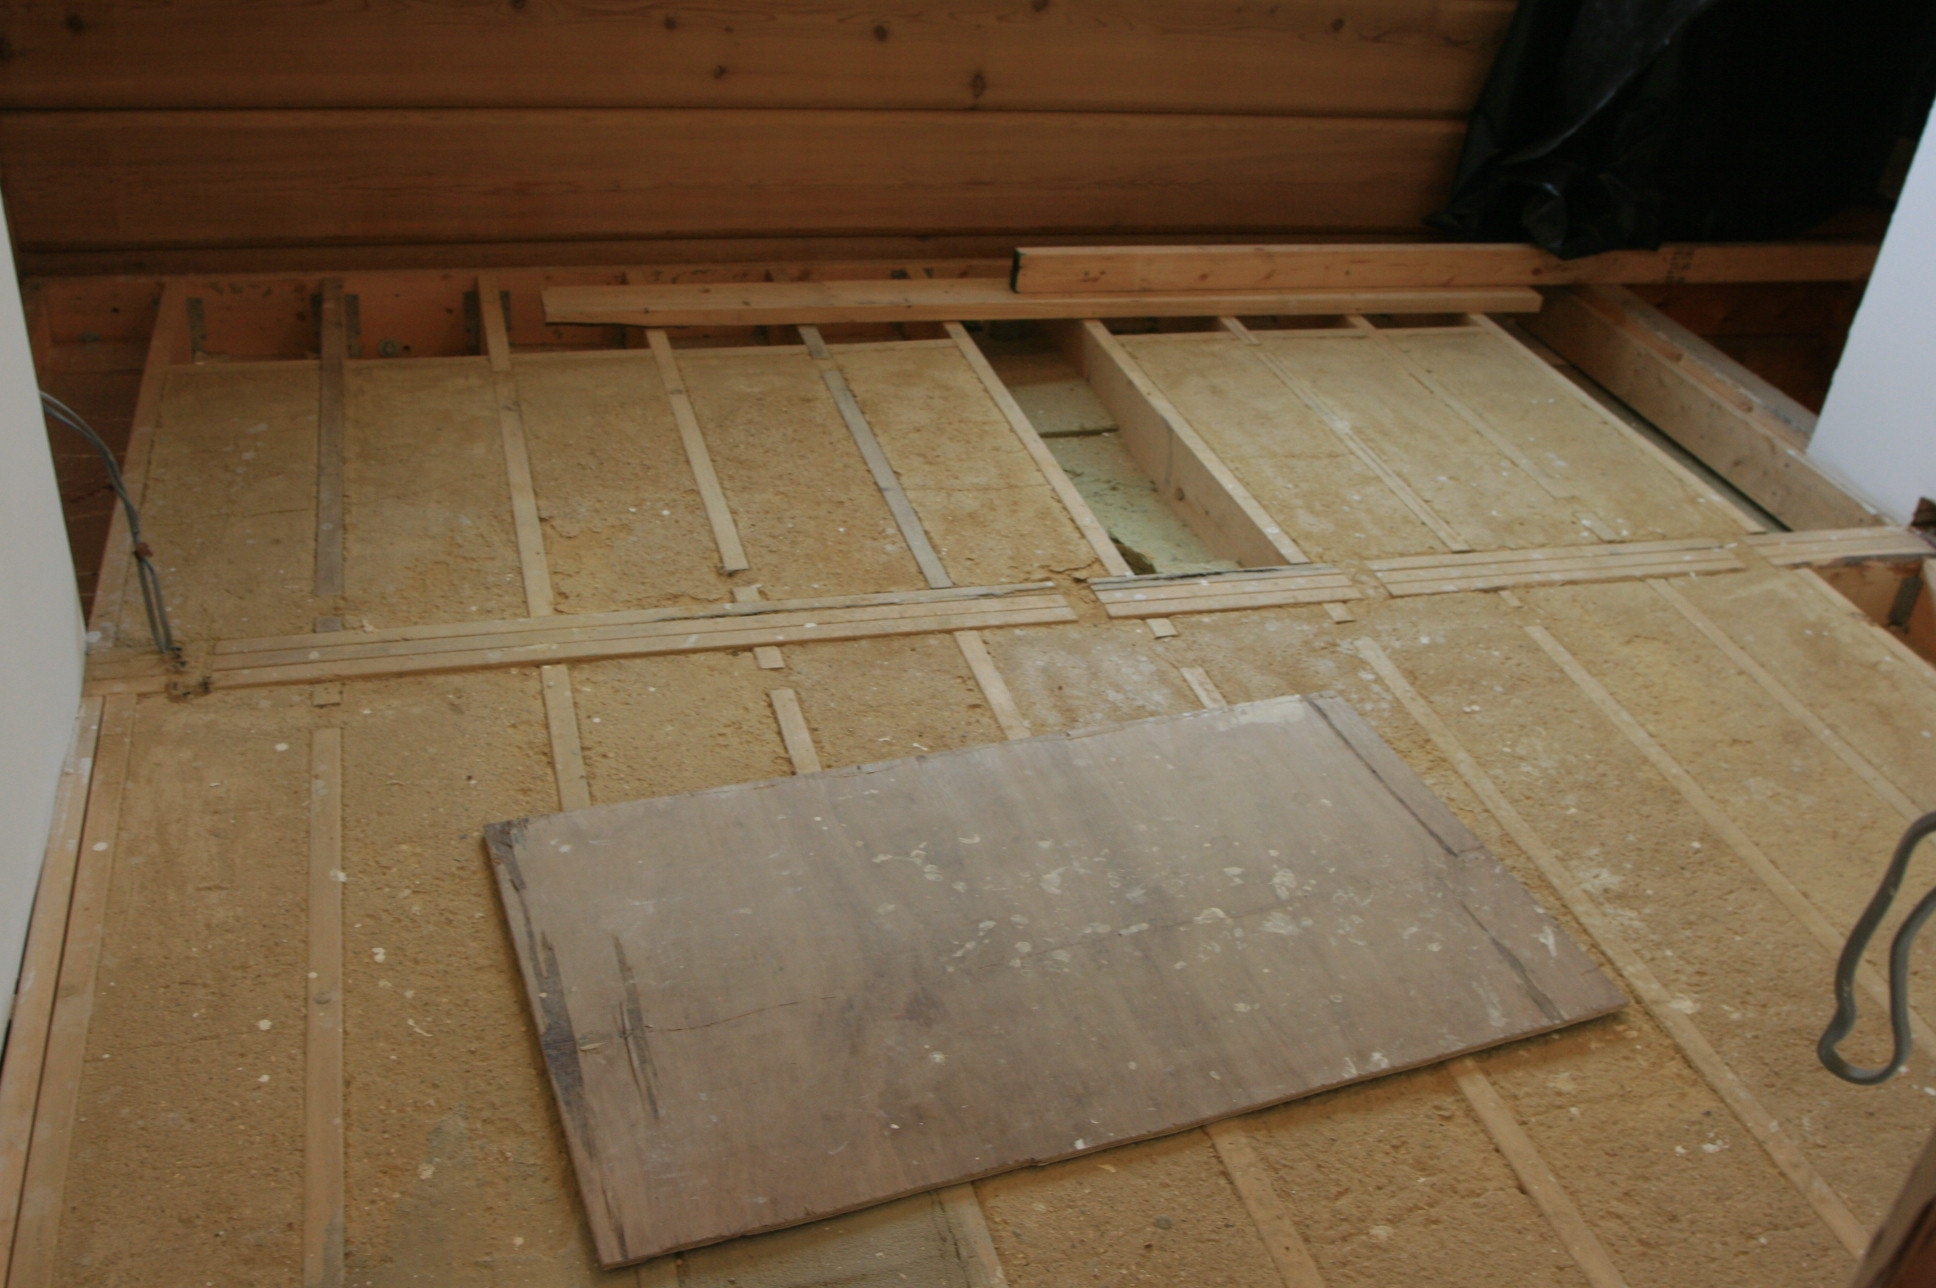
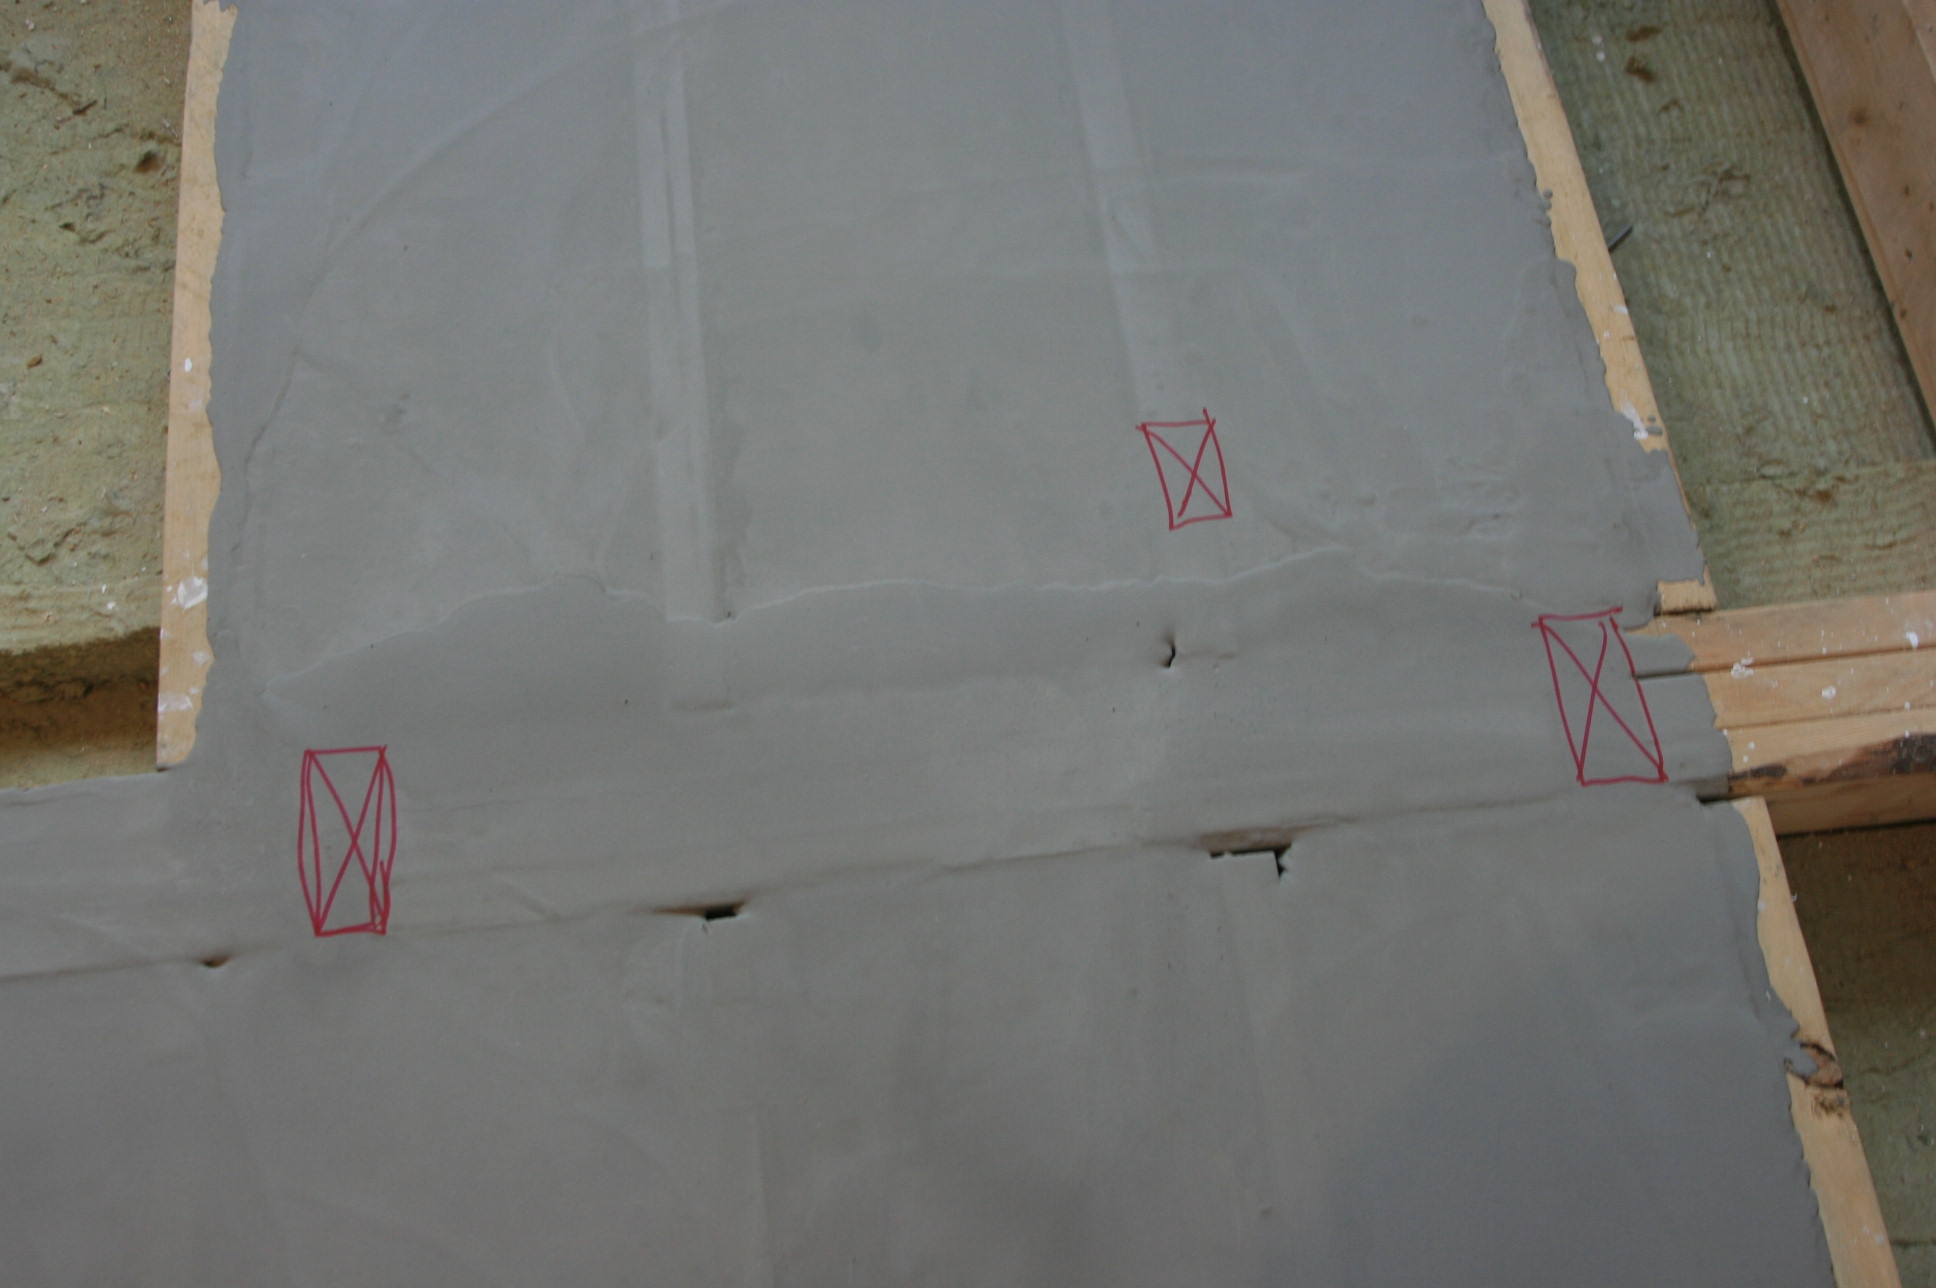
At last, with the floor leveled with latex and marked out to show where the underfloor pipes are, it is time to lay the floor.
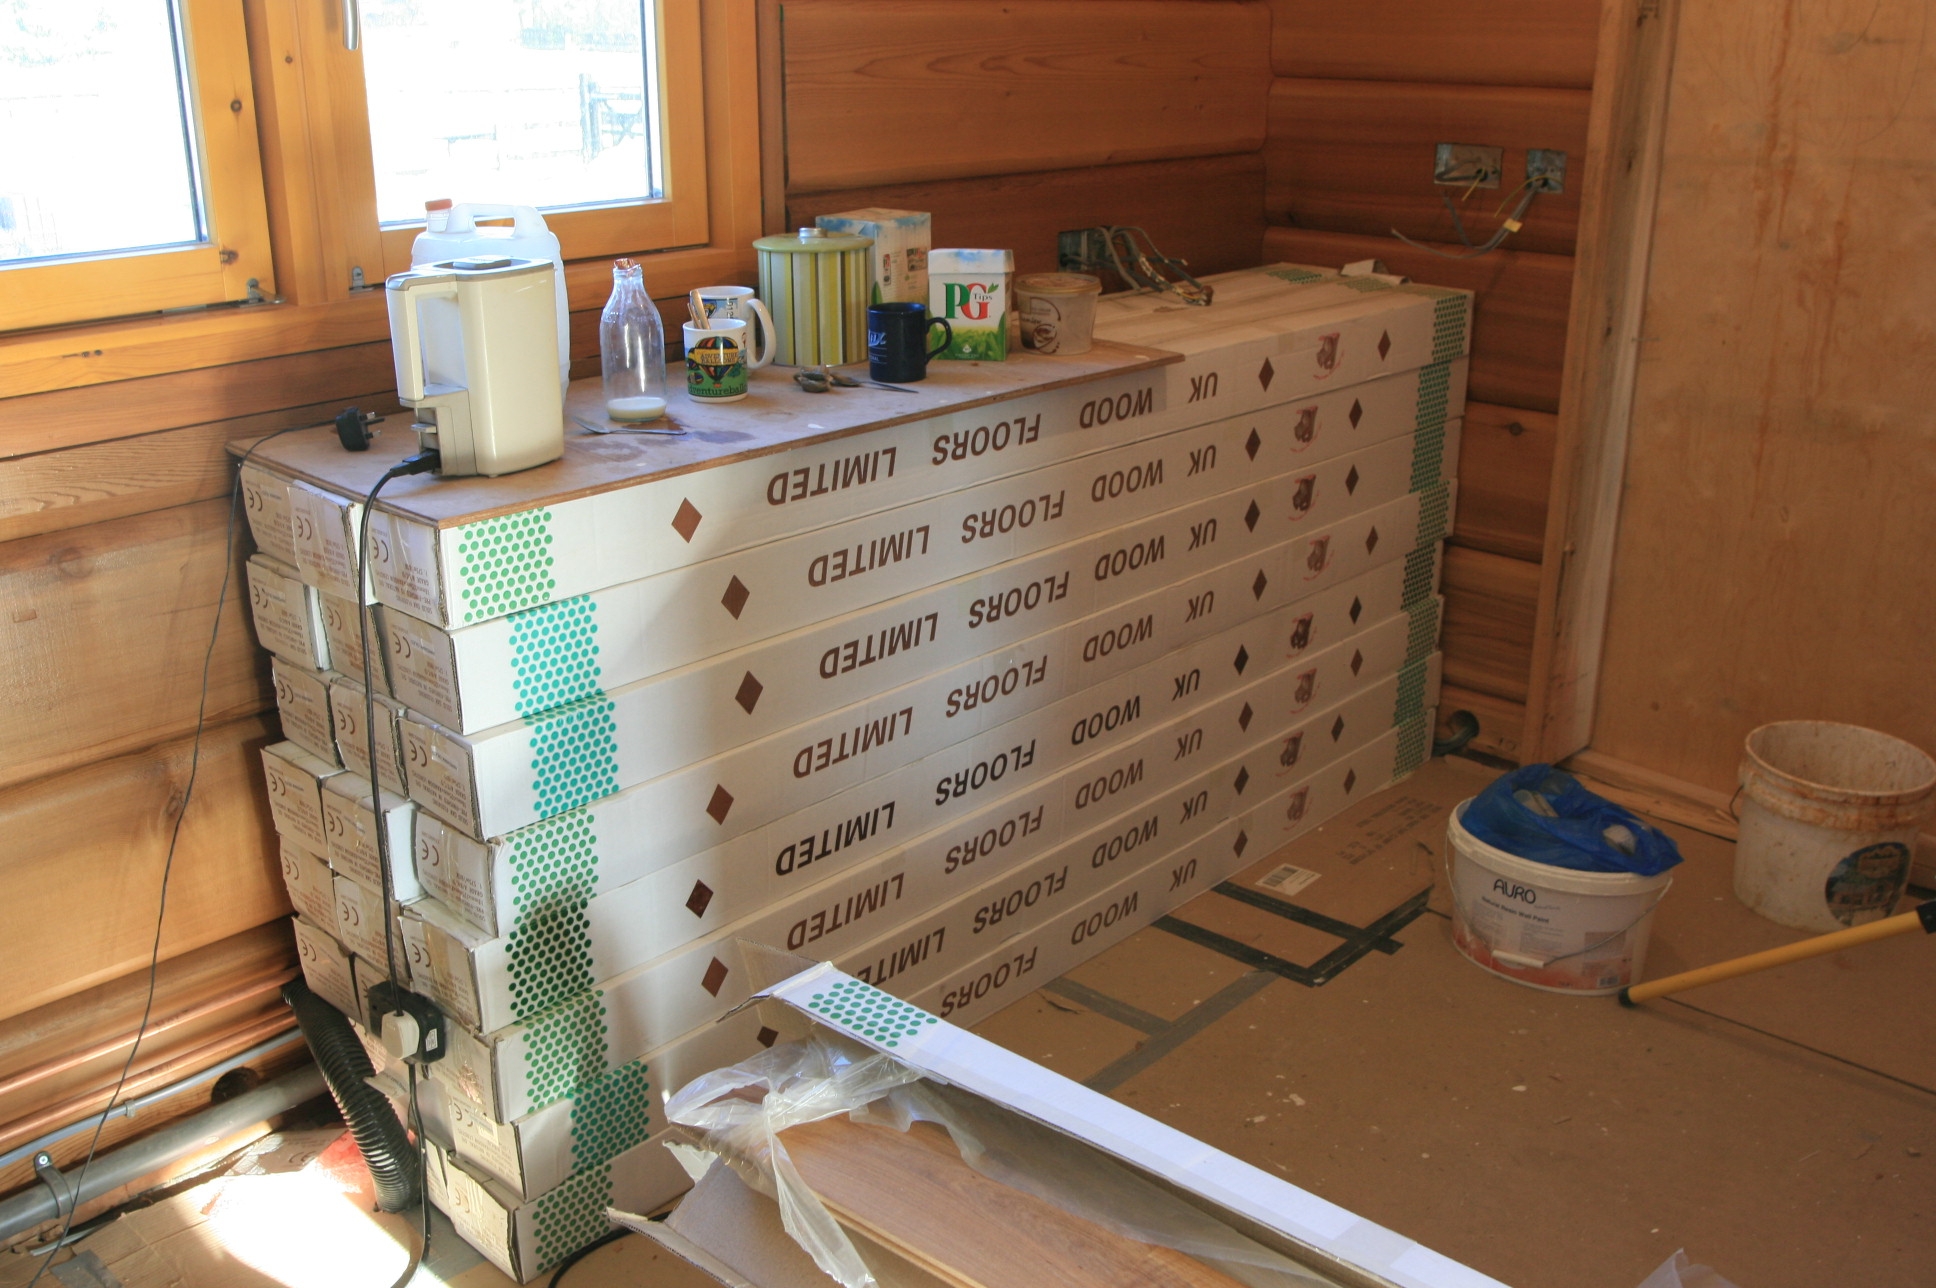
 The wood is acclimatised in the house for a fortnight, preferably in the room it is going to be used in. With the underfloor heating on, this enables the pre dried floor to get used to the envirionment it will be in. Two days prior to laying the floor, the underfloor heating is turned off, and after the flooring is done, is very gradually warmed up again over 2-3 weeks so that the wood warms up very slowly.
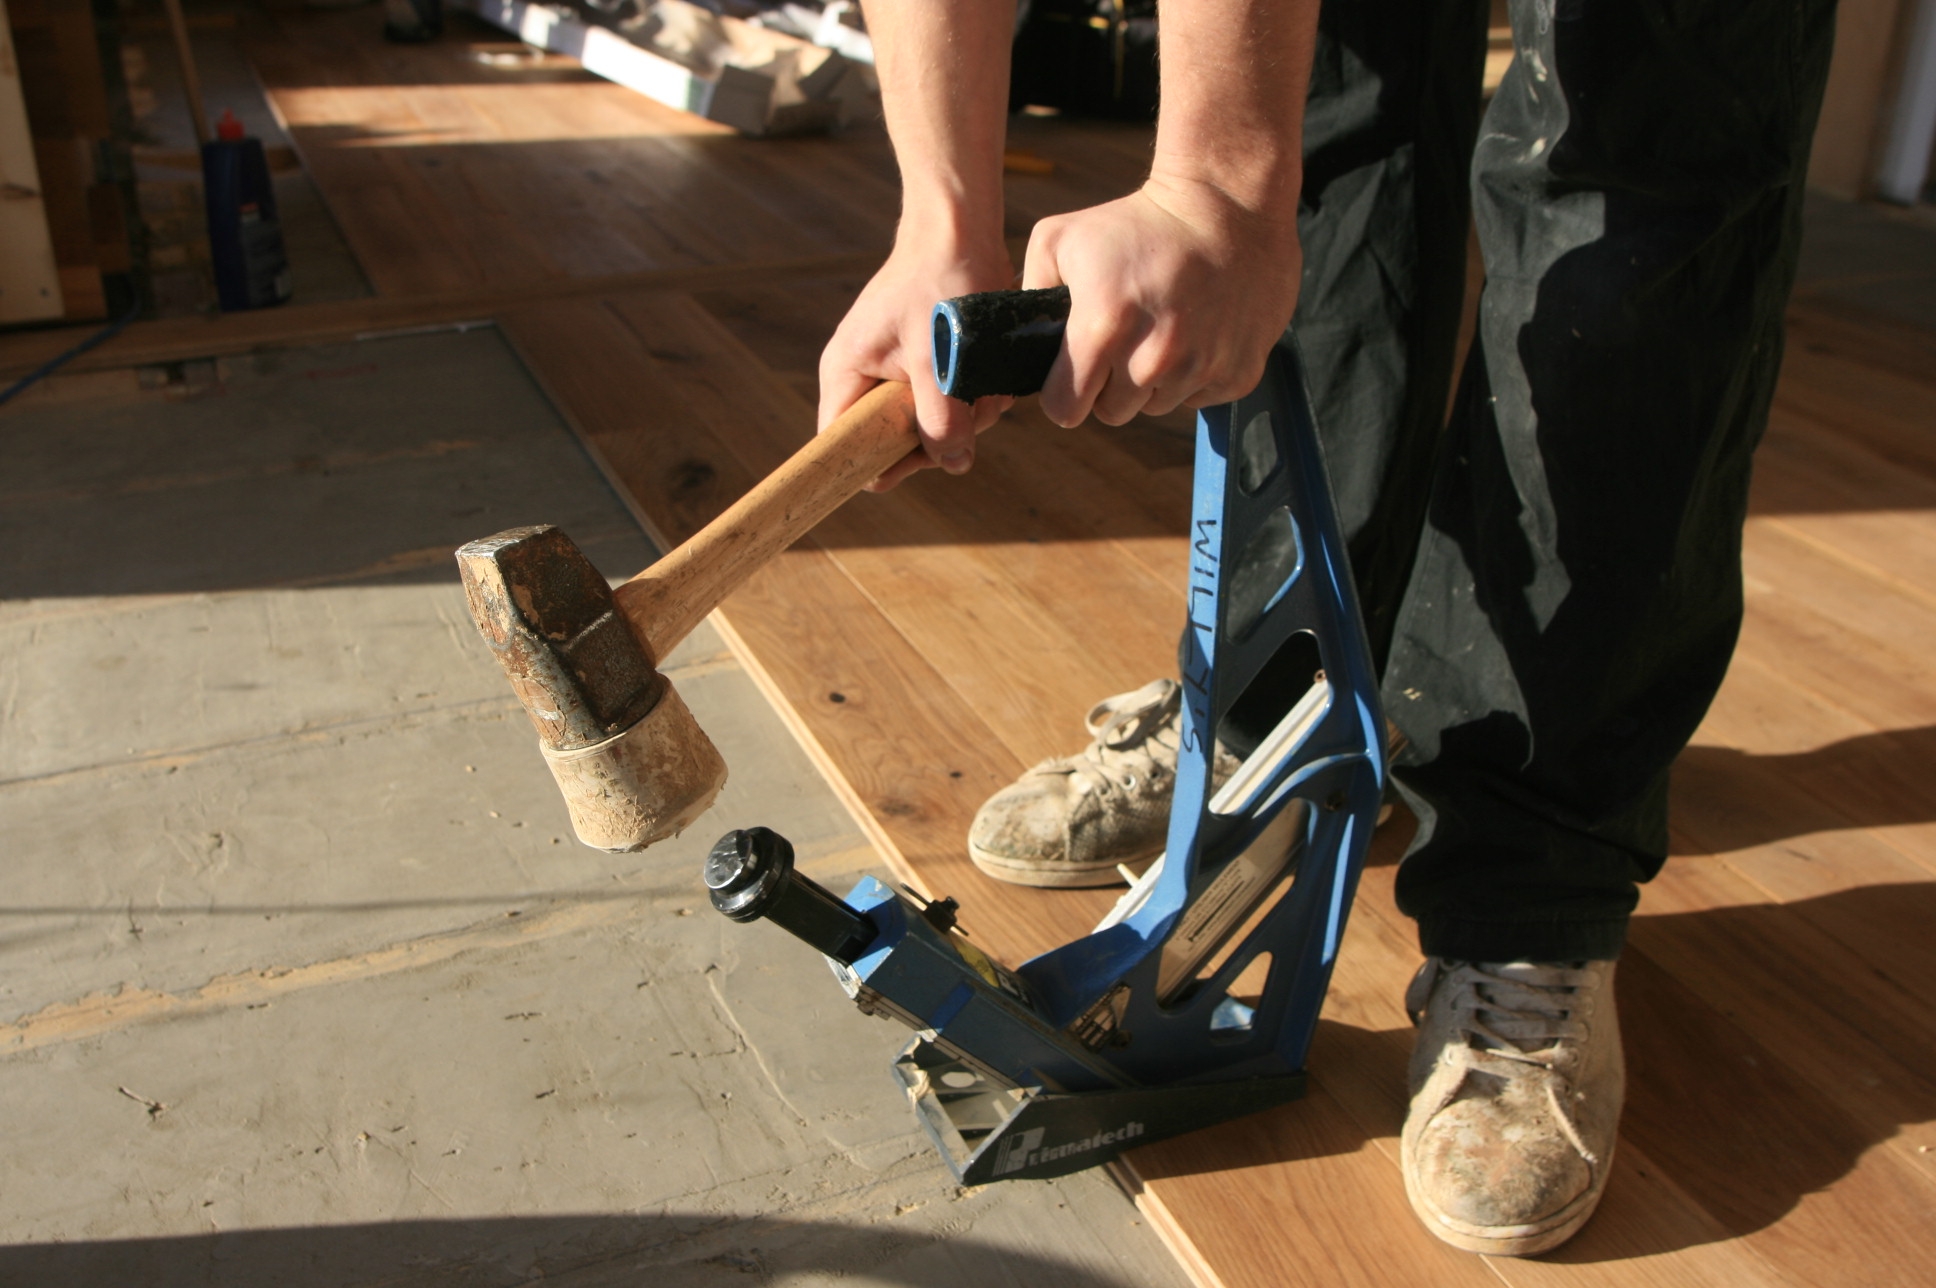
With our 18mm solid oak “budget price” flooring, we are generally “secret nailing” and where this cannot be done because we are too close to a wall or passing over an underfloor heating water pipe, special glue is used.
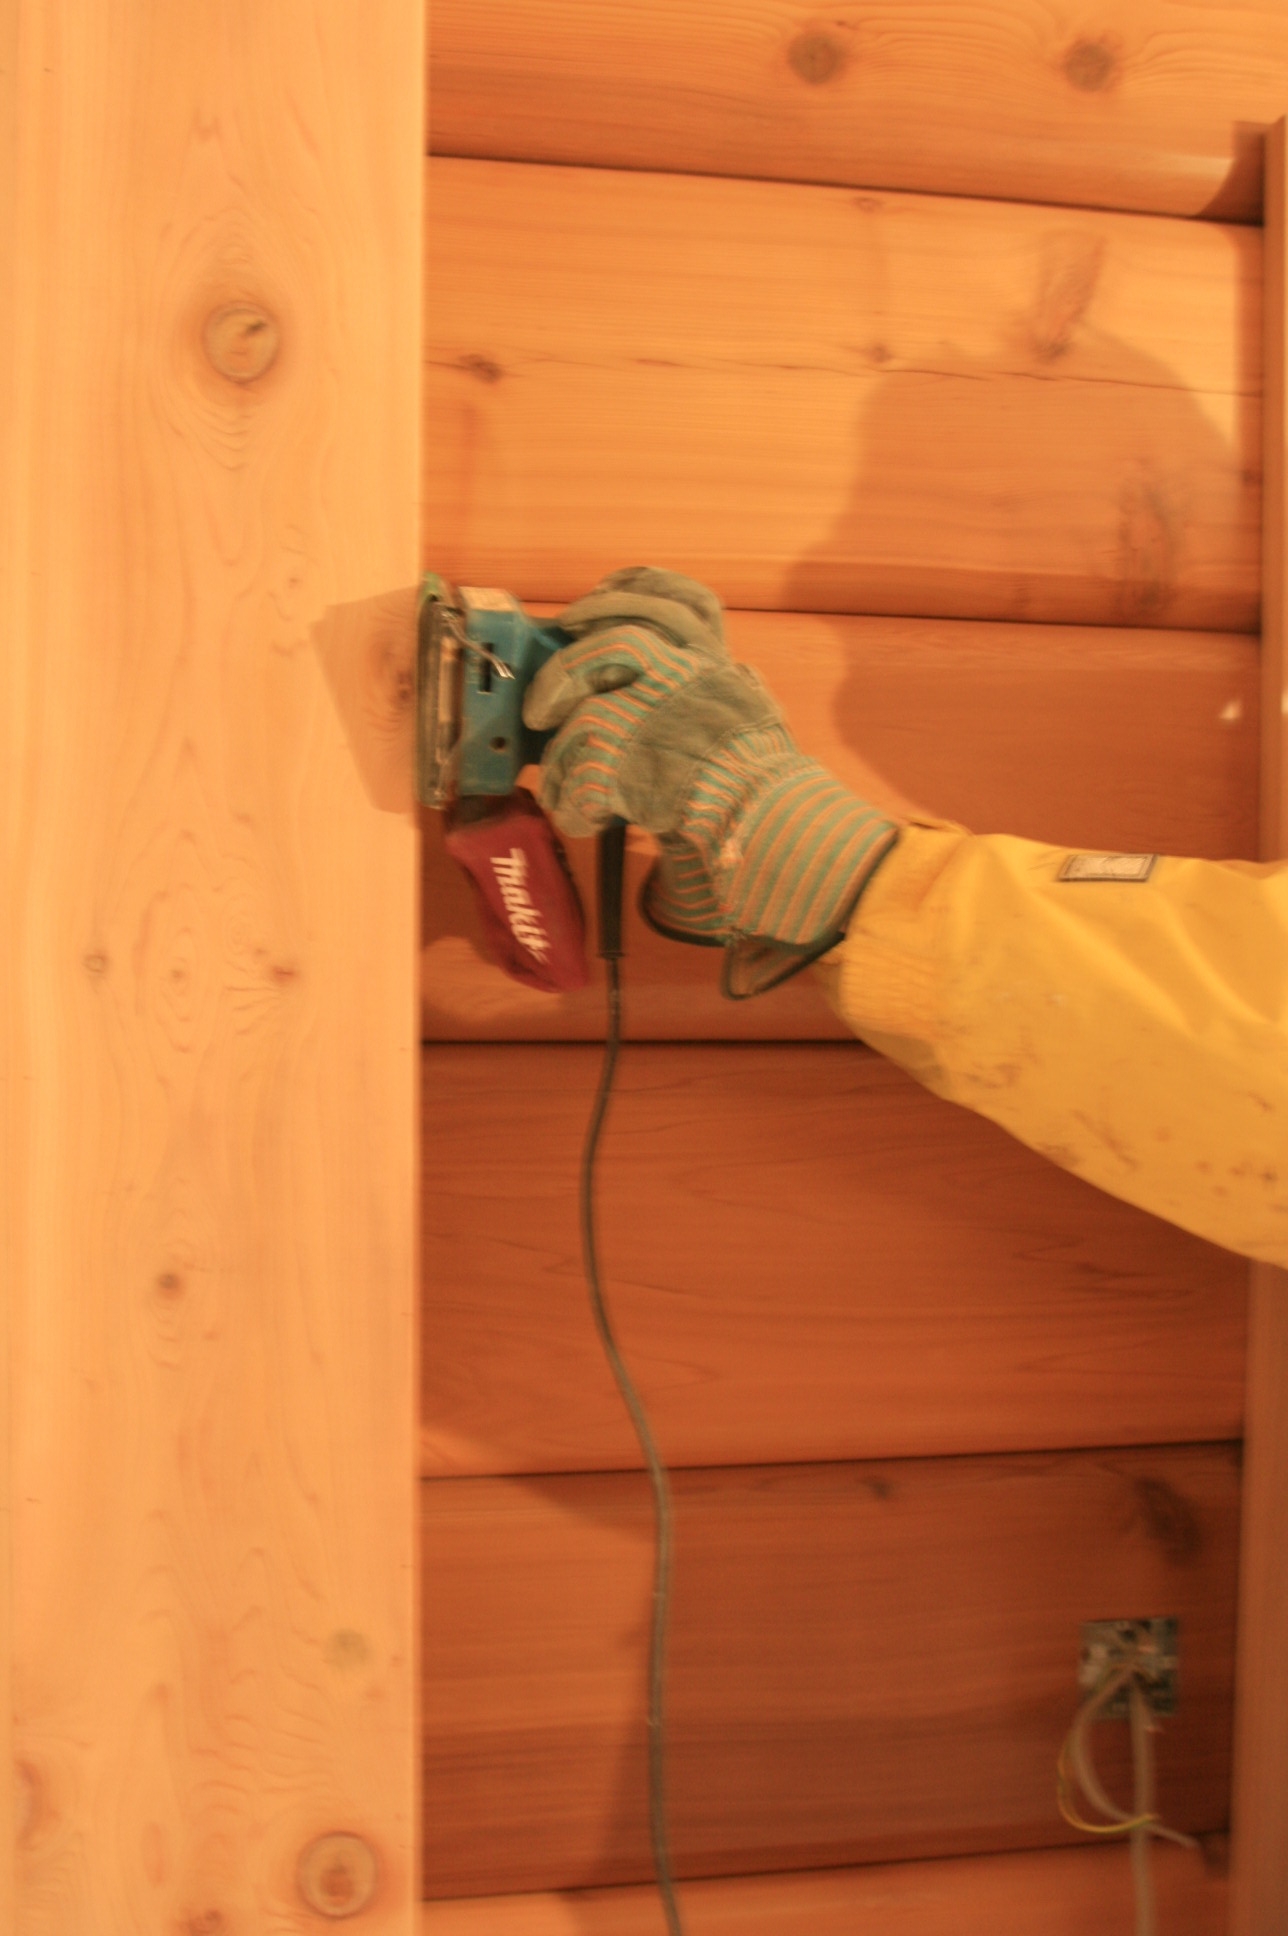
 The nailing “machine” is rather like a giant stapler. It puts nails in at an angle of 45 degreees on the “tongue” side of the “tongue and groove” interlocking flooring. By putting the nails in here, you just push the next piece of flooring on to the tongue and the nail you have just put in becomes invisible, or as they say, “secret”.
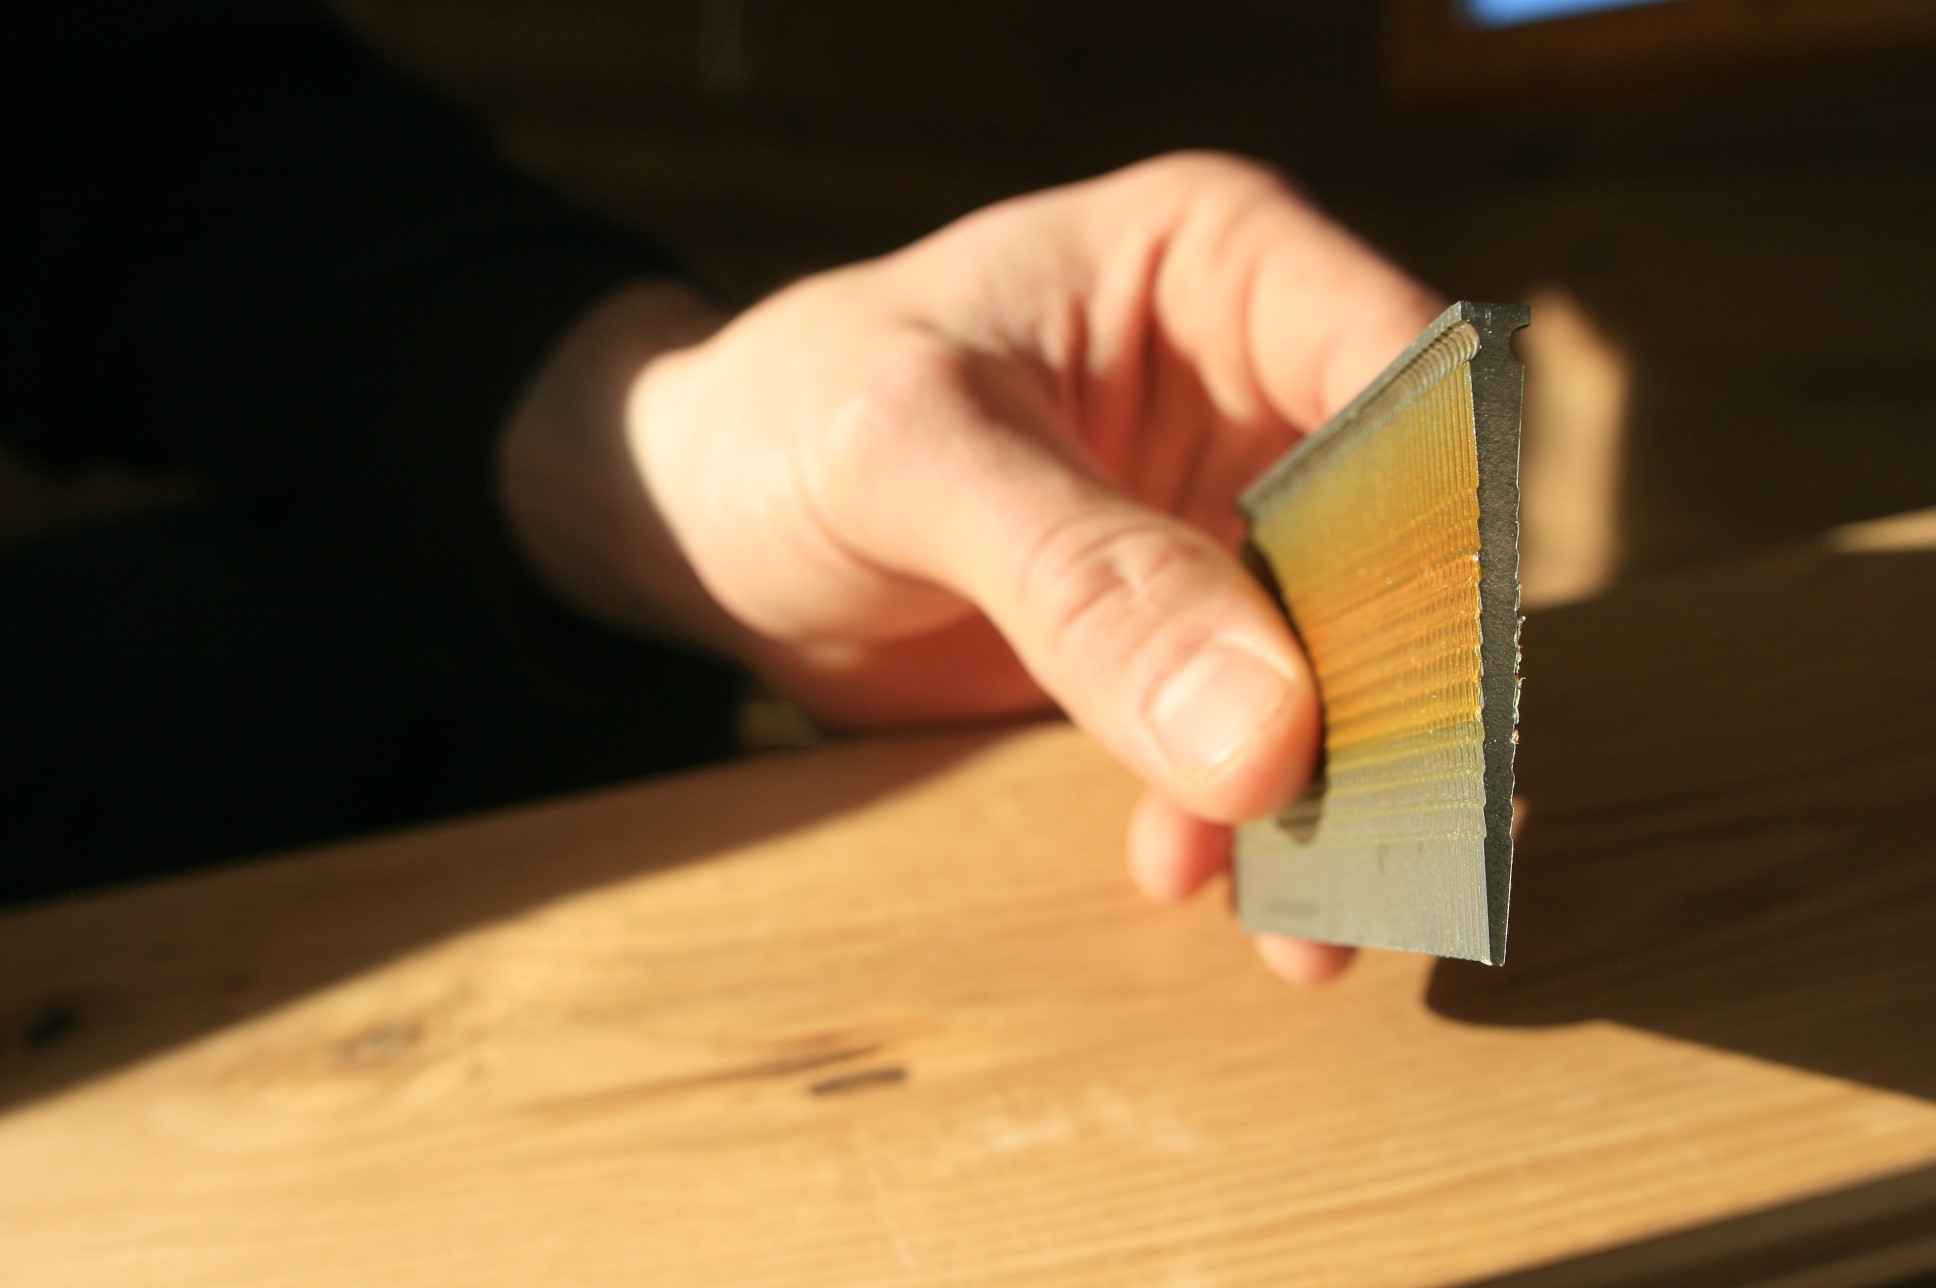
 The nailing machine uses barbed nails which are feed into the machine on a strip. This strip is made by gluing the nails together with a flexible glue. They are sliced off the strip like stapes in a stapler.
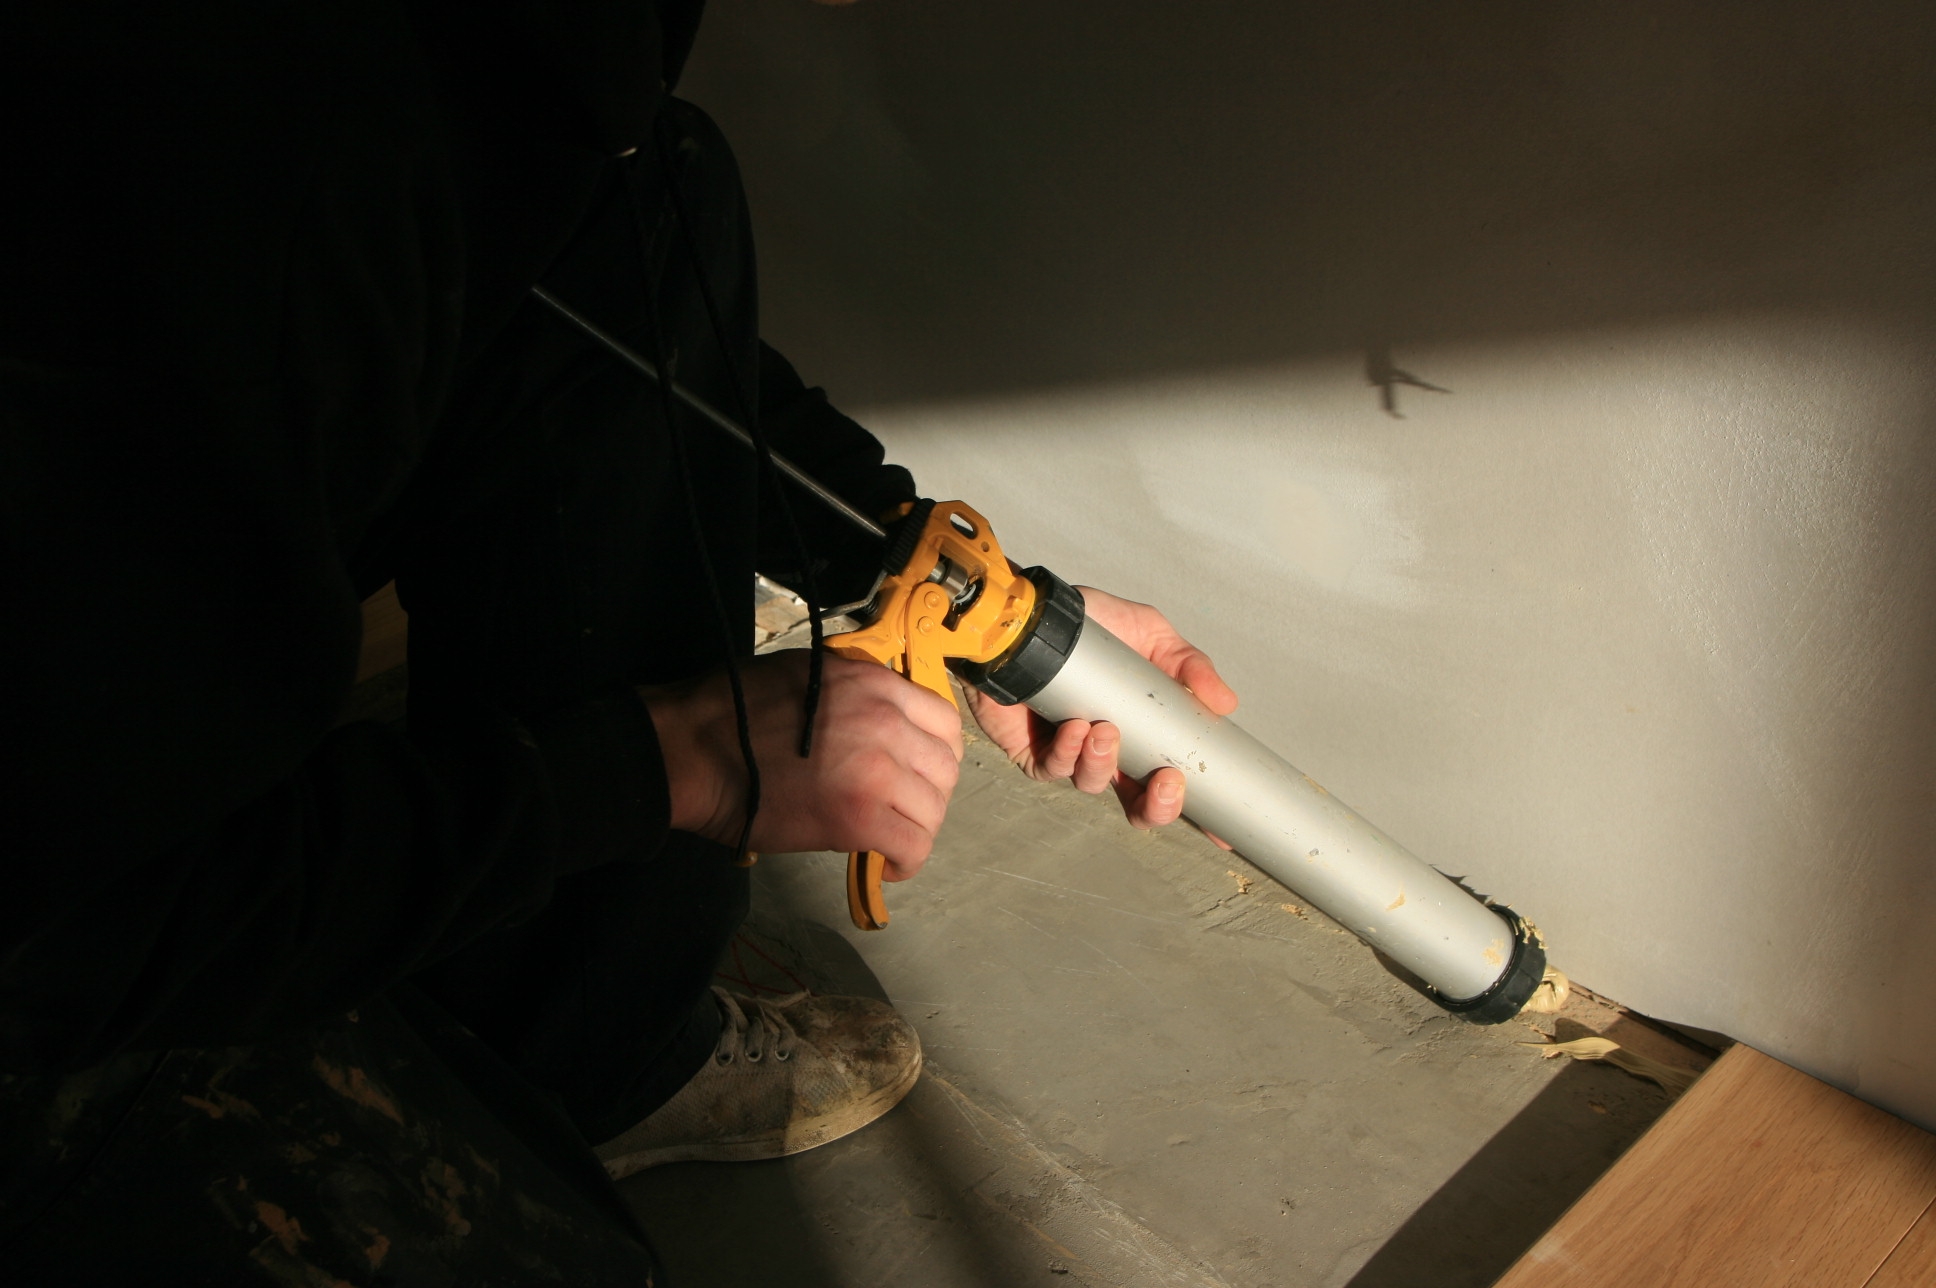
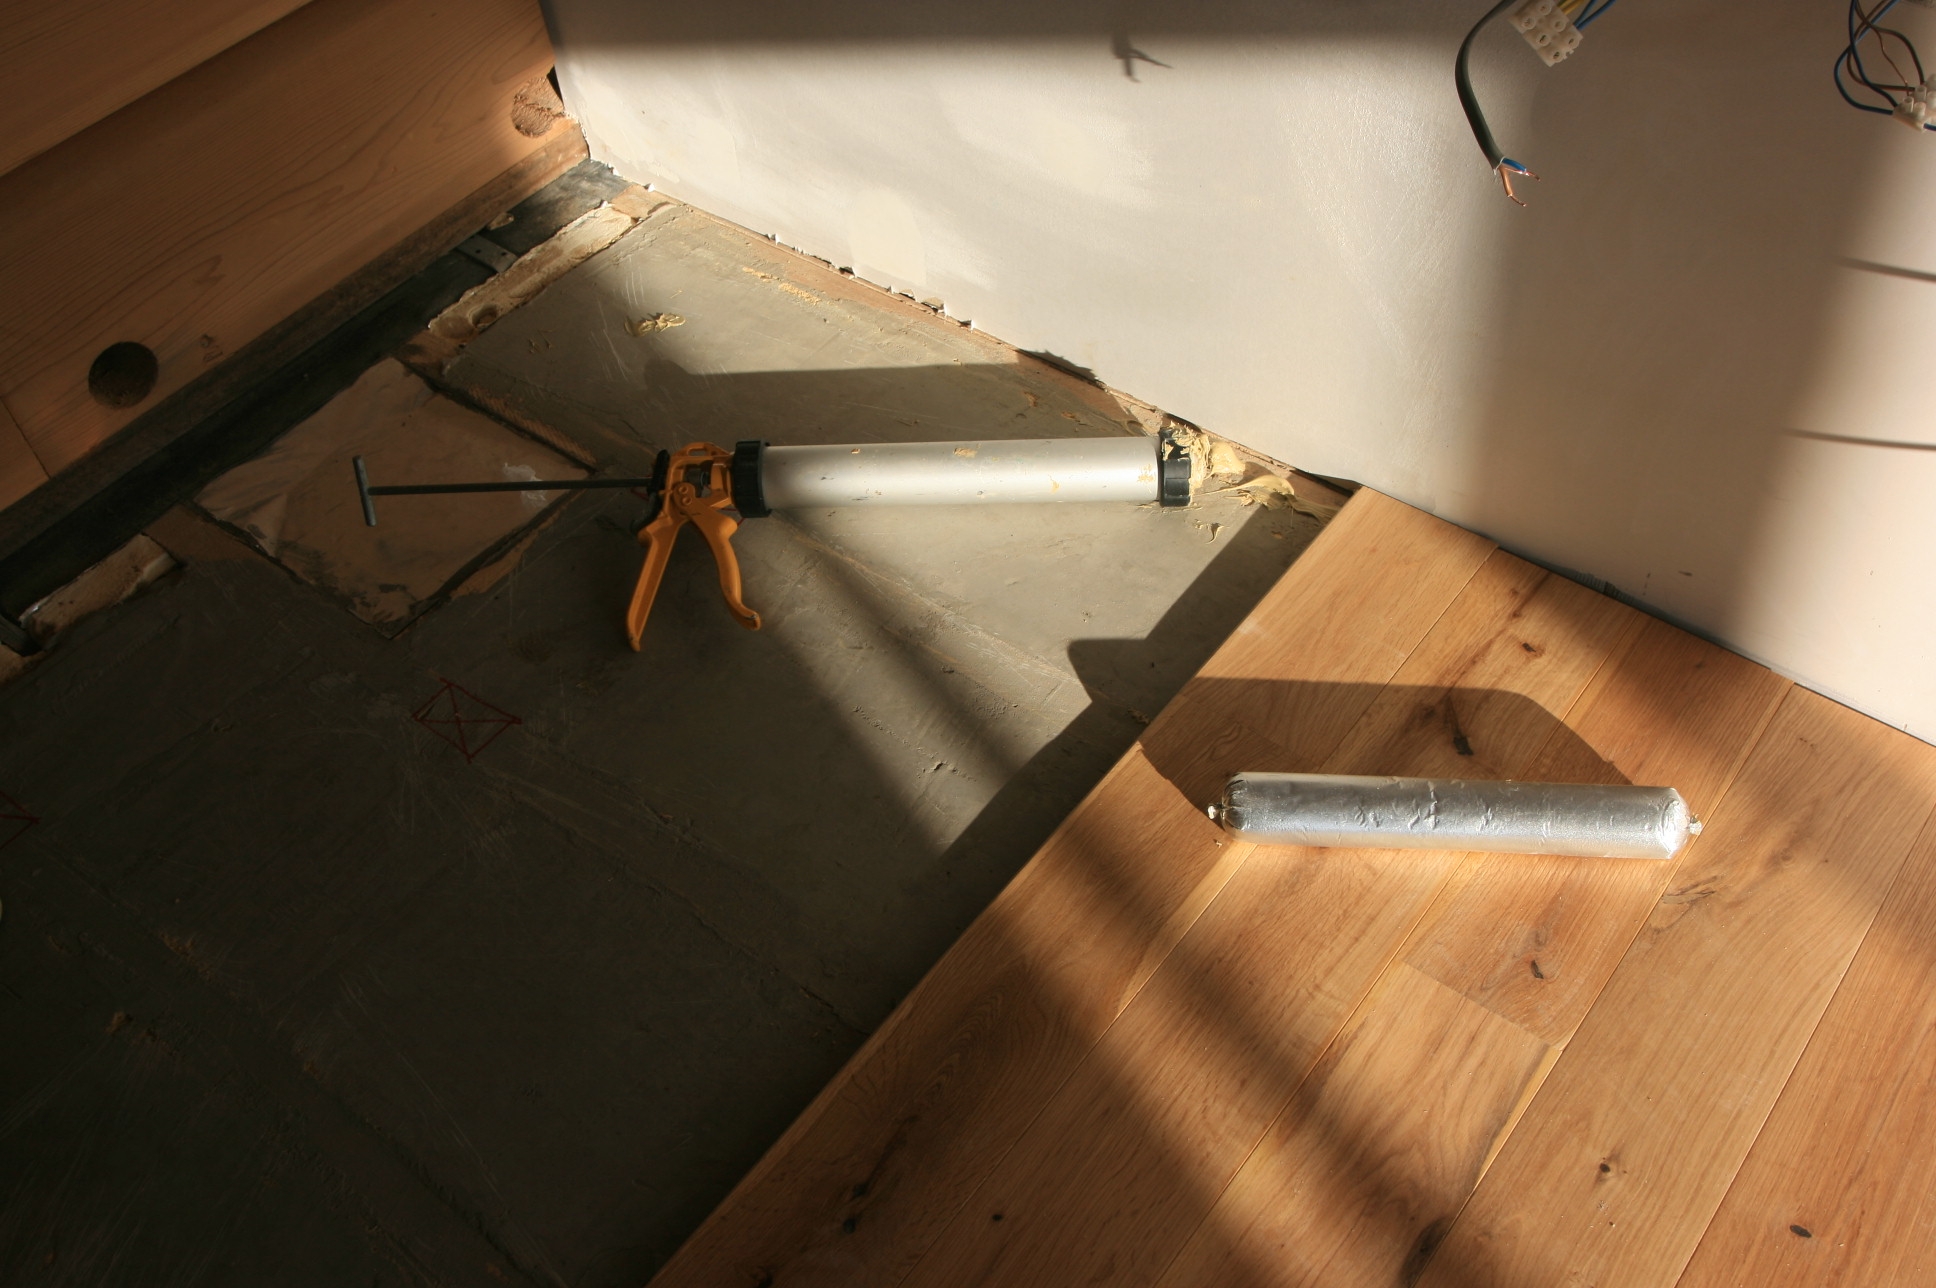
 Where we cannot nail, a special flexible glue is used.
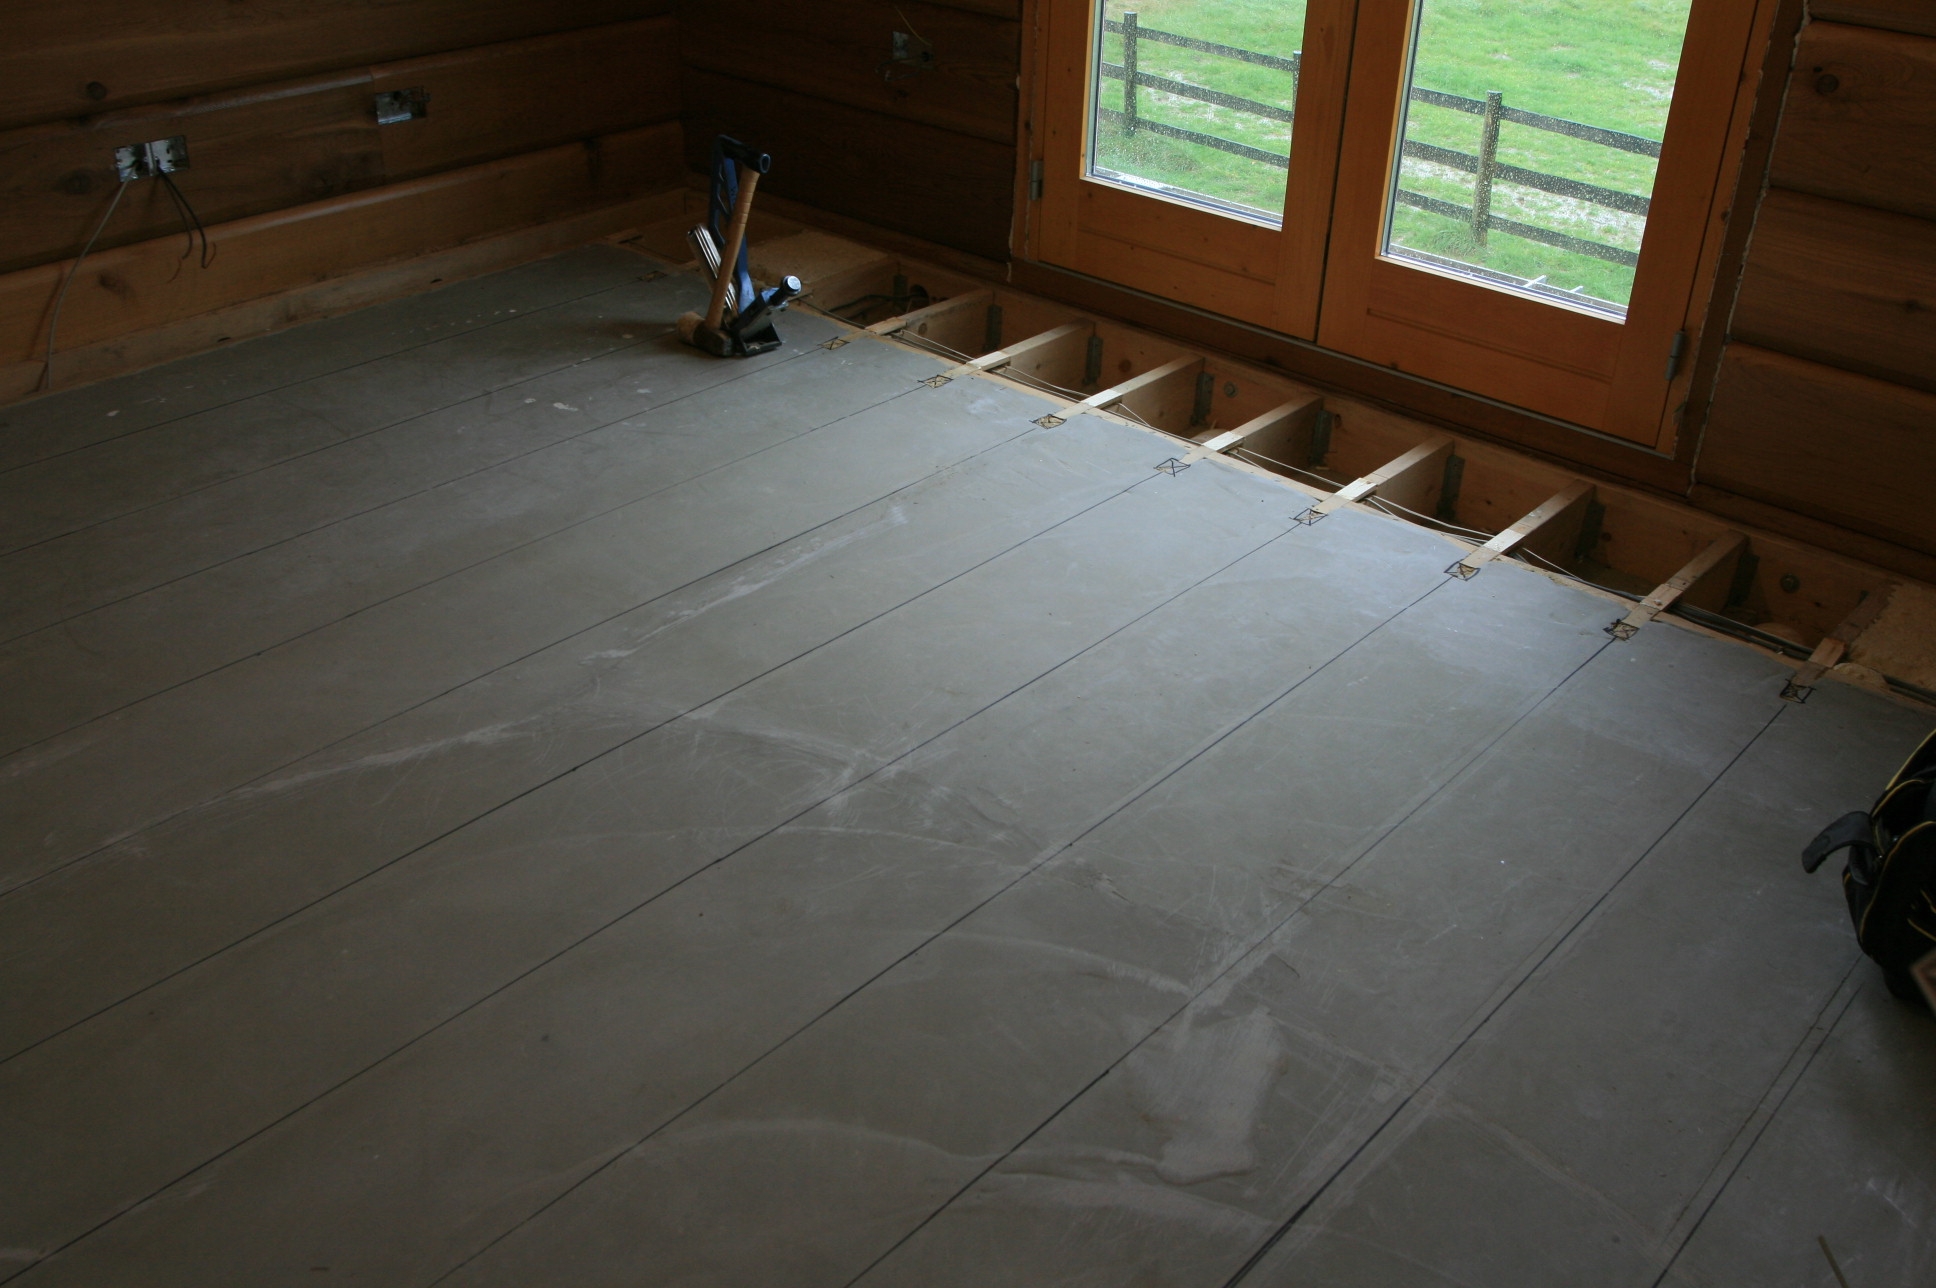
 This comes in a fat sausage and needs a special gun to apply it. How much glue you use depends on whether you have any uneveness in the floor, as the glue is also used to take up any gaps. Just like the tiled areas, the wood floor must be protected using a cardboard underlay and hardboard on top, held together with rolls and rolls of duct tape. It is certainly one of those moments when the house seems to be progressing as the site of the floor having been laid is encouraging for flagging enthusiasm.
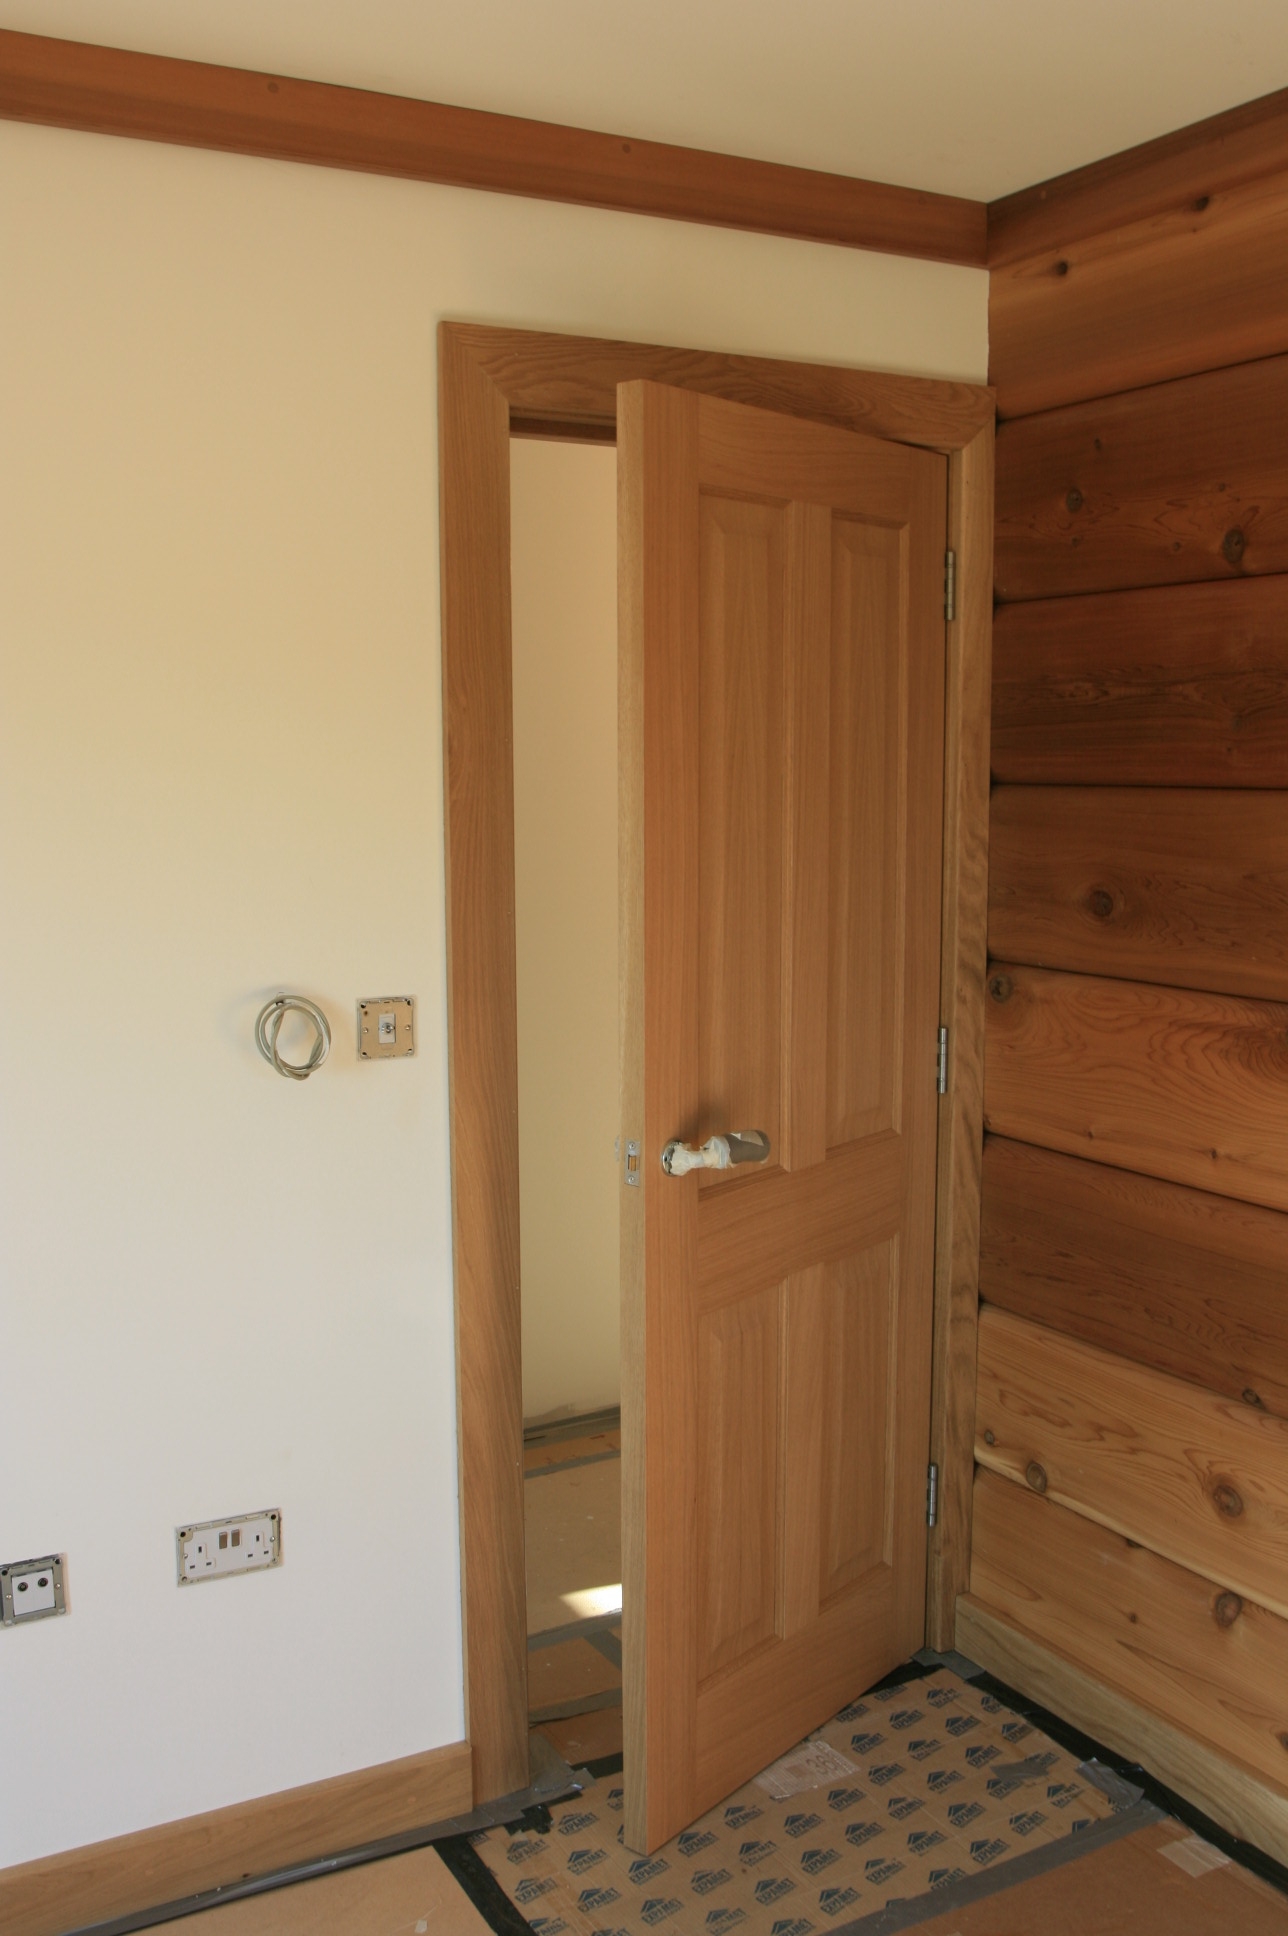
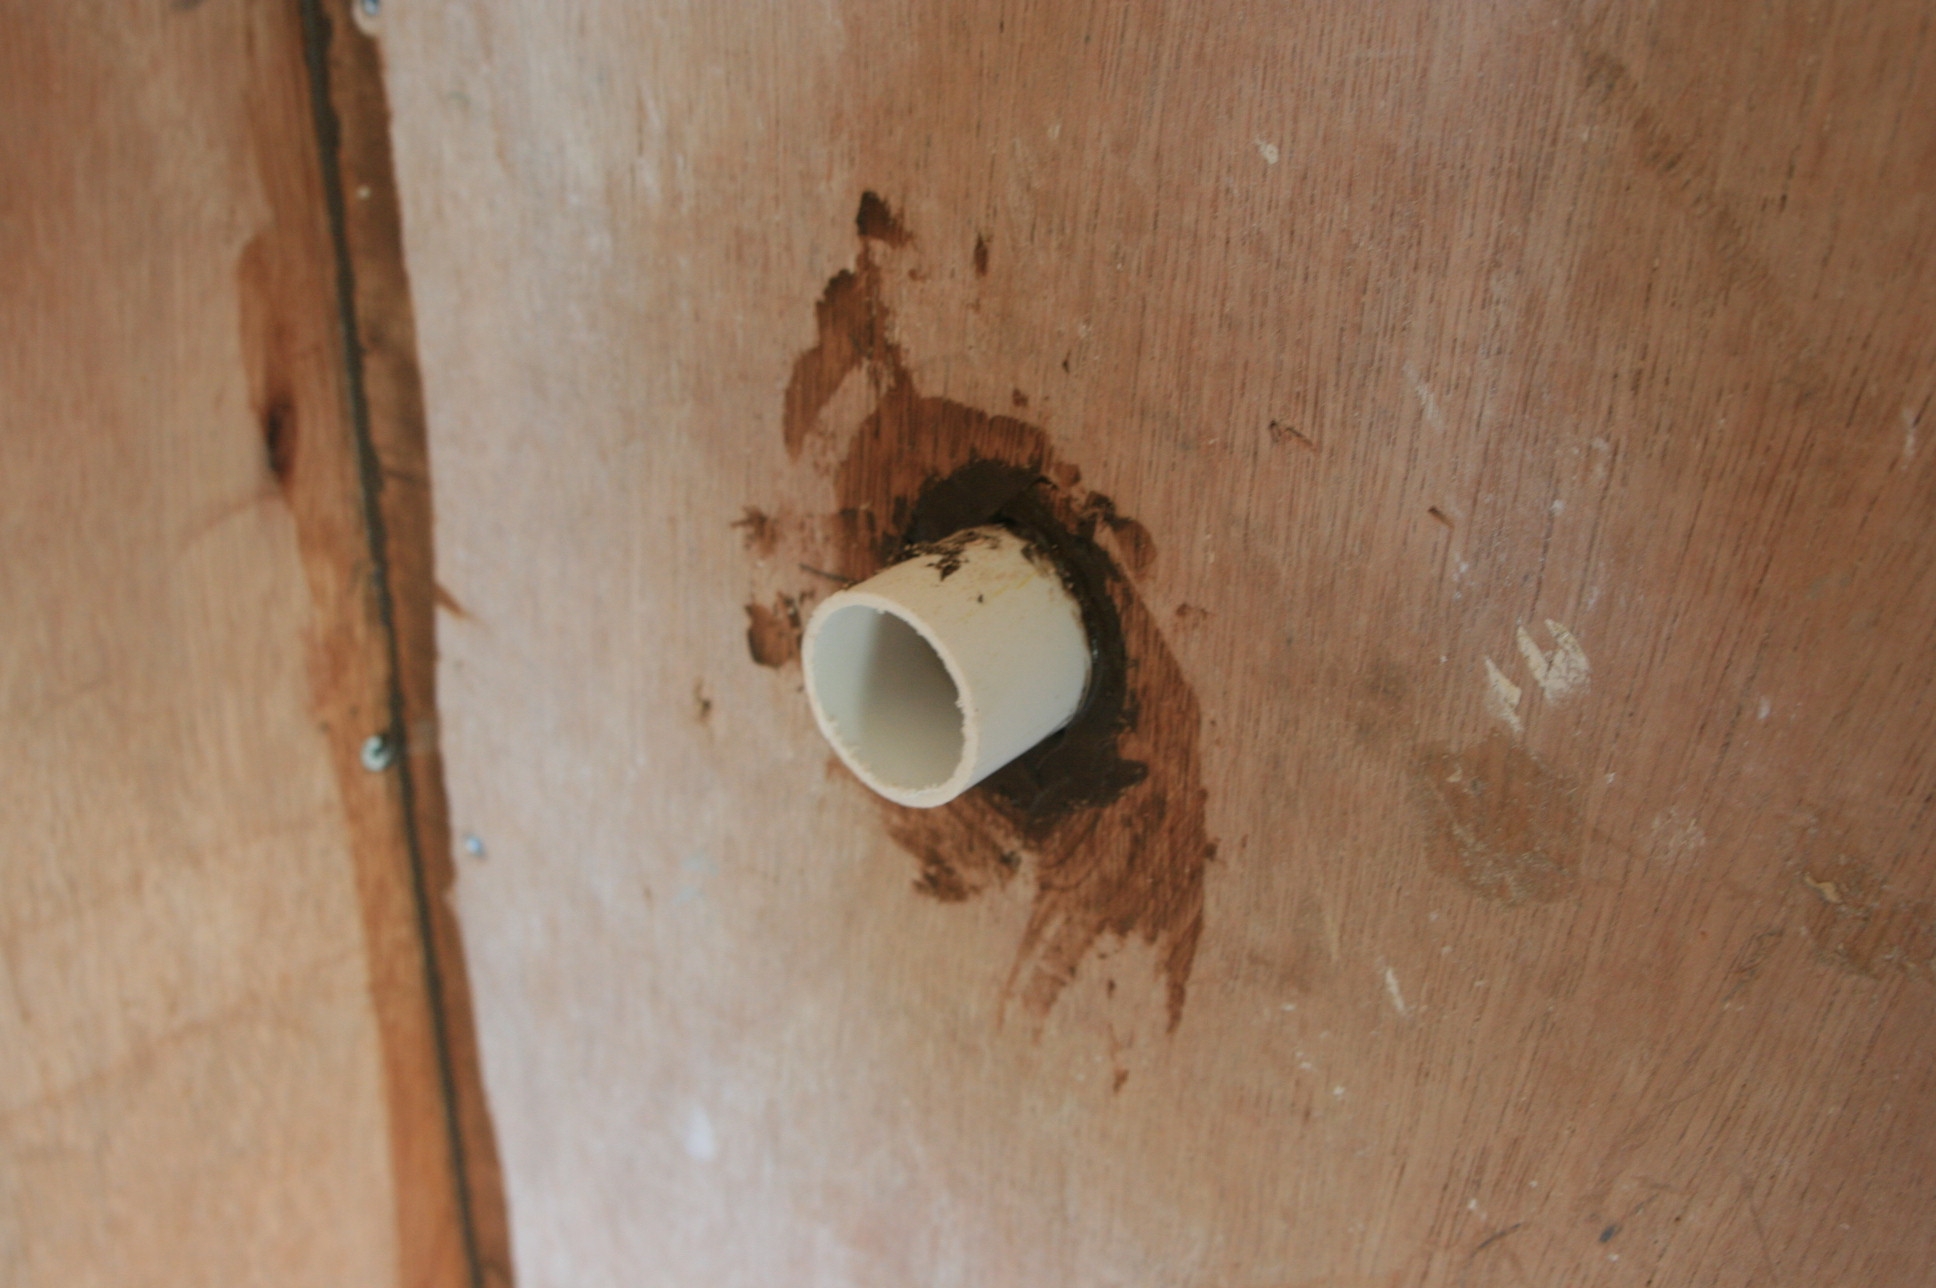
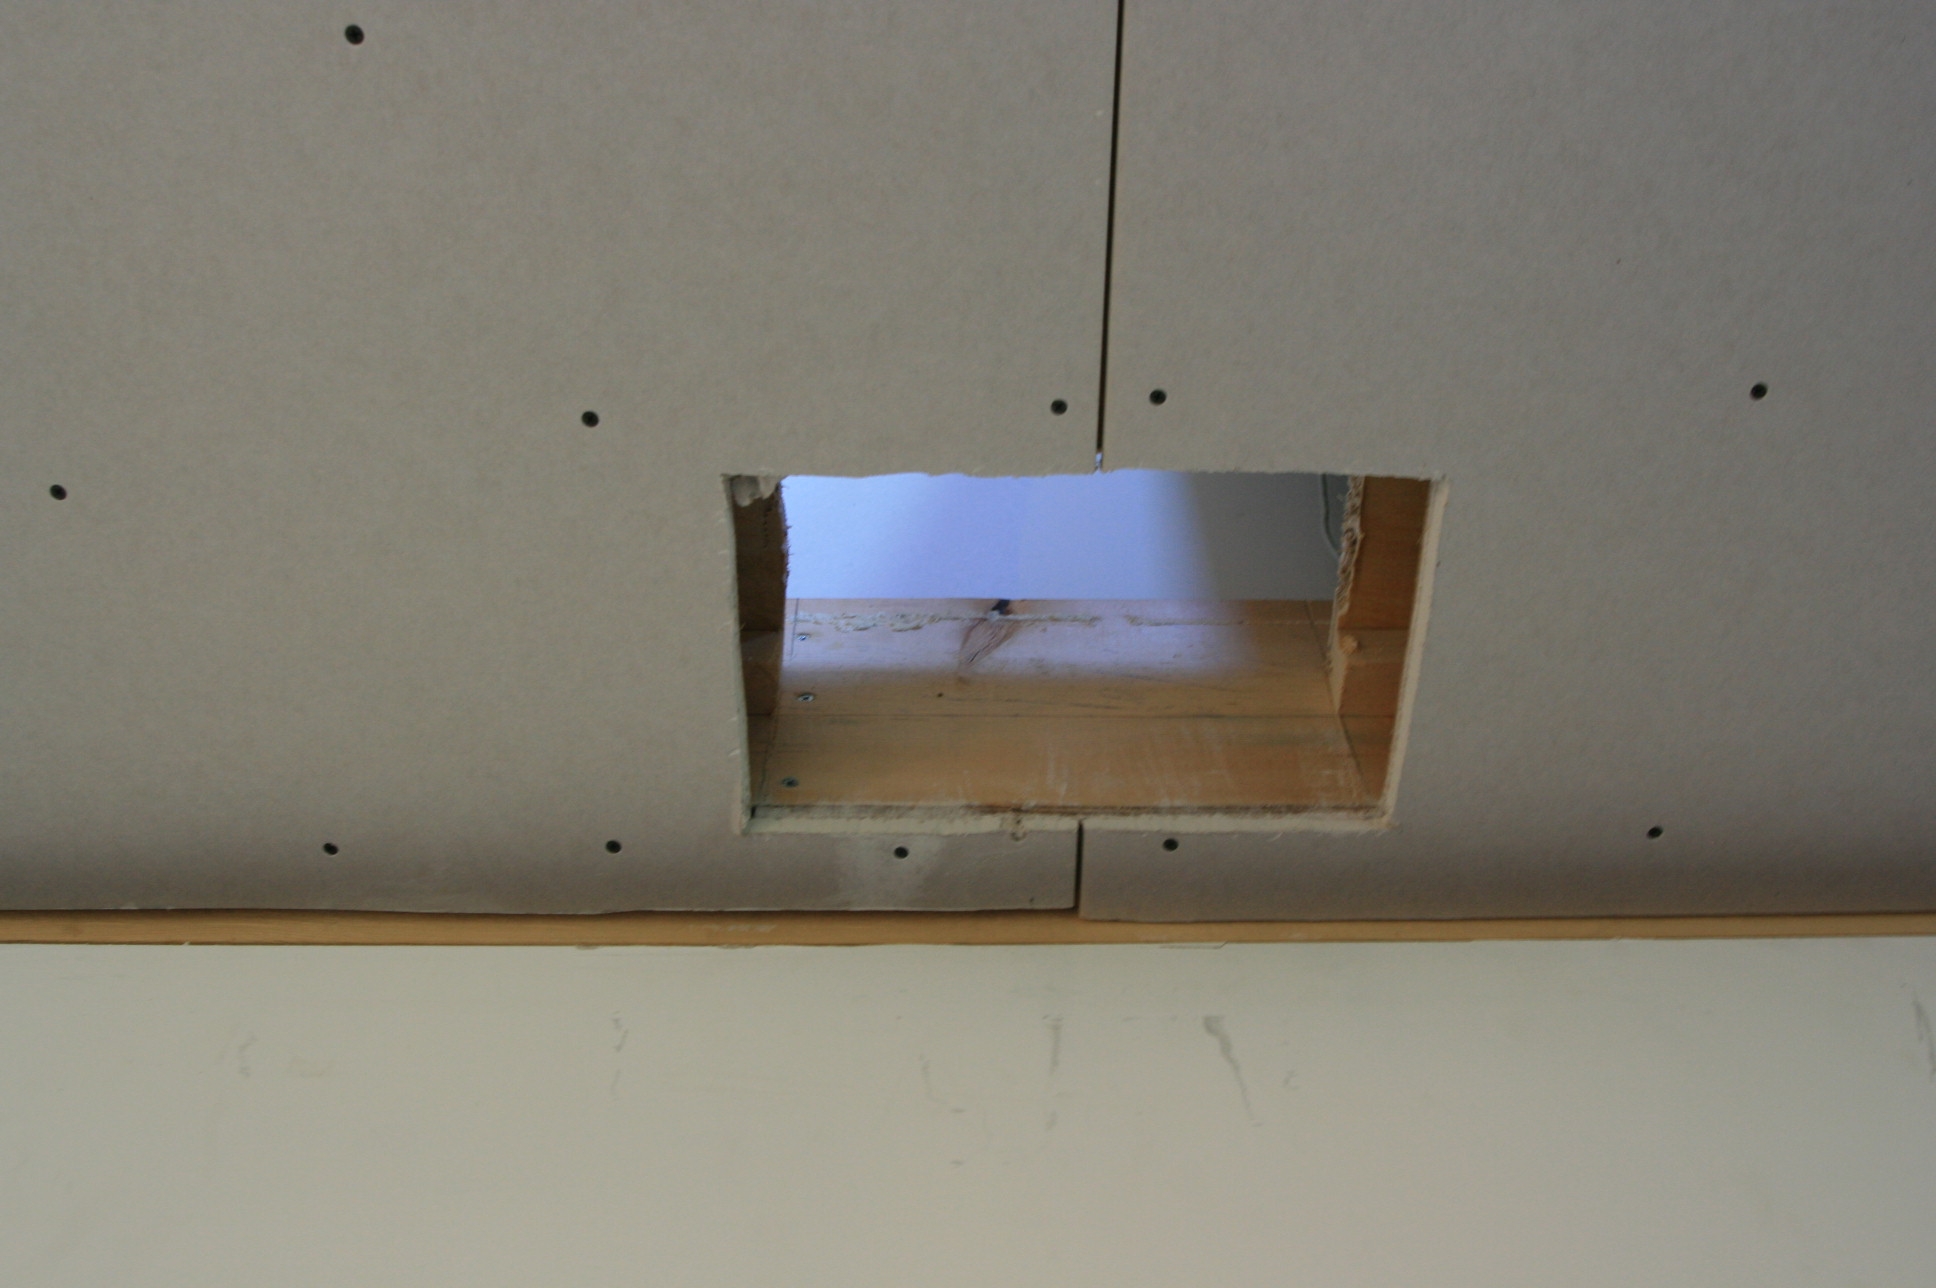 This was something we had been planning for a long time. If we could, we would have engineered a dumb waiter! Nothing wrong with elements of Victorian design creeping into a contemporary house.
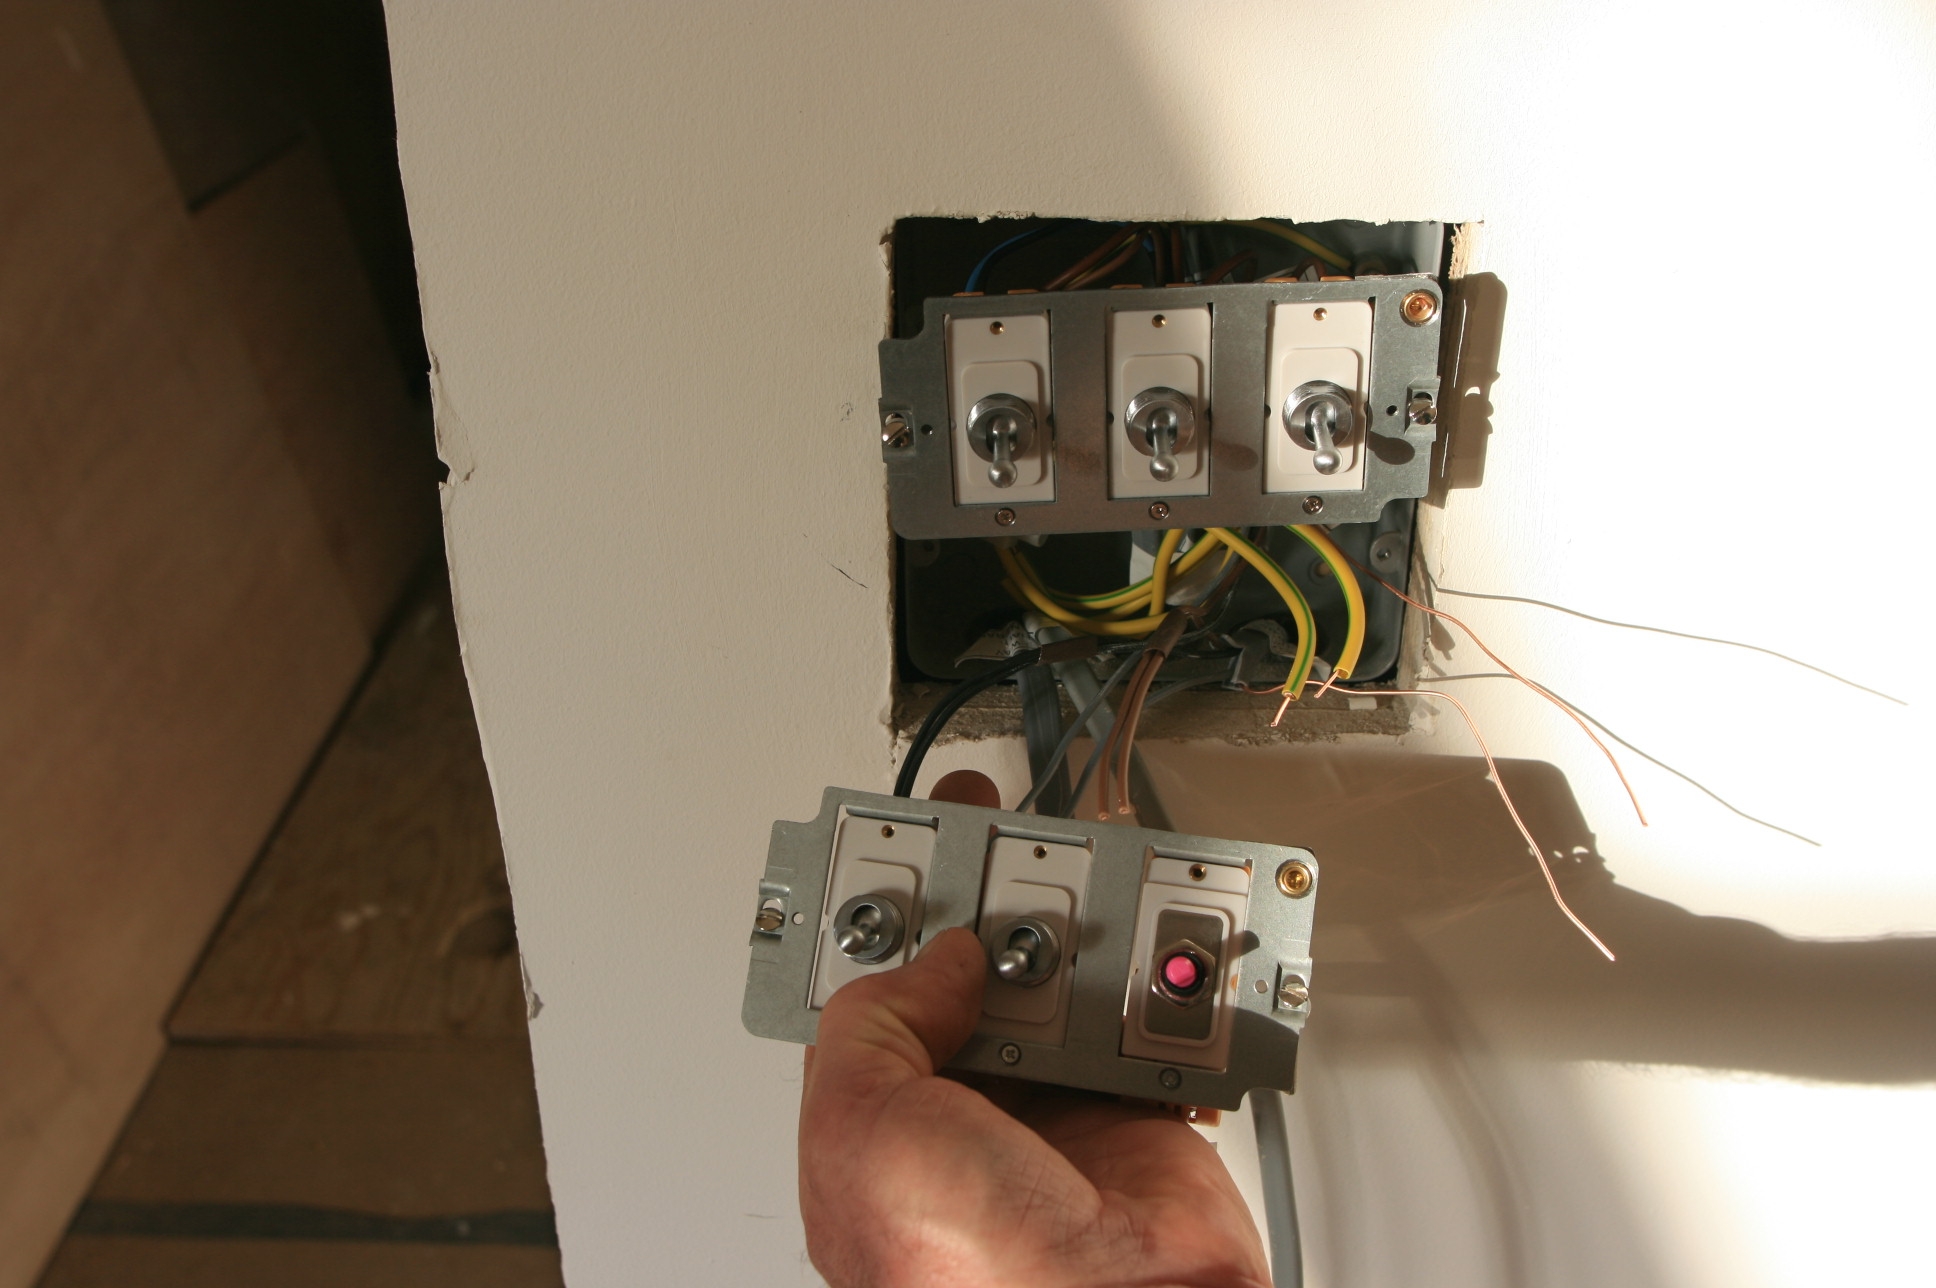
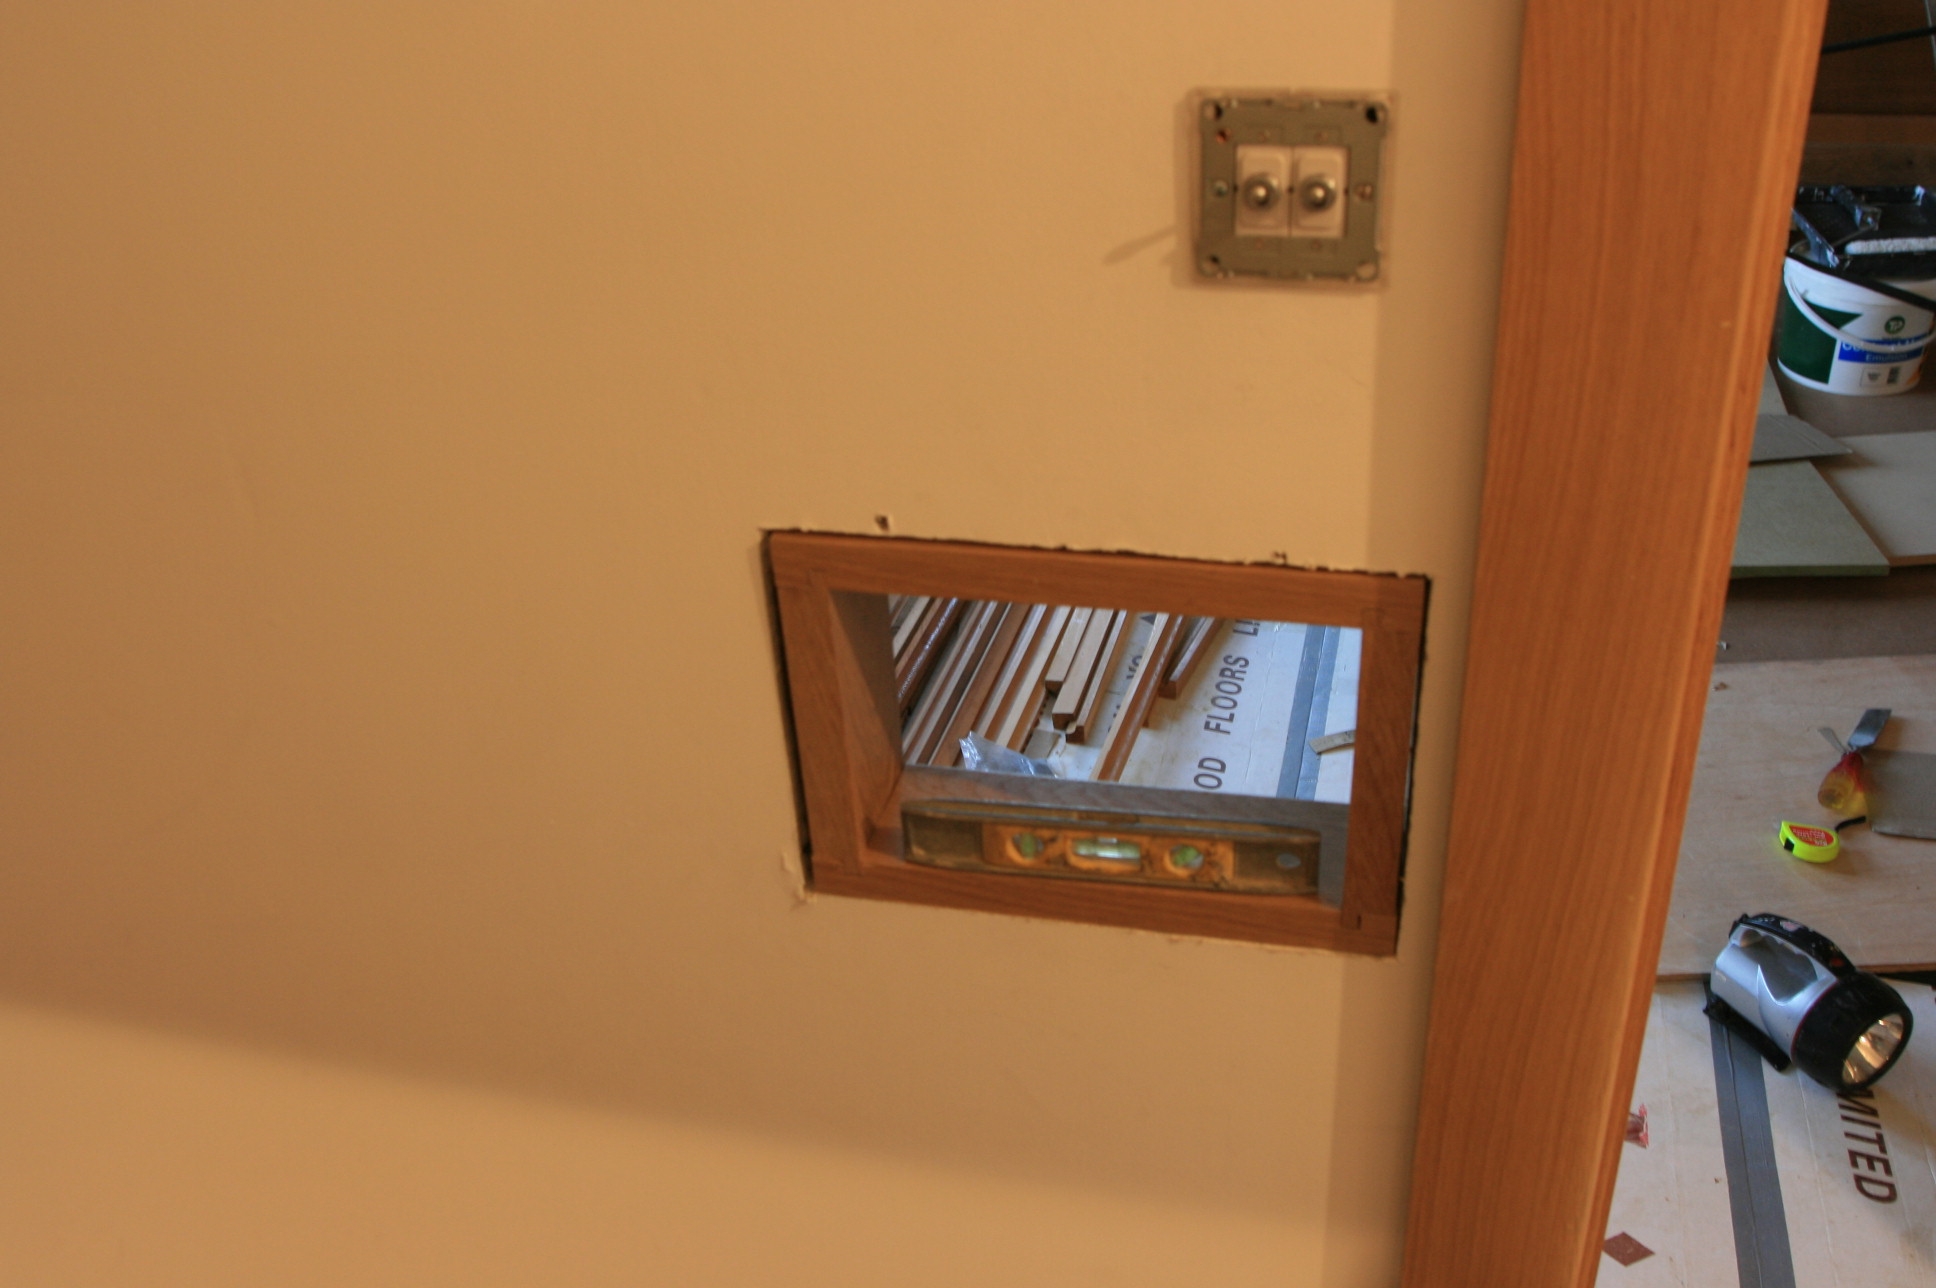 Firstly we cut a similar hole in the wall, and then lined it with some cut down architrave.
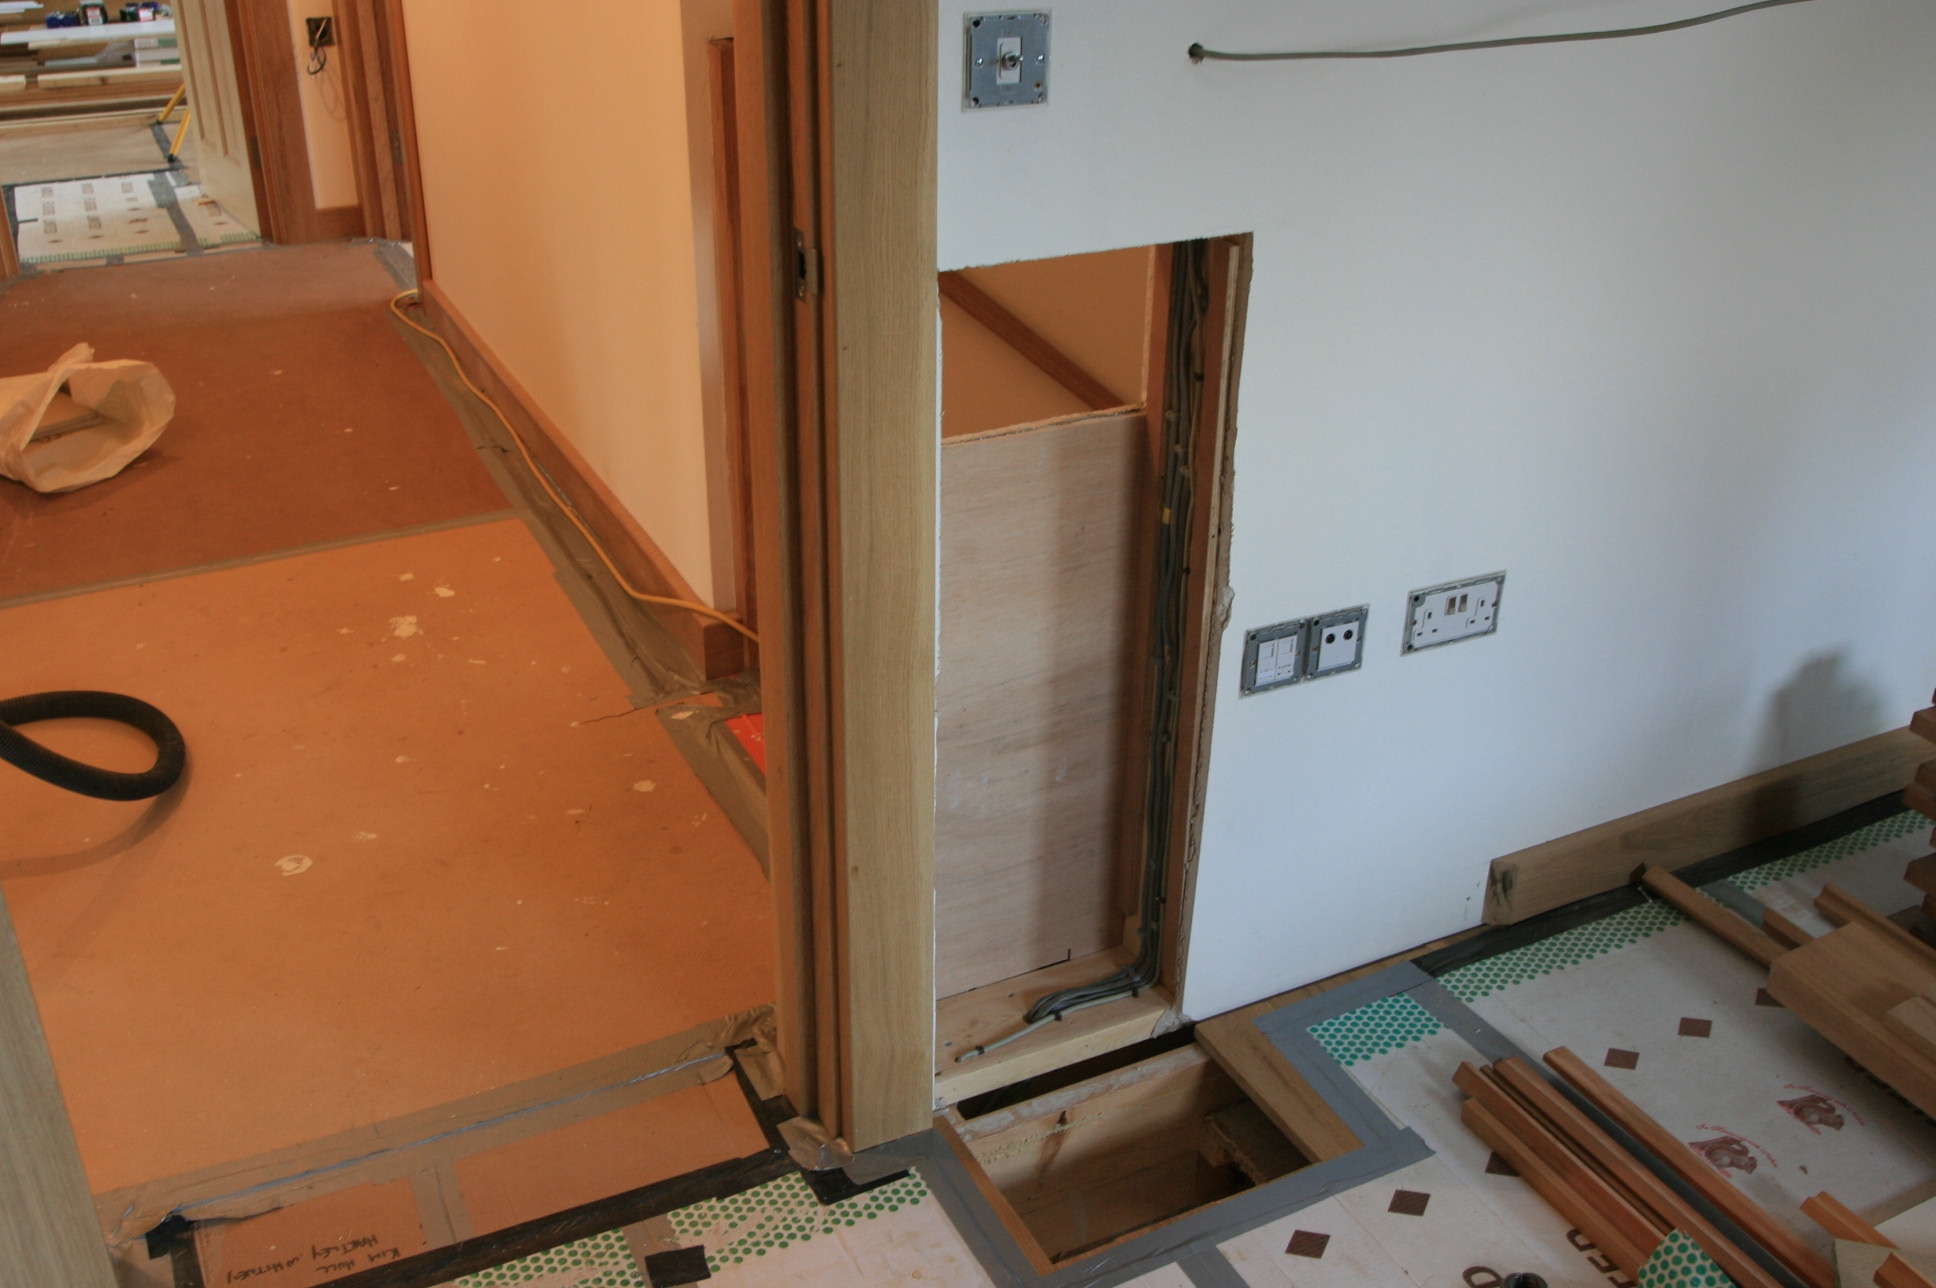 Then we prepared the back for a lining and a cover. More next week.