Published by in Log House Design
So since March we have revised the window fitting design, beefing up the vertical architraves and changing the header design so that it too is routed out into the log to get a better seal. Getting all the necessary parts for the 20 plus windows and doors has taken a while at the never ending queue at the joinery shop but at last they have arrived and we can get on with installing all the windows and doors.
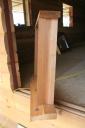
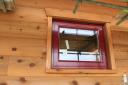
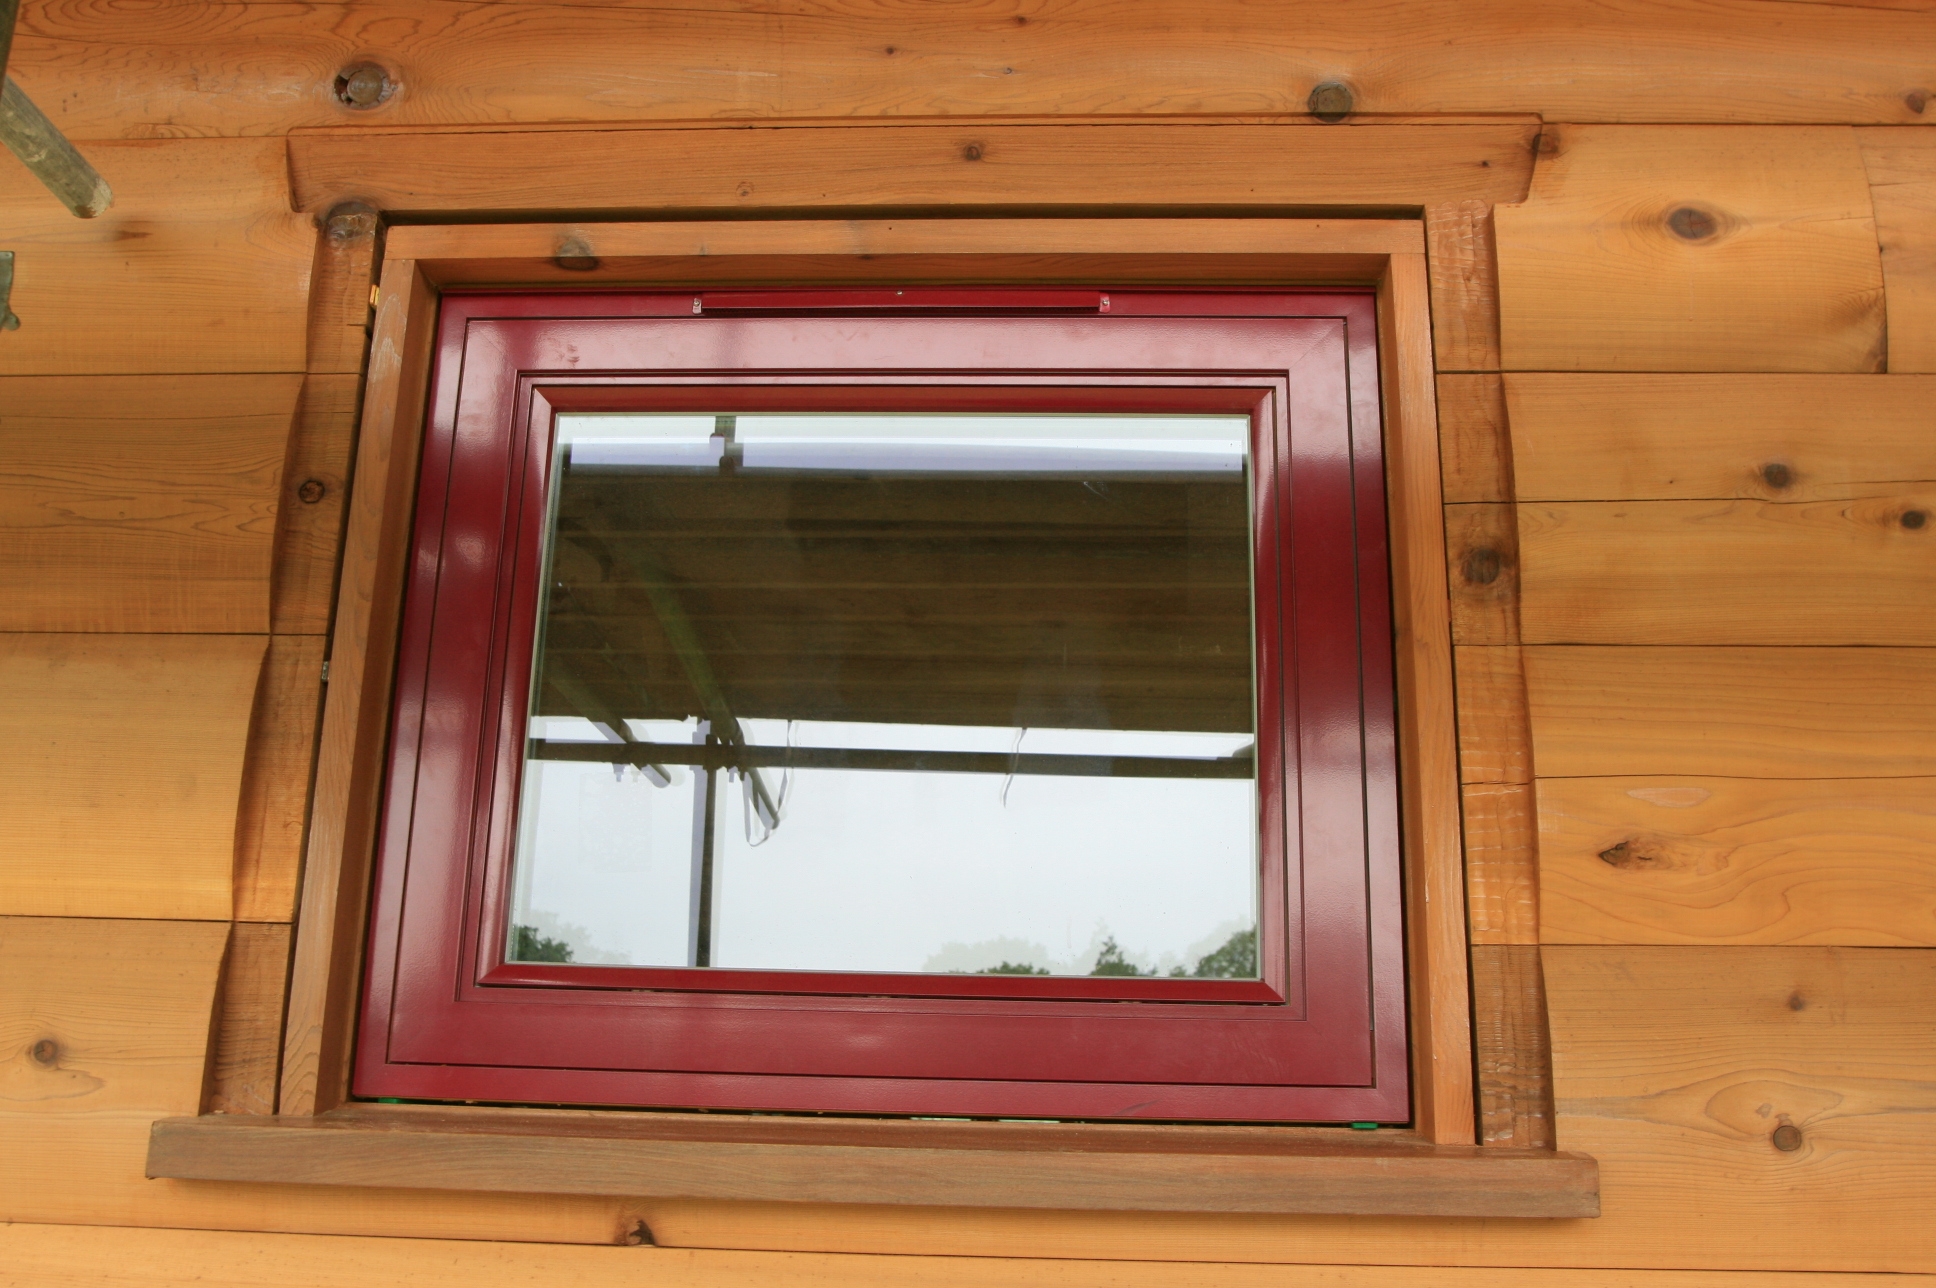
 So this is the window in its lining in place with the header and vertical architrave areas machined.
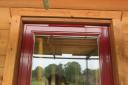 And here are the vertical architraves in place and the screw plugs awaiting shaving off and touching up with primer.
The header will go in next week!
Published by in Log House Design
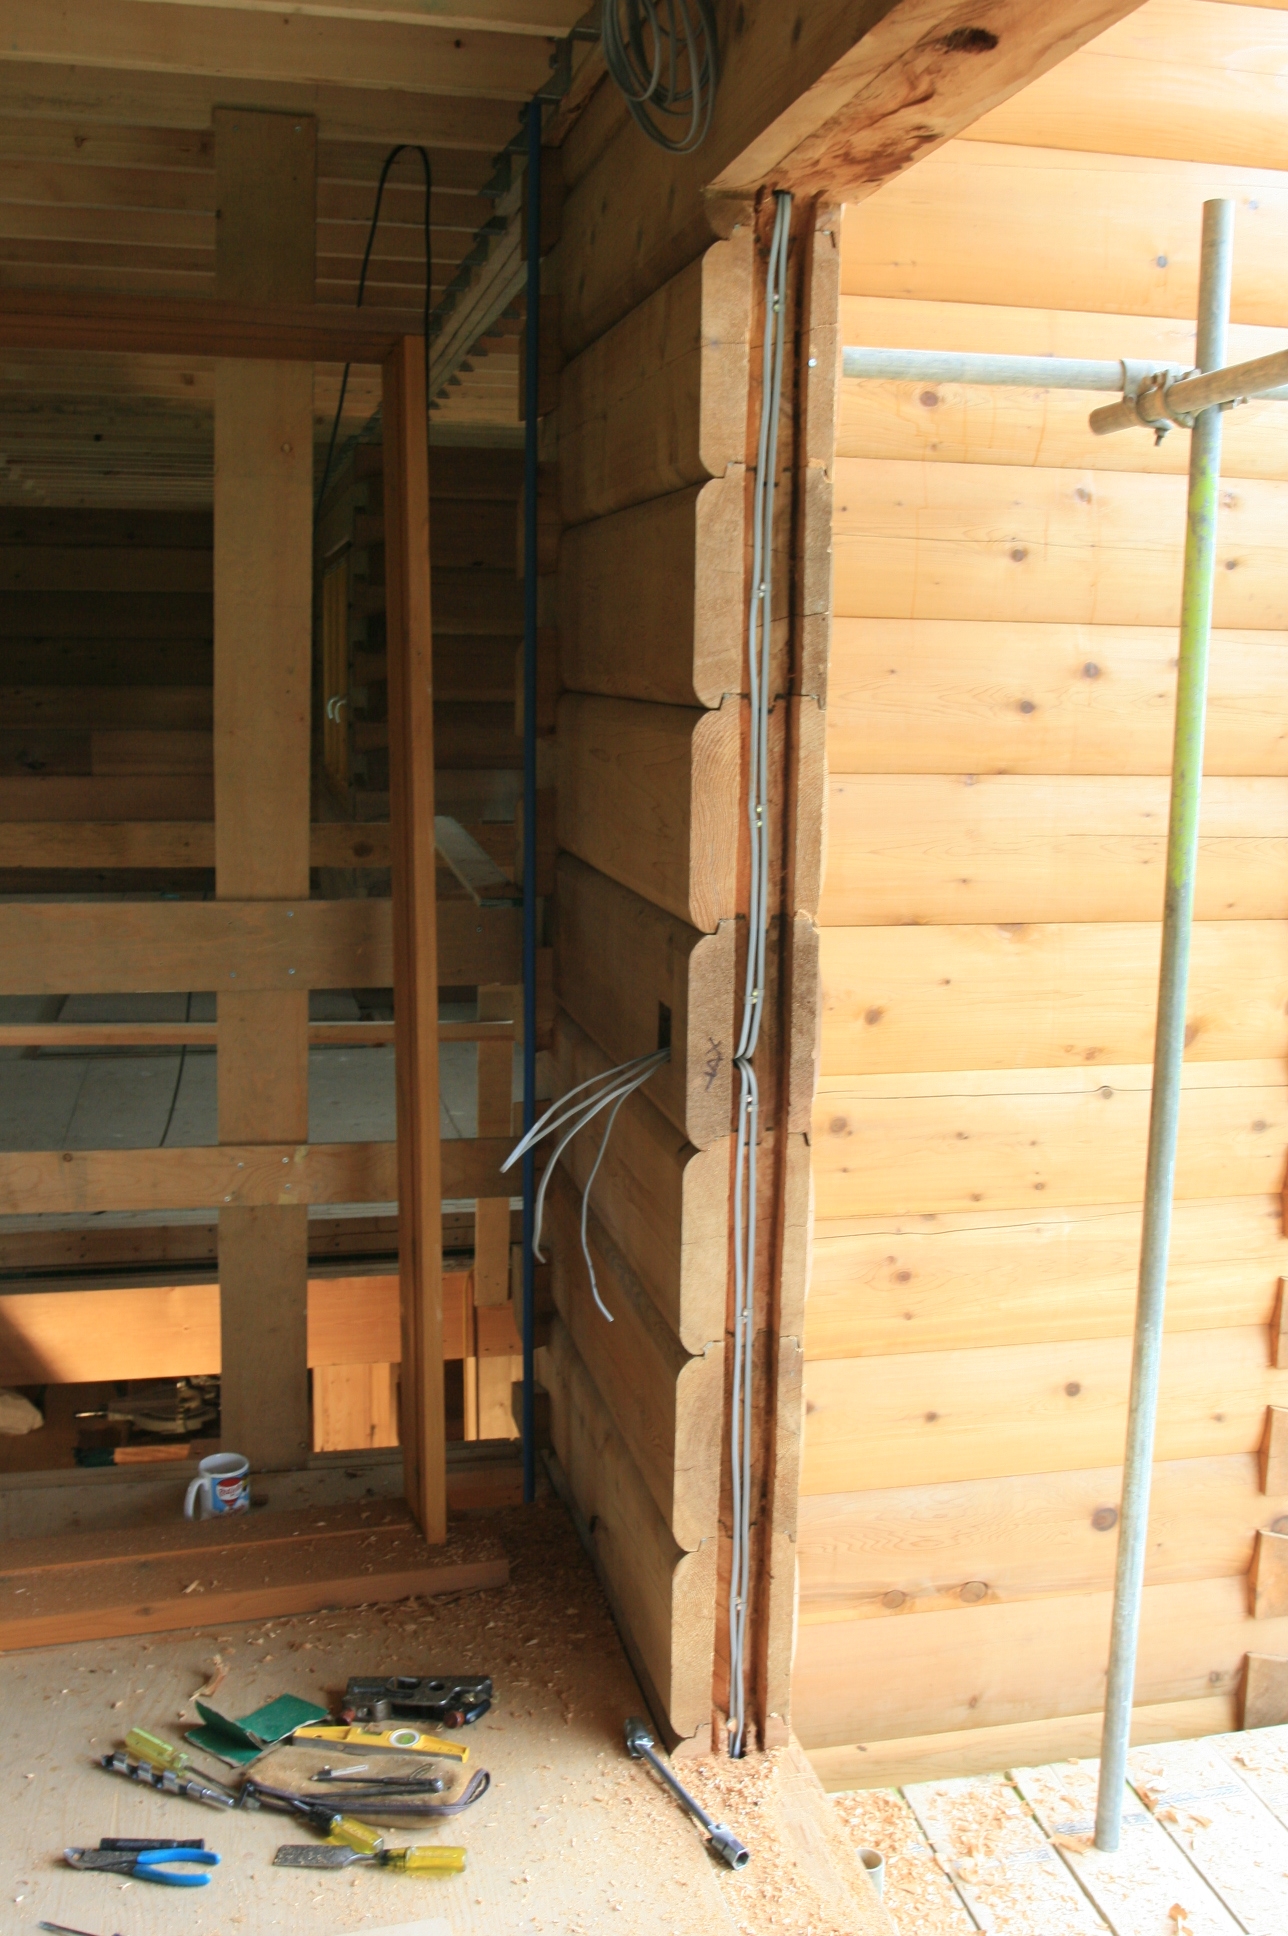
Although we have put in most of the electrical conduit into the logs as they were being stacked like lego, in some places we could not get the 1″ plastic conduit in close to a door for a light switch or similar because of steel tensioning rods etc. So the house manufacturers suggest you run cables behind the steel channels that are set in to the ends of the logs using a chain saw, and drill horizontally across to where the switch is to go. You then chop out the log to set the switch box into the log. Here’s how it looks.
 Here’s the end of the wall with the steel channel removed.
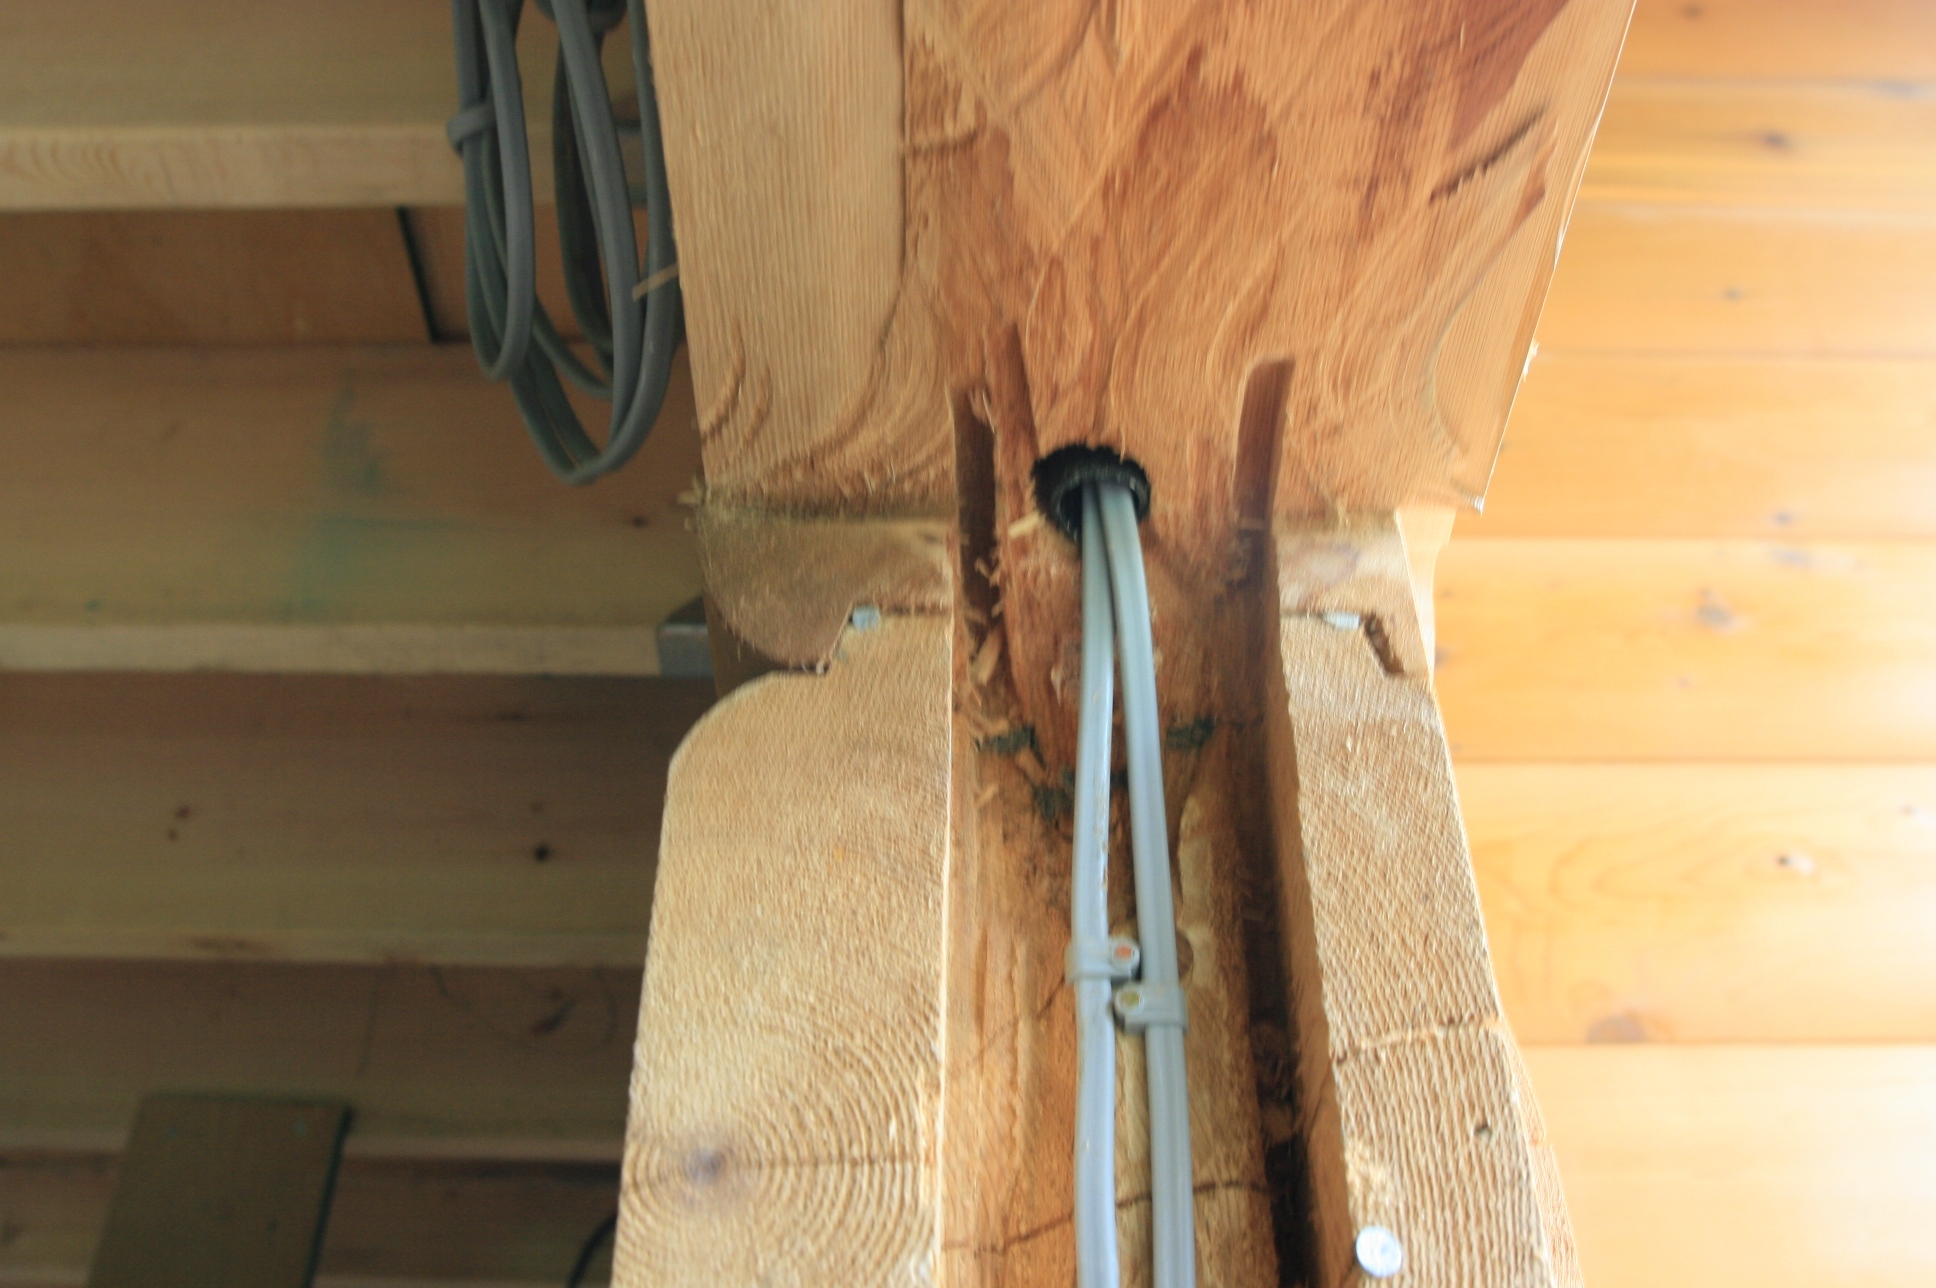
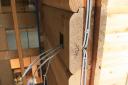 Here’s a close up of the wiring going up into the wall socket and then upwards
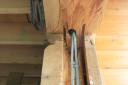 into the conduit we have already placed during the log stack upwards to the next floor.
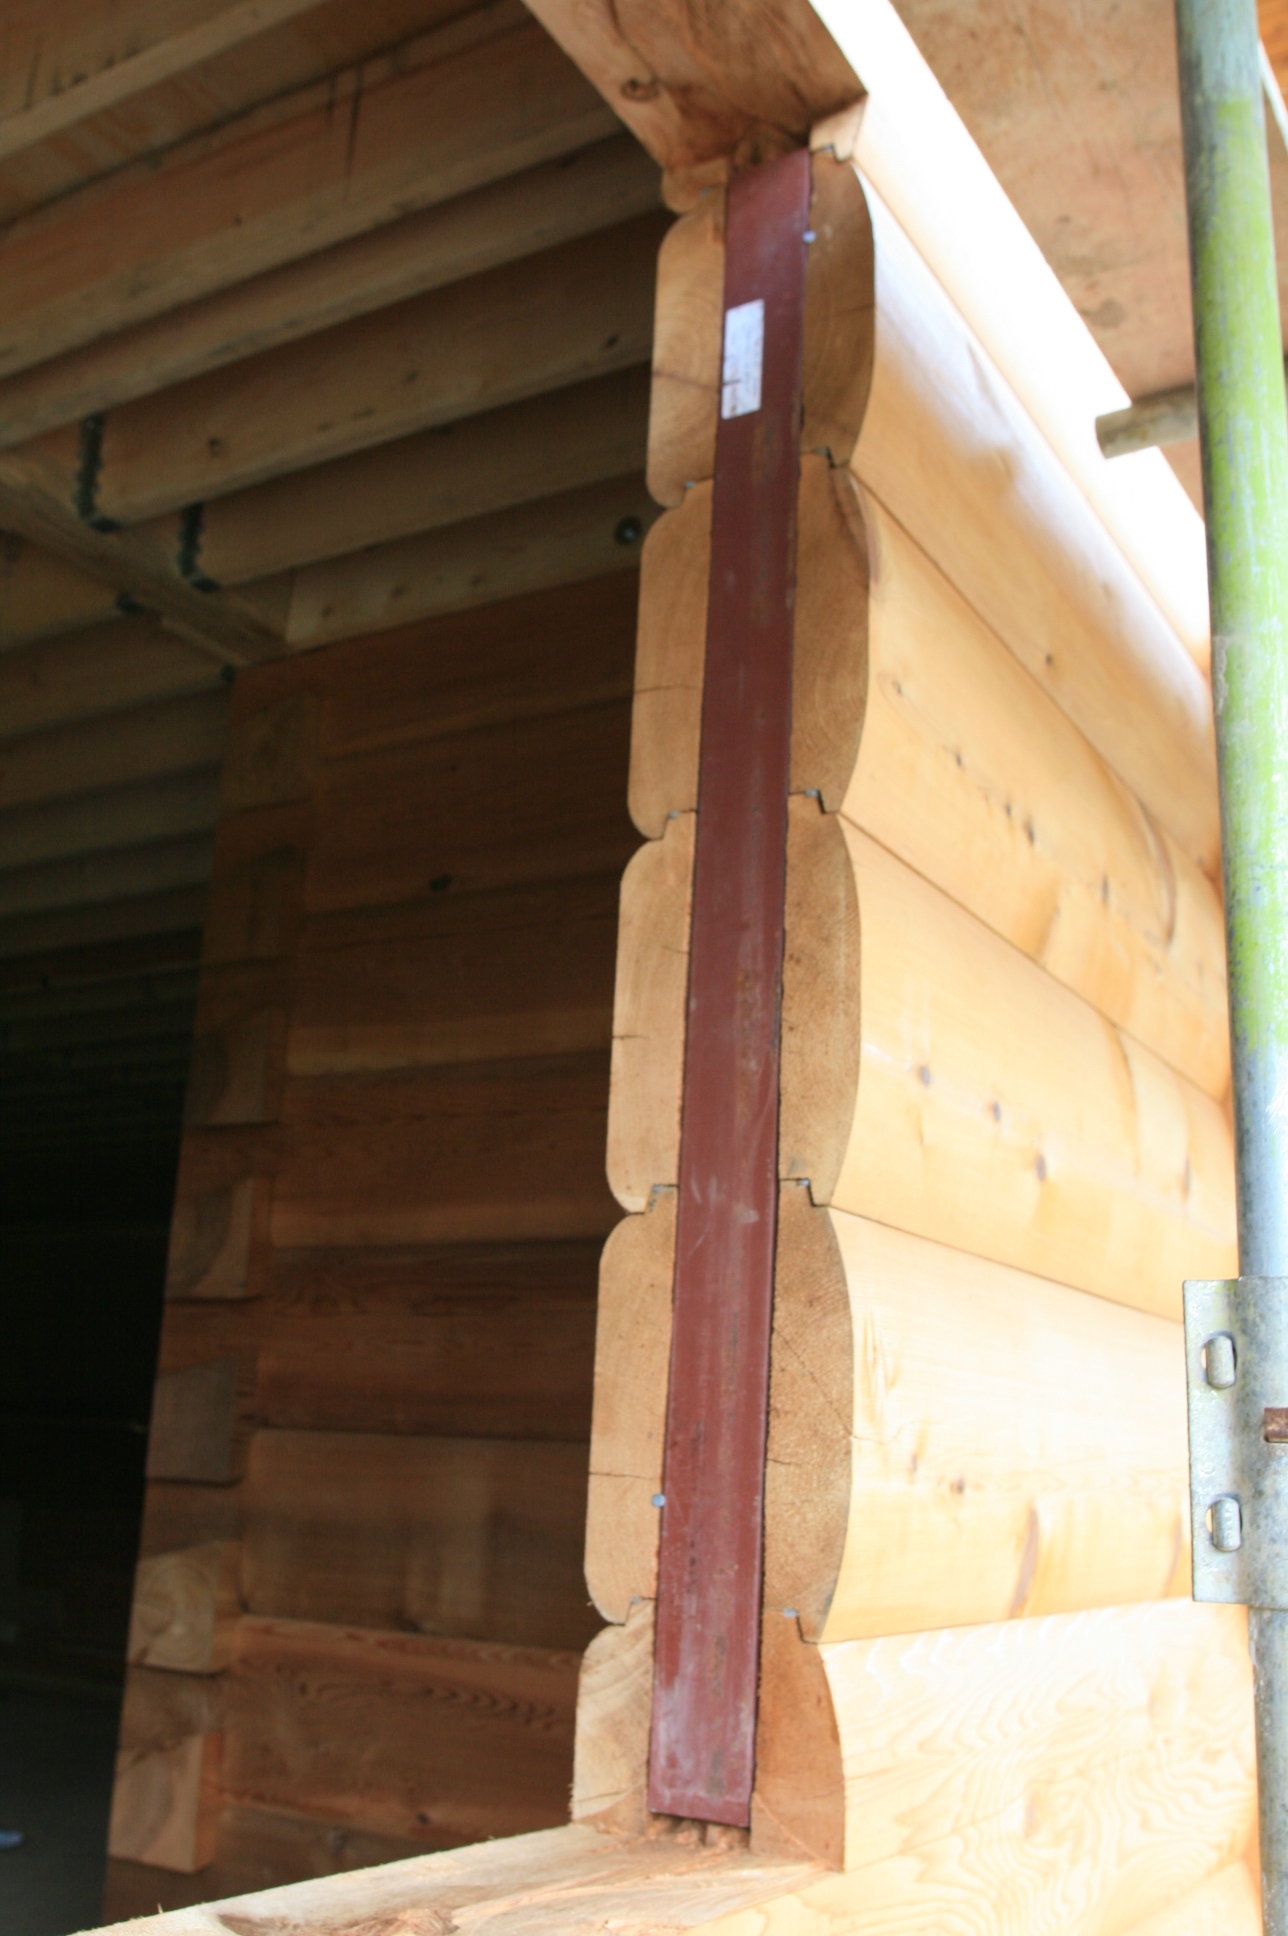
 And here is the steel channel back in place ready for the door lining and the door to be put in.
In this case we are wiring for an external light on balconies but the principle can be used for a variety of reasons.
Published by in Log House Design
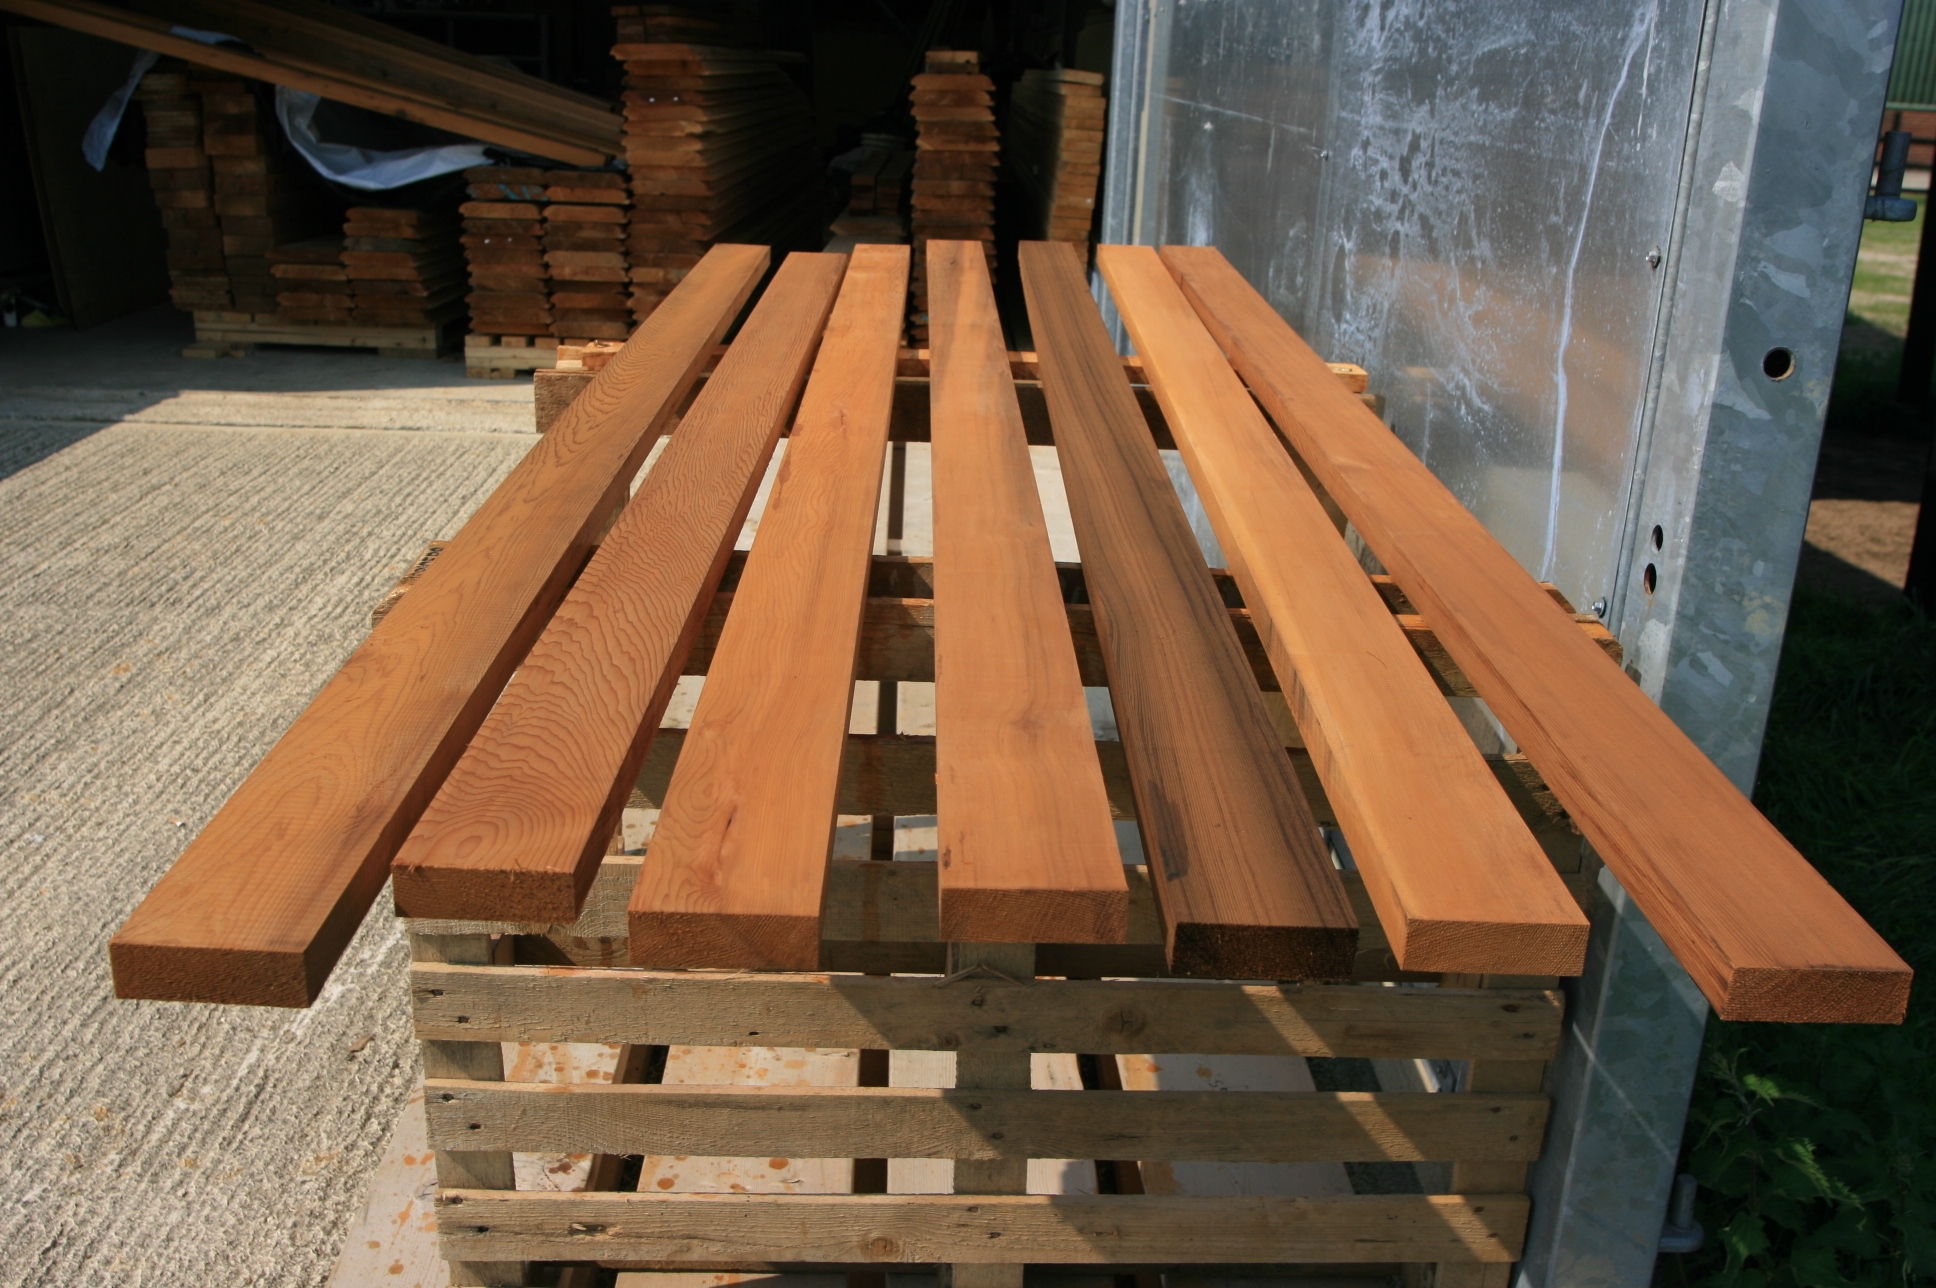
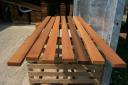 Since our trial window in mid March we have procurred all the Western Red Cedar we needed to make the window and door linings, finalized the design and had it all machined at the local joinery shop, and the linings made up with mortice and tenon joints ready to install. We beefed up the width of the external architrave and have made the header the same depth as the log dovetail ends and with the same angle so it looks “designed”.
All the joinery has to have two coats of undercoat before installation and the log apertures routered ready for the architrave and header.
Published by in Log House Design
Our aluminum clad windows and doors were manufactured in Denmark so the fitting of them to the log house is down to us to sort out. So we took the smallest window in the house and made a trial set of linings.
Then we routered the outside of the log “D” profile to create a flat surface for the external architrave to sit in.

Then we made a header with the same angle on the ends as the log dovetails so that it looked in keeping with the logs.
We are going to look at this for a week or so to make sure we are happy with the look before maching all the other window and door linings.
Published by in Log House Design
To avoid the logs twisting at their “free” ends at all the window and door openings, a “slot” is cut with a chain saw (yes a chain saw!) and a piece of steel channel set in.

Published by in Log House Design
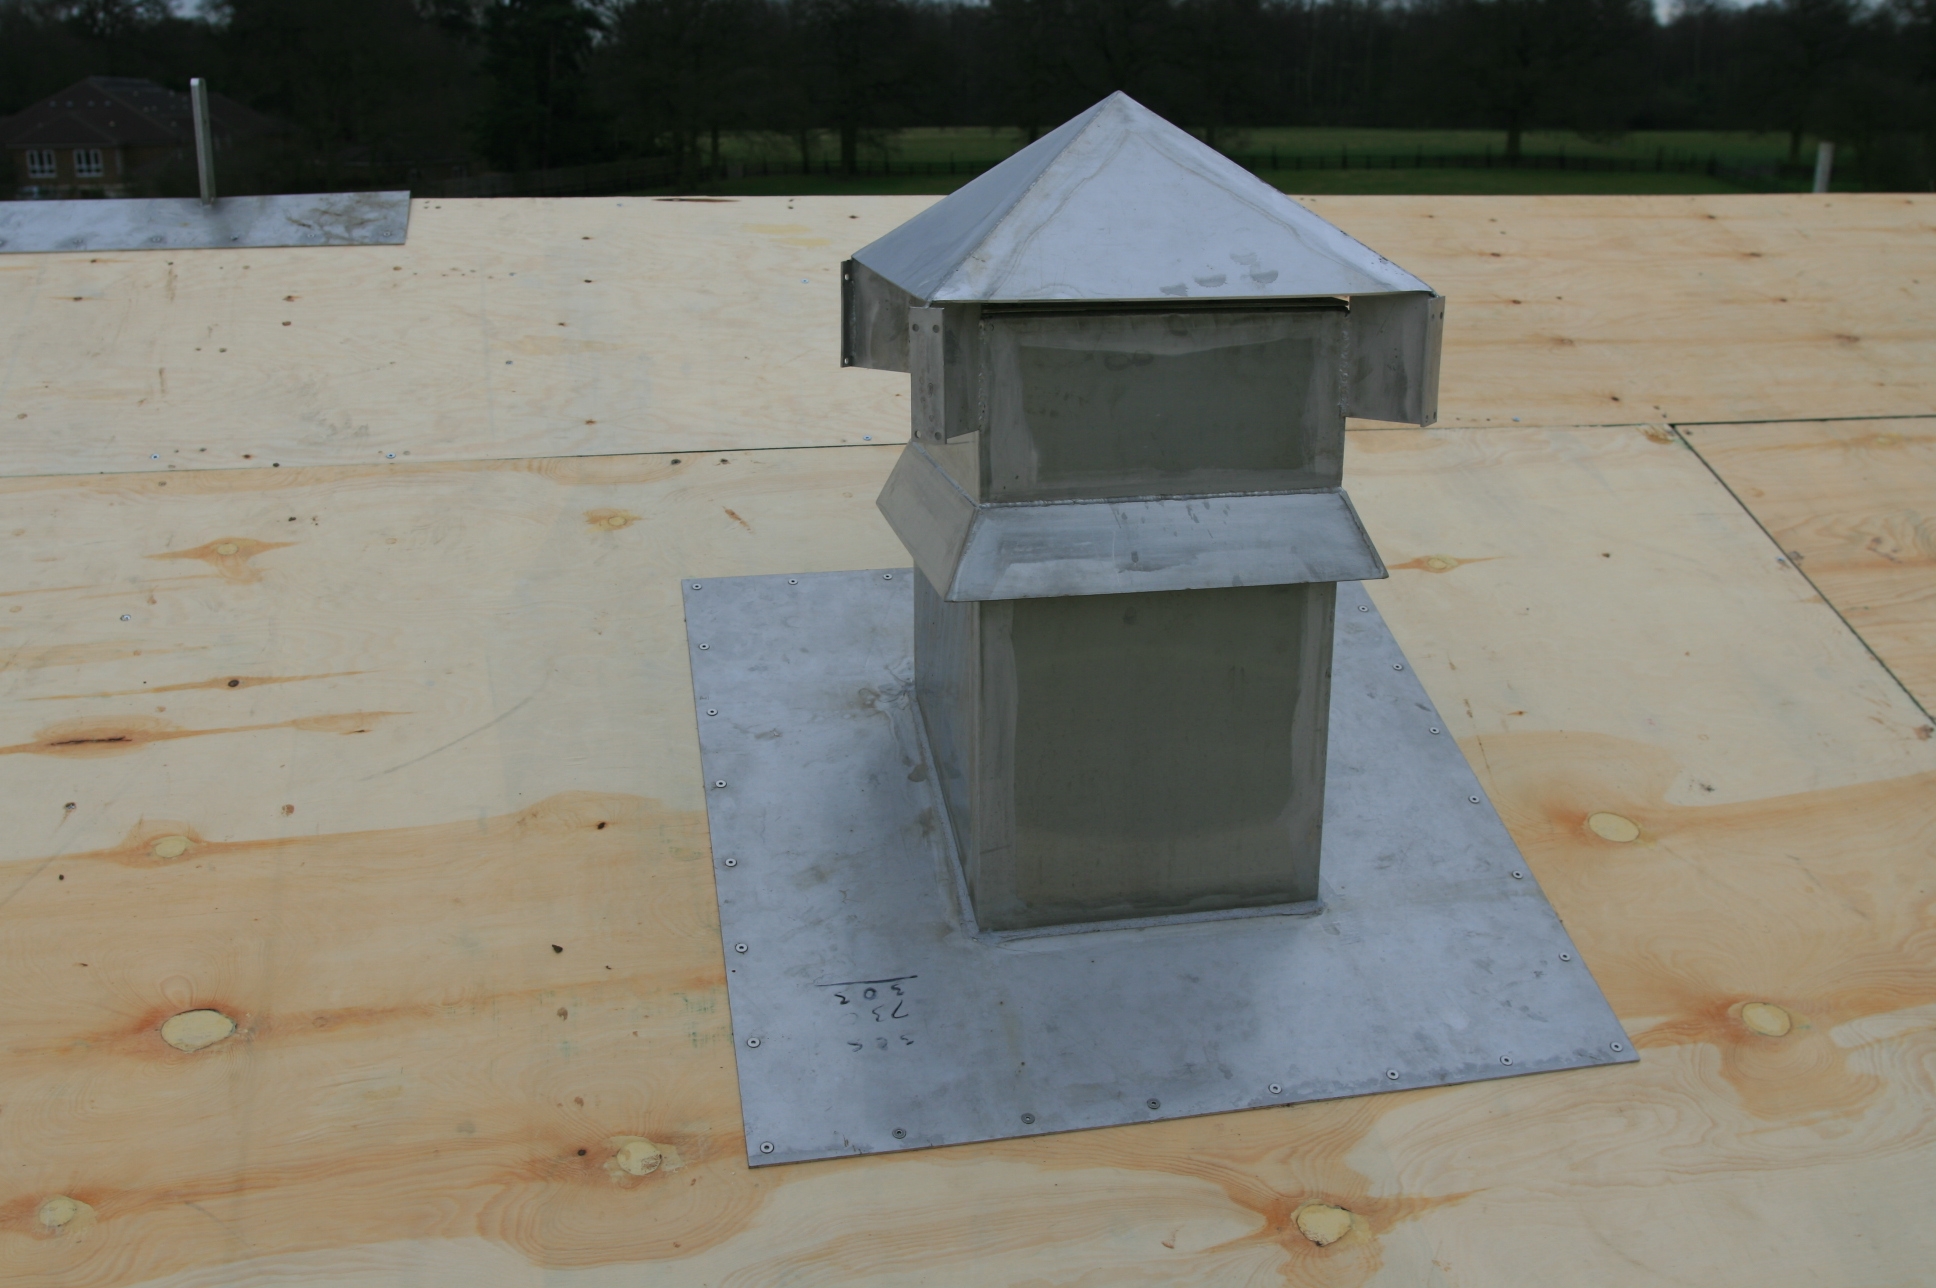
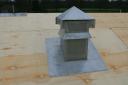 To comply with building regulations we need to vent the space under the ply. At the eaves we have a vent strip supplied with the log house “kit”. Close to the ridge we have made these vents to permit air circulation in the insulated roof space. We have put one on each side of the ridge and carefully calculated the area they need to provide to match the eaves vent strip.
Published by in Log House Design
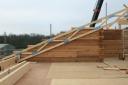
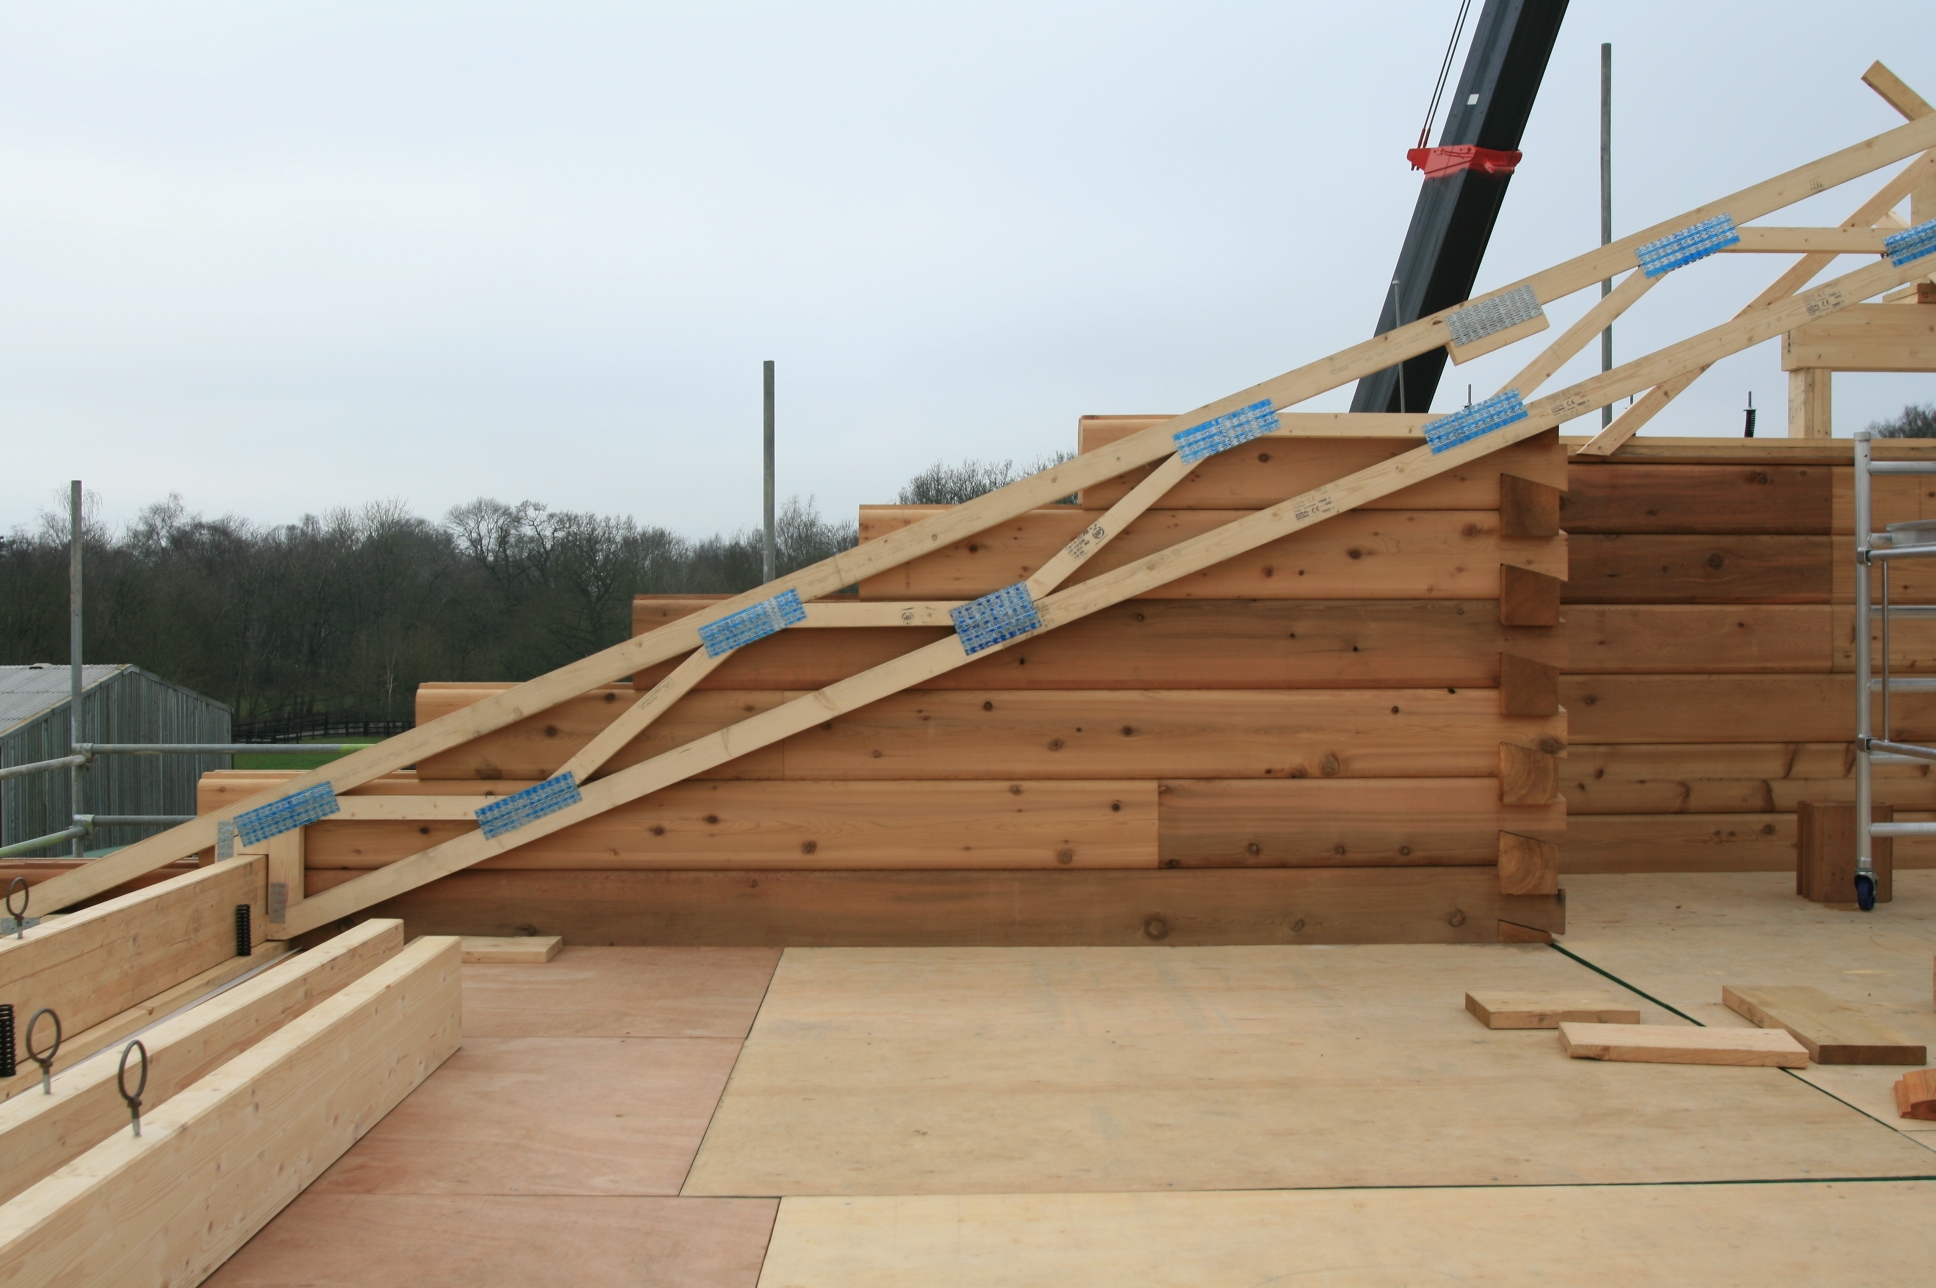
Work stops for over a week while we try to resolve problems with fitting the roof to the house. So far the log stacking has gone fine, but the North American supplier sub contracted the roof design and supply to a UK supplier, and a communication break down means the roof does not fit the house we have built. The trusses were designed to sit on the logs but the logs have been supplied and assembled to sit higher than the roof designer expected. Meanwhile the crane is on hire doing nothing. We eventually resolve the design with the help of the UK supplier and our building control officer and work should restart in 10 days time once the new trusses and a longer ridge beam arrive. It’s not unusual for this sort of problem to arise when parts of the build are sub-contracted by the prime contractor and at least we are getting the replacement parts from the sub contractor who is only 100 miles away instead of 2,000.
Published by in Log House Design
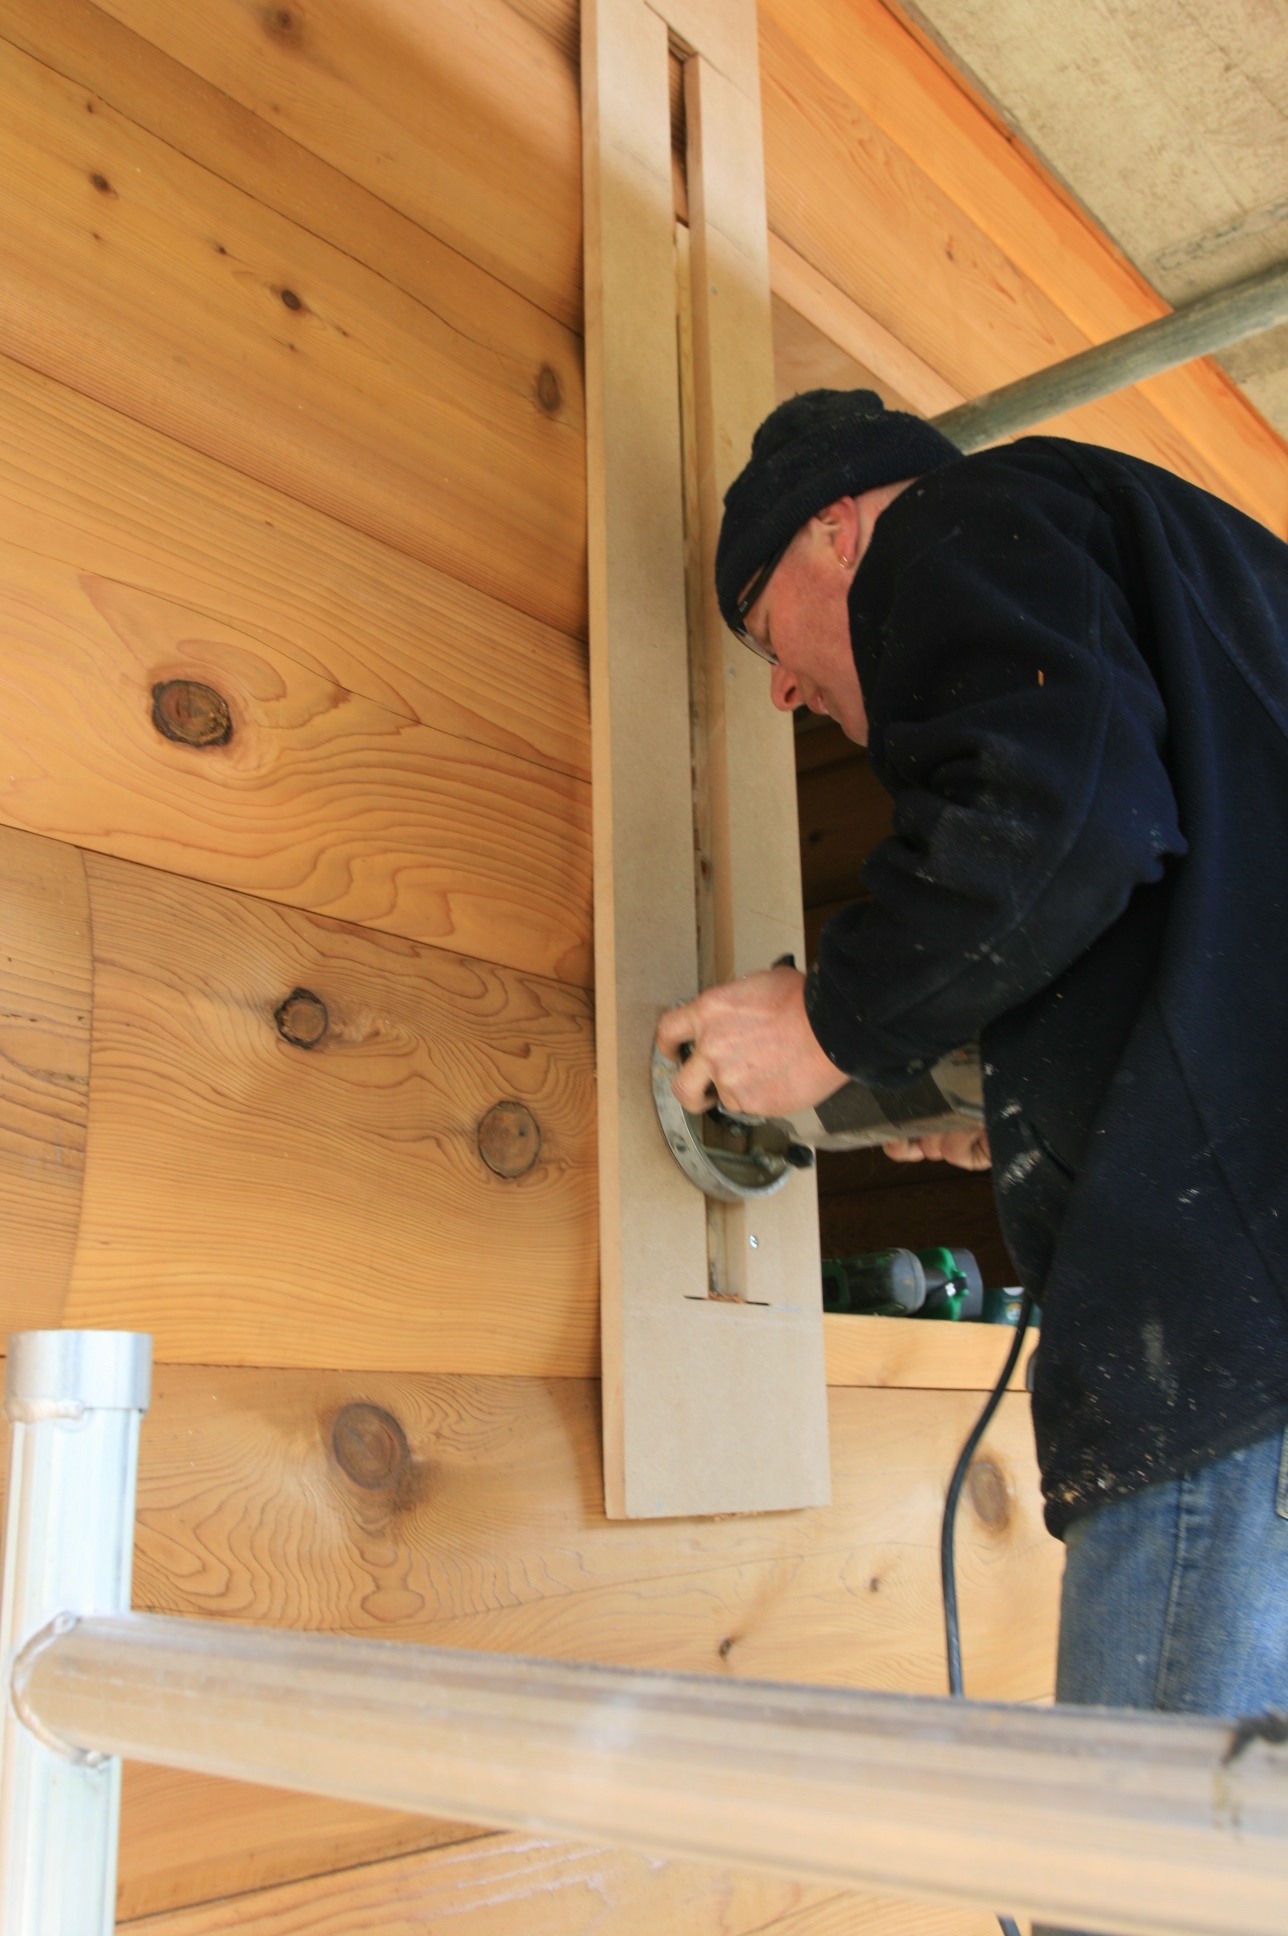
 As we approach the final courses of logs, we made this cutter up to make the spring pockets and to cross drill into electrical conduit holes.
 So this is the window in its lining in place with the header and vertical architrave areas machined.
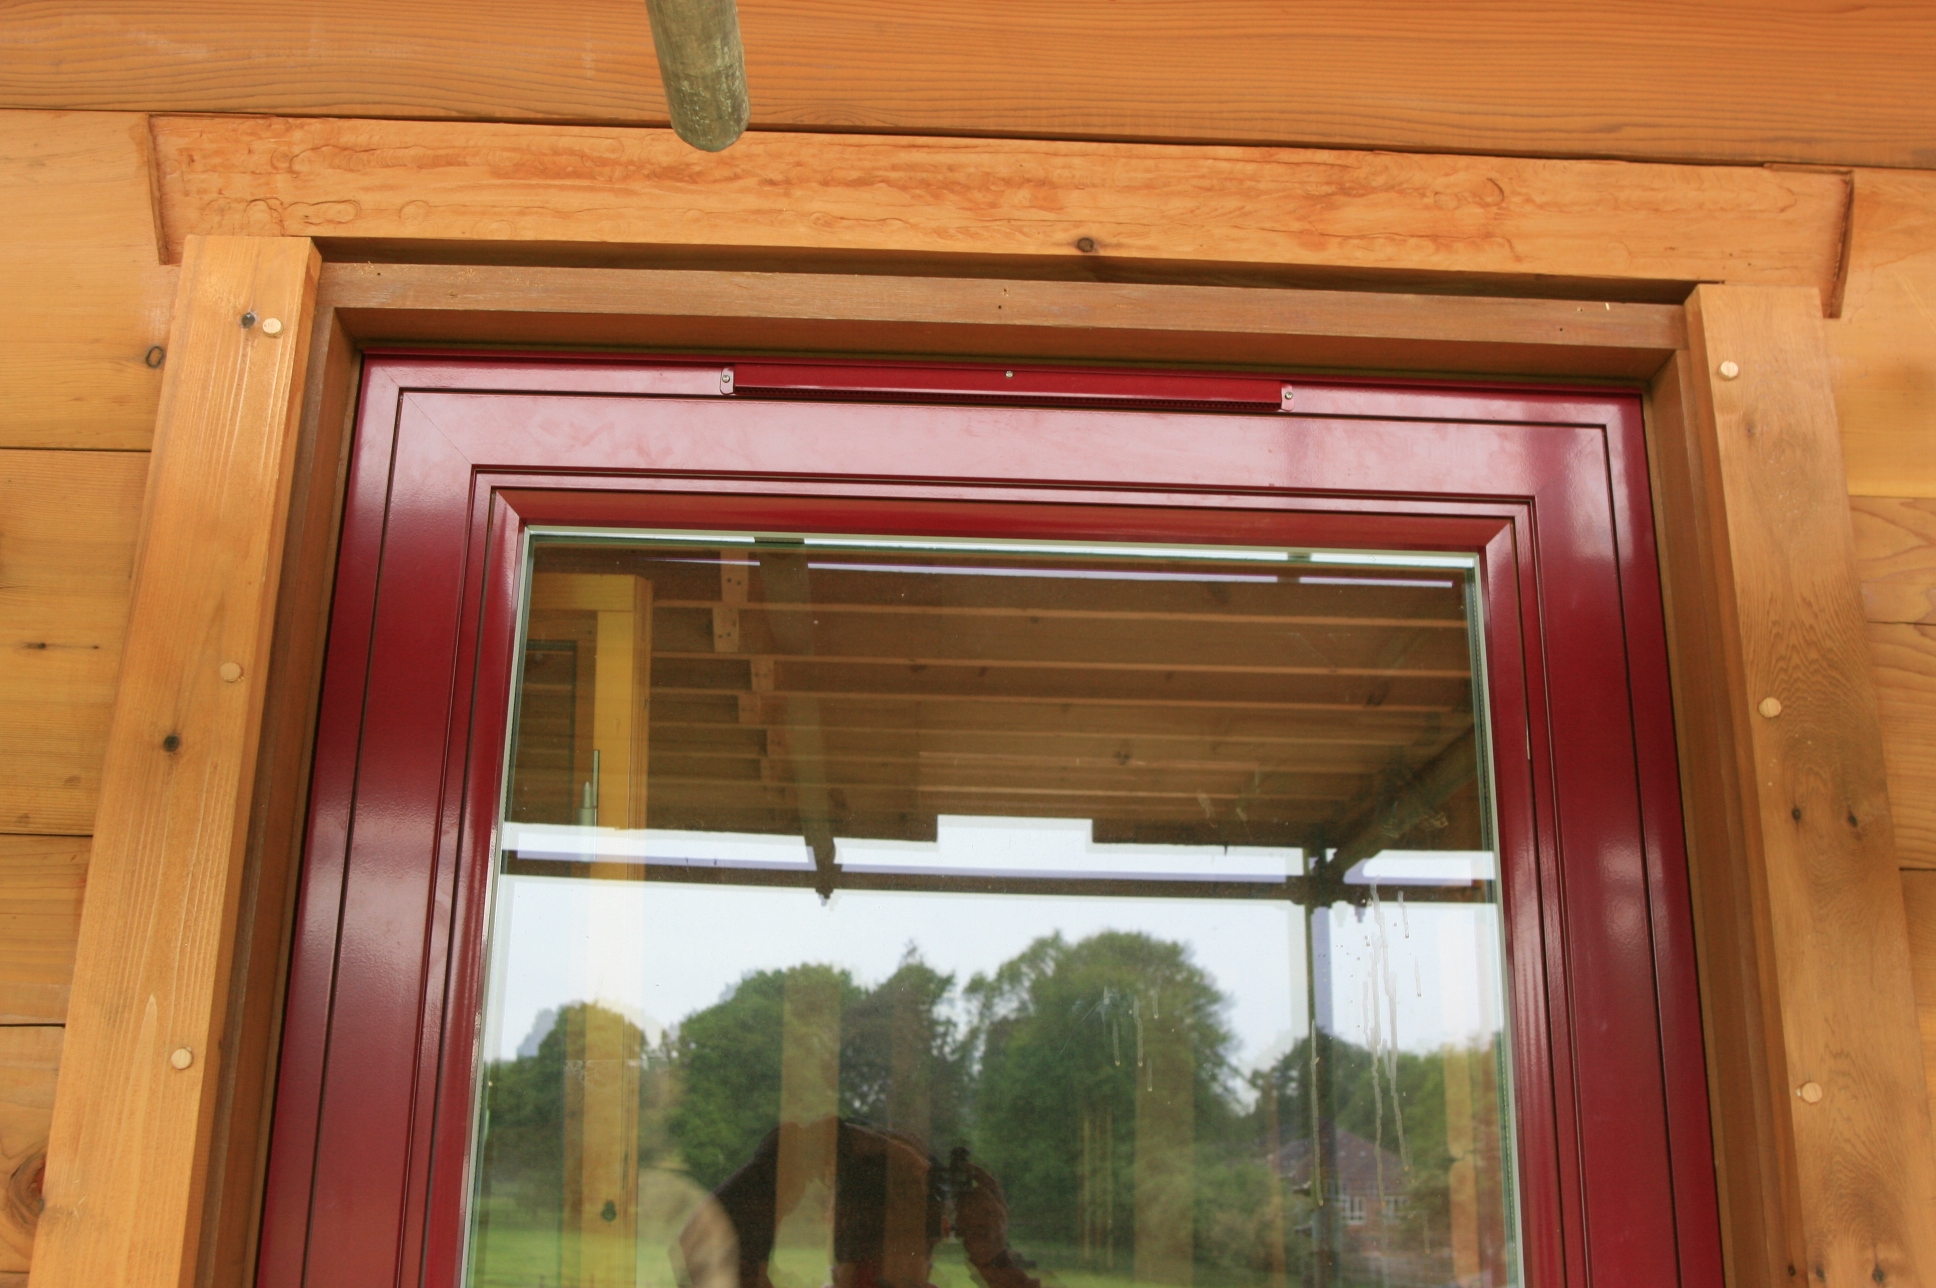 And here are the vertical architraves in place and the screw plugs awaiting shaving off and touching up with primer.